The term “farmhouse” describes a style of home design that originated in rural areas of England during the late 19th century.
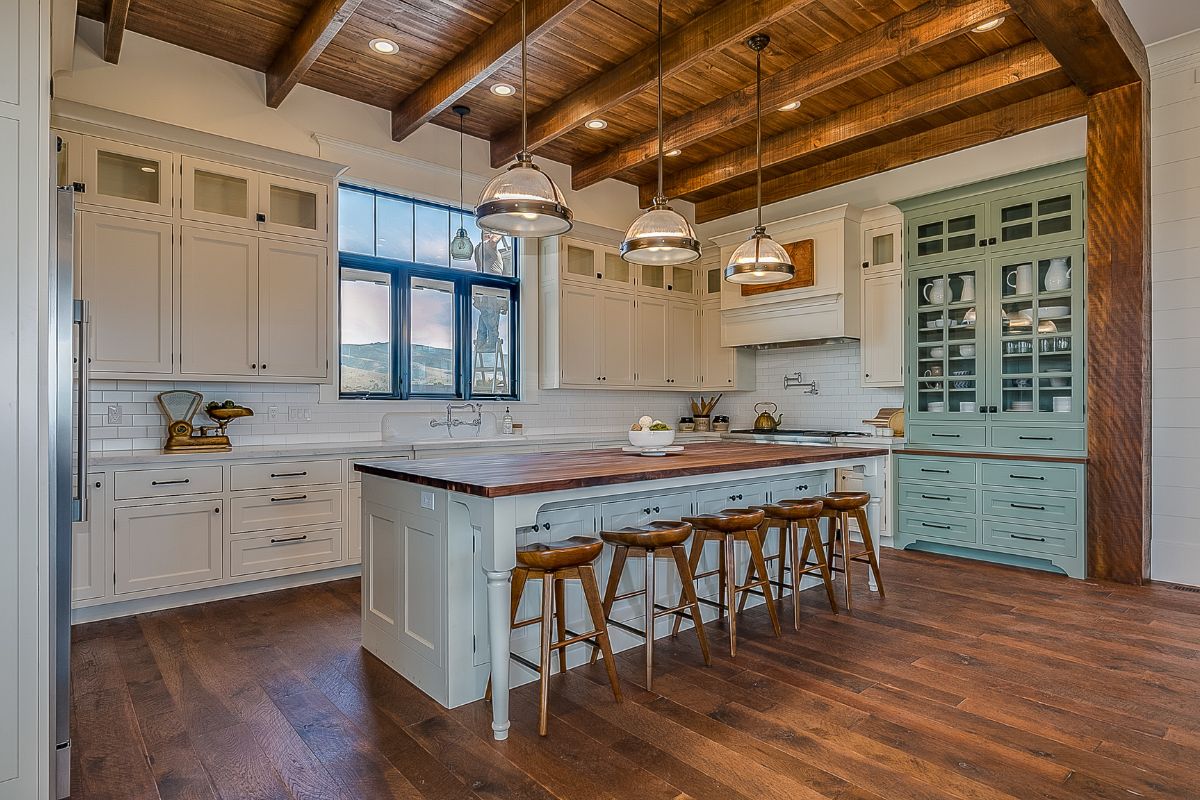
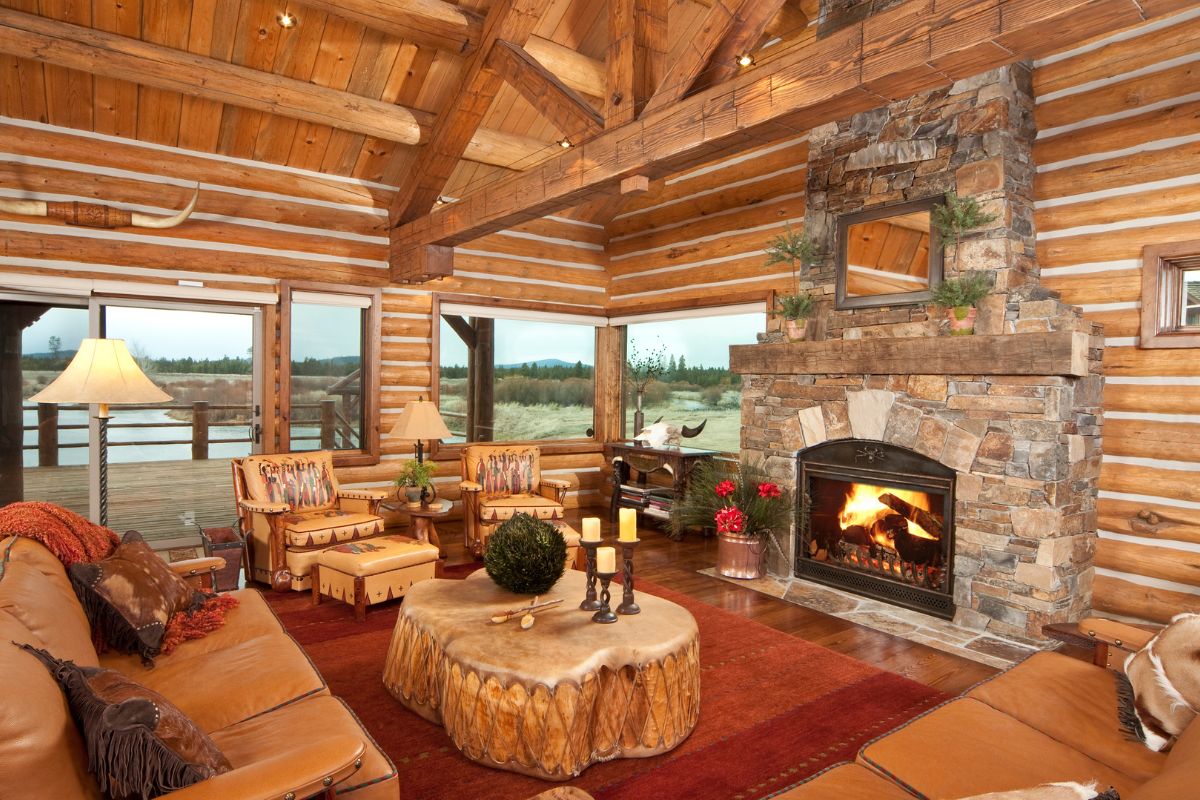
Today, it refers to homes built in the same rustic style, often featuring exposed beams, stone walls and natural materials like brick, stucco and rough-hewn timbers.
These homes are typically found in small towns and rural communities.
Farmhouses can range from modest dwellings to sprawling estates. They tend to feature open floor plans with large windows, high ceilings, lots of light and space.
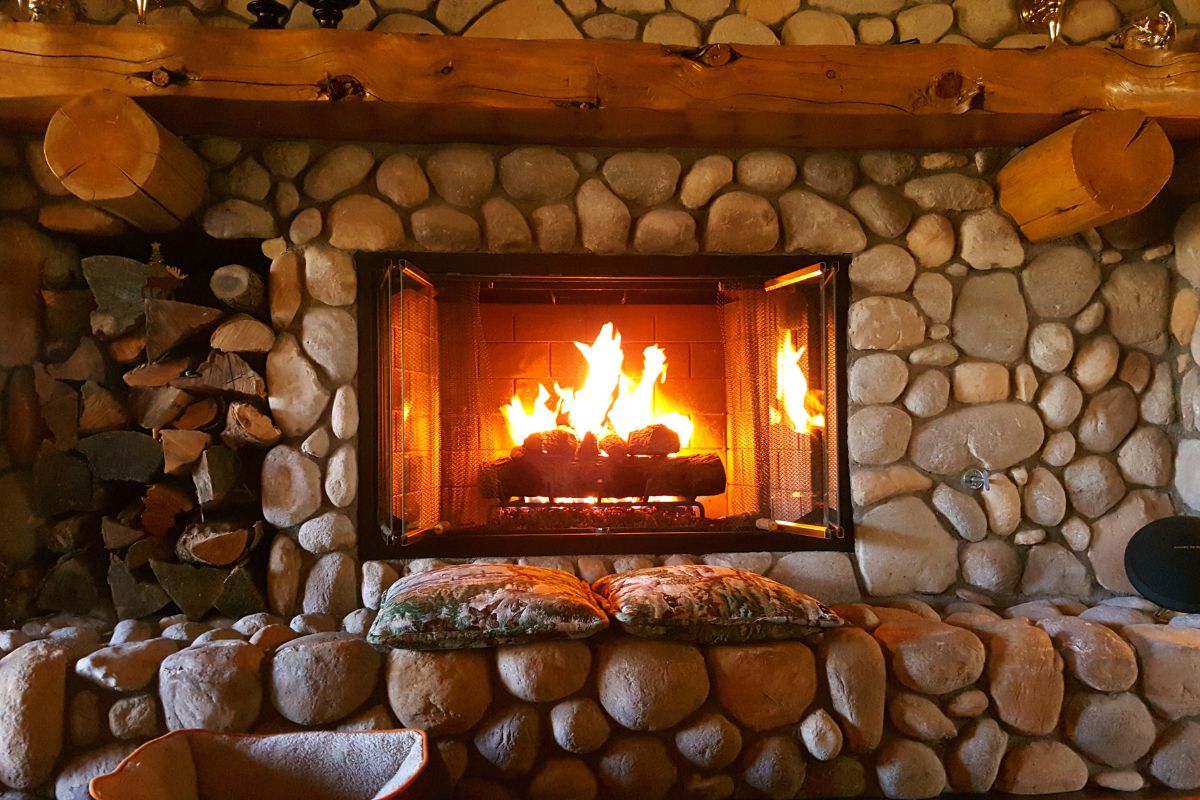
Some even include old-fashioned fireplaces, wide plank floors and antique furnishings.
Many people move into builder-built homes but aren’t too keen on the modern look. If you’ve always dreamed of living in a cozy farmhouse do not fear you can make your modern build into a farmhouse in a few months.
You can achieve the timeless charm and rustic appeal of country living without breaking the bank. Here are some tips and tricks to help you transform your urban abode into a cozy retreat fit for country living.
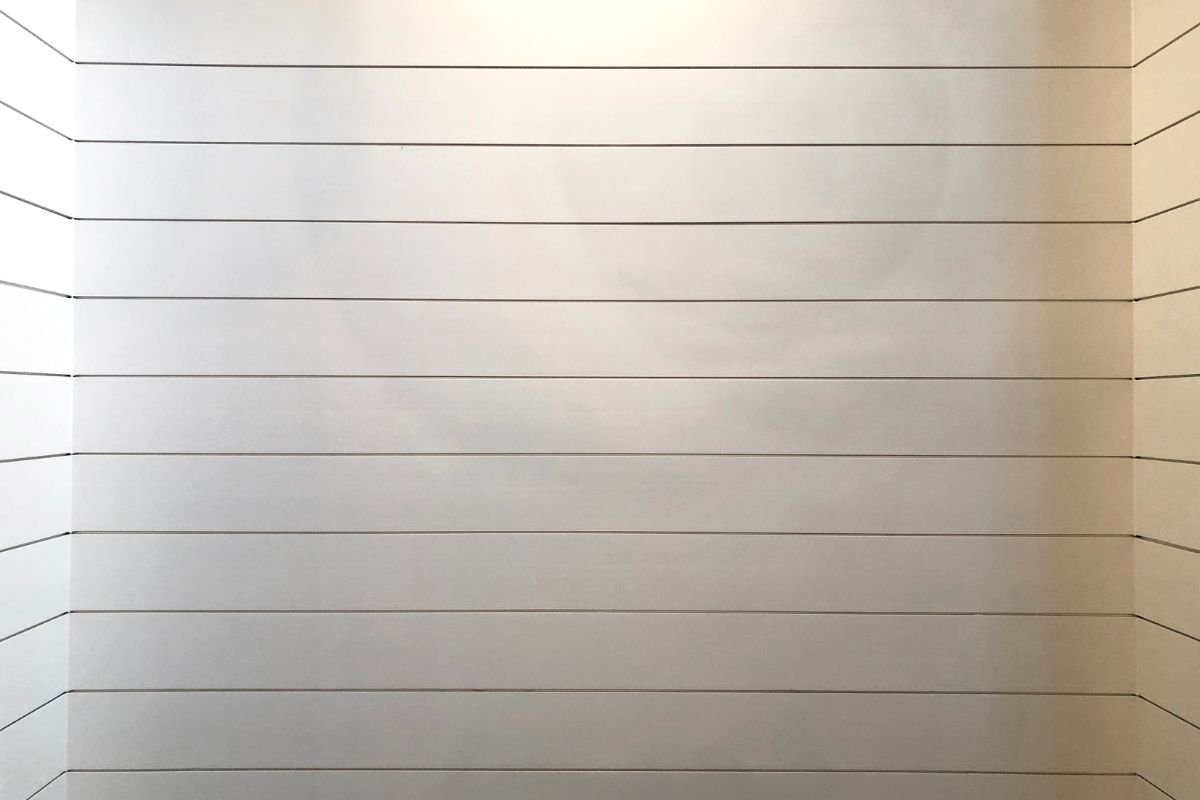
Make Use Of Molding And Trim
Molding and trim are key elements of a well-designed home. They add visual interest, define spaces, and provide a sense of scale.
A good rule of thumb is to keep the width of the trim less than half the height of the wall. This way, it won’t overwhelm the space.
For example, if you’re building a small bathroom, choose a molding that’s about 4 inches wide. If you’re making a large kitchen island, go with 8 inches.
Use Contrasting Colors
If you want your farmhouse to look inviting, opt for warm hues such as brown, tan, and yellow. These colors will blend naturally into most rooms, especially those featuring wood floors.
To liven things up, try adding pops of red, blue, green, purple, orange, white, or black throughout the house.
Add Texture
You can easily incorporate textured materials into your farmhouse decor. Paint your walls a soft gray and pick up some distressed paint swatches from a local hardware store.
Then, apply the paint directly onto the wall using a roller or brush.
Once dry, lightly sand the surface to give the wall a worn finish. Alternatively, select a piece of wallpaper that features a pattern similar to what you’d like to see on your walls.
Apply the paper to the wall, cut it down to size, and staple it to the wall. Easy!
Trim Types
Farmhouse style trims are a great start to turning your home into a rustic farmhouse dream. How can you do this?
The first step in adding farmhouse style trim to your home is choosing what type of wood you want to use. There are three main types of trim that work well in a farmhouse setting:
- Hardwood – A great choice for most homes because they’re durable, long lasting and easy to maintain. However, hardwoods tend to be expensive.
- Composite – These are typically less expensive than solid woods, but still offer a good amount of durability. They come in a variety of different colors and finishes.
- Veneer – These are thin sheets of real wood that are attached to another material. Typically, veneers are used for kitchen cabinets and countertops.
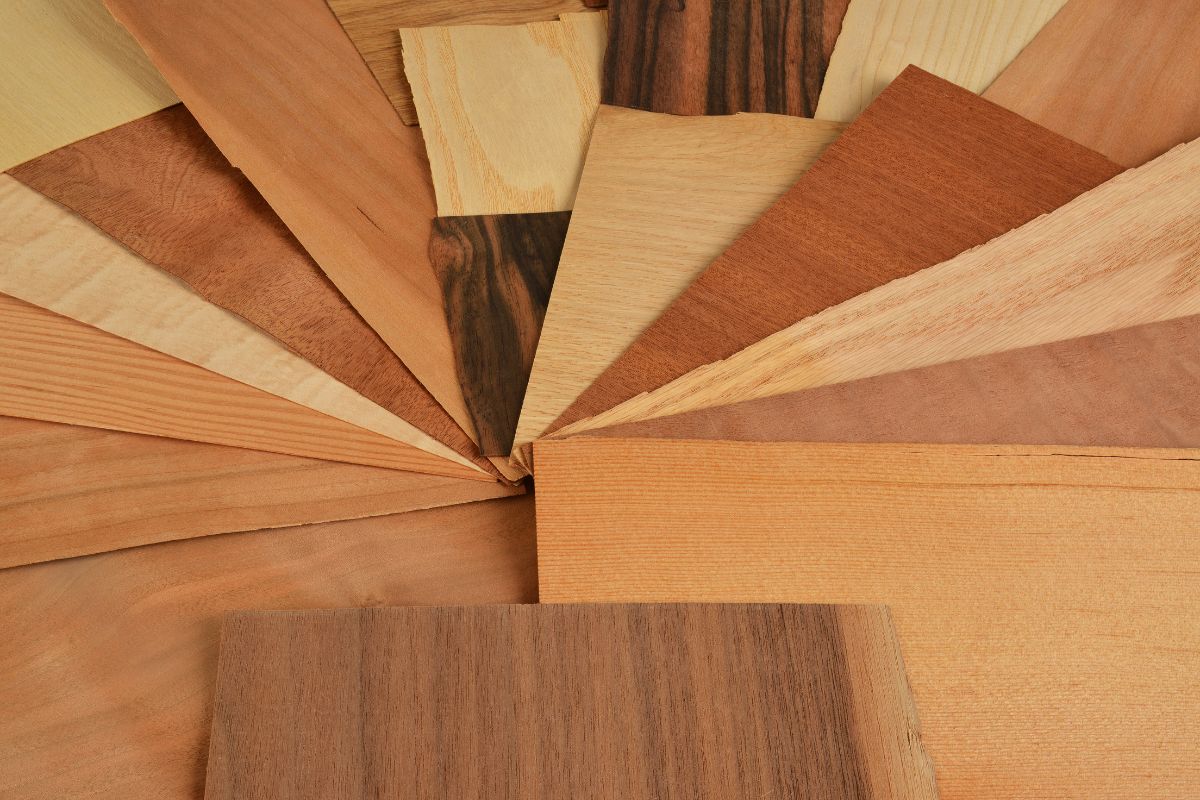
Once you decide on the type of wood you want, you’ll need to find some trim pieces to match. You’ll likely want to go with something similar to the original trim that came with your home.
For example, if you have oak trim around your front door and window frames, you might want to try matching that same style of trim.
Baseboard Trim
Most modern houses have fairly standard baseboard trims. They tend to be about 2 inches high and run along the bottom of the walls.
The best thing to do with these if you want them to match the rest of the farmhouse exterior is to knock them down and start again.
Search online for a local home store and purchase some baseboard molding. You can then decide on a few different paint colors online and pick one that looks good together.
After painting everything you should have baseboards that are 3/4 inch thick and look pretty good.
Installation
The most important thing about installing baseboards is making sure you use quality materials. You don’t want to end up with cheap vinyl siding that peels off within months of installation.
We used 1×6 primed pine boards to make our baseboards. Here are some tips for choosing the best material for your project:
- Make sure it’s pressure treated.
- Choose a color that matches the rest of your home.
- Look for wood that’s been kiln dried. This makes it stronger and less likely to warp over time.
- If you’re installing baseboards around windows, choose a different type of wood than what you’ll use for walls. Wood that’s too soft won’t hold up well against moisture.
- Don’t skimp on the screws — you’ll need plenty to secure the baseboard to the wall studs.
Windows
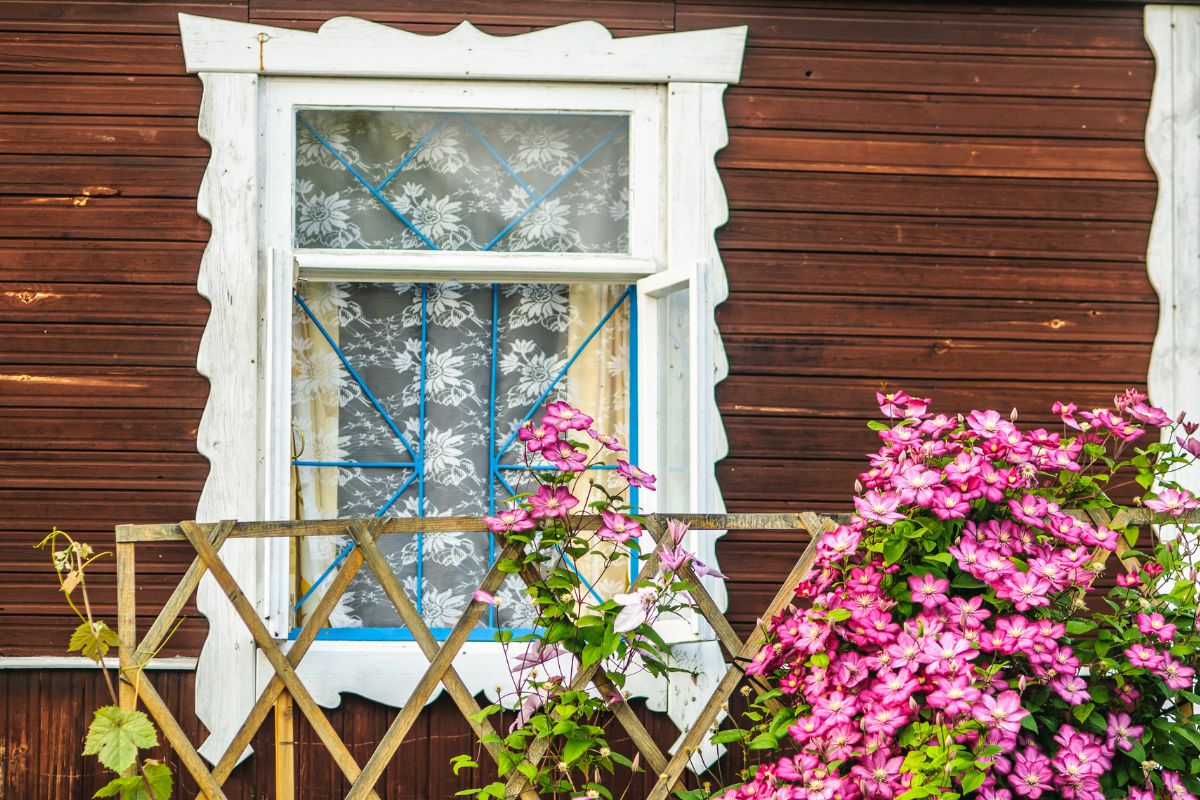
You can also add some farmhouse trim around the windows to make it look like you’ve been there longer. For example, beige paint looks good against a white wall.
The trim is available in most home stores and is pretty cheap.
Removing The Old Trim/Residue
To achieve the farmhouse style wood window frame you’ll need windows, including side and overhang trim along with sill and trim boards under the sill.
You can use a utility knife to score where the old caulk lines are located. Then, carefully cut away the old caulk along the scored lines.
If you don’t do this, you’ll end up pulling large sections up of the drywall paper surfaces with your moldings that will require repairs later on.
You might also want to use a small paintbrush to clean out any nooks and crannies where dust and dirt could collect.
Measurements
Begin by measuring the width of the vertical trim pieces. You can use 1×4 primed finger joints for sides, bottom trimboard and top piece.
They usually measure about 3.5 inches wide. Measure the window frame thickness – this is that outer perimeter board that should be sitting flush against your drywall.
This is most often about ¾ inch thick. Mark a line at the center thickness of this board,which would be ⅜ inch.
Cut out the window frame outline using a circular saw or jigsaw. If you don’t want to cut it out yourself, there are many online tools like Home Depot’s free tool that will do it for you.
Making The Cuts
Cutting boards requires some planning. You want to make sure that the lengths are correct and that the joints fit together well. If you don’t know how to do this, here’s a step-by-step guide.
- Measure the width of your windowsill. This measurement is important because it determines the size of the cutting template you need to use.
- Determine the total height of the board you plan to cut into. Remember that the bottom piece needs to extend beyond the window frame by at least 3/16”.
- Draw a line across the board where you intend to mark the centerline. Mark the centerline with a pencil.
- Use a ruler to measure along the centerline and determine the exact length of the board you need. For example, if you measured 13”, you’d calculate 12 ¼”.
- Using a circular saw or jigsaw, cut out the board. Be careful not to let the blade touch the pencil marks.
- Remove the excess wood around the edges of the board using a sharp chisel.
Installing Boards
Once you’ve got the horizontal boards in place, it’s time to install the vertical ones. First, make sure that each one overlaps the window frame by about half its width.
Then, mark the centerpoint of the top of the board where it meets the bottom of the window frame. Use a pencil to draw a line straight down from there.
This line represents the finished height of the vertical board. Cut along the line.
Next, nail the vertical boards into place. Start by driving a few nails into the inside edges of the vertical boards to keep them in place.
Then, hammer three nails through the outside face of the boards and into the wallboard. These are just temporary stops; once the final trim piece goes over them, they’ll become hidden nubs.
Top Board
The next step is adding the top board. You’ll use three pieces of wood here. First, measure the length of the wall where you want the shelf to hang.
This measurement will determine how many feet of lumber you’ll need. Then measure the width of the space where you want the shelf.
This measurement determines how wide your piece of plywood needs to be. Cut the plywood to fit. Nail the bottom of the plywood to the floor with screws.
Attach the left and right edges of the plywood to framing members with screws. Use a level to ensure the plywood is plumb.
Now it’s time to attach the shelves themselves. Start by measuring the distance between the front and rear walls of the room. This measurement will determine the size of the shelf.
Mark the centerline of the shelf onto one end of the plywood. Draw lines perpendicular to the centerline every four inches along the entire length of the plywood.
These marks are called “cribbing.” Using a jigsaw, cut out the cribbing around the perimeter of the plywood. Drill pilot holes for screwing the shelf into the plywood.
Drive screws down through the cribbing and into the plywood. Make sure the screws are tight enough to hold the shelf securely in place without pulling away from the plywood. Repeat steps 5 and 6 to build the second shelf.
Summary/Handy Tips
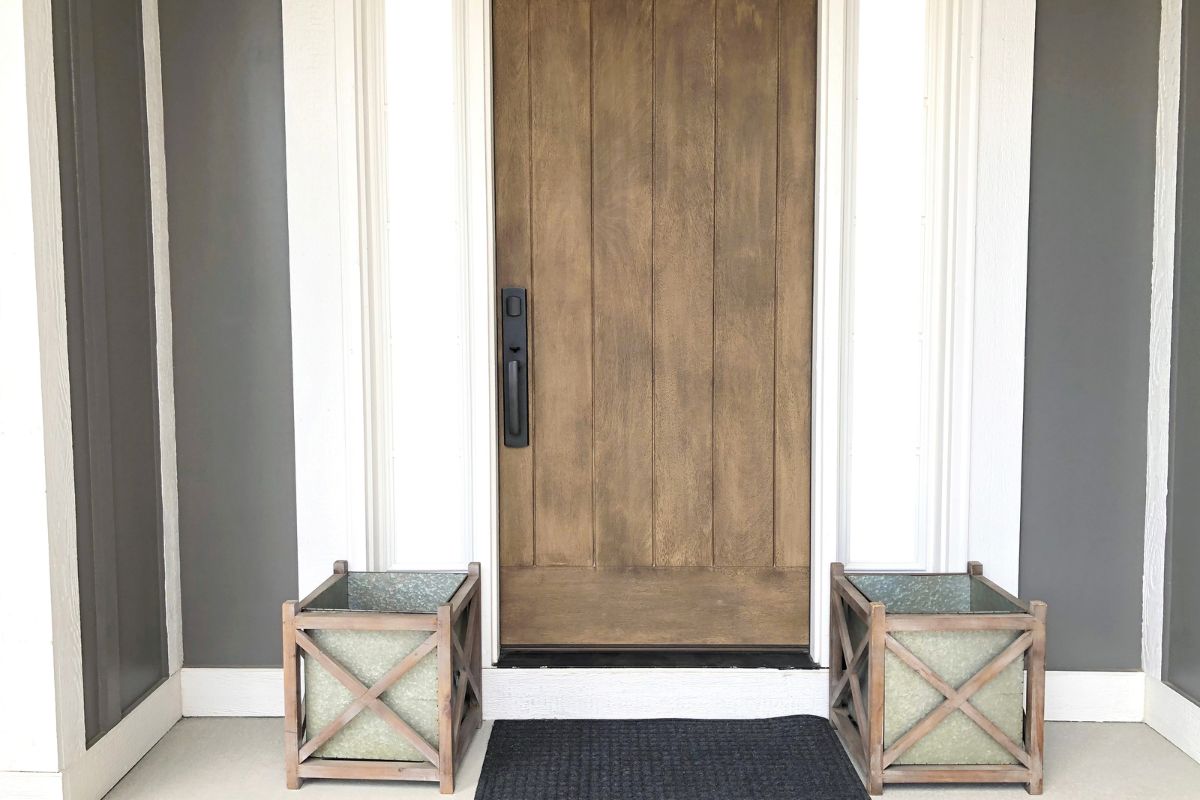
Here are some tips to help you make the most out of your farmhouse door trim project.
- Make sure it fits well. If it doesn’t fit properly, it won’t look good. You’ll want to measure carefully, especially around the edges, where there might be a gap.
- Use the same color throughout. Don’t mix colors unless you’re planning to paint over the entire piece. This way, you don’t end up having to do multiple coats and you save yourself money.
- Keep the hardware simple. A decorative knob or handle isn’t necessary, so keep things simple. Also, don’t use too many different kinds of knobs or handles; stick to one type.
- Paint the trim. Once you’ve got everything installed, it’s time to give the trim a coat of paint. Choose a neutral shade like white or off-white.
- Add molding. Molding adds visual interest and helps define the space inside the door frame. Look for molding that matches the existing trim on the walls.
- Finish it off. Now that you’ve added molding and painted the trim, it’s time to install the hardware.
Farmhouse Lighting
Now that you have the farmhouse trim you love, what about lighting? In the modern world, we are bombarded with bright, shiny bulbs everywhere we turn.
We see harsh fluorescent lights in restaurants, bars and offices. We use LED bulbs in our cars, on our phones and for our computers.
So why not embrace the natural world and choose soft warm lights that are reminiscent of the outdoor world. They would be a great way to finish off your farmhouse design.
A farmhouse kitchen gives you plenty of opportunities to cruise flea markets looking for great pieces to showcase. And lighting is no exception.
Lighting is one area where it’s great to see what people do with old fixtures — and it doesn’t always involve painting them white.
With some rewiring and some DIY magic, you can turn those old metal reclaimed lights into industrial chic pendants. DeVOL Kitchen takes care of all the heavy lifting, including sourcing reclaimed metals and building custom light kits.
In Summary
Farmhouse living is possible even in a modern build. With careful attention you can have the farmhouse of your dreams.
- The Woodworkers Guide to Brad Nailers: Everything You Need to Know - September 25, 2023
- How To DIY An Aztec Garden Dining Table [The Easy Way] - October 18, 2022
- Farrow & Ball Pigeon: Is It Right For Your Home? - October 17, 2022

