It may seem like a task which is not that difficult and will not take too much of your time, but cutting a 4×4 post will actually be quite tricky unless you have the right tools and techniques.
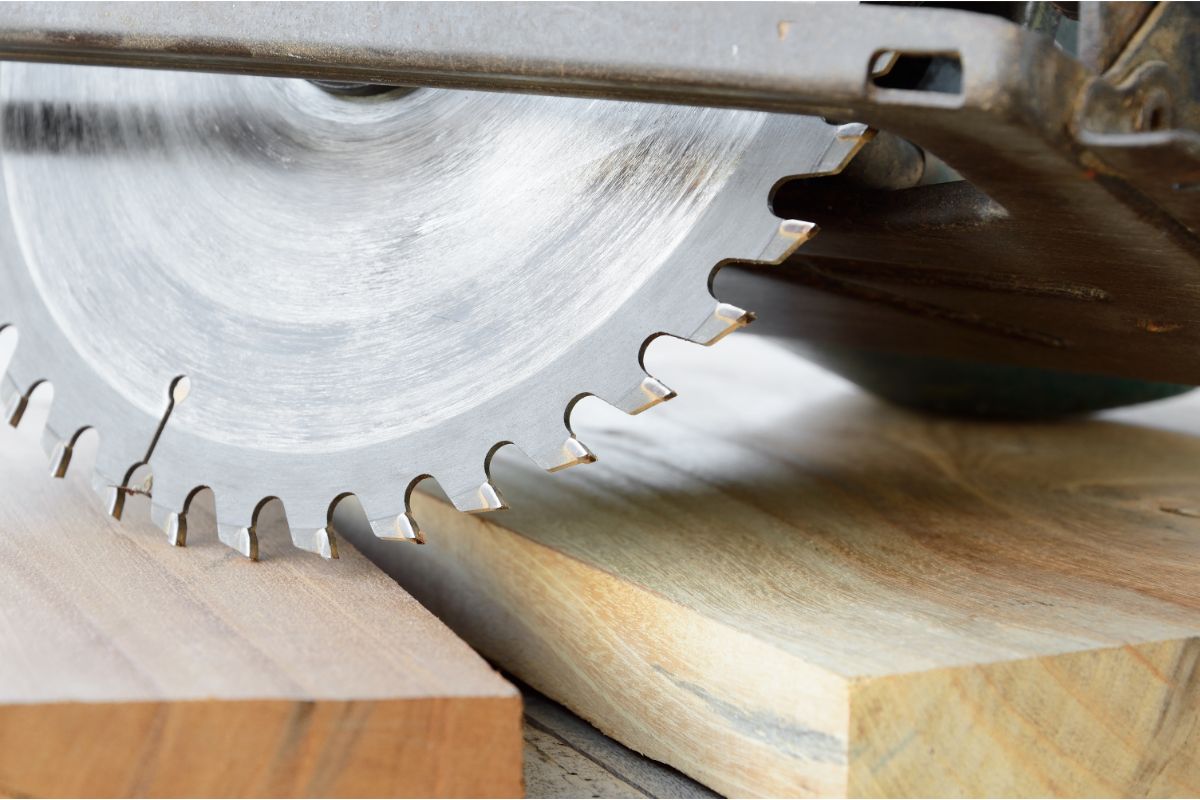
A typical circular saw will use 7 and ¼ inch blades, and these are only able to cut 2 and ½ inches deep, this means making the cut in one pass will not be possible.
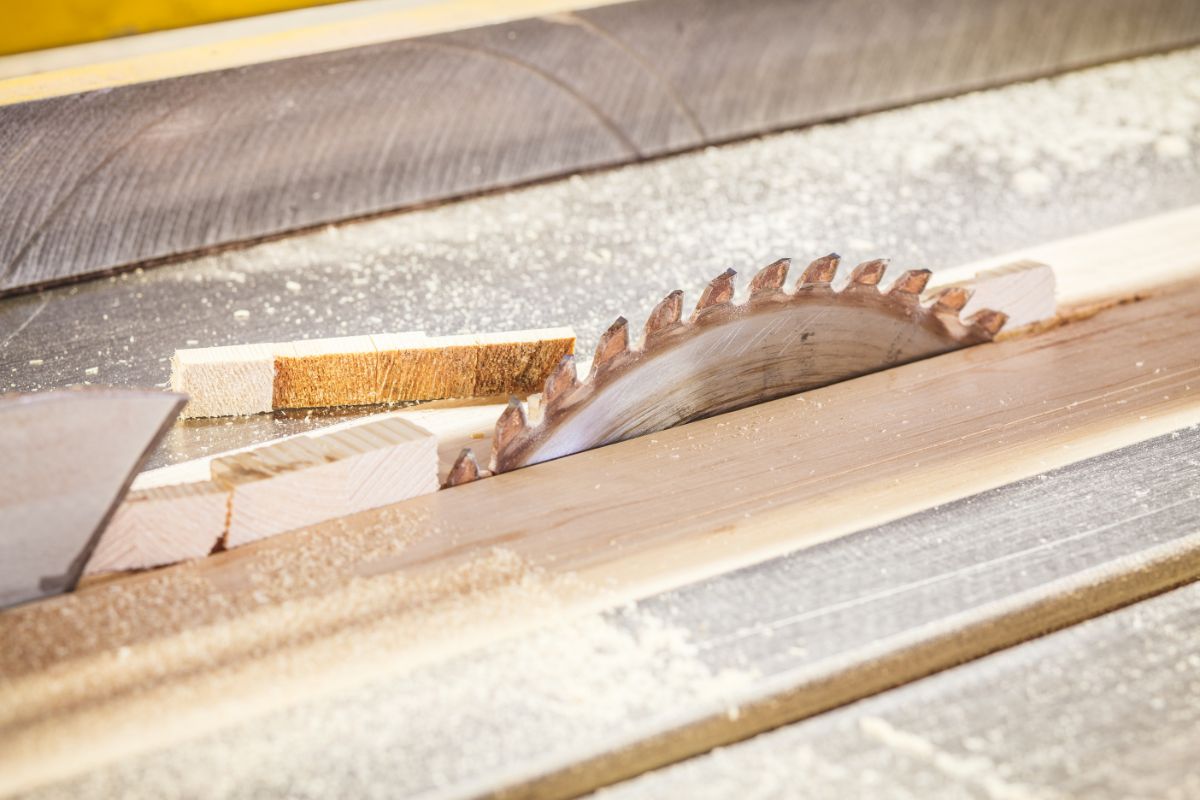
This is why you will need to make multiple different passes to ensure that you get a clean cut through your 4×4 post.
This means that unless you take the steps to ensure that your cuts will line up perfectly to each other, you will end up with a pretty poor finish.
Luckily there, are a few different methods you can use to accomplish the results you are after.
So if you want to cut a 4×4 post using your circular saw, but you do not know which technique will be best for you, this guide is here to help you work out which one will be best for you!
What Tools And Materials Will You Need?
To do the methods which are on this list you will need to have:
A circular saw
A pencil or marker
Some clamps
A drill or driver
Some scrap plywood
A speed square
A hand or reciprocating saw, this is optional, but could end up being useful
Sandpaper or a sander
Guide To Cutting A 4×4 Using A Circular Saw
The best tool to get for cutting a 4×4 post will be a large miter saw which is usually going to be 12 inches.
This tool has the diameter which you need to be able to chop through your 4×4 in just one pass, however not everyone has access to this equipment.
So, if you do not have access to a miter saw like this, or if using a miter saw is not an option, for example, if you are installing fence posts and you need to cut your 4×4 while you are on the job, you will need to use a circular saw, but as we have gone over, you will not be able to use a circular saw to cut a 4×4 in one pass, and it will instead need 2 or 3 passes, depending on what method you are using.
Circular saws are also much more portable than a miter saw will be.
We will go through 3 different methods for cutting a 4×4 using a circular saw in this guide, so check all of them before you choose which one you want to do, doing this will ensure that you do the method which best suits your skill level and the equipment you have access to.
Circular Saw Only Method
By doing this method you will have a good compromise between a good level of speed and a good level of accuracy.
By doing this method, you will only need to have one saw to make your cut, and you will be using your initial groove to guide you, and if you do this method correctly you will end up with a good clean finish.
Step 1 – Mark Your Cut Line
The first thing you will want to do, which is the same for all of the method in this guide, it to mark the line you will want to be cutting across on your 4×4.
The best way to do this is to use your speed square as well as your pencil or marker to make a line along the sides of your 4×4.
You will want to repeat this step on all sides of your 4×4 and you will need to ensure that you are being both deliberate and careful when making these markings as these will be the guides which you will be working off when you are making the cuts.
Step 2 – Make Your First Cut
The second step is to make your first step, so you will want to first make sure that your saw has been adjusted to the max cutting depth that it can reach, this will make sure that you are able to complete your cut without having to cut individually on all 4 sides.
After this has been done you want to line up the blade of your saw with the cut line you have drawn.
To make sure you are being safe, you will want to attempt to cut first on the scrap or waste side of your cut.
This makes sure that your cut will be too long instead of too short if you make a mistake, which is of course easier to fix.
Afterwards you will be able to shorten your cut if you have made a mistake, but of course you can not add back material which you have cut off.
You want to use your speed square for a cutting guide which you can do by butting your edge of the saw’s show against it.
If you want to make sure that the cut you are making will be perfect, you can then clamp your speed square up onto the 4×4, this is instead of having to grip it using your hand.
Then simply run the saw along the 4×4 using your cut line for a guide.
Step 3 – Rotate Your 4×4 And Then Make Your Second Cut
After that step unclamp your 4×4 and then rotate it 90 degrees, The first cut will have left a 2 and ½ inch deep marking which is easy to use as a cutting guide to make the rest of your cuts for.
So, then line your saw with the cut line and slide the blade into the groove, this will make the second cut easy to make.
You likely will not have to use your speed square or any different guide because of the existing groove.
This is either than flipping 180 degrees as you have the cut guide to work from.
Step 4 – Rotate 90 Degrees And Then Make Your Third Cut
After you have made the third cut you can rotate a further 90 degrees and then make a third and final cut in the same way you made the previous one using the previous cut as a guide.
Once this is done there is a tiny piece of lumber left to cut through which should be easy to do.
The Simple Jig Method
This method is actually not too different from the previous method and it uses scrap plywood for a cutting guide instead of your speed square.
This is a better method to use if you are not that familiar with using a circular saw, and because of this it is pretty foolproof.
Step 1 – Mark Your Cut Line
Like the previous method, first mark out your cutting line. You can do this using your ruler, a scrap piece of wood, or your square. Do this on all 4 sides of the wood.
Step 2 – Create The Simple C Shaped Cutting Jig
After this you want to make an easy C shaped jig for cutting using your scrap wood.
This jig will be made from 3 different piece of plywood and will cradle your 4×4 with each of the pieced being 3 and ½ inches long, being the same width as your 4×4 lumber.
Start by using your cut line and then add the distance which is between the blade and the edge of its shoe, then make another mark which is parallel to the first mark.
This will be known as the offset line and will account for the saw’s show width.
Using a 3 and ½ inch section of your plywood, create the first part of your jig and then line it up to the offset line and then attach this to your 4×4 just using some screws.
Step 3 – Make The Cuts
After this all you will need to do will be to butt on the edge of the circular saw up against the side of your jig and then use this to cut the 4×4.
This jig is made to make sure that the cut will be straight as well as giving you a perfect finish.
After this you want to flip your 4×4 and then make the same cut using the circular saw on the other 3 sides.
After this you can use your drill to take out the screws that are holding the jig.
The Circular Saw And Hand Saw Method
Compared to the other methods we have displayed, this method is a bit quicker, and a bit more rough, but this also makes it perfect if you are going to have to cut plenty of 4x4s in a row quickly.
While the finish may not be as perfect as it would with some of the other cuts, it also means that you do not have to rotate your 4×4 saving a lot of time.
Step 1 – Mark Your Cut Line
Similarly to the other methods make your markings using your marker and your speed square.
However, with this method we only need to make one cut line because we will not be flipping the 4×4 like with the other methods.
Step 2 – Make Your Initial Cut
Now you want to line up the saws blade to the cut line, then making the initial cut along this line, but on the waste side.
If you want you can use some scrap wood as a guide if you are not sure that you can cut this accurately without it.
Step 3 – Use Your Hand Saw For Finishing The Cut
Once you have a 2 and ½ inch groove in your 4×4 you will want to cut it all the way through to make the cut complete. To
do this slide the saw’s blade into the groove, then carefully finish your cut just by hand, this will take some muscle and effort but if the 4×4 is clamped it should not take too much.
If you want a different method of finishing this cut, you could try to use a reciprocating saw over a hand saw, this will end up being much faster but may have a more rough finish, so it depends on what you are prioritizing.
How Can You Cut 4×4 Posts If They Have Already Been Mounted
This will often end up being the case if you are adding fence posts into concrete and you are unsure how the post will settle.
The methods here will likely be too tricky, but the easiest one to try will be using the C shaped guide.
If you are unable to do this method and did not get the finish you were looking for, you could also try using a chainsaw, but if you are capping the post, you do not have to worry too much about accuracy.
Hi, my name is Maisie Park and I have recently moved into the home I renovated with my husband. It took an entire year to get it just the way we wanted it, and I learned a thing or two along the way!
We started this project together with no prior experience in renovating houses or home improvements – I think the best I had was that I knew how to change a lightbulb.
Flash forward a year and here I am, creating a website to guide others through these challenges.
Please use my website as a source of inspiration for your own home – does your porch need a fresh lick of paint, by any chance? We all deserve to live in the house of our dreams, so what’s stopping you? Let’s get started!


")


