If your home has a brick exterior, you might be looking for ways to give your house a makeover whilst still retaining its somewhat traditional and rustic appearance.
We have done a lot of revamping when it comes to brickwork, and one of our favorite ways to change the look of a brick exterior without obscuring or overshadowing the beauty of the brick construction is limewashing.
Maybe you’ve always dreamed about limewashing the bricks that make up the exterior of your house, and in that case, this is your chance to learn how to do it perfectly.
On the other hand, perhaps you’ve never thought about limewashing your home’s brickwork, in which case, we think this article might just inspire you!
We will be discussing the benefits of limewashing a brick exterior, what you’ll need to get the job done yourself, and exactly how to go about this limewashing project.
We’ll also be giving you some ideas for other ways you can add to your home’s exterior after limewashing and answering some of your most common questions about the limewashing process.
We have a lot to cover in today’s guide (literally and figuratively!) So let’s get started.
What Is Limewashing?
If you’re not familiar with painting and decorating terminology, you might be sitting here thinking, ‘but what is limewashing in the first place?’
In short, limewashing is the process of applying a product called limewash to either indoor or outdoor surfaces.
We’ll be discussing how to limewash brick exterior specifically in today’s article, but limewash can be applied to walls inside your home, and it doesn’t always have to be applied to brick materials.
For example, you could also limewash cement, drywall, plaster, or stucco.
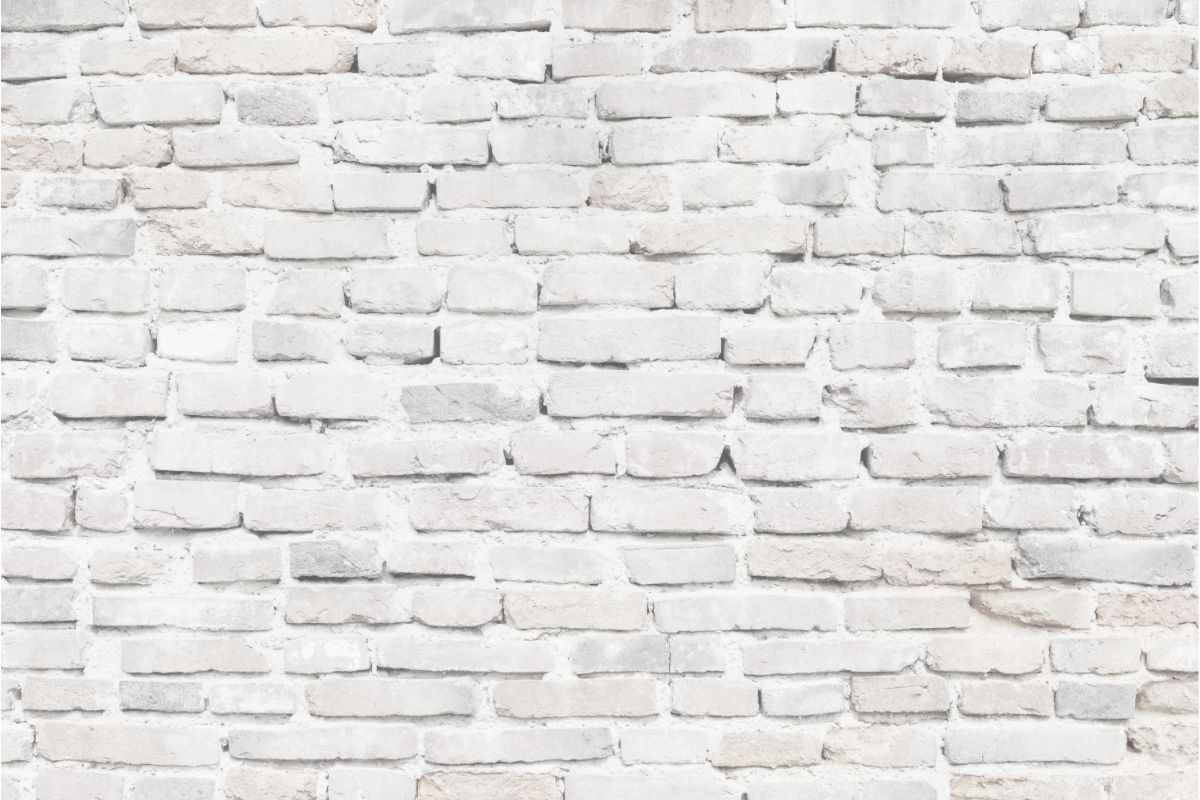
Limewash itself is a type of paint finish made out of limestone. The limestone is crushed into a powder and burned before being mixed with water so that it forms a natural paint with a milk-like consistency.
When applied to a surface and left to dry, limewash has a chalky appearance and texture which is reminiscent of various periods in history as far back as the Roman Empire.
Why Limewash Brick Exterior?
We’re now all on the same page about what limewash is and what limewashing means. But why would you want to limewash your brick exterior?
After all, there are so many different kinds of paint to choose from in a variety of exciting colors and textures, whereas images of limewashed walls usually showcase neutral colors with the same chalk-like texture.
This leads many people to disregard the idea of limewashing their brick exterior without giving it much thought.
However, there are many benefits to limewashing your brick exterior, from cosmetic advantages to environmental bonuses. Here are just some of the reasons we recommend limewashing the brick exterior of your home:
Neutral Color Scheme
We just mentioned that the neutral colors that limewash typically comes in can be off-putting for some homeowners who prefer brighter color schemes.
However, we actually think that the neutral colors available in your average range of limewash are a bonus, not a disadvantage.
Sure, painting your brick exterior bright orange or pastel pink might sound like fun now, and there’s no problem with expressing yourself creatively when it comes to the outside of your home.
With that being said, the danger with bright or bold color choices is that you might get sick of it.
Depending on what color you choose, painting over it again when you tire of the shade might not be too difficult, but it’s still a lot of effort.
The worst-case scenario is that you end up choosing a deep, vivid color and then struggle to cover it with another shade when you want a change.
And remember, it’s not just you who has to look at the exterior of your home in most cases.
Assuming that you have neighbors, you have to consider that they might not appreciate being greeted by a sea of lime green every time they look out of their windows.
So, not only does limewashing the brick exterior of your house mean you’ll be less likely to get sick of your color choice, but it also gives you more flexibility in terms of potential future projects.
Your neighbors are also likely to appreciate a low-key color choice more than a bold one, so a lack of bright color availability shouldn’t put you off.
Historical/Rustic Feel
One of the main reasons why people choose to paint their brick exterior with limewash is that limewashing can give any brick home a historical, rustic feel.
As we mentioned earlier, the use of limewash dates back to the days of the Roman Empire, and since then, it has become associated with romantic, rural settings.
This is because, during the 20th century, limewash started to be less frequently used in urban settings. So, today, a limewashed brick exterior conjures up idyllic countryside images.
To be clear, your home doesn’t have to be in a rural area or have any historical themes for limewash to work well as an exterior finish. However, if you do own a country home, a limewash brick exterior will complete the ambiance.
Meanwhile, if you find yourself daydreaming about rural living but don’t want (or can’t afford) to move, limewashing the brick exterior of your house could bring you one step closer to living in the house you really want.
Breathable
We’ve covered two important cosmetic reasons why you might want to limewash your brick exterior, but you should think about more than just appearances when choosing a paint for the outside of your house.
One major advantage of painting your brick exterior with limewash is that limewash is extremely breathable. Brick is also a breathable building material since moisture can penetrate brick walls either from the outside or the inside.
Using breathable paint on the exterior of your home will help to prevent moisture from getting trapped inside your walls because it will be able to escape through both the brick and the limewash.
This greatly reduces your chances of having to deal with things like condensation and, even worse, mold.
Non-Toxic
Limewash ticks another box on our ideal paint checklist due to the fact that it’s non-toxic.
Many of the modern paints on the market today contain a range of chemicals that aren’t good for human health, or for the environment.
If you’re going to be painting the brick exterior of your home yourself using the guidelines below, you’ll need to think about how your chosen paint will interact with your skin and lungs during the process.
Just some of the chemicals you might find in regular paint include formaldehyde (a chemical used in the embalming process), phenol, xylene, glycol, benzene, methylene chloride, and ethyl acetate as well as some ammonium compounds.
With limewash, you don’t have to worry about coming into contact with any of the above chemicals. That’s because limewash, as previously mentioned, is mostly made of limestone, or slaked lime, otherwise known as calcium hydroxide.
Sometimes, a small amount of tallow is added as an organic binder. As the calcium hydroxide combines with carbon dioxide in the air, it forms calcium carbonate as part of the setting process.
Therefore, as you can see, there are no synthetic chemicals in limewash, so it can be considered non-toxic.
Eco-Friendly
Not only is limewash better for your health than your average traditional paint, but it’s also much better for the environment.
This is because limewash doesn’t contain any VOCs (Volatile Organic Compounds), which are chemicals found in many home decor and cleaning products.
These chemicals get released into the air as pollutants, and they can also be very damaging for human health, causing damage to internal organs and the nervous system as well as symptoms such as nausea and respiratory irritation.
Certain VOCs have also been linked to cancer.
In addition to the lack of VOCs, limewash proves beneficial from an environmental perspective because it doesn’t contain the harsh chemicals found in other types of paint.
Because limewash is made from natural compounds and minerals, you won’t be at risk of polluting the environment with your painting project.
What You Need to Limewash Brick Exterior
Hopefully, the 5 benefits of limewashing outlined above will have convinced you to limewash your brick exterior rather than painting the bricks with regular paint.
If you’ve decided to go ahead with this project, you’ll need a few materials and tools to make sure everything goes according to plan. These include the following:
- Your chosen limewash
- Masonry brush (large)
- Bucket (5 gallons)
- Sponge (large)
- Garden hose
- A ladder (depending on how high up you need to paint)
You may already have many of these utensils at home, which would be ideal. However, you can buy things like garden hoses and masonry brushes for relatively cheap at home improvement stores or through online retailers.
Just make sure you plan ahead to get all the tools you need before you start painting because the last thing you want is to have to spread a painting project over several days.
Not only would this mean leaving your brick exterior unfinished overnight, but the end result is likely to look a little patchy if you don’t do it all at once.
Step-By-Step Brick Exterior Limewashing
The process of limewashing a brick exterior might seem daunting at first, but it’s actually fairly simple and can be broken down into just 4 steps.
We’ll be exploring each of these steps in more detail later on in this article to make sure you feel confident about the process as a whole, but to keep things simple for now, limewashing your brick exterior will involve:
- Wetting the brick using your hose
- Painting the brick in sections whilst making sure that the section you’re currently painting doesn’t dry out
- Drying time of about 45 minutes per section. You can continue working on other areas of brick while one section dries to avoid wasting time.
- Distressing (more on what this means in a moment).
As you can see, there’s really nothing overly complicated about limewashing a brick exterior. Assuming that the structure of your home doesn’t make it too dangerous to paint certain areas, this is something you can do yourself without needing to rely on professionals.
However, you should bear in mind that this project will probably take you a full day to complete (or a full working day, at least).
When we’ve painted brick exteriors with limewash before, it has taken us around 7 hours on average, but this will obviously vary depending on how much brickwork is involved in the exterior of your home.
For example, if some walls are brick while other walls are made of different materials, the 7-hour timeframe is realistic, but if you’re looking at limewashing an entire 3-story house, you’ll need to allow for significantly more time and you may need some professional assistance.
The Process in Detail
We have already broken down the process of limewashing a brick exterior into 4 basic steps, but if this is something you’ve never done or seen done before, you will probably need a little more guidance before you get started. Here’s a more detailed version of the step-by-step plan:
Choose Your Limewash
This step wasn’t included in our original breakdown of the limewashing process, but it’s a very important aspect of limewashing that requires time and thought before you start painting.
Of course, you’ll need to choose the color you want. Limewash comes in various neutral or earthy shades, so you can choose a pure white, off-white, or a gray, brown, or taupe color.
Limewash does also come in other colors, but be aware that the colorful versions of limewash may contain additional chemicals, some of which might be toxic or harmful for the environment. Always make sure to read the ingredient label before you settle on any limewash product.
You’ll also need to consider how much limewash you will need. For context, every 450 square feet of brick will need 0.67 gallons of limewash on average.
However, bear in mind that some limewash products are thicker than others, although you can control the overall thickness by diluting it, which will make it go further.
Mix The Limewash
Limewash needs to be mixed with water before it can be applied.
You’ll need to check the label for the instructions, which will tell you what the water to limewash ratio should be for optimal results, although you can dilute more or less depending on the consistency you want for your brickwork.
The key thing to remember here is that while you can always add more water if you need to, you can’t remove water once it’s been added to the mix.
Therefore, if there’s a chance that the ratio recommended on the packaging will lead to a thinner consistency than you want, try adding less water at first.
It’s best to add the water little by little so that you know exactly when your desired consistency has been reached.
The mixing process is also where the 5-gallon bucket comes in. Not only does a 5-gallon capacity leave enough room for mixing, but it also makes it easy to dip a masonry brush (much larger than your average paintbrush) into the mixture.
Wet The Brick
Before you start painting, get your garden hose and spray water over the brick suraces you intend to limewash.
Make sure all of the brickwork is covered. You’ll probably have to redo this a few times during the limewashing process because areas of brick may dry out while you’re working on other sections.
Start Small
The best way to get started when painting brick with limewash is to choose a relatively small area to paint first.
Limewash can be washed off immediately after application, so by starting with a small surface area, you’ll be ensuring that you can easily undo your work if you don’t like the results.
If you’re reading this article, we’re assuming it’s your first time limewashing external brickwork, which makes leaving flexibility for potential errors even more important.
Leave Time To Dry
We recommend waiting about 45 minutes for an area of limewashed brick to dry before you begin the distressing process.
Some limewash brands will recommend waiting for 20 minutes, but when we have tried this in the past, distressing the limewashed bricks has removed more of the limewash than we would have liked.
This can be corrected by going over the patchy areas again with more limewash, but if you want to avoid spending more time and using more limewash redoing your work, it’s best to wait for 45 minutes for each section.
Of course, while you’re waiting for one section to dry, you can go ahead and work on other sections – just remember to check that they’re still damp before you start painting.
Distress The Limewash
Most of the time, limewashing exterior brickwork is done to achieve a rustic, historical feel. If that’s the kind of look you want for your walls, you’ll need to do a little distressing once the limewash has dried to help the end result look more authentic.
There are a couple of ways you can distress your limewashing, one being hosing it down once it’s dried, and the other involving the use of a sponge. We’ve tried both, and overall, we think that using a sponge is the better option.
Hosing down limewash immediately after it has dried often involves removing more of the paint than you intended.
If that happens, you’ll need to apply more limewash and allow for more drying time before trying again, which probably isn’t what you want if you’re aiming to complete your project in a single day.
Therefore, once the 45 minutes have passed and the limewash looks dry, we recommend using a large sponge and scrubbing the limewash instead.
This gives you more control over the distressing process because you can focus on specific areas and it’s easier to know when to stop with a sponge compared to using a hose.
Other Ways To Enhance Your Home’s Brick Exterior
By following the steps outlined above, you should be able to achieve a rustic limewashed look for your home’s brick exterior. But why stop there? We have some more suggestions for giving the exterior of your home a total makeover!
Once your limewash has dried and you’re happy with the way it looks, consider adding some of these finishing touches to complete the new look:
New Doors/Shutters
This first idea is something you might need to get some help with, and it’s not something everyone necessarily wants, but you may want to consider whether the old doors (and shutters, if you have them) built into your home still work with the new exterior.
If you think a different color would work better, you might be able to solve that with a coat of paint. However, a new style might also add to your home’s new look, so if you have the budget, it may be worth thinking about replacements.
Hardware
If you don’t want to replace any doors or shutters entirely after limewashing the bricks, the existing ones might still benefit from some new hardware.
One of our favorite hardware items to add to doors and shutters on a limewashed brick building are carriage handles! They just work so well with the rustic, historical style.
Flower Boxes
As we mentioned earlier, limewashed brick is a building style associated with rural living. No matter where your house is situated, you can always add some flower boxes under your window sills to give your home a more rural theme.
Flags
A flag is a simple and effective way to add some extra style to your home, and since flags are also symbolic, adding a flag to your home’s exterior is a great way to let the building express some of your own personality and values.
Frequently Asked Questions
Can You Paint Over Limewash?
Because limewash naturally comes in neutral colors such as white, off-white, cream, taupe, gray, and brown, it’s easier to paint over than thick, brightly-colored paints.
With that being said, you can also find limewash with different pigments added to it to make various, less-neutral colors. It may be more difficult to paint over highly-pigmented limewash, though.
Regardless of the color of your chosen limewash, you should use a mineral primer on the limewashed brick before you paint over it. That’s because limewash penetrates the material it’s painted on top of, and in this case, brick is a porous material.
That means that other paints won’t stick to the brick unless you use a primer.
Is Limewash Durable?
Limewash is a highly durable alternative to paint for many reasons. It’s resistant to UV damage and because it has a naturally high PH, it deters insects from damaging the coverage and also prevents fungal growth.
As long as you take care applying the limewash, it shouldn’t peel or chip, either.
Can You Remove Limewash?
You can wash away limewash using a pressure washer within a few days of applying it. If it’s been longer than that, you’ll need to dissolve the limewash using an acidic cleaning product to remove it completely.
Final Thoughts
Limewashing your home’s brick exterior can be time-consuming, but it’s a relatively easy process that involves wetting the brick, applying the limewash and waiting 45 minutes for it to dry before using a sponge to distress the coat if you want a more rustic look.
Remember to add the water to the limewash slowly to avoid diluting it too much and avoid using a hose to distress the limewash if possible since this is likely to remove too much of the coverage.
Limewash can be removed from brick with a pressure washer within 5 days of the application.
- The Woodworkers Guide to Brad Nailers: Everything You Need to Know - September 25, 2023
- How To DIY An Aztec Garden Dining Table [The Easy Way] - October 18, 2022
- Farrow & Ball Pigeon: Is It Right For Your Home? - October 17, 2022

