We can all agree that what really ties a living room together is a good fireplace. But buying the right one to suit your living room and decor is more difficult than it looks.
Also, you might want something unique, that sets your home apart from others.
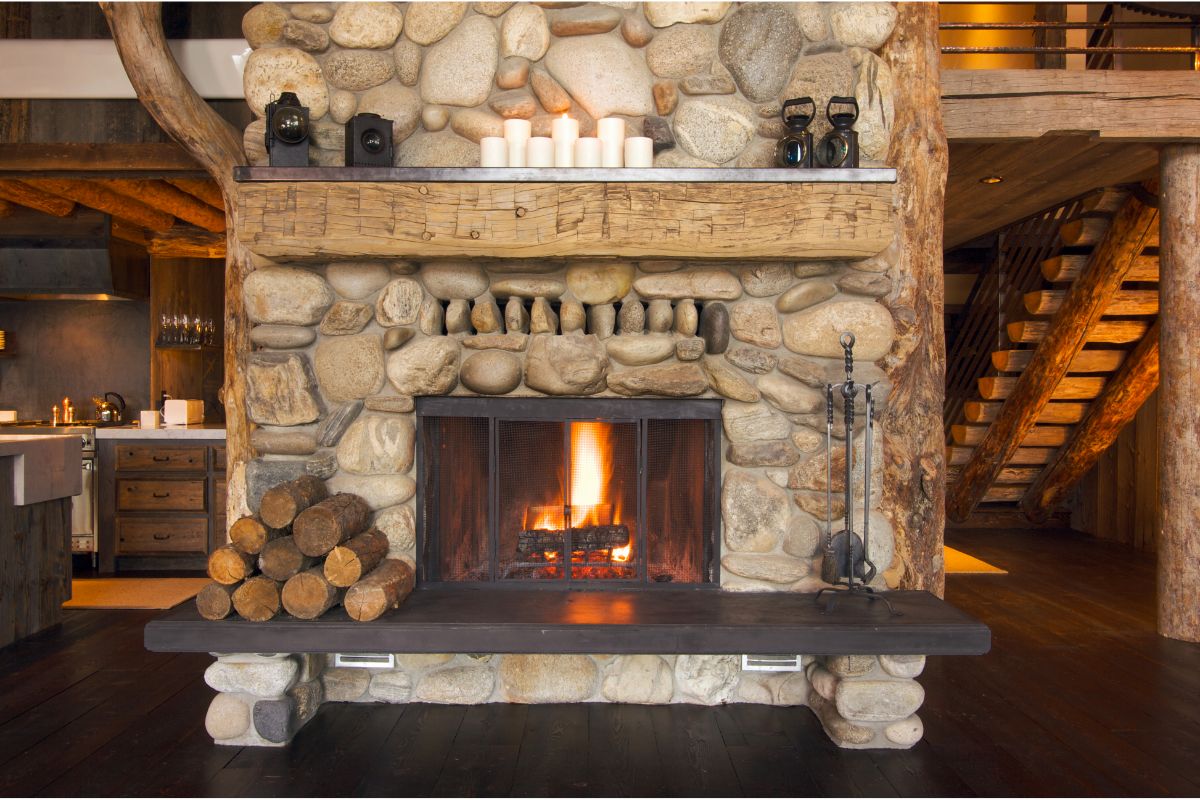
This is where a raised fireplace might be what you are looking for. This gives you a place to sit as well as to place ornaments.
But this could also prove a difficult task, especially if you are picky about what you have in your home.
So how can you make your own raised fireplace? What materials and tools will you need? How can you integrate it with the existing size and decor of your home?
Well, if you read this article, we’ll give you all the info you need for building your own fireplace hearth.
Building An Electric Raised Fireplace
First off, we’ll be looking at how to construct your own electric fireplace. We’ll cover all the tools that you need along with the materials (Check out Husky Vs Craftsman, Which Is Better?).
Let’s have a look at what you need to prep before you start building.
Materials
- 2×4’s
- ¾-inch plywood
Depending on what you want your fireplace to look like, you can determine the quality of the wood that you use.
If you are looking for something that is very authentic and will bring a lot of warmth to your living room, then we would certainly recommend that you use fresh timber or plywood.
However, this will be more expensive than cheaper types of wood.
Tools
- Hammer
- Box cutter
- Crowbar
- Flathead screwdriver
- Drill
- Caulk
- Nail filler
- 1.5-inch nails
- 2.5-inch pocket hole screws
- 2.5-inch regular screws
Make sure that you gather all your materials together before you begin ripping out your old fireplace. It will be important that you have everything on this list before you begin.
Clearing A Space To Work
If you have any trimmings around your fireplace, you will need to make sure that that is removed completely.
Some people have tiling around the front of their fireplace, this will need to be carefully taken out.
Take the box cutter tool and gently make an incision at the spot where the trimming meets the fireplace.
Once you have done this, then you can use the flathead screwdriver to gently prize it away from the wall.
Use a hammer to create the wedge between the fireplace and the trimming. Do not attempt to prize it away from the bottom of the fireplace just yet.
Build The Supporting Base Of Your Fireplace
Now you can begin by creating the base of your new raised fireplace.
Take your 2x4s and cut them to fit the space in the hearth. You’ll need to measure the space at the side of your fireplace before you do this.
Choose how far you want your raised platform to be and then cut the 2×4 to match that measurement.
Drill 2 pocket holes at the ends of your 2×4 where you want them to be attached. Then you’ll need to attach them with 2.5-inch pocket screws.
Make sure they are tightly screwed together, as this is what the whole of your fireplace will be supported by.
Finishing Off Your Support Base
Now that you have the outline of your fireplace, you’ll need to lay pieces of wood that are perpendicular to the horizontal pieces of 2×4.
Once you have these measured out and cut to the right dimensions, then you will need to drill more holes in each end.
Make sure they are pocket holes and that you once again use the 2.5-inch pocket screws to get them securely in place.
Support Risers
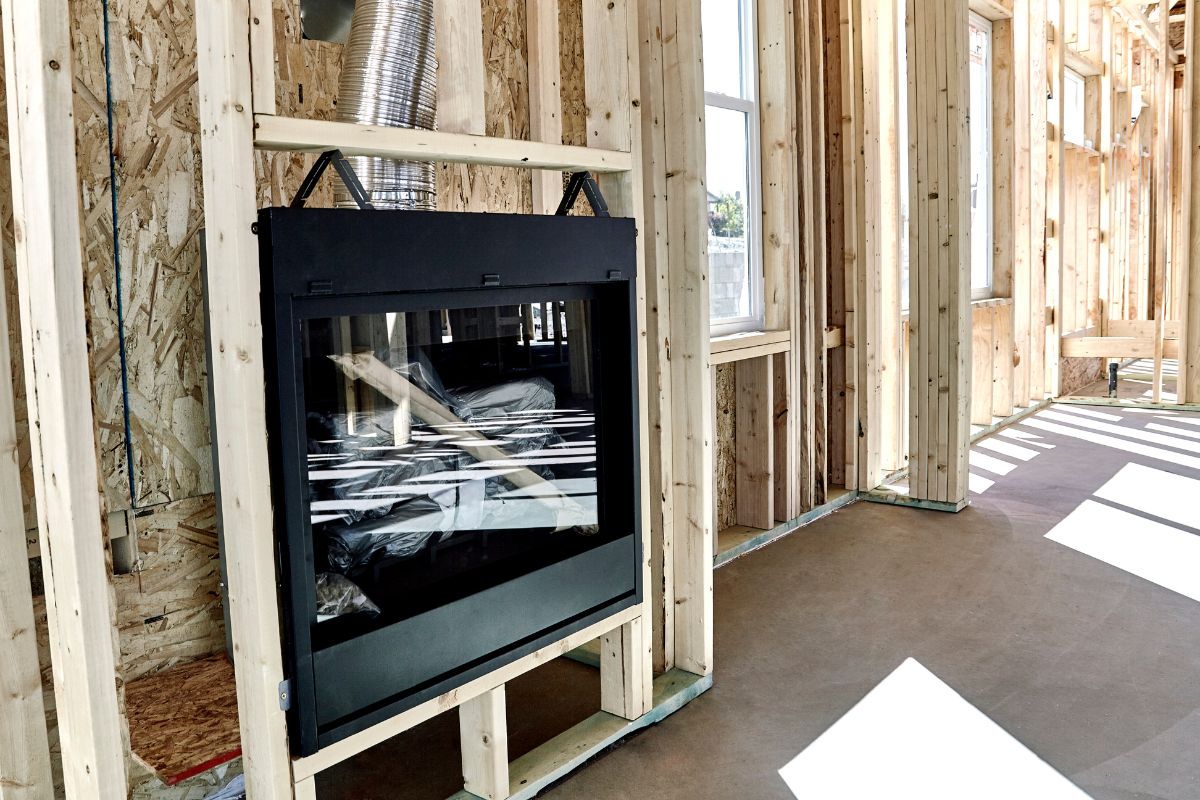
This is the part where you will determine the height of your raised fireplace. You’ll need to mark the highest point of your fireplace top surface.
You’ll need to make sure that your risers will not come up to exactly the bottom of your fireplace, as this will result in it blocking your fireplace, which could cause some serious fire safety concerns.
If you have a fireplace that is 10 inches off the ground, then you’ll want your risers to come up to around 7 inches, as this will allow for 3 inches of wood to be laid across the top.
This will be the top of your fireplace.
You’ll need to make sure that all of your support risers are placed very close to each other, around 2 inches apart. This is so they can bear the weight of your upper shelving.
If you have them too far apart, then this might cause your fireplace platform to warp or even split.
Drill pocket holes in the bottoms of your riser and attach them to the wooden support using 2.5-inch pocket screws.
Supporting Top
Now that you have the support risers, then you’re going to have to reinforce this section with more supporting beams.
You’ll need these horizontal beams to mirror the beams that are on the bottom of your platform.
Wherever there is a supporting beam along the bottom, then you’ll need to match it, both length and width, to match the one below.
Once you have lined them up properly, then you’ll need to screw them in with 2.5-inch pocket screws.
Covering Your Fireplace Platform With Plywood
Now that you’ve added the top support wood, you should be able to see the shape of your platform much more clearly. If you want to make changes, now is the time to do it.
Now you’ll need to get some plywood in order to cover the support structure and give you something to actually sit on.
Measure one piece of plywood that will fit across the front of your fireplace platform. You’ll need to make sure that this is cut accurately and that there is no overlap on the top of the sides of your fireplace platform.
Once you have done this, it is time to do the same with the top of your fireplace platform. Ideally, this should slot in nicely between the support slats that you have created.
Before you drill your wood into place, you might want to test it by sitting on it first. Make sure that there is no weakness or that your platform does not sag too easily.
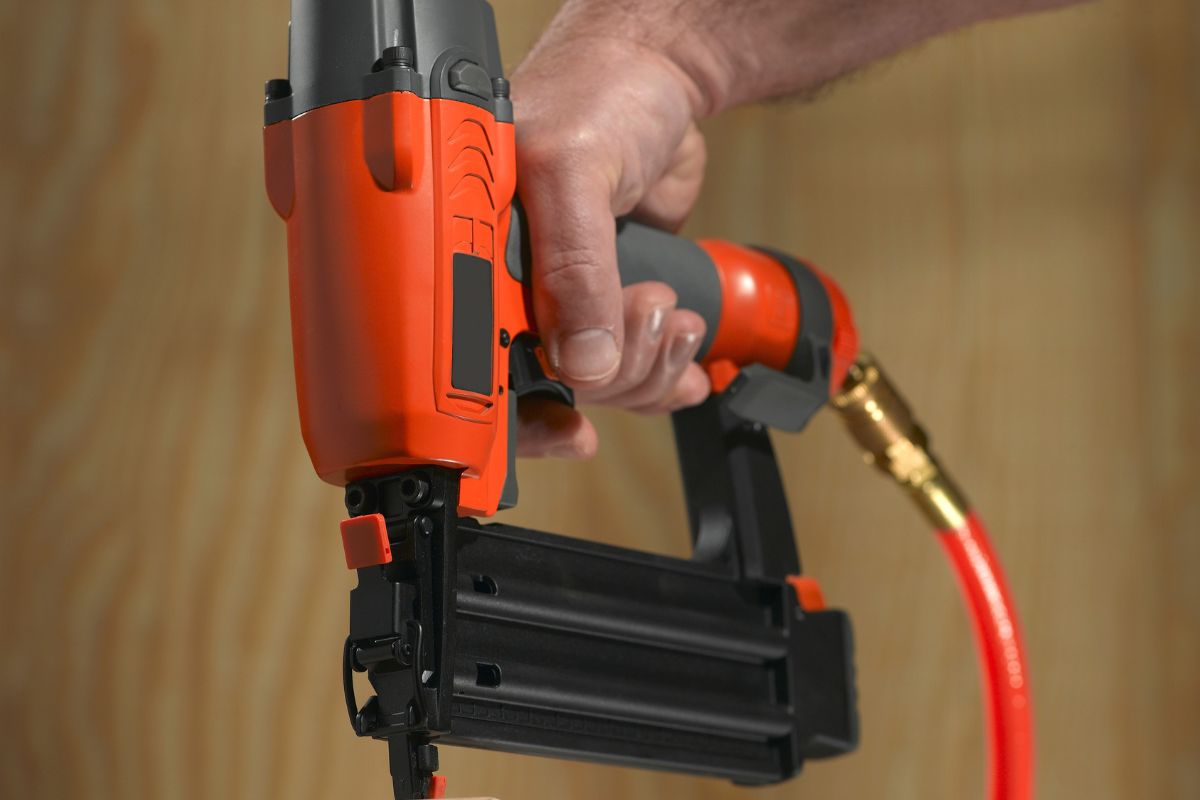
Once you have done this, then you can secure the top of your platform with 1.5-inch nails and your nail gun.
Make sure that they are nailed in well on the outer edges where the main plywood meets the 2×4 supports.
Adding Trim
The trim is the part where your fireplace riser will meet the edge of your fireplace.
You can use smaller pieces of wood to create the trim, making sure that your wood will better match the fireplace in terms of length and thickness.
These trims will mainly be for aesthetic purposes, although they will also stop any debris from falling down the gap in between your fireplace.
This will be such a small gap that it will be almost impossible to clean up.
Painting Your Raised Fireplace
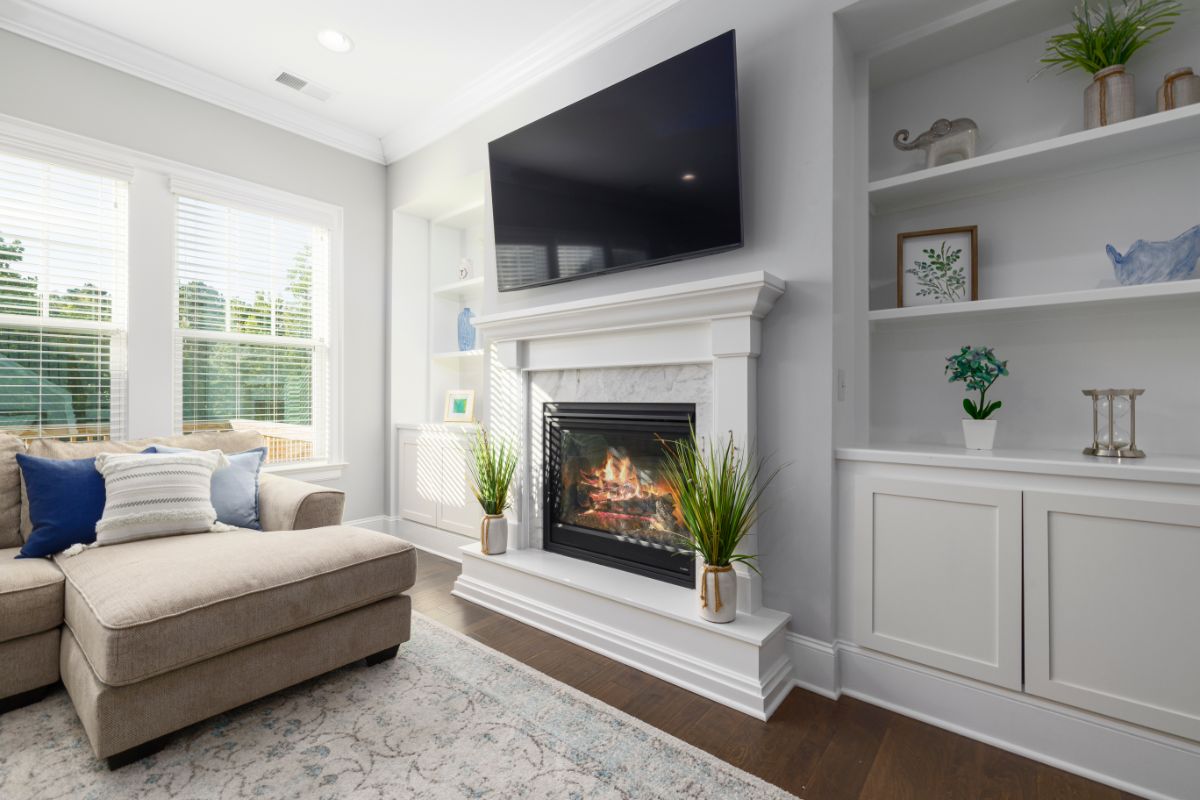
Now all that’s left for you to do is to paint your fireplace. You can paint it any color your like – which is one of the perks of building your own raised fireplace in the first place.
However, there are some painting tips that we can offer. Make sure that the raised fireplace is painted a single color at first.
You can then paint any color on top of this, depending on what you are looking for in terms of style.
Some people like to paint their raised fireplace the same color as the rest of the fireplace. This will create a kind of seamless design that will look far more pleasing to the eye.
Before you start painting, then you will need to make sure that all of the other parts of your furniture and any carpet that you have surrounding the fireplace is completely covered.
Take some newspaper and lay it all around the areas where you don’t wet paint. We would recommend using some masking tape (Also check out this Flex Tape Review) to pin all this newspaper down.
This will be easy to remove and will not create any unnecessary marks.
We would recommend that you leave your paint at least 24 hours to dry before you remove all the covering paper and attempt to place ornaments around your fireplace.
You might also have to apply more than one coat of paint to mask the natural timber shape underneath.
What Materials Can You Use To Build A Fireplace Hearth?
There are many types of materials that you can make a hearth out of. All of these materials are very durable and different ones complement different styles of living room decor.
Here are some of the materials that you can build your hearth out of:
Brick
This is one of the most traditional materials that you can use to build your fireplace hearth. It is very stylish and will blend in with living rooms that come with a lot of bespoke carpeting or exposed wood flooring.
Brick is also extremely easy to install and very cheap to acquire. If you are on a budget, then we would certainly recommend that you use brick.
Brick also offers great heat retention. This means that you can turn the heat on your fireplace down to save energy and still experience the warmth from the heated brickwork.
One of the downsides of exposed brick – especially exposed red brick – is that it is not always that attractive to look at. There are other materials that you can use for a fireplace hearth that will be much more attractive.
Granite
This next material is very hardwearing, which is what makes it a popular choice for hearths. This can also pair nicely with any soft furnishings that you have in your living room, especially if you have exposed wood flooring.
However, one of the downsides of having a granite fireplace is that it expands and contracts, which might make it prone to cracking and splitting.
A granite hearth is something that will go well with a gas fireplace, as it will not get too damaged from the heat that this type of fireplace gives off.
Another drawback of having a granite fireplace is the fact that you can expect a lot of scratches to appear, especially if you have a dark granite fireplace.
Marble
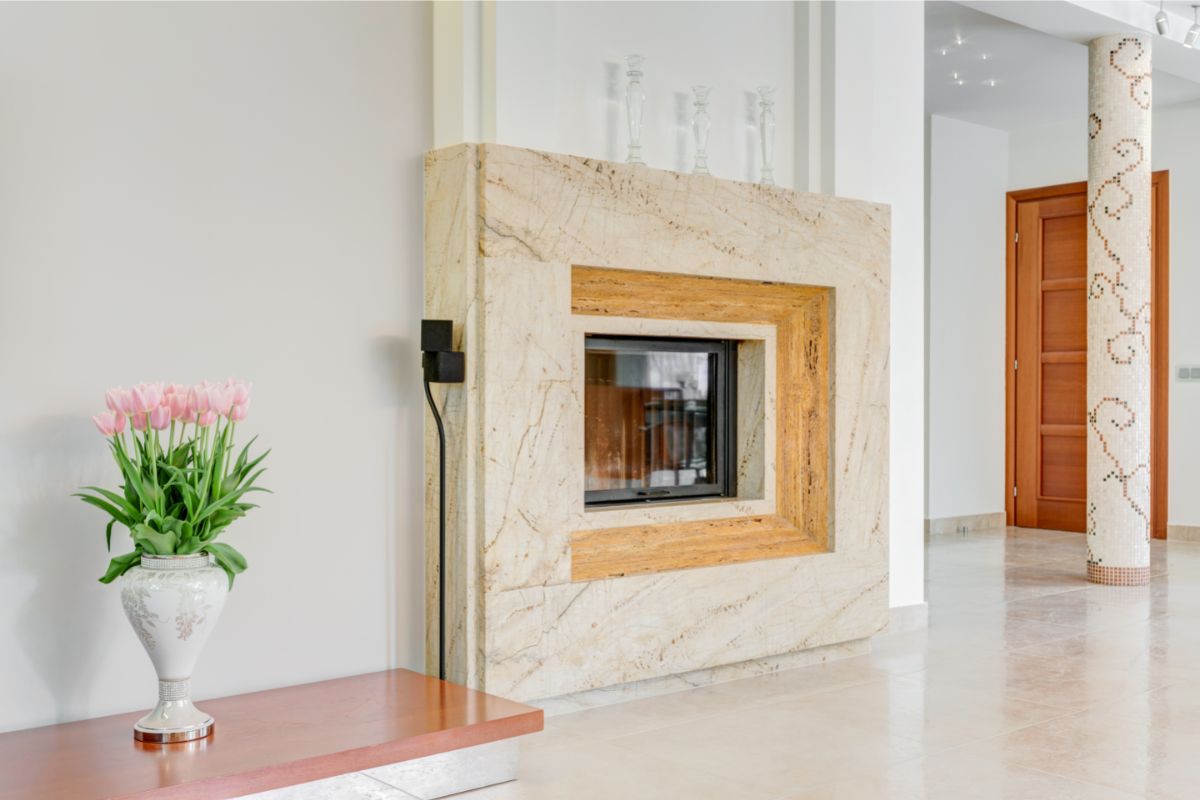
This next type of material is something that you will commonly see when it comes to fireplaces. The marbled design adds that extra touch of sophistication which will elevate the whole decor of any room.
This material is also very hardy and it will be able to withstand very high temperatures. It will also be very resistant to cracks and chips, which can often affect stone-based hearths.
Stone
A stone hearth is another very popular choice of material for a fireplace. This is also relatively inexpensive, which will really appeal to anyone who is going to be buying this in bulk.
If you are using a material such as limestone, then you’ll find it a lot easier to stain with the color that you want. This is also a very soft type of stone, which means it will be able to withstand a lot more heat.
Concrete
This is probably one of the easiest materials that you can use for your fireplace hearth. Not only is it easy to paint, but it will be very easy to acquire relatively cheaply.
You should also make sure that you treat this material, as it will be quite rough when coming into contact with bare flesh.
You also might have to repaint it on a semi-regular basis, as it will succumb to chips and scratches.
Safety Tips For Your Raised Fireplace Hearth
If you are going to be making your own raised fireplace hearth, then we would recommend that you only build this for an electric fireplace, as the one that we have listed above is made from wood.
However, regardless of the type of fireplace that you have, you’ll need to make sure that your raised fireplace is fire-resistant, as it will be subjected to some very intense heat.
You’ll need to make sure that your raised fireplace is hard-wearing, especially if you are going to be sitting on it regularly.
Not only will repeated wear and tear on the surface of your fireplace platform look unsightly, but it will also affect the functionality of your fireplace over time.
How Does Fuel And Venting Affect The Design Of Your Hearth?
There are many different types of venting and fuel options that will affect how you design the shape of your hearth. Here is a short list of the types of vents:
- Natural draft venting – this will be the common chimney structure in which a flume runs through the house to expel smoke through the top of the house. This is usually the most expensive option to install.
- Direct vent – this next option is when you have a direct vent that ejects the smoke through a pipe in the side of the wall. This is a lesser expensive option, although you can only really use it with gas-fire hearths.
- Vent-free – this is a fire that burns very efficiently and therefore does not require any venting system. This will be the least expensive option, as you won’t have to install a vent at all.
Again, whatever vent to choose to install, you might have to consult with your local building regulations first.
If you have a chimney, then this might affect whether or not you choose to have a raised fireplace at all.
If you have a two-way air system coming through your fire, then you might experience a lot more debris on your raised fireplace platform.
You should always be wary of having your raised fireplace hearth too high, as this might cause the edge closest to the fire to become discolored or singed.
Frequently Asked Questions
How High Should My Raised Fireplace Hearth Be?
It is recommended that your raised fireplace hearth be no higher than 12-14 inches off the ground. This might change depending on certain local building codes and your own personal preference.
How Wide Should My Raised Hearth Be?
This will all depend on how much space you have to play with. If you have plenty of room, then you can have a raised hearth that will be around 3 feet in length.
If your raised hearth protrudes too far, then you might create a trip hazard. This is especially true if you have children and pets.
Conclusion
We hope that this article has helped you if you are going to attempt the challenge of making your own raised fireplace hearth.
The choice of building materials is very important, as are getting the right measurements for your hearth.
Remember to make sure that the supportive struts are spaced apart evenly so that no element of your hearth is imbalanced, as this might cause a weakness over time.
- The Woodworkers Guide to Brad Nailers: Everything You Need to Know - September 25, 2023
- How To DIY An Aztec Garden Dining Table [The Easy Way] - October 18, 2022
- Farrow & Ball Pigeon: Is It Right For Your Home? - October 17, 2022

