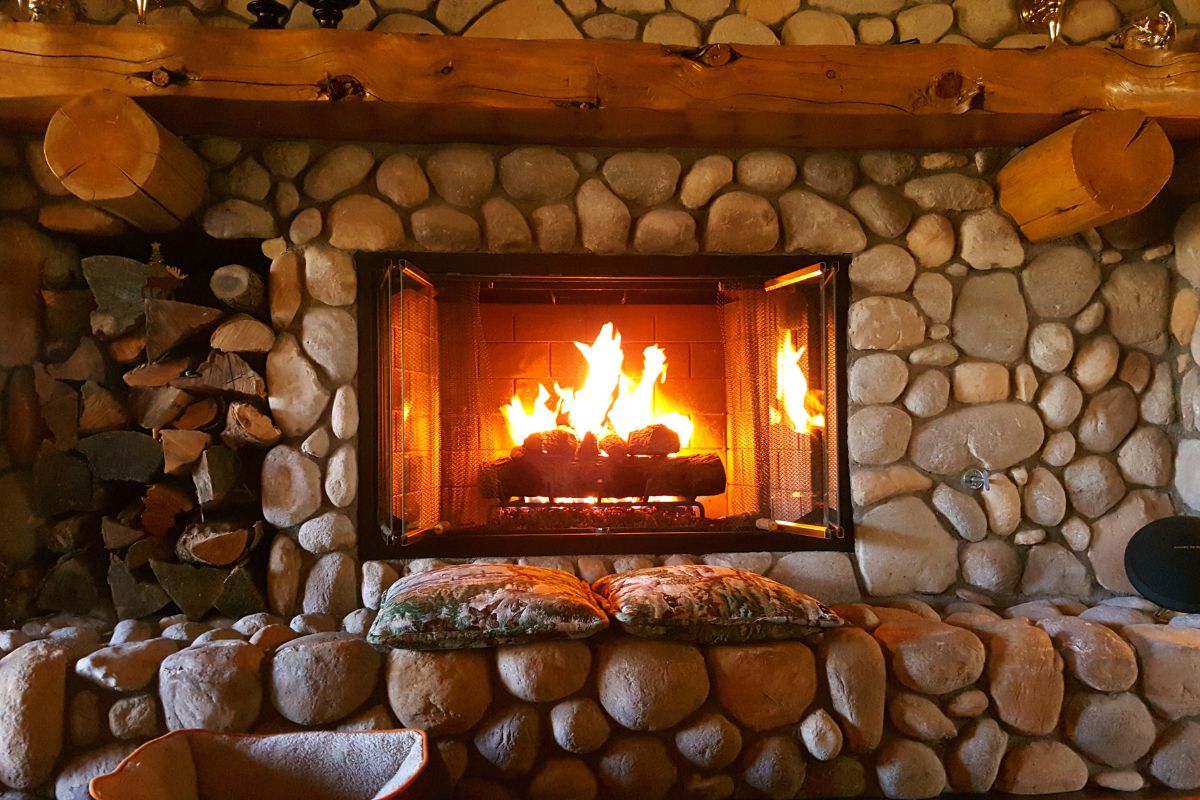
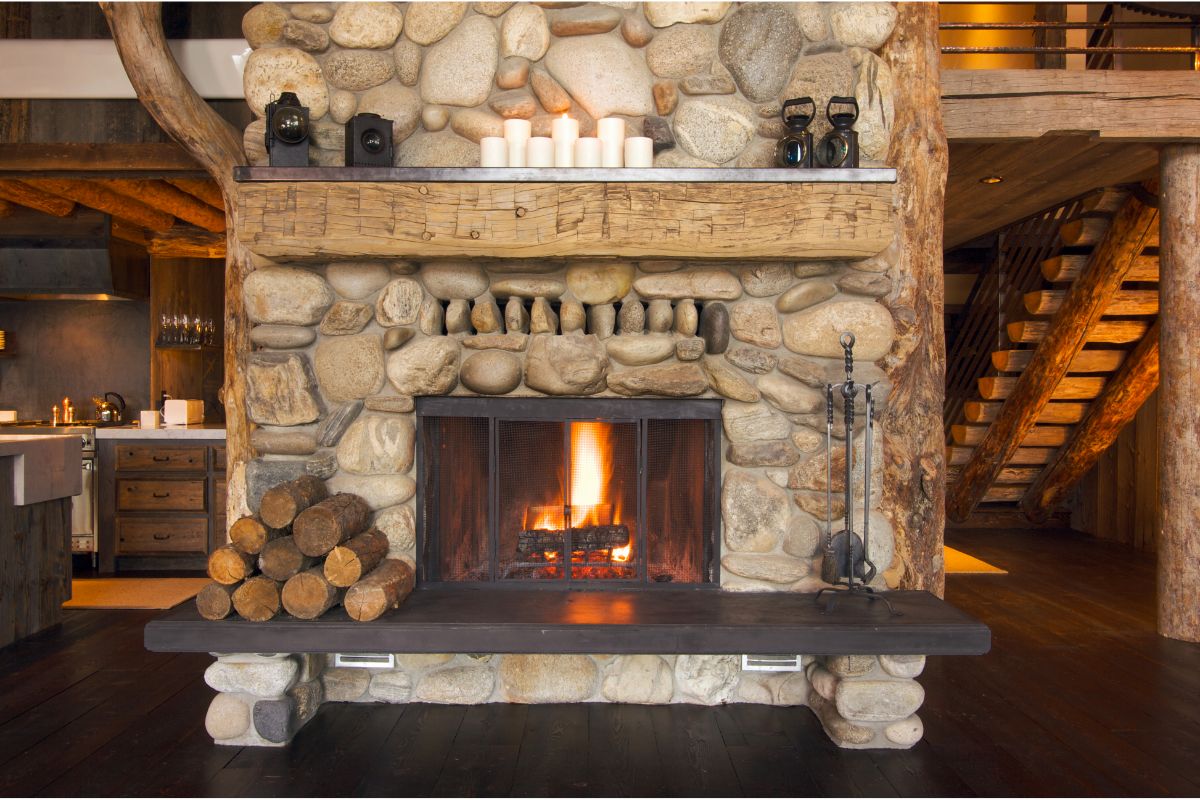
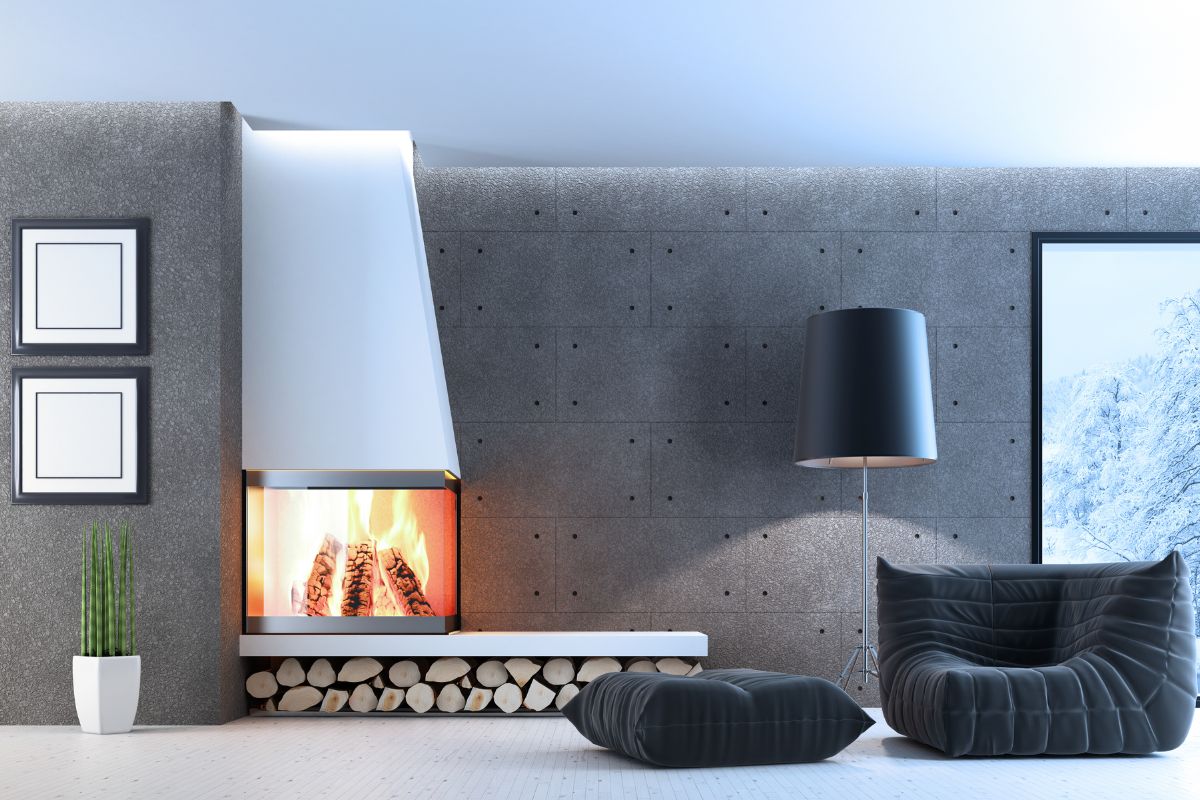
Fireplaces are an excellent place to start when deciding to change up your living space, as there’s so many different ways they can be designed to transform your home
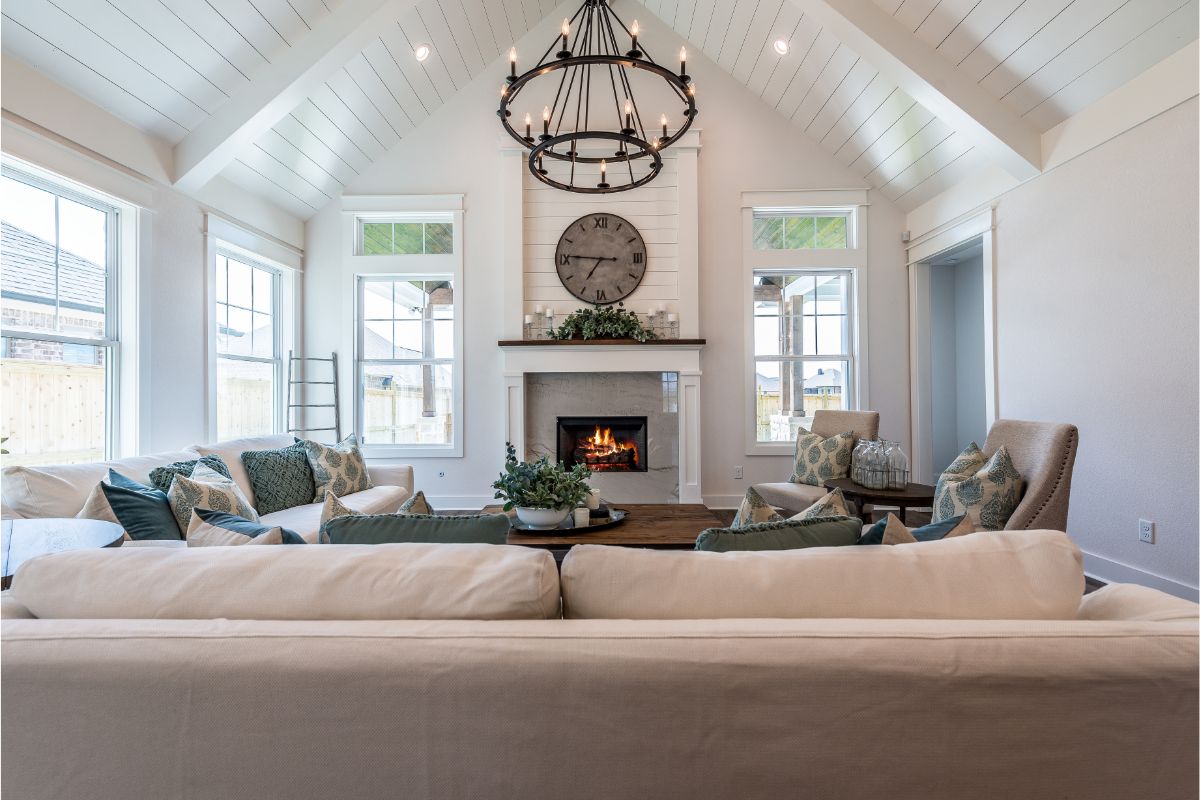
They can be an excellent way to improve light in your home, if your living space lacks natural lighting and not to mention, they’re an excellent source of warmth on those cold winter nights.
Adding accents and focal points to your fireplace can really make it stand out and make your living space feel much bigger and brighter.
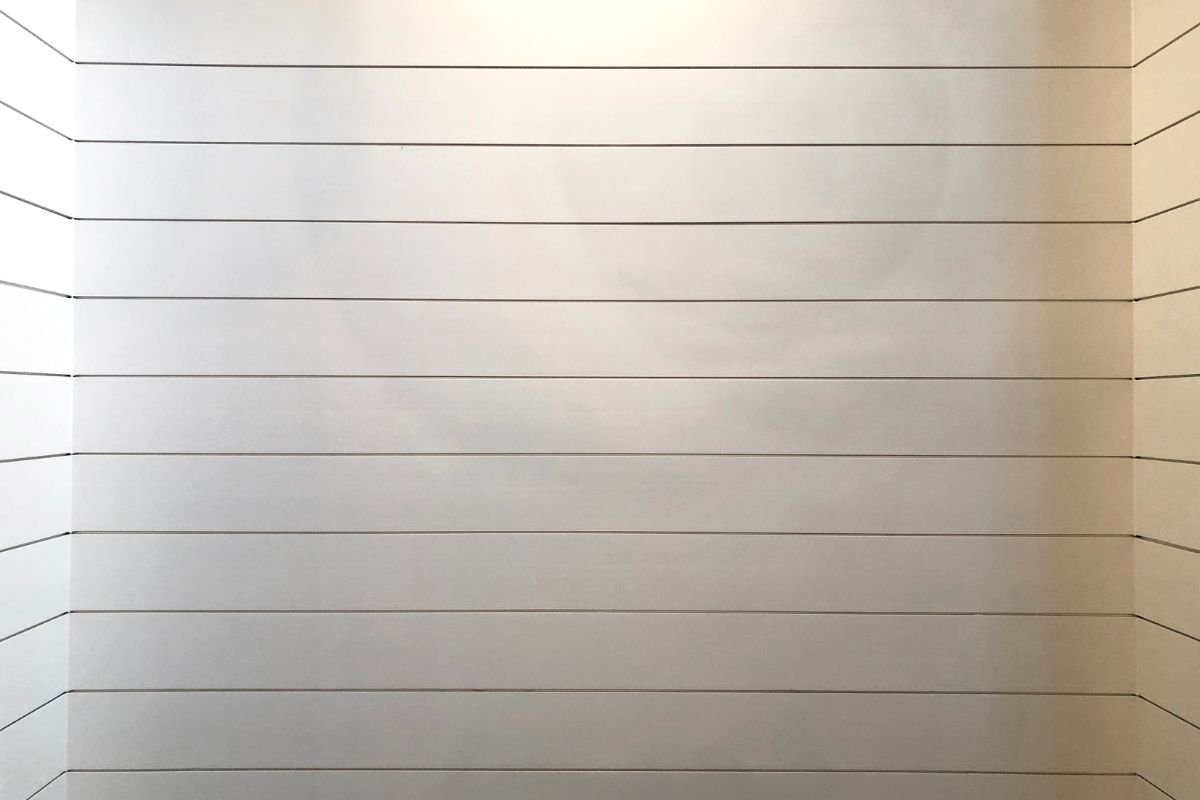
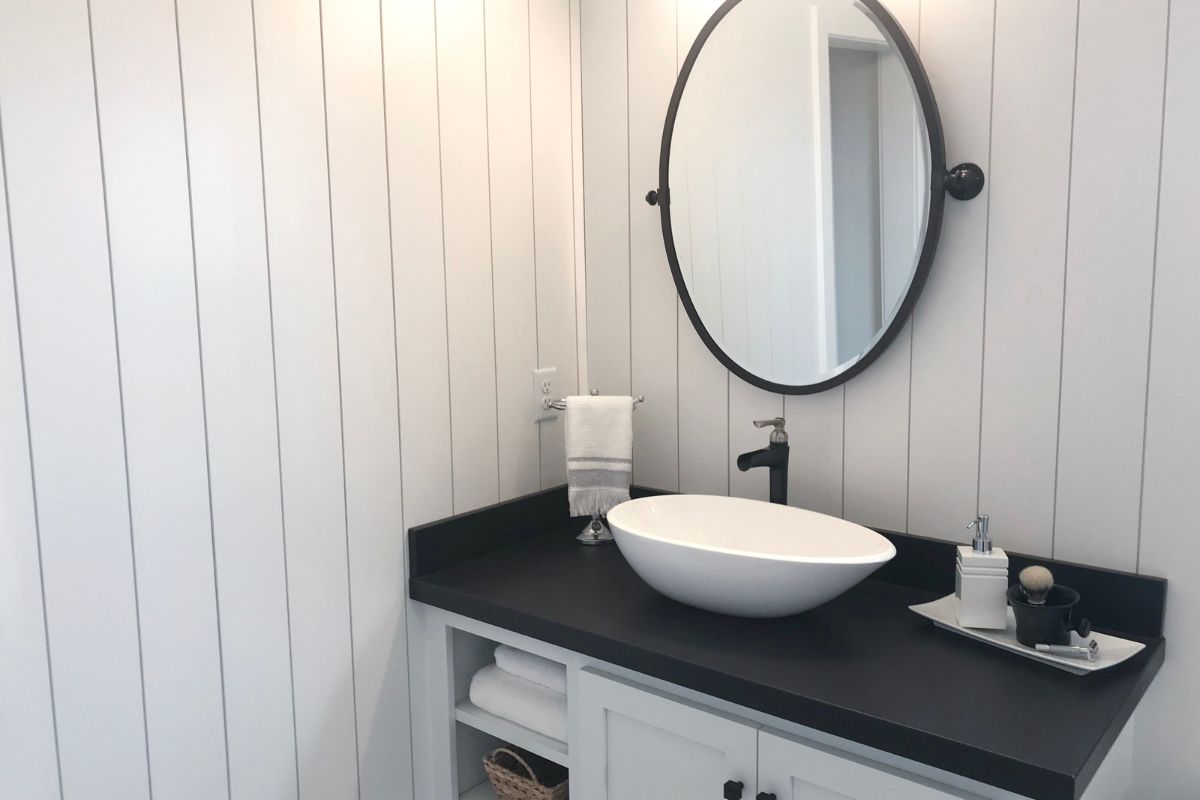
This is where shiplap comes in, it creates a contemporary and usable look whilst giving your fireplace beautiful accents and brings visual interest into the space.
It’s not too hard to achieve, so it can definitely be done even if you’re a beginner.
In this article, we’re going to be taking you step-by-step through how to create the perfect and modern shiplap fireplace in your home.
How To Build A Shiplap Fireplace
1. Choosing The Right Material
When it comes to choosing the material, you might stumble across cheaper options like using strips of medium density fiberboard (MDF), but if you want the authentic look and feel of shiplap, then definitely use shiplap.
Using anything other than real shiplap is very obvious, and can usually be spotted from a mile away, not only is it hugely difficult to prime and paint it, but it also sticks out like a sore thumb.
First off, there’s no wood grain or characteristics in MDF like there is in regular wood, so when painting or priming it, it’s very easy to tell that it’s nowhere near close to wood.
MDF also has tiny fibers that will stick up in the places that you’ve applied stain or paint.
This results in the surface becoming very jagged and rough as the paint is drying and this will mean you’ll have to frequently sand it before you can apply a second coat.
MDF also doesn’t have much tensile strength, so if it’s not properly supported it will start to bend.
Lastly, if any dents or marks occur on MDF, it’s much harder to repair than wood.
So, What Should I Buy?
Before anything, you’ll have to decide beforehand whether you’ll be wanting to either whitewash, stain or apply a clear coat or if you’ll want to paint it.
If you’re going to stain it, then you’ll need to get ‘stain grade’ shiplap.
The only issue with ‘stain grade’ is that it can warp much easier than ‘paint grade’, but since it’s going on your fireplace, you won’t have to worry about warping too much.
Stain grade wood doesn’t have any joints, so if your shiplap is 9 foot long, it’s going to be 9 feet of the same piece of wood.
This is different to ‘paint grade’ as this has joints that are on the wood every 12” to 24”.
In simple terms, a piece of ‘paint grade’ wood could be made up of a few different pieces of wood that have been spliced together.
Unless you’re going to be staining, white washing or clear coating your wood, it’s always best to get ‘paint grade’, as most of the time this wood will already be primed, so it saves you a job!
2. Gut Your Existing Fireplace
This is the fun(ish?) part! You’ll be gutting your fireplace entirely.
Each side of the fireplace will have studs that go inside of your walls, you can either use a stud finder or just put a few screws into the wall to find them.
You’ll want to get rid of your whole fireplace, and any existing cables or wires.
You can even remove the drywall completely if you want your cables and wires that run to your cable box to be hidden behind your TV.
3. Building The Framework
Fireplaces always look better when they have a bit of depth to them, so you should build a framework out from the wall.
The mantle we used was around 13” deep, so we looked to have around ¼ of the mantle depth for the shiplap’s depth.
We used two stacked 2x4s and using 3” decking screws we secured them.
If you didn’t remove the drywall, like we mentioned earlier, then it’s fine to screw the 2x4s straight into the wall studs, as long as the screws are at least 3” long and you’ve screwed them at least 1/8 “ to around ¼” from the surface.
Once the studs have been secured on both sides, you can then fill in the center with as many studs as needed.
If you are using real shiplap, then we recommend that you place them at maximum 20” apart.
4. Installing The Trim
The next step is to install the trim. First using ¾” primed trim boards for the sides.
Depending on what kind of depth you’ve fleshed out, this board may have to be ripped out with a circular or table saw.
The width of the trim should slot in perfectly with the wood framing on the right and left side.
Next, you can start installing the face trim that is going to really frame the shiplap, this is also going to mask the edge of the side trim boards when you’re looking straight at the fireplace.
You’re going to want this material to be a bit thicker than the actual depth of the shiplap, so that it feels a bit inset.
Then cut and install your shiplap, and that’s it! Remember, you’ll have to fill any holes and paint, if that’s what you’re looking to do.
But it’s really that easy, once you have the sizes and trim board down, installing the actual shiplap is relatively easy, it should only take you a day really, and that’s if you get it done in one go.
You now have a contemporary farmhouse shiplap fireplace that didn’t take too much effort, apart from gutting your original fireplace!
5. Installing Your Shiplap
Now that you have done all the hard work it is time to finally finish the job.
We have taken you through all the steps but now all you need to do is cut down the shiplap so that it will fit snugly into place and then install it in.
Then all that is required is to fill in any nail holes that have been knocked in during the fitting process and then all you must do is paint the Shiplap to the color of your choice, the most common is of course the beautiful white Shiplaps that we all fell in love with before committing to having one of our own but the final choice is yours go crazy for all we are concerned I am sure a bright pink Shiplap will have just as much appeal.
Once installed you will never look at your fireplace the same way again and will elevate the beauty of any home fortunate enough to hold one.
Final Thoughts
There we have it then, everything that you need to know about Shiplap fireplaces and how you can go about building one in your own home.
You have hopefully learnt off all the materials that are required when committing to building your own Shiplap fireplace.
You know the benefits of owning one and why they are in such high demand at the moment and then all the steps that you will need to follow to make sure that your Shiplap not only does the job it is designed to do but also looks fantastic and makes the room and home feel complete.
So what are you waiting for now? You know exactly what you need and what to do. Go ahead and do it because your home will definitely thank you.
- The Woodworkers Guide to Brad Nailers: Everything You Need to Know - September 25, 2023
- How To DIY An Aztec Garden Dining Table [The Easy Way] - October 18, 2022
- Farrow & Ball Pigeon: Is It Right For Your Home? - October 17, 2022

