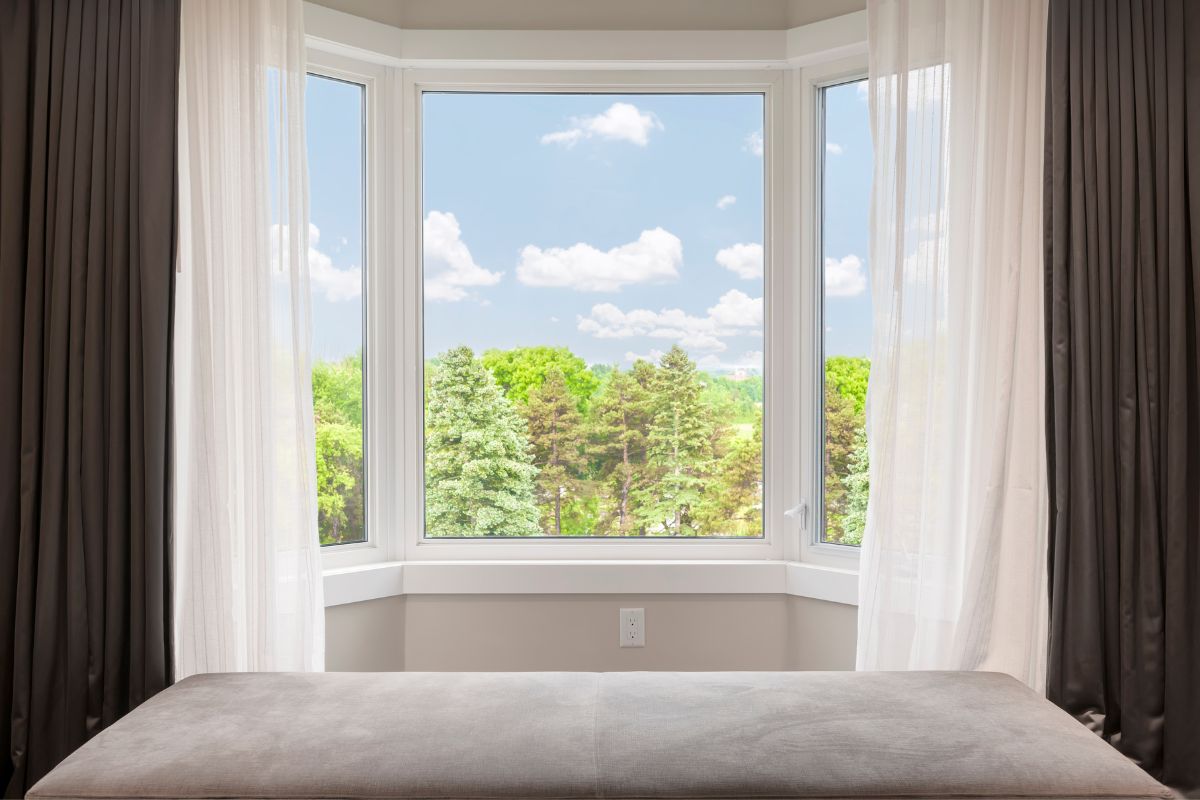
Do you want to finish building your modern bay window with added storage? A practical and standout piece of furniture that has the ability to elevate any living space, this building consists of bookcases, a framed bench seat with additional storage underneath.
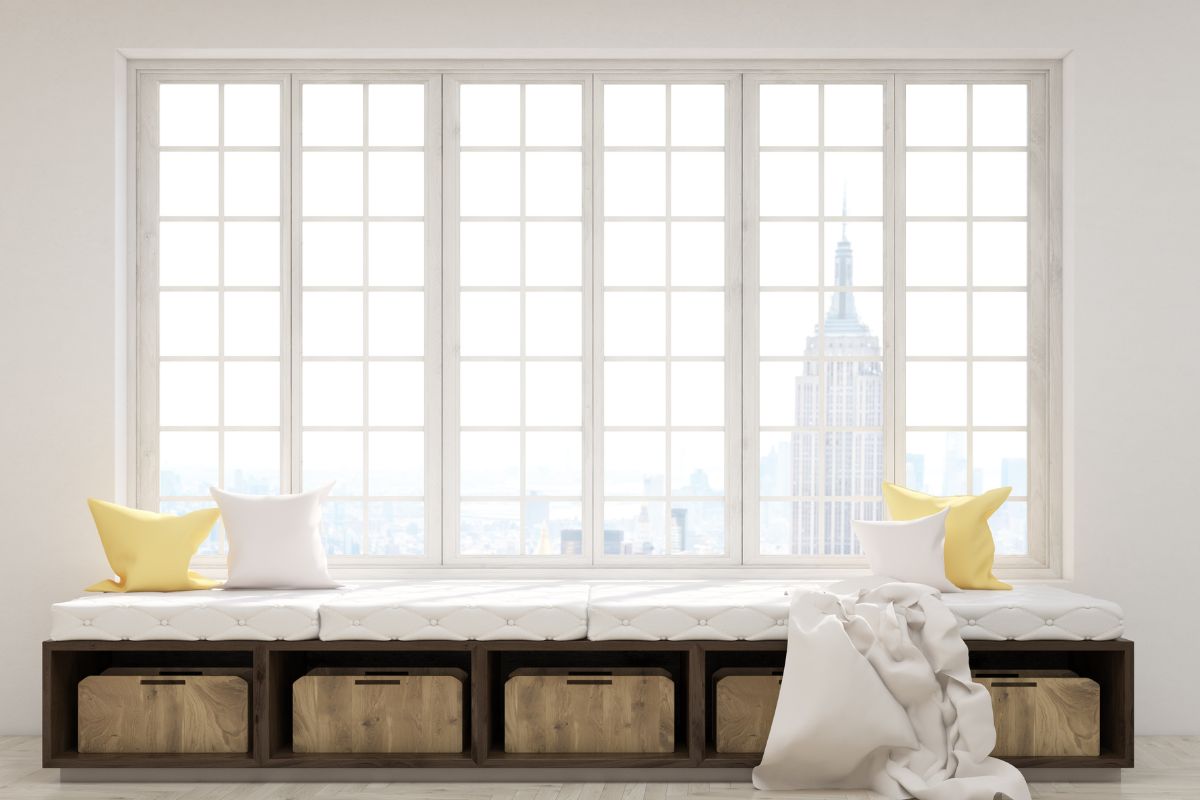
In this particular post, we are going to be placing a focus on how to make your modern bay window bench look professional and polished.
With that being said, we are going to be providing you with tips and tricks on how to add the perfect finishing touches to your modern bay window.
Whenever you’re ready, just keep reading!
How To Build A Modern Bay Window Bench With Storage: Step-By-Step Instructions:
Like we have already briefly touched upon above, this article is going to be focusing specifically on how to make your modern bay window look professional and perfect.
Due to this, we aren’t going to be focusing on the framing, but will instead be providing you with guidance on how to carry out the perfect final finishing touches.
Let’s take a look at each one in more detail below:
1. Install The Trim On The Bookcases And The Bench
First things first, after you have completed the frame – you are then going to need to go ahead and install the trim in both the bookcase as well as the bench.
In order to do this, you will need to take a brad nailer that will allow you to easily secure the trim (as well as the baseboard) to make sure that the build is firmly fixed and secure in its intended spot of your room.
Even though there are other types of tools out there that you can use to do this, we strongly recommend that you opt to use a brad nailer because they are specifically designed to leave small holes wherever they have been used.
These small holes are very useful and can serve as a visual guide for those waiting to install decorative furniture/pieces.
2. Paint The Bookcases And The Bench
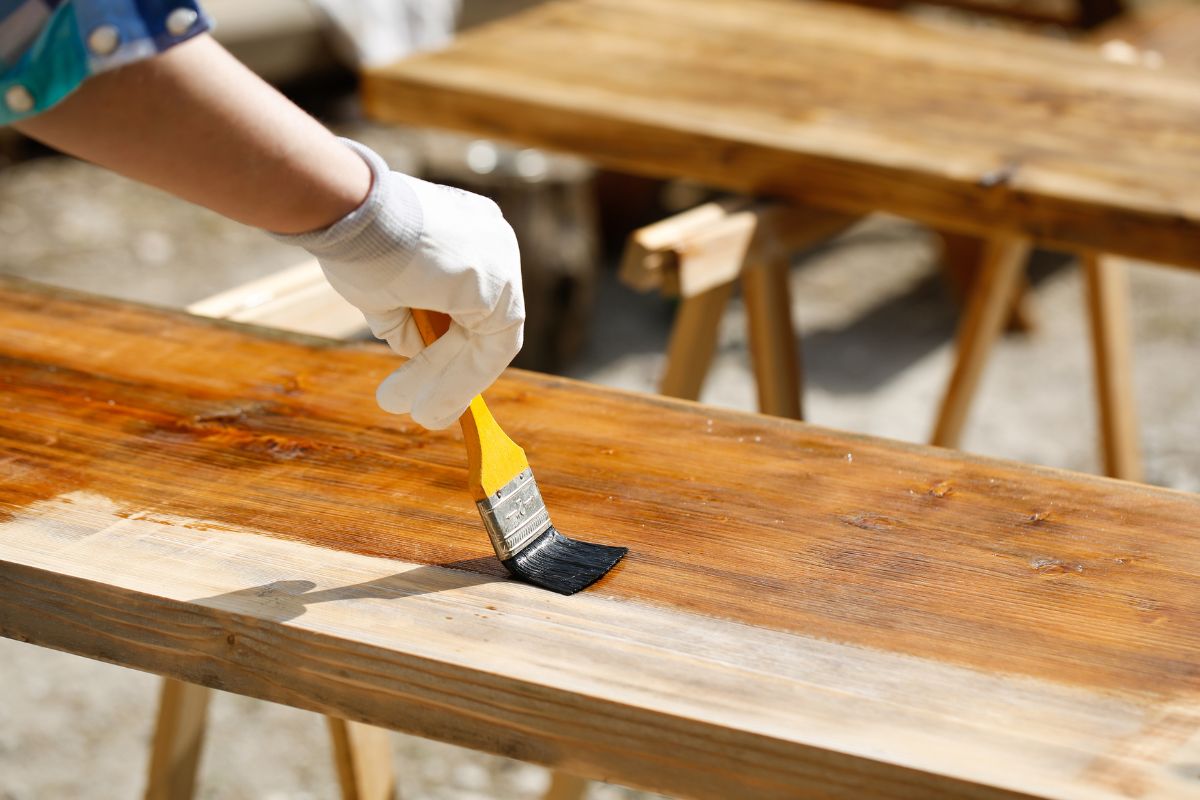
After you have taken the time to install the bookcase and bench’s trim – you will then be ready to go ahead and begin painting it in whatever color you would like. From neturals to more vibrant pops of color, it will be entirely up to you which paint you would like to use.
Whatever color you decide to use, however, you should make sure that you are properly preparing the wooden surfaces ready for the paint to be applied, while also ensuring that you have used a wooden paint primer.
Making sure that you have remembered to apply your paint primer will help to prevent any damage to the wooden surfaces while also making sure that the finished paint result will last for longer.
Why? Well, when applied correctly, a paint primer will help to act as a protective barrier for your wooden bookcase and bench, all while preventing bubbling and peeling of the paint that has been applied to the wooden surfaces.
As well as this, a paint primer will also help to increase the strength of the bond between both paint and surface. It’s a vital step to remember!
3. Install The Plywood Needed For Your Bench Top
The next thing that you will need to do is to install the plywood onto your bench top. The amount of plywood that you will need for this will typically depend on what type of plywood you wish to use, as well as how wide the seat of your bench top is!
Along with that, we also highly recommend that you consider placing a sheet of insulation foam underneath the plywood – this will help to make sure that the top of the bench top is comfortable to sit on.
To ensure your plywood stays in place, why don’t you consider cutting the plywood in four pieces in order to prevent the top from becoming far too heavy and cumbersome? This will also make it way more easier to install, too.
If you would like to do this, we recommend that you use a circular saw and trace the areas where you plan to make the cuts – this will then allow you to make the cuts quickly, easily and precisely.
Top Tip: Once you have installed the plywood, why don’t you consider applying an edge banding around the edges of the plywood that you can visibly see? This will give your plywood a more polished and perfected appearance.
You will even have the option of staining the banding a color of your choice to ensure that it is cohesive with the color of your bookcases and shelves.
4. Install Wood Slats Around Bay Window
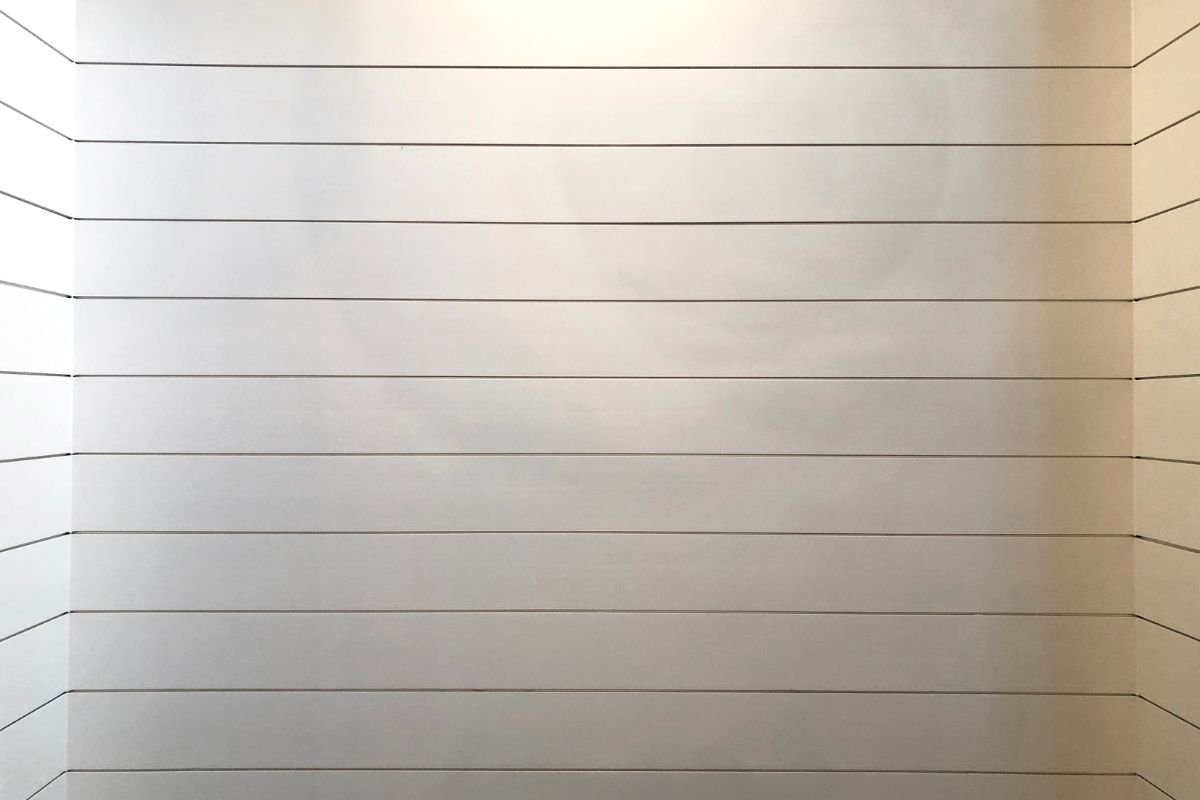
Last but certainly not least, the final thing that you will need to do after you have installed the plywood is to make a wood slat wall near the bay window.
While this final step is optional, we certainly recommend that you consider doing it because adding wooden slats to any living space is one of the easiest ways to add warmth, dimension and a rustic, cozy atmosphere.
In other words, it will be just perfect for a little reading nook!
In order to make the slat wall, all you are going to need to do is to take pieces of plywood (you can either purchase additional slats of plywood or use the ones that you already have) and then use your circular saw (or whoever type of saw you happen to have) in order to make that all slats have a straight edge.
Once you have done this, you can then go ahead and install your slats with a brad nailer, as this is the best way to ensure minimal damage to the wall underneath. Once you have done this, you can then stain them in any color you like.
Final Thoughts
There we have it! You’ve reached the end of our guide. Now that you have taken the time to read through all of the above, we hope that we have been able to help you gain a better understanding of how you can build your modern bay window bench from scratch.
Even though this can be a pretty daunting process, so long as you make sure to follow the steps that we have shared with you above – you should find that you are able to make your very own modern bay window bench in just a few simple steps.
Thank you for reading!
- The Woodworkers Guide to Brad Nailers: Everything You Need to Know - September 25, 2023
- How To DIY An Aztec Garden Dining Table [The Easy Way] - October 18, 2022
- Farrow & Ball Pigeon: Is It Right For Your Home? - October 17, 2022

