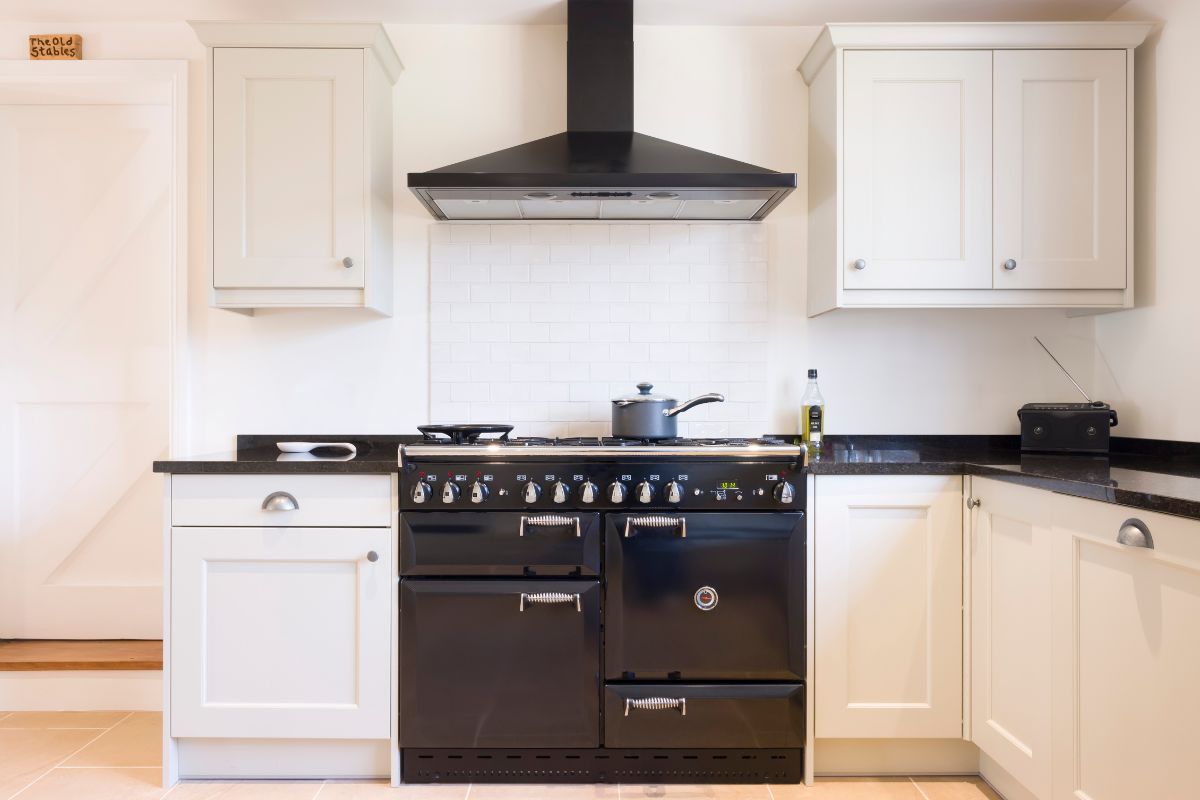
Installing kitchen or dining room cabinets can seem like a daunting task, especially when building from scratch.
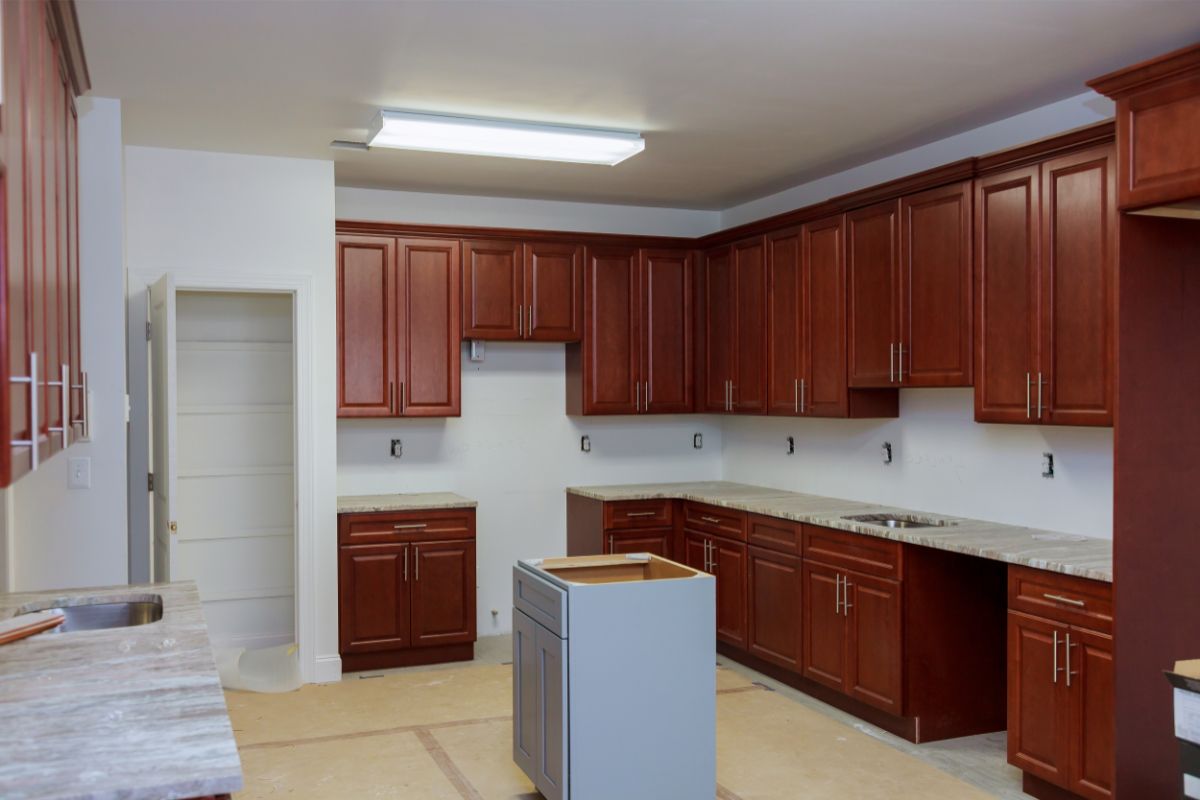
However, for those wanting to dip their toe into the DIY world, and save paying money for professional installation, there are several steps that can be followed to create a great, unique, custom design for your living space.
So, without further ado, let’s take a look at the steps needed to install base cabinets in your home!
Getting Started
Before getting started there is one important thing to remember: proper measurements.
Measurements
You don’t need to be an artist, nor a professional draftsman, but accurate measurements are important for the whole process to work.
Mark out the wall, and draw some rough plans to work from before starting. Also be sure to work with the space you have, making sure not to cram too much into one place, or leave it too stark and bare.
Building The Base
The base will be a simple framework that will help give your cabinets a little rise, lifting them above the skirting board, and making them easier to access.
This could be made from pine or plywood – both strong, but lightweight and affordable. They also don’t need to be especially attractive, as they will be mostly unseen once the cabinets are attached.
Step One
If you have existing skirting boards, or you just want a little distance from the wall itself, then you can lay out some guides, placing some strips of plywood or 2×4 above the skirting board and further up the wall upon which to attach your cabinets.
To get this as accurate as possible, measure your cabinets, and see where your highest point will be once the base cabinets are assembled. Once you have done this, attach the wall spar in place.
This has the benefit of limiting the damage done to the wall, and giving your cabinets that extra bit of clearance. Be sure to nail them to the studs within the wall, as this will establish a strong hold and minimize damage.
Step Two
Next it is time to assemble the base framework. The base itself should roughly resemble a ladder shape – or a slim bookcase – with two long spars of plywood lying parallel to the wall (positioned on their edges), and equally placed smaller spars running between the longer two, creating the ladder effect.
This will provide a strong framework upon which the cabinets can be assembled.
Assembling The Cabinets
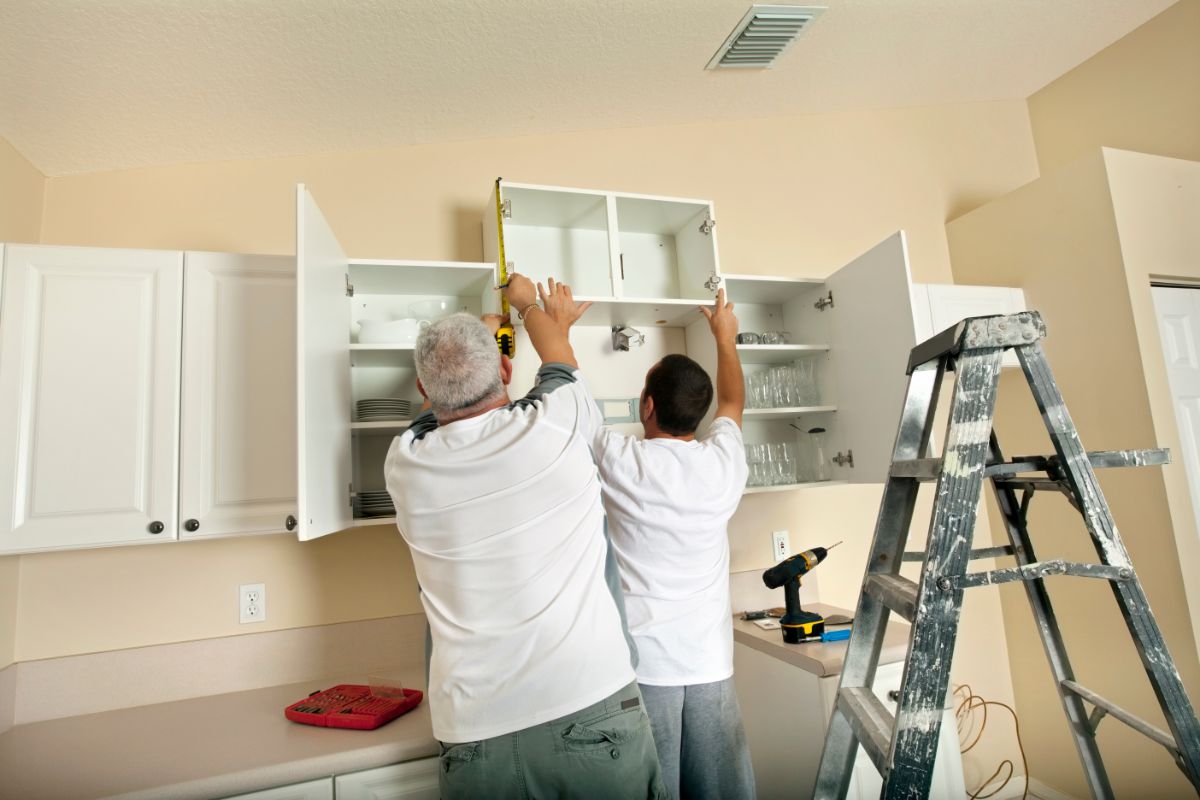
Now onto the main bulk of our project: assembling the cabinets themselves.
If you have purchased pre-prepared cabinets from a hardware store, then these will come with their own additional instructions. However, if you have designed and cut your own cabinets, then this will require a little more care.
Preparation
If you haven’t yet assembled your cabinets, then leave the doors unattached for the time being, as this will allow easier access to the back when it comes to securing them to the planks you set out earlier.
This will also make them easier to paint later on in the process.
Step One
To begin, level the first cabinet. If your intended space is between two walls, then you can start at one end of the framework.
However, if your intended space is an L-shape, then start in the corner where the two walls meet, as this will ensure you get the best layout.
Once you have aligned the first one in the position you want, mark out on the wall either side to get a sense of dimensions.
Also, check that the cabinet matches the high point you made earlier. If it does, then you are ready to go, but if not, you might need to adjust the wooden guide you attached earlier.
Then comes time to attach it to the wall. The best place to attach it to is the guide you marked out earlier. If you didn’t choose to do that, then use the studs.
If the wall you are working on has studs, then you can attach it to those, but if it doesn’t, then you can use hollow wall anchors. These are equally as effective, and will keep the cabinet secure and in place.
Be sure to also use the same screws to attach the cabinet base to the framework underneath.
Step Two
Installing the first cabinet is really the hardest part, and once you have that one properly aligned and installed, the other cabinets should be a breeze!
Once you have the other cabinets in place, then comes the time to fill in the seams with wood filler, and sand the whole thing down.
This will make it look seamless and professional, and will help to make it look like a cohesive, singular piece of furniture.
This will take some time, as wood filler can take anywhere from 24 to 72 hours to properly dry – depending on the temperature and environment you are in.
Step Three
Now comes time to prime and paint the cabinet frames. The doors should still be unattached, and this will make the whole painting process much easier – especially getting an even coat and getting all the crevices covered.
You can also prime and paint the doors separately, keeping them somewhere safe to dry before they can be attached later.
Step Four
The next step is to add a countertop of some kind to the top of the cabinets.
One of the most popular woods for countertops are maple, due to the fact that it is a little harder and sturdier – making it more resistant to chips and damage that can occur.
Before you attach it, it is recommended to seal the wood, making sure to repair any cracks or splits in the grain with wood filler, and sanding it down once dried to get a good finish.
Be sure to wait the prescribed time for the filler to dry, before attaching the countertop onto the cabinets, using the same screws to attach at the joints.
Once you have done this, and the cabinet is secure, you can then use the same filler to cover the screw holes, before staining the entire countertop.
Step Five
The final step is to attach the cabinet doors onto the cabinets themselves.
For this, you can use the screws provided, attaching the hinges into the inside of the cabinets, being sure to have them facing the right way.
Once they are attached, you can then screw the doors into the hinge, ensuring they are tight and secure, but without damaging the wood by screwing too far.
Final Thoughts
And there we have it, everything you need to know to install your own base cabinets in your kitchen or dining room.
While not for the faint of heart, by following these steps you can create something truly unique, attractive, and functional in your own home, without having the stress, time and money of professional installation to contend with.
So, if you have your heart set on some new and exciting home improvements, why not give it a go yourself?
- The Woodworkers Guide to Brad Nailers: Everything You Need to Know - September 25, 2023
- How To DIY An Aztec Garden Dining Table [The Easy Way] - October 18, 2022
- Farrow & Ball Pigeon: Is It Right For Your Home? - October 17, 2022

