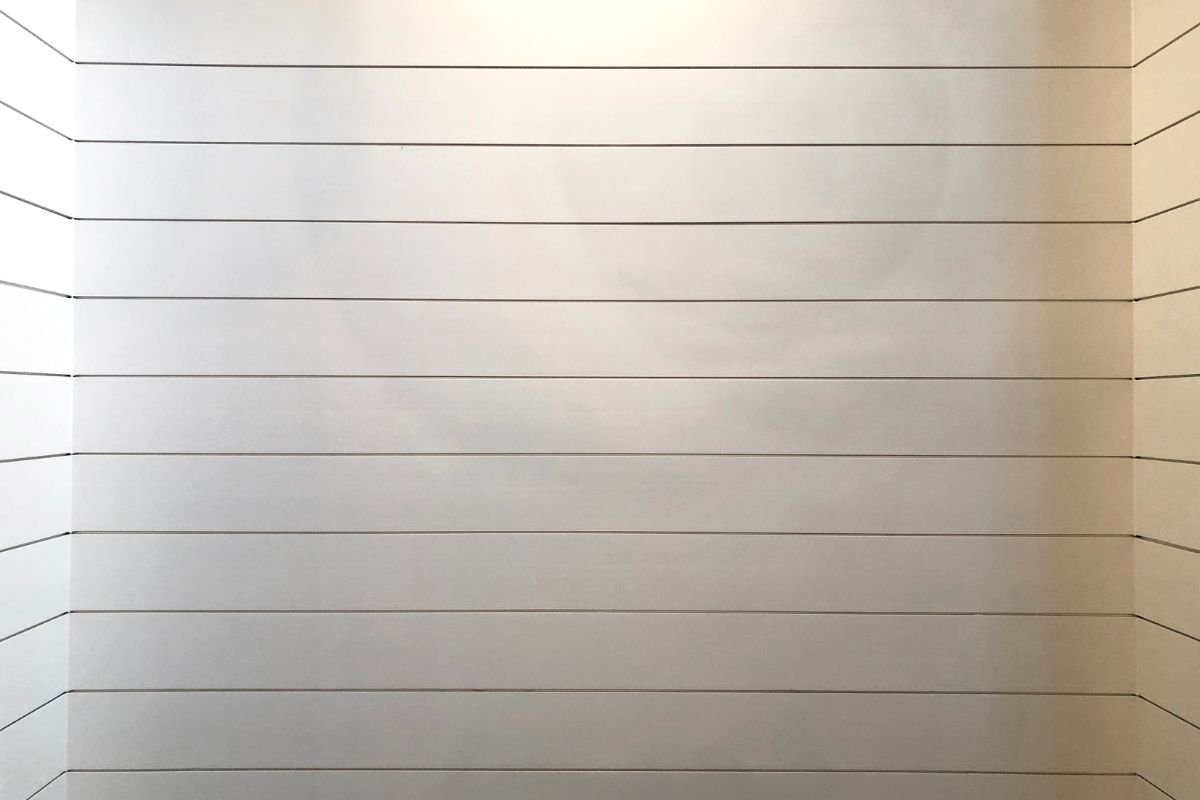
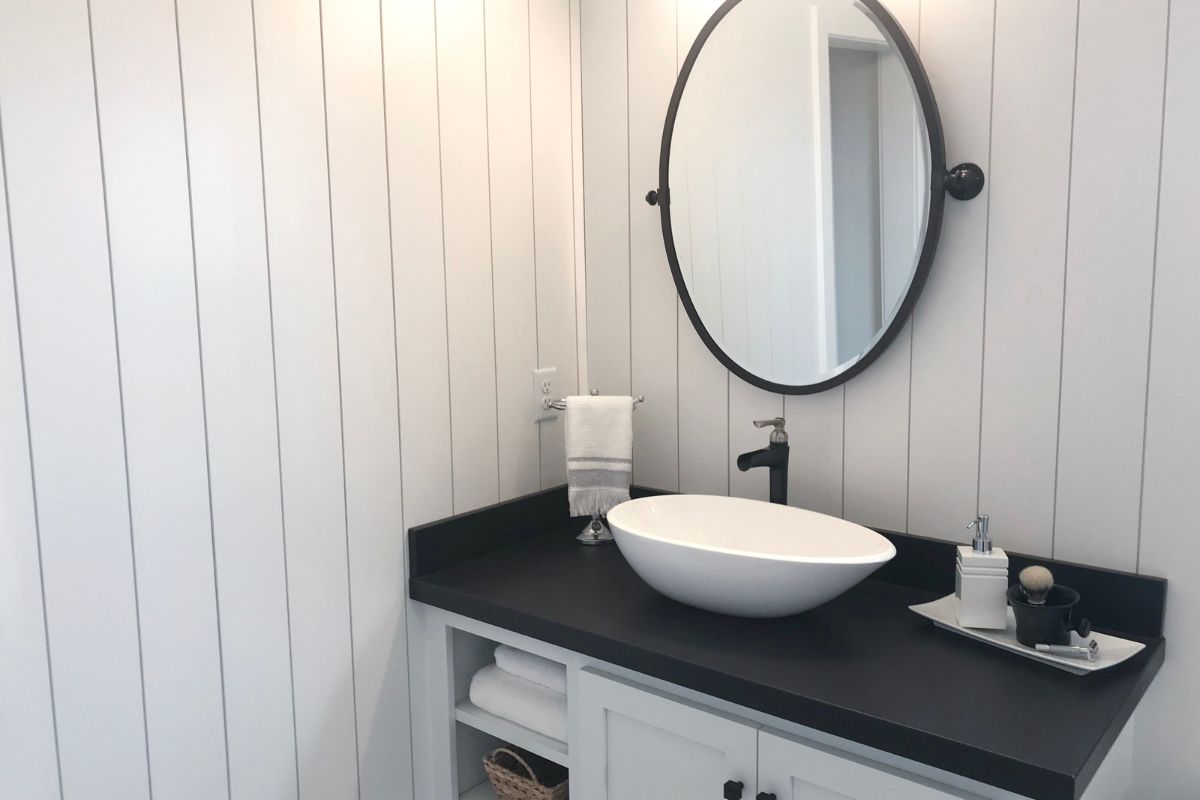
If you are looking for a great way to decorate your house, then one of the best methods is with wood slat walls. Why?
Because they are so versatile! You can have painted wood slats on a white wall or painted wood slats on a wood wall. The sky is the limit!
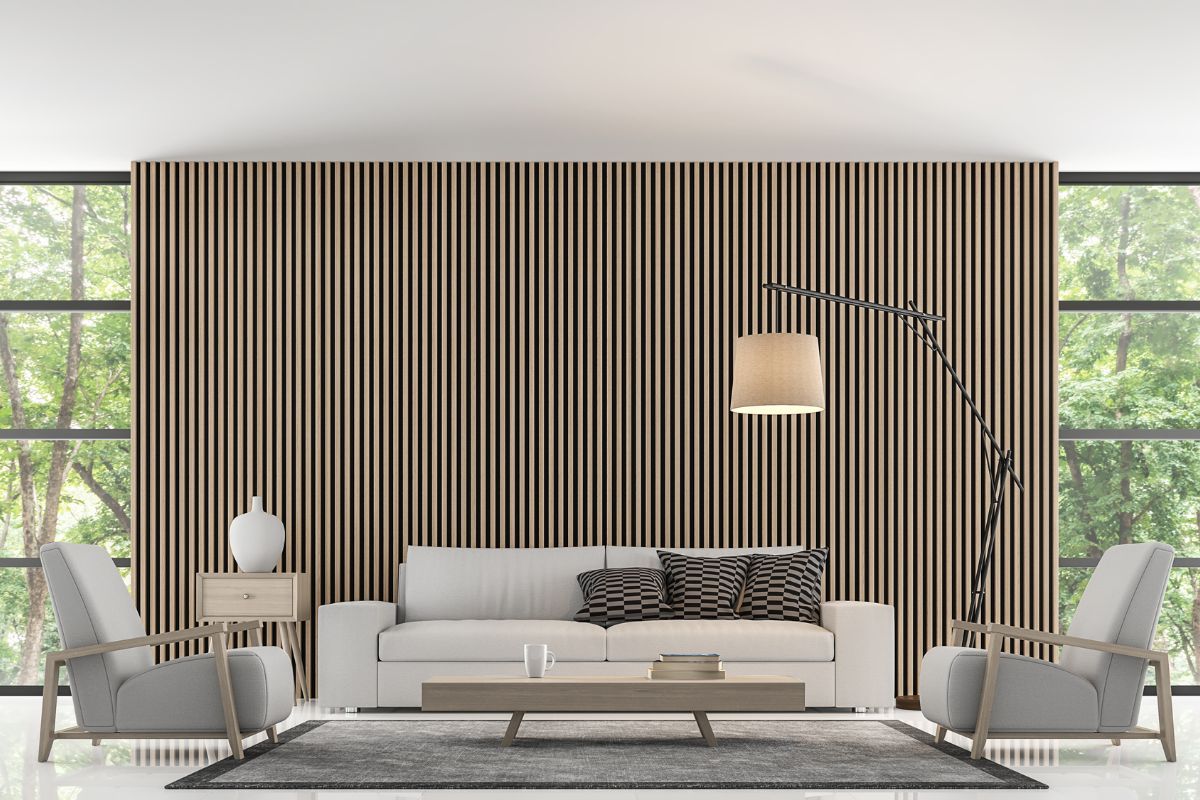
But if you are trying to renovate a large family home, then you can expect to have to buy a lot of wood to decorate your home. So how can you make this cost-effective?
This is where you have to consider the right material for your wood slat wall, so that you can make a saving.
So how can you make an affordable wood slat wall? What is the best way to mount these on your wall? What type of wood is the best to make you a saving?
Well, if you keep reading then we’ll give you all the information that you need to completely spruce up your home.
Why Go For A Wood Slat Wall?
One of the reasons why you’d go for a wood slat wall is because you can really make a saving and create something that is utterly unique from all the other houses in your area.
You can color your slats in any way that you like. It won’t even look cheap if you go about it in the right way. You can create a wonderful color scheme with just a few boards of wood.
This is also great for anyone who is on a budget. Look, sometimes we don’t have to cash for a complete ceiling-to-floor renovation.
This is why having wood slats will really be a godsend for those that are on a tight budget.
But what is the best type of wood for you to use? Well, we would certainly recommend plywood above all others.
Not only is this wood very pliable, but it is readily available and very cheap to buy in large quantities.
So now that you’ve sourced your plywood, this is how you can start decorating your home with it.
Find Out How Much Plywood That You Need
This will all depend on the type of look that you want from your wood slats.
If you want the spaces between your slats to be the same width as your slats themselves, then you’ll need to measure the width of your wood and make sure they are the same as the spaces.
We would recommend having 1-foot between your wooden slats. This means that both your wood width and the spaces between them need to be around 1 foot across.
We would recommend that you purchase wood that is larger than the width that you need, in case you need to use any spare plywood.
This is also useful if you make a mistake in the measuring, as you will always have plenty to use afterward.
We would also recommend using birch wood if you are planning on staining or painting your wood. You can also buy pre-stained wood, which will cut down on the amount of prep time that you’ll need.
Cutting Your Plywood
Now there are two methods you can use for cutting your plywood: either doing it by yourself or getting the hardware store that you bought it from to cut it for you.
The latter will be very easy, although you’ll need to make sure that you have the measurements to hand, as you’ll need to make sure that your plywood will fit the size of your wall exactly.
If you are going to slice your plywood by yourself, on the other hand, then you’ll need to be sure that you are working with a table or hand saw. This way you’ll be able to get the cutting of your plywood totally exact.
Agins, when you are measuring your strips of wood, you’ll need to make sure that they will fit nicely along your wall. Even one incorrectly-spaced slat will throw off the entire design.
Sanding Your Plywood
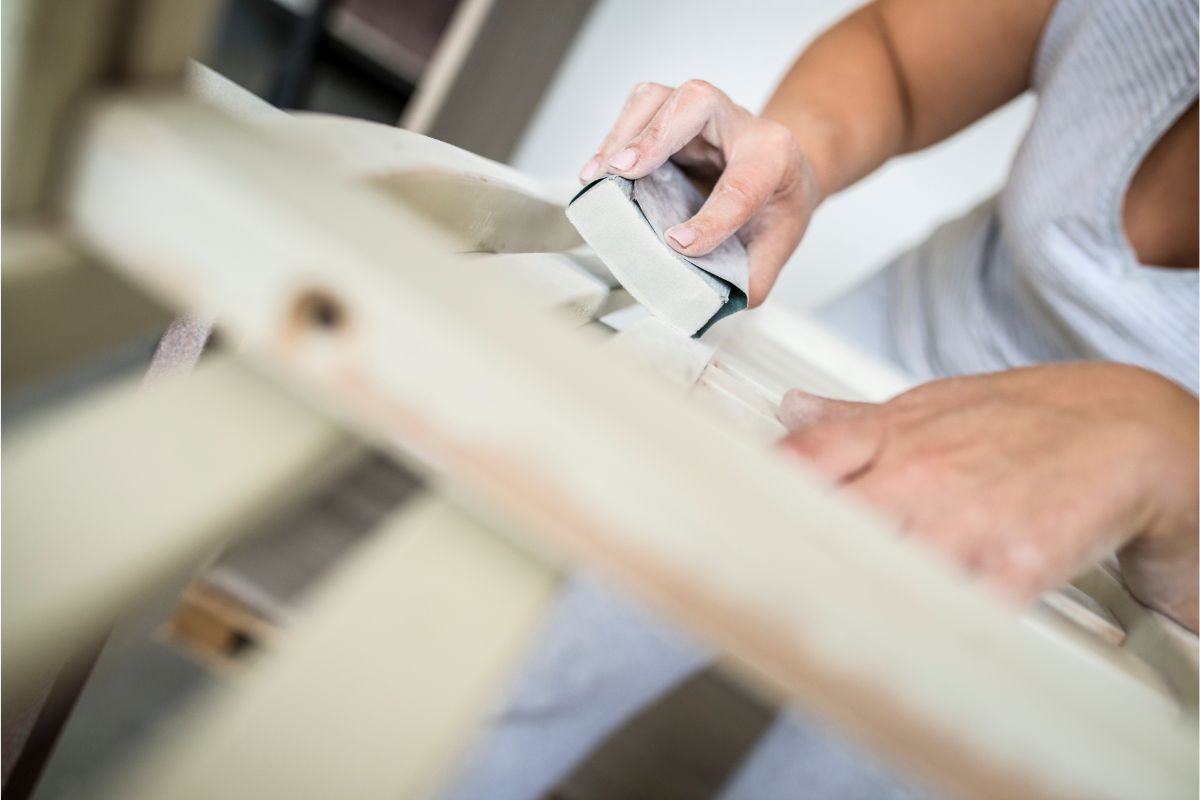
When you have cut your plywood into strips, then we would recommend laying them all side by side, tightly packed together, so that you can sand the top and the edges.
You’ll want to get rid of all the rough edges, as this will result in a much safer wooden pattern overall. It will also be much easier to fit your slats in if they have been well sanded.
We would also recommend sanding the front of your slats, as you won’t want anyone scuffing their arms if they are walking passed this wood slat wall.
We would recommend using an orbital sander to tackle the larger sanding jobs, whereas we would recommend that you use a slightly smaller sponge sander for the more intricate jobs.
Painting Your Wall
If you want your wall to be painted first, then we would recommend painting that first. We would recommend choosing a contrasting color, making sure the wall itself is lighter than the slats.
Once you have painted the base of your wall, then you should leave this to dry for around 24 hours. If you want that extra thickness on your wall, we would suggest giving it two coats of paint.
Staining The Plywood
You might need to try staining one piece of plywood and putting it against your wall so that you can see the true color contrast.
If your plywood is too dark against the wall, then you can always try another piece and stain it with a different color. This is why it is good to have a few pieces of spare plywood to test out these color combinations.
Lay the plywood on the wood and start by staining it with a rag.
You might find that the plywood really soaks up the staining, so make sure that you wait for it to dry completely and then add more coats if you feel that it needs to be darker.
You could either seal your plywood slats at this point or choose to wait until they are stuck to the wall.
The easiest method is to probably seal them before they are attached, but you might want to see how they look before you commit to this process.
Cutting Your Slats
Now that you have prepped and stained your slats, you’ll need to cut them so they fit properly on your wall. We would recommend using a miter saw for this, as it will allow you to saw with a greater degree of accuracy and balance.
We would recommend that you saw in batches, cutting off a few slats and installing them before moving on to the next batch.
Installing Your Slats
One tip we would recommend is using one of your slats as a spacer to separate the other slats as you glue them to the wall. You can easily get glue on this slat and discard it when you don’t need it anymore.
If you are going to be using an extra slat as a spacer, then we would recommend cutting it shorter as it will be much easier to wield and dispose of when you have finished it.
When you are securing your slats to the wall, you’ll want to use a combination of finish nails and adhesive glue.
Put a few dots of construction adhesive to the wall and then secure them in place with the finish nailer at the same time. You’ll need to make sure that your spacer slat is firm to the wall and that you don’t accidentally glue it too.
For that added level of security, we would recommend putting the nails in at an angle and then alternating the direction of this in between slats.
Repeat with your spacer until your slats are going across the wall.
Making Room For Sockets
You’ll need to make sure that you measure for all sockets and other electrical attachments that are coming from your wall.
You can do this by gluing your slat in place first and then cutting around it or marking off the socket on the slat, cutting that piece short and then installing it.
Conclusion
We hope that our guide to installing your wooden slats has given you a better idea of how you can create an affordable wood slat wall for your home.
Remember to air out the room once you have finished gluing your slats to the wall.
- The Woodworkers Guide to Brad Nailers: Everything You Need to Know - September 25, 2023
- How To DIY An Aztec Garden Dining Table [The Easy Way] - October 18, 2022
- Farrow & Ball Pigeon: Is It Right For Your Home? - October 17, 2022

