Shiplap has become one of the most popular materials to use as an installation panel onto a wall and if you haven’t heard about it yet or considered using it, you definitely should.
Not only is shiplap far easier to use than many other boards and materials which can take far too long to piece together, they will also remain sturdy and firm in the long term so you won’t need to worry about them breaking down in the long term.
It’s important to know exactly how to actually install shiplap however since putting it together incorrectly can make it much more prone to falling apart, which is why we have taken a deep look into how exactly to install this board material, and the major benefits that come from choosing it when you’re looking to modernize and spruce up a wall.
What Exactly Is Shiplap?
Upon first glance, it can be incredibly easy to mistake shiplap for any other type of panel, however there are a few key differences which make it stand out from its peers and which make it much more optimal for certain construction situations.
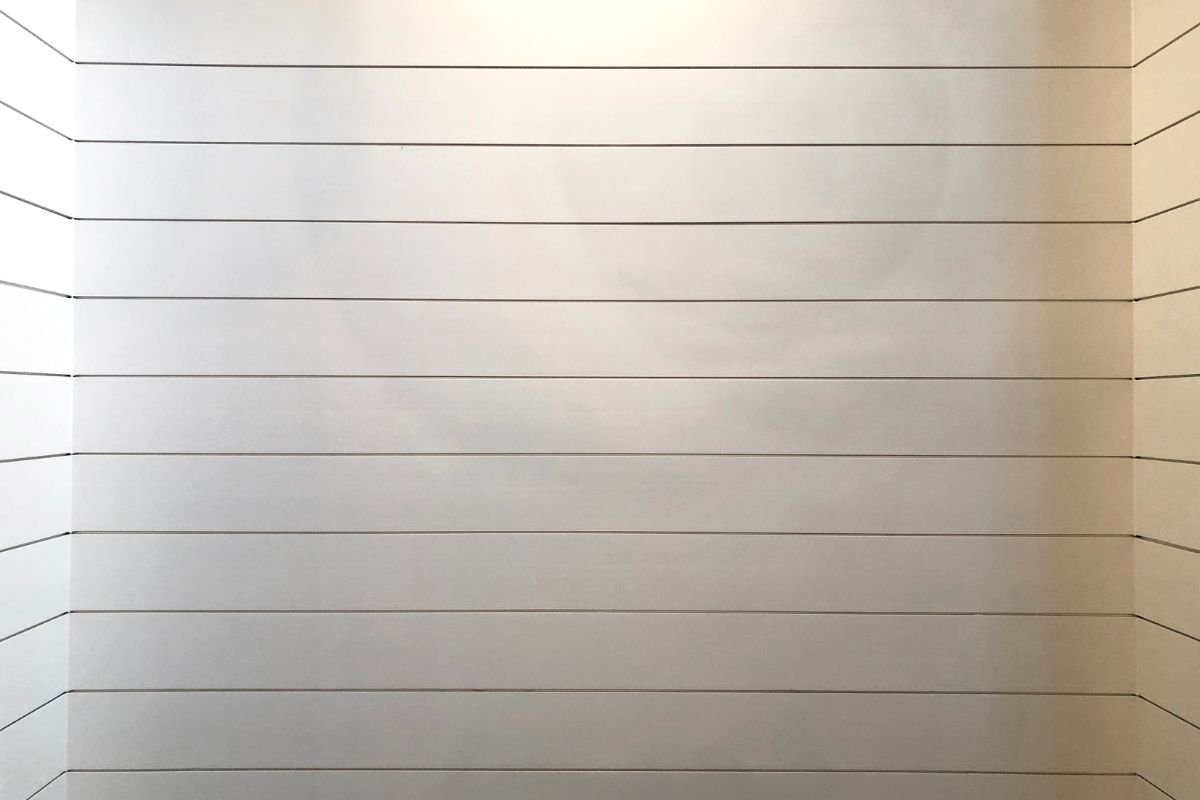
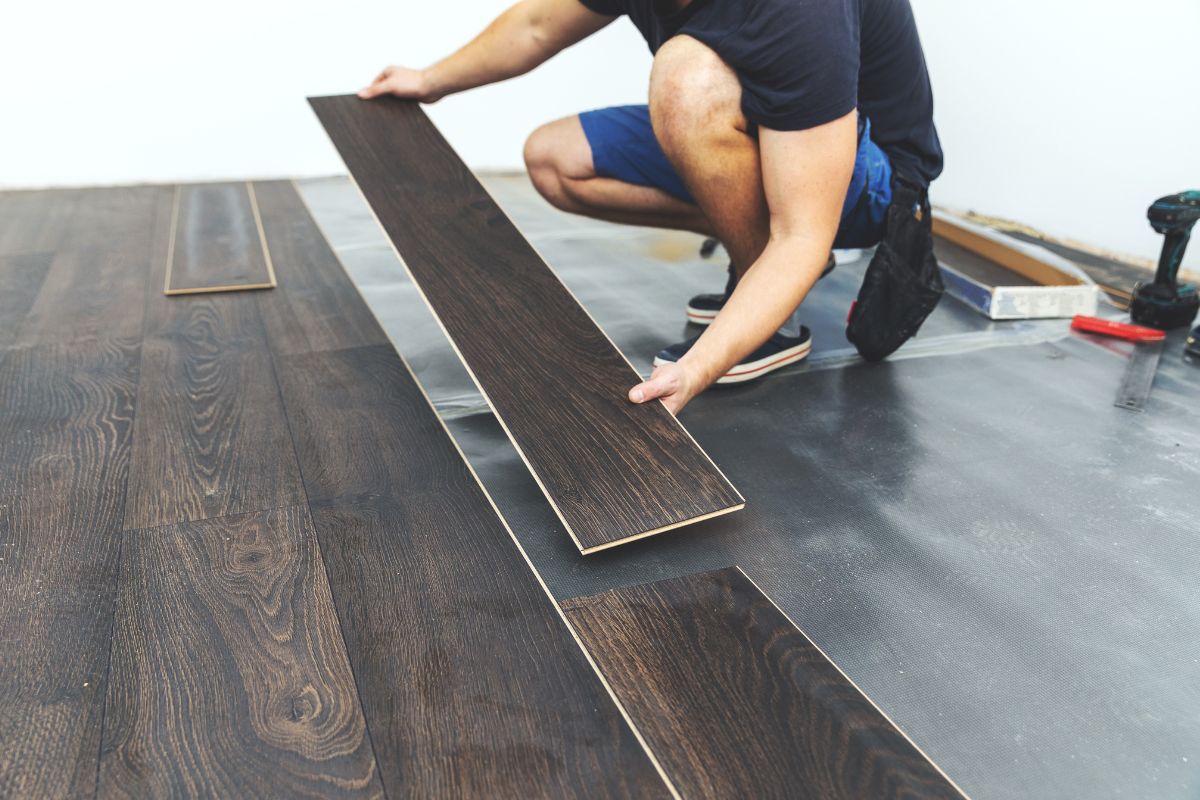
Shiplap boards and panels feature a signature special rabbet cut on both the top and the bottom of each plank, making them incredibly easy to use and almost like a puzzle with how they slide together.
This allows shiplap to form together seamlessly without requiring any extra cutting or added measurements to make sure everything can fit incredibly easily with little to no extra work being required.
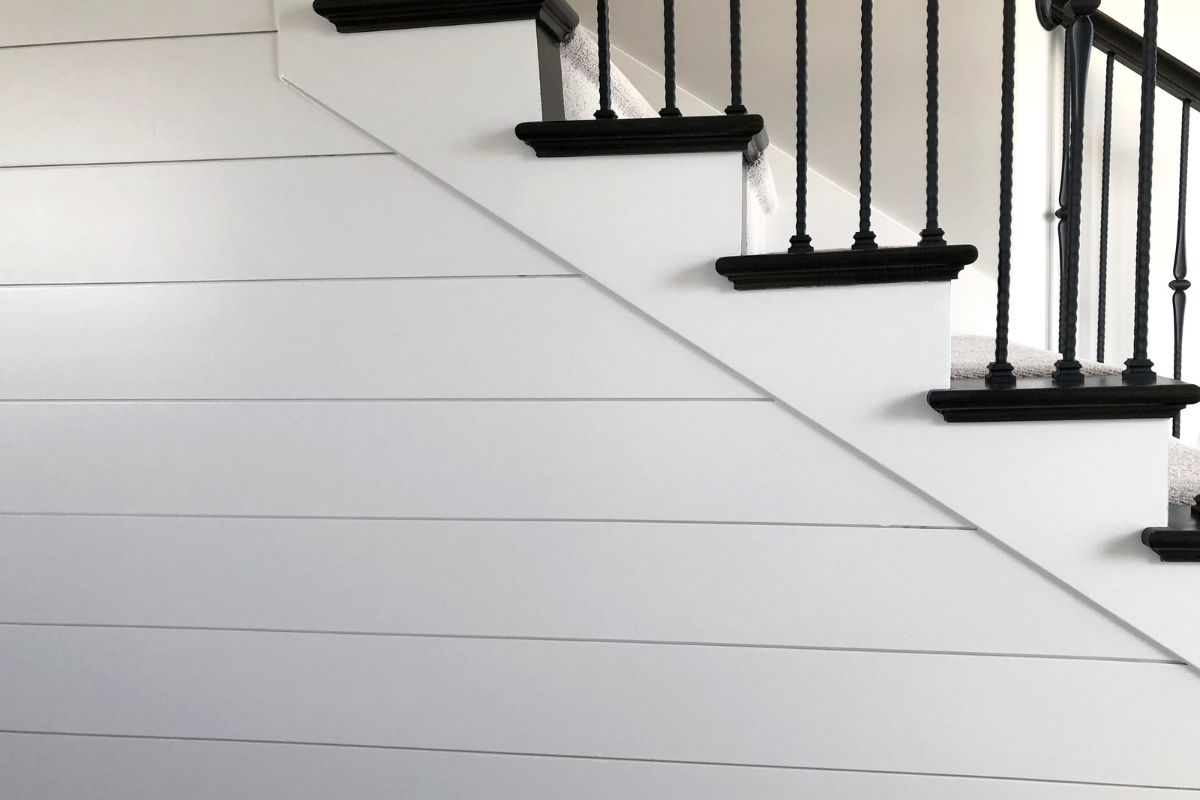
This also gives shiplap its very neat, organized and structured appearance which can usually be identified by its noticeable horizontal reveals between each piece.
Types Of Shiplap Boards
Before you start installing any shiplap, it is always important to first learn about the different variants it can come in so that you can decide which would have the best appearance and texture for your specific project.
Here are a few of the most popular boards to choose from.
Primed Shiplap
Primed shiplap is perfect for an accent wall or to easily add as a colorful way to add some decoration into a room easily since it usually takes on a creamy white appearance, however you can find other variants in a browner shade.
It is made from real Canadian pine wood and often coated with a tough primer paint, making this a sturdy but also vibrant option.
Mdf Shiplap
A material that many DIY enthusiasts claim is much easier to handle and install than wooden shiplap, many MDF shiplap claddings also come featured with a seamless butt joint which can be infinitely stacked end on end so that you can remove each and every gap while the joints themselves become almost completely invisible.
Cedar Shiplap
Many have referred to shiplap cladding as the ‘Ultimate external cladding timber’ and the reason is because it manages to combine so many features into one sturdy and efficient material.
Not only can it come in a whole range of eye-catching colors including a deep red and even vibrant pink, it also has increible decay resistance and does not split or break easily.
The main difference however is in the design itself where the separated planks will have an inward groove between them rather than being tightly fitted together and while they will still be just as durable and efficient as other types of shiplap, deciding whether to use cedar shiplap majorly depends on your design preference.
Nickel Gap Shiplap
As the name suggests, this type of shiplap again majorly comes down to design preference with the main difference being that with each and every plank, there is always a consistent square gap between each, exactly the size of a nickel.
This not only allows nickel gap shiplap boards to stand out with their very modern design, it also makes installing the wood incredibly easy since you won’t need to spend as much time spacing the boards, minimising one of the most time consuming parts of installing wooden boards entirely.
Tips And Considerations Before Installing Shiplap
Before you start installing shiplap there are a few important considerations to always keep in mind that can not only make the whole process much easier, but will also save you a huge amount of time.
Firstly, it is never a bad idea to purchase more boards than you think you will need since as anyone who has been involved in any DIY projects knows, it is always much better ending up with too much material than too little where you will need to make another trip to the hardware store and buy another bulk to take home.
To be on the safe side, add on either 5 or 10% more shiplap than you are expected to need. You also need to make sure that you are using the right material for the type of room that you’re installing the shiplap into.
For example, if you have wooden shiplap then this will be no good in an area that is consistently moist such as a bathroom since this will cause the material to warp, swell and sag, therefore MDF is often the better material.
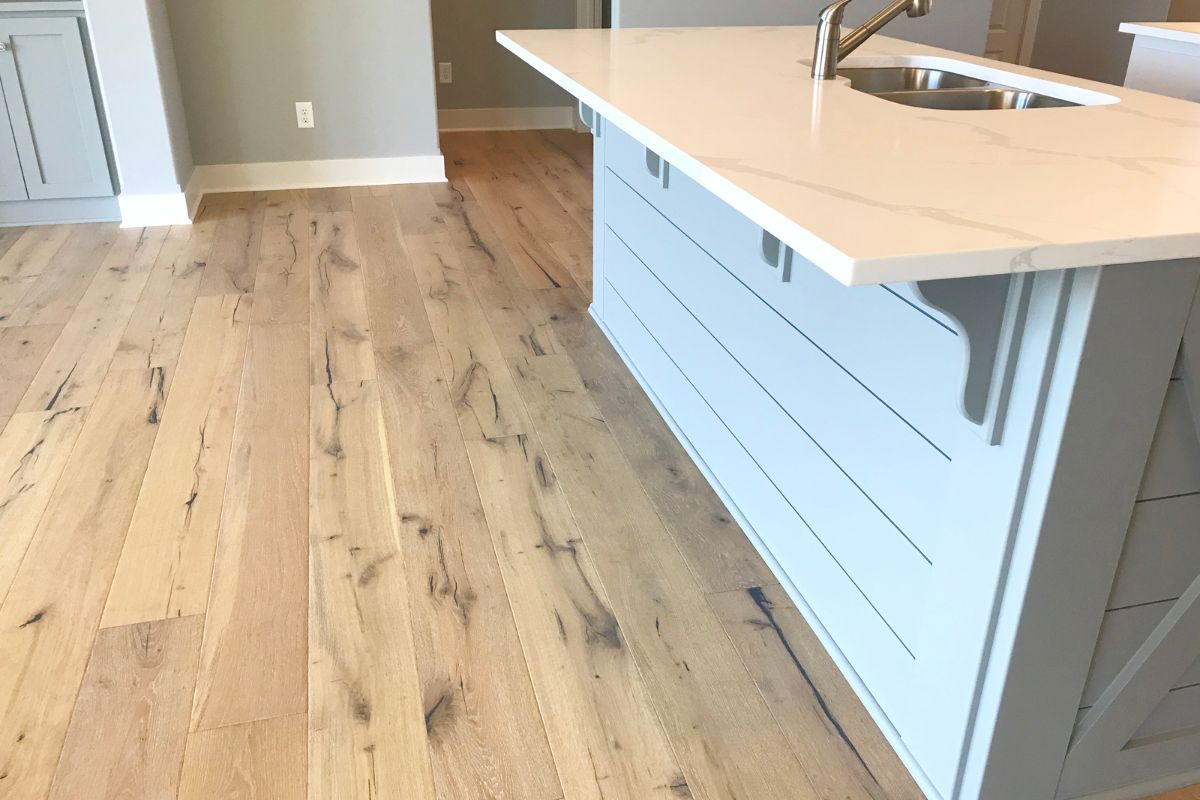
Also, make sure to take extra care leveling your first strip of shiplap since if it is even a few inches out of place, it can end up throwing the rest of the boards off.
As long as you level the first piece, this gives a good reference point for each other row so you won’t need to randomly guess how they will fit.
You will also want to avoid running your boards in between two separate studs, instead you need to make sure that the cut end of a board reaches the stud rather than overstepping it, this way you can join two seperate board pieces together and keep them aligned with the stud.
If you don’t do this, the boards can easily move around since they will not have a designated stud behind them to keep them firmly in place.
It’s also recommended to always start installing at the bottom as opposed to the top since it is much easier to make your bottom board level and flush than if you were to put it at the top since it would be much harder to reach and hold in place, which is crucial when preparing that first board.
Putting it at the bottom means you can also quickly remove any molding or baseboards.
Finally, when you’re cutting the shiplap and want to fit it around any electrical outlets, make sure that you measure and cut the electrical shiplap to the electrical box.
You want to avoid cutting the hole too big, otherwise the brackets for your electric will be too far down inside and you won’t be able to get your board on.
Therefore you want to cut the board so the brackets of the outlet sit on top of the shiplap, but are still able to screw into the electrical box.
How To Install Shiplap
Once you know the type of shiplap variant you would like to use, it’s time to install it.
While part of the beauty of using shiplap is you won’t need a professional to come and install it for you given how easy it is to put together, like all types of wood you will still need a few vital pieces of equipment to put it together so that you can be sure it’s stable and efficient when you start putting it up.
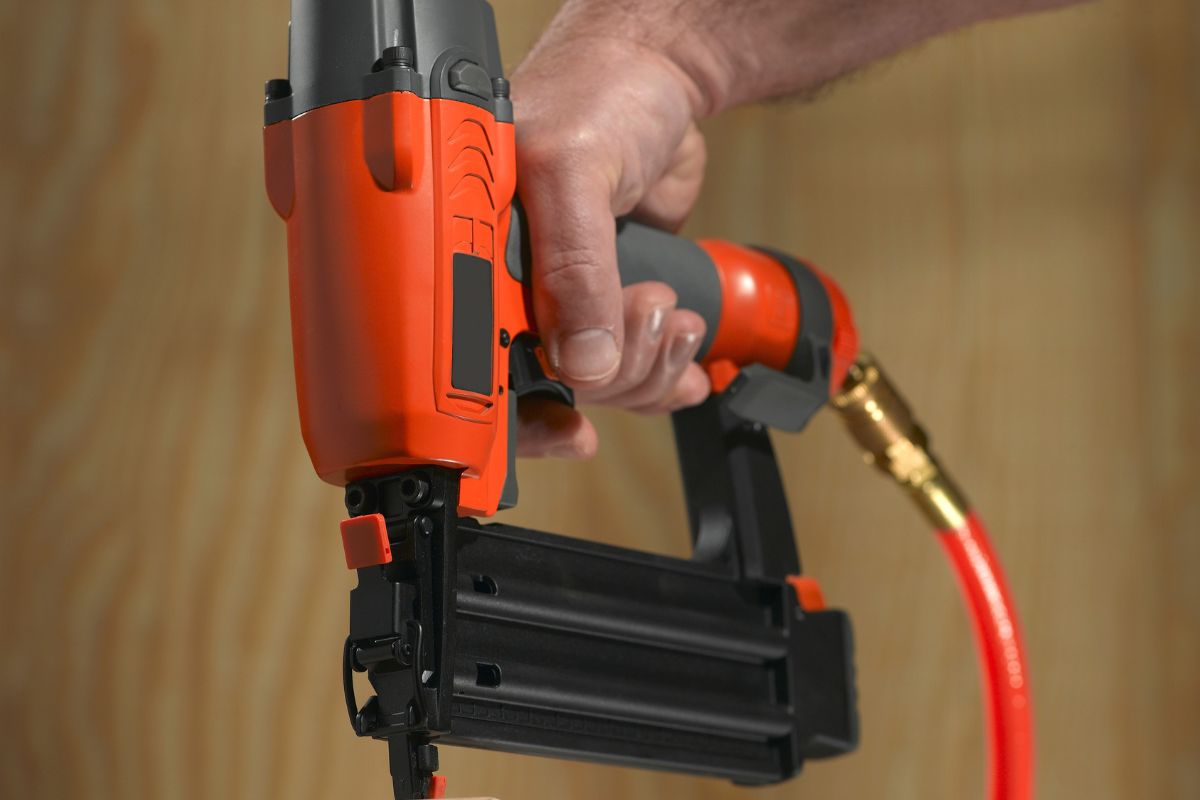
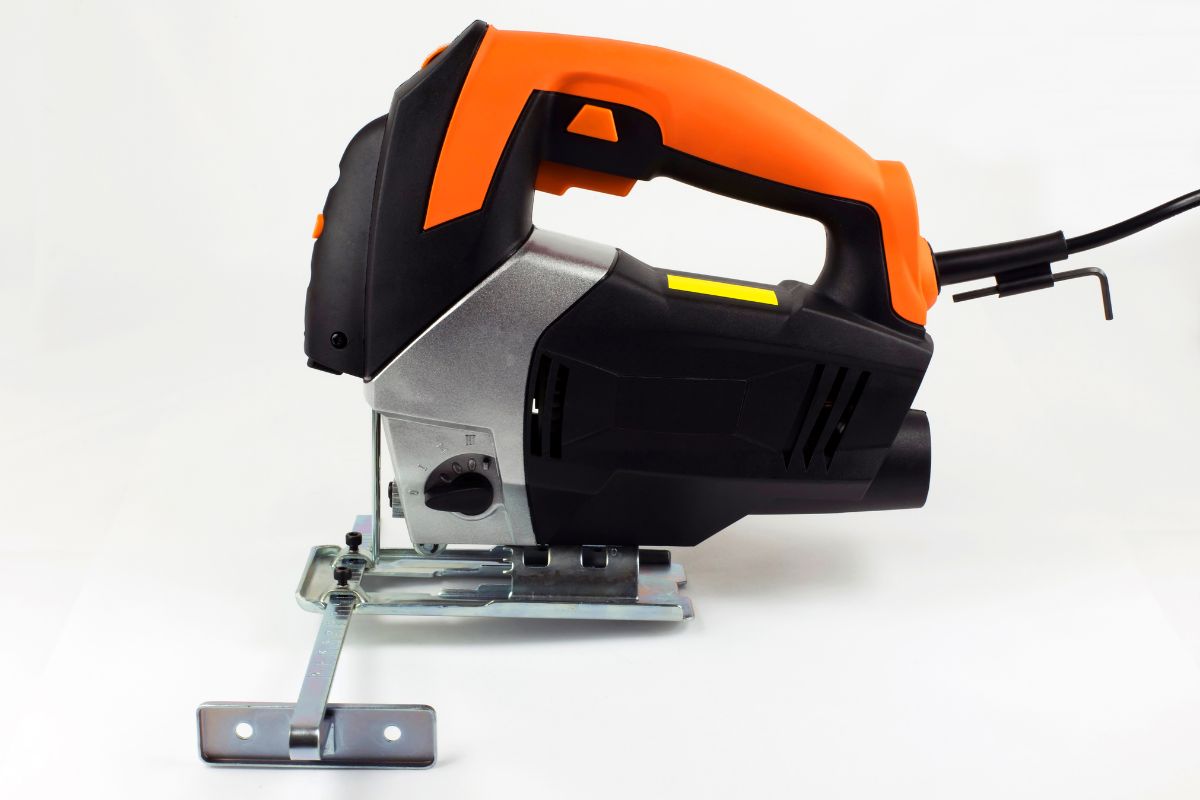
The main pieces of equipment you will need are a saw, in order to cut the ends of the boards when needed, a power sander, a stud finder and a nail gun.
If you are installing the shiplap on your own, it can also be worth buying some adhesive glue in order to keep the boards in place while you nail them down.
In terms of the saw, if you have both of them handy it can be a good idea to use both a Miter and a Table saw to get the best results while cutting since the Milter can be used for all regular, straight or angled cuts while a Table saw can be used to cut down the width if it’s required.
Measuring tape will also be needed along with some wood filler to fill in any gaps left by the nails, and finally a rubber mallet so that you can actually tap the boards into place without damaging them in the process.
When you have everything you need, it’s time to start getting to work with the shiplap.
Step 1) Measure The Wall
First you will want to measure the wall space so that you know exactly how much shiplap you will need for the project.
This can be done easily by dividing the height of each wall by the width of the board you plan to use.
For example, if you have a wall that is 96 inches high, this would require 16 rows of shiplap each at 6 inches wide.
While doing this, if you are calculating the square footage don’t forget to subtract windows and door space so that you can get an accurate measurement.
Step 2) Prepare The Walls For Installation
To make sure the wall is completely safe and ready to have shiplap installed onto it, remove any outlet covers, switchplates and any nails that are already in the wall so that you have a nice smooth surface with no obstructions.
If you do have any existing molding that you would like to reuse, simply pry it off carefully but don’t use enough force to where you could end up damaging or breaking it.
If you are using shiplap boards that have a more noticeable gap in between them, it’s also a good idea to make sure the wall is painted the way you would like before you start installing.

Step 3) Use The Stud Finder
Using the stud finder, mark the location of each stud across the wall.
Finding a wall stud is important as it can help you avoid damaging the wall as these wooden or metal vertical pieces form the framework of a wall, so knowing where they are can help you more accurately place the shiplap.
Once you have found the stud, place a vertical chalk line running down the entire wall from the stud so you can know exactly where it is for each and every row.
Step 4) Paint The Boards (Optional)
Because of how miniature the gaps are between shiplap boards, they will be incredibly hard to reach if you try painting them when they are being installed and once they’re on the wall.
If you do want to change the color of the boards therefore, it can be a better idea to paint them before you start putting them up to make the job far easier.
Step 5) Make A Level Horizontal Line
Next, you will need a line which indicates the bottom edge of your starter row at the very top of the wall. If the first row is level, then the rest of your installation will follow.
You may find that a few boards need to be trimmed slightly to fit the measurements of the wall.
When doing this with a Miter saw, try to leave the adjusted boards for the very bottom row so that they are less noticeable then the rest.
Step 6) Install The First Row
Once your wall is clean and your boards painted, it’s time to start installing the first row.
With the guideline you created at the top of the wall, layer the shiplap board either over, or on the stud and then proceed to use adhesive to glue the board down if you’re on your own, or if you have someone helping simply ask them to hold it down.
Then you will want to nail through the top and bottom of each board where it crosses over the stud and continue this until the starter row is fully installed.
Keep in mind as well the type of nails you are using, if you want to go for a slightly more traditional and rustic look then you could try using 8d nails which stand out a lot more, if that’s the design you’re going for.
Step 7) Space Out The Boards Appropriately
While installing each board, it’s important to space them out in the way you would like most, whether that be having the edges of each row all touching together, or having them separate.
If you do want them to be separate, stagger the boards with each row so that the edges don’t line up with the row above, however if you do want the installations to look as precise as possible then make it so the edges are perfectly lined up as you go.
The general rule of thumb is to keep ⅛ inches in between each board, and make sure that you position each one using the same spacer just to make sure that there are no odd boards when you’re finished.
Step 8) Cut Any Edges If Necessary
You will start to get a good idea of how the boards fit as you go down each row, so if you ever do find that a few boards are a little too big or will overextend and stand out a bit too much for your liking, cut the edges using a Milton saw.
Step 9) Finish Off The Look
Once you have filled in each and every row of the wall, you can then attach any matching baseboards or molding that may have been removed earlier right at the bottom using either construction adhesive or finishing nails.
If you also used finish nails for the other boards, consider filling them with spackle and letting them dry before sanding the surface very gently with 400 grade sandpaper.
This is also where you can touch up the surfaces of the boards with another light coat of paint if you want to make the wall as vibrant and eye-catching as possible and since the edges should already be painted, this will be far easier to do.
Main Benefits To Using Shiplap
There are a wide number of benefits for deciding to use shiplap for construction which is why it has grown in popularity so drastically over the last few years.
Here are a few of the major reasons you should definitely consider this neat and efficient material.
Easy To Install
As seen above, shiplap is incredibly easy to put together because of its unique puzzle-like design, however unlike other types of boards, it becomes even easier when used on a larger scale, therefore encouraging you to use it for bigger and wider projects.
Shiplap also generally takes far less actual work to put together than tongue and groove cladding, so it makes for an excellent choice when you want a material that won’t take very long to put together.
Strength And Stability
Much shiplap cladding is made out of a high density softwood which has been purposefully been slow grown and kiln dried, so you can guarantee it will be firm and stable as soon as you install it.
This also makes it one of the most optimal wood options for the long term since you can be sure no amount of harsh water or potential damage from pets will affect the performance or even the appearance of these wooden boards.
Good Water Resistance
While you may not want to put wooden types of shiplap in areas where there will be constant water such as around the shower and in the bathroom, in many other areas it is still incredibly water resistant and will brush off the occasional splash easily, making it very suitable for the kitchen.
Shiplap also has the ability to expand and contract with the fluctuating humidity which offers incredible protection from both the rain, heat and also heavy winds making it as optimal for the outdoors as it is for walls on the inside.
Creativity
Because shiplap can be installed in no time at all, it makes it easier to install certain features around it such as windows, doors and any other features that can create a vibrant wall to fit with the rest of the house aethetic.
This kind of free customisation is much more restricted when using other types of wood where you will often have to work around them with how rigidly they need to be placed.
Appearance
Shiplap is neat, tidy and helps make a construction look as well put together as possible with no random gaps or dents left in between each plank.
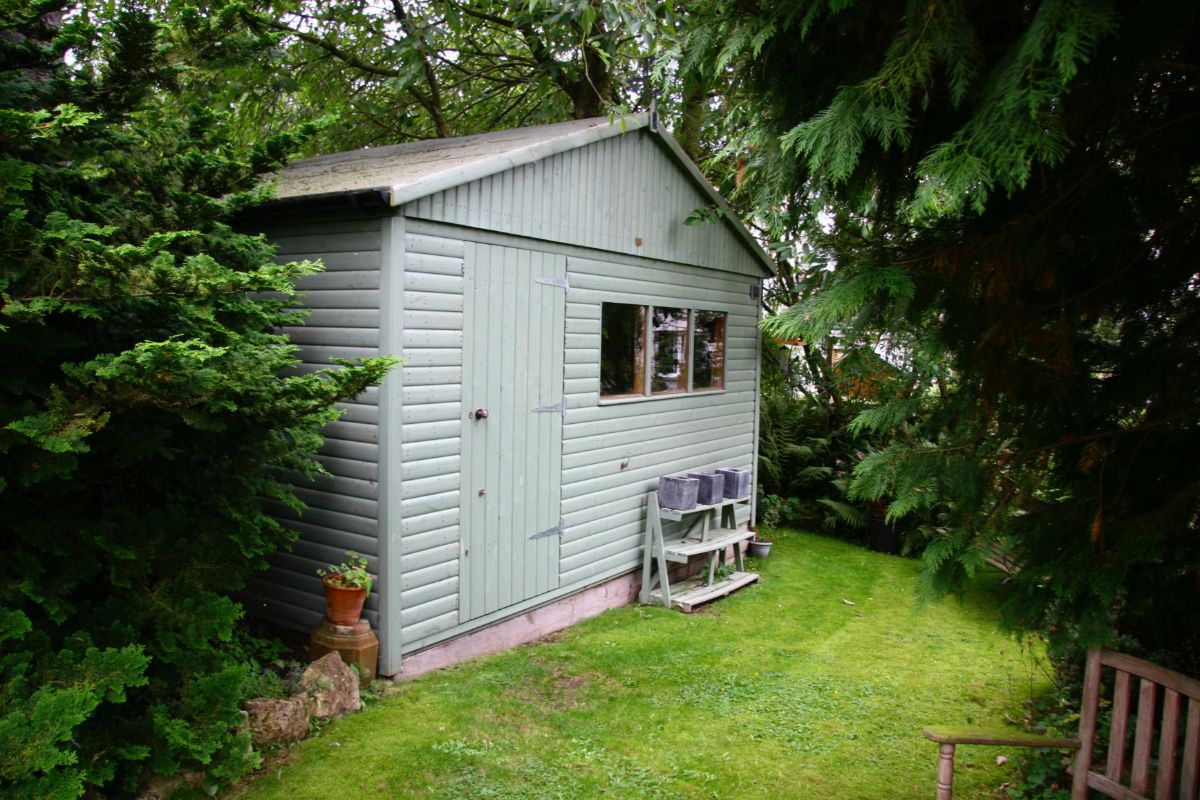
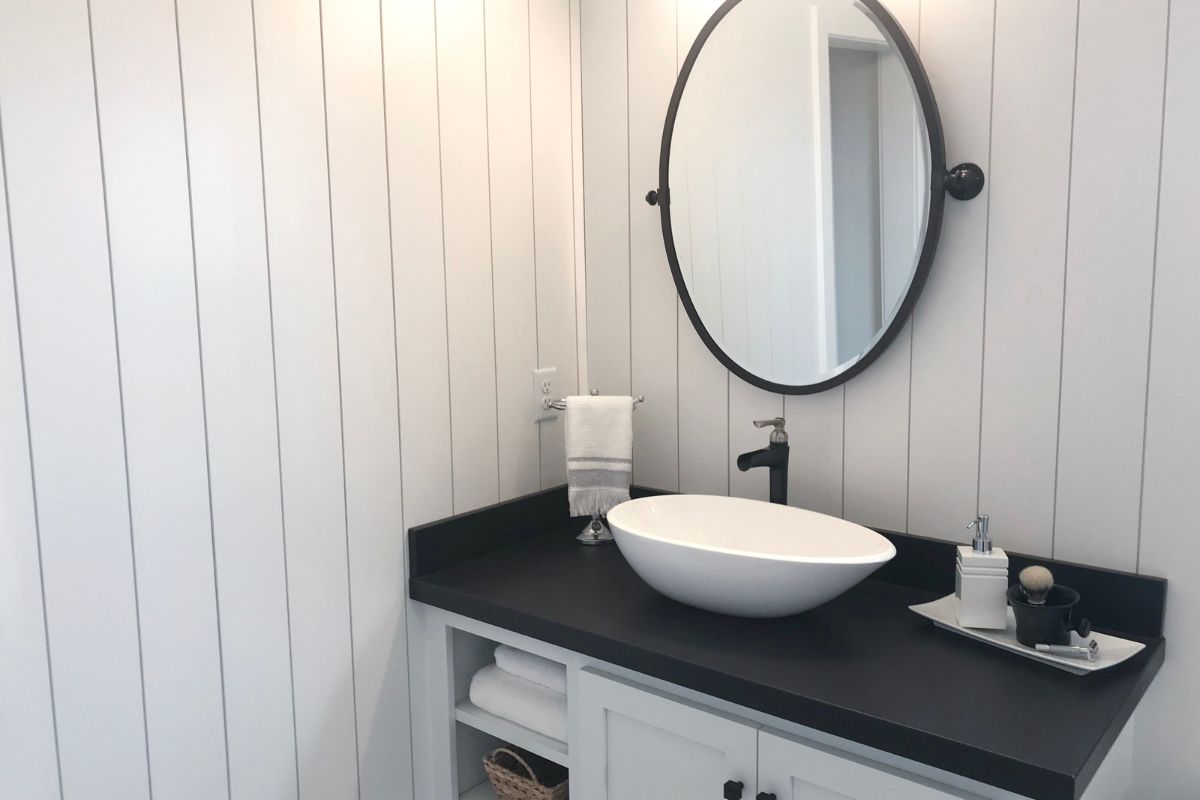
The vertical style with slight ridges in between each panel is a very modernized look that you can find on a lot of newly built houses and outdoor sheds (Also check out Ideas For Your Shed Skirting) and with its often vibrant light brown appearance, it is a real step up from the traditional dark brown that we are all so accustomed to.
Are There Any Downsides To Using Shiplap?
While shiplap is an incredible construction material that can be installed just about anywhere, the main issue you can run into when using it is how often it can pick up dust.
This is because of the small gaps that give shiplap its charm which are easy spaces for dust to collect and linger, so it is also advised to give the walls a once-over with a duster or cloth every once in a while to make sure they are completely dust free.
Additionally, while it is definitely easy to install, a lot of care and attention is still crucially needed when using shiplap since it can easily warp or even rot if not installed properly.
This includes always making sure that the edges are in line with the studs and trying not to make huge holes in the boards for electrical outlets.
Frequently Asked Questions
Is Shiplap Very Expensive?
In terms of prices, shiplap hovers in the middle compared to many of its peers with an average shiplap interior costing around $1,000 with the cost ranging between $500 and $1,500 per room.
This is if you wanted to decorate an entire room however, for just a singular wall this can be a lot cheaper.
Plywood is definitely a cheaper option, however it is nowhere near as easy to put together and install, and also doesn’t have the sheen and modernized look that shiplap does.
Drywall panels are also cheaper in general, however when you factor in the cost of installations, shiplap usually comes out on top as the more budget friendly option.
Can You Use Shiplap Horizontally?
For many people who are beginning to install shiplap, the standard and most common way to display it is vertically since this allows you to see the staggering of the boards and can make a room feel even larger than it already is.
This does not mean that installing them horizontally is wrong in any way however, in fact it can actually help emphasize the size of a room and still gives off that stylish yet cozy atmosphere that shiplap is known for.
If you really wanted to try something bold, you can even install shiplap onto the ceiling to really catch the eyes of any guests and to make the roof of a room that much more colorful and vibrant.
Summary
Shiplap may have grown into one of the most popular wall installations within the DIY scene, but it still requires extra care to make sure nothing goes wrong and that you don’t end up with a weak and fragile wall that could become heavily damaged in the long term.
Follow the above guide along with the tips and considerations to make sure your shiplap wall is firm, strong and beautiful to look at as soon as you put it up.
- The Woodworkers Guide to Brad Nailers: Everything You Need to Know - September 25, 2023
- How To DIY An Aztec Garden Dining Table [The Easy Way] - October 18, 2022
- Farrow & Ball Pigeon: Is It Right For Your Home? - October 17, 2022

