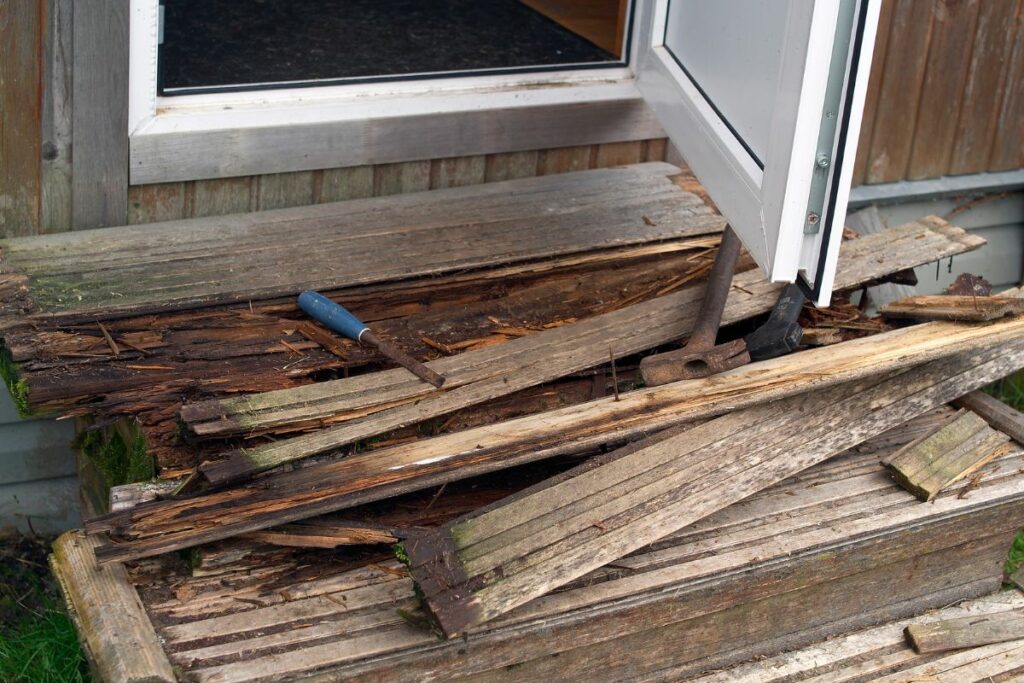
Rotten deck boards aren’t just unsightly, they can also be dangerous. Falling through a rotten board or getting a big old splinter can really hurt and may even cause some serious damage.
Whether you’re attempting to fix your deck boards yourself or are just curious about the process, there are some key elements you need to be aware of.
We always recommend talking to a professional before undertaking any work yourself as power tools are involved. When using power tools, always wear the correct safety equipment, these items can be purchased from any good DIY or hardware store.
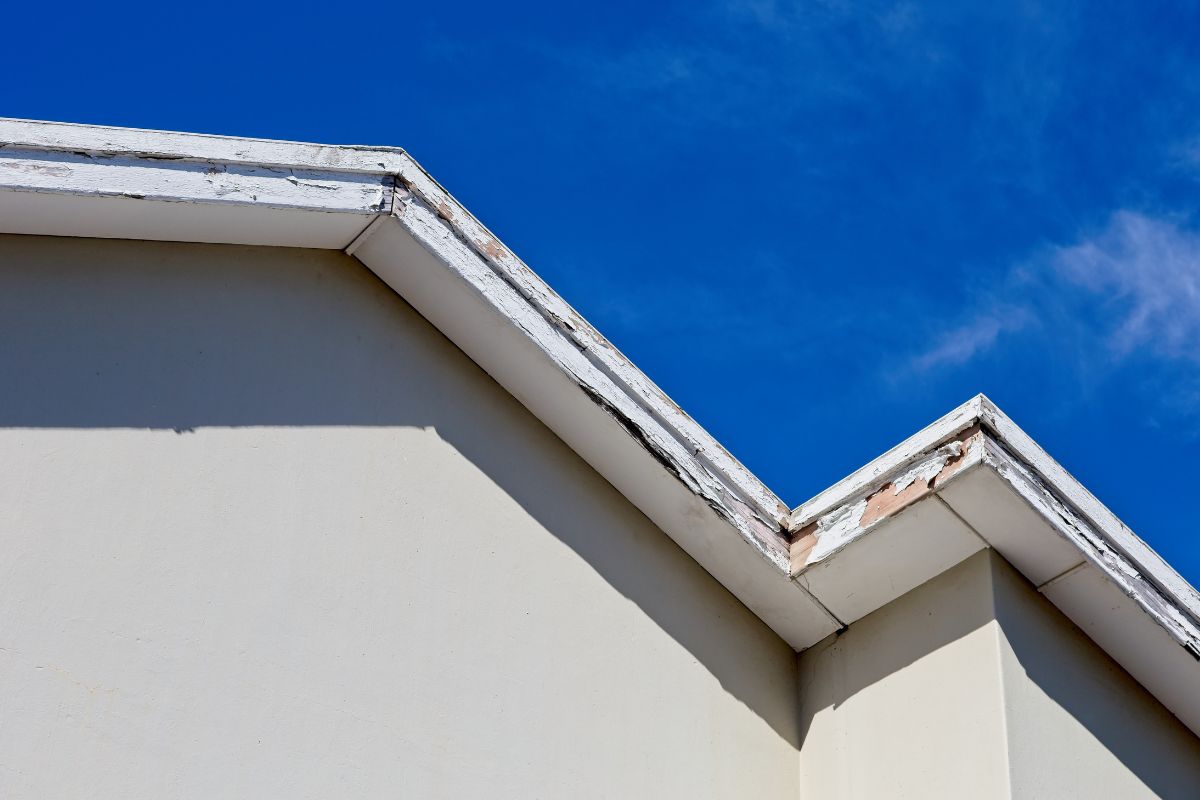
Let’s try and avoid any injuries or further damage by giving you all the information to help you replace your rotten deck boards (Also check out What To Do When Your Fascia Boards Are Rotted?).
This information can also be used in terms of a split or otherwise damaged deck board that isn’t necessarily rotten.
How To Replace A Section Of Rotted Deck Boards
Some boards will inevitably outlast others depending on where they are and what has happened to them.
This article will give you the necessary tools to remove problem boards and replace them with new ones without damaging your existing deck.
Equipment
- Tape Measure
- Hammer
- Drill and drill bits (⅛-inch)
- Rafter square
- Circular saw
- Screws (exterior deck screws that at 2-½” or 3”)
- Cat’s paw
- Screwdriver
- Pencil
- Replacement decking materials
Choosing The Correct Replacement Boards
Identifying the type of lumber you need to replace your rotten boards is important. Typical deck boards are treated 5/4 lumber which is 1-inch thick and 5½ inches wide.
Other types of lumber can be 1-1 ½ inches thick, so measure the thickness of your original boards to make sure you order the correct replacement lumber.
What To Look Out For
When picking out your new lumber, make sure to pick pieces without any obvious scars or defects. Also avoid boards that have big knots along the edges as these indicate potential fracture points which will be a waste of a board.
Check each piece of lumber to identify any small bows or curves, ideally you want boards as long and straight as possible.
How Much Does A New Deck Board Cost?
The average price of a new composite decking can cost anywhere from $10 – $20 per square foot. Wood decking on the other hand can cost anywhere between $3 – $15 per square foot.
You can shop around to get the best deals before you head out to the store to pick up your lumber.
Locate All Rotten Deck Boards
As you want to replace the old deck boards, use a pencil such as a carpenter’s pencil and mark the edges of the boards you’re going to remove.
These can include boards that aren’t rotten but are damaged in some way such as those with long splits in the grain and ones with lots of loose material.
If a damaged area is quite small, the replacement board should span at least two joist spaces for best results. This means that the board is supported correctly.
Calculate How Much Lumber You’ll Need
To calculate how much lumber you need, measure and record the number of boards that need replacing. Purchasing a little more lumber than you need means you have some spare in case anything goes wrong.
When you’ve identified which boards need replacing and their measurements you can see if you can save material by grouping replacements together.
Using longer boards to replace two smaller sections can save time, energy, and money. Once you have all the information you can order your replacements through a local DIY store or lumber yard.
Buying Lumber
When you’ve chosen your lumber, you can either take it home yourself or get it delivered to your door. If you’ve opted to take it home yourself, make sure you take the necessary precautions when loading long and heavy objects.
The law requires you to tack a red flag to the end of the boards if they stick out more than two feet from the end of your rear bumper.
You can always ask the staff at the lumber yard or DIY store to double-check your lumber is safe and securely attached to your vehicle.
Removing Damaged Boards
Before you do anything, make sure you have the appropriate safety equipment such as googles and steel-toe shoes before undertaking any carpentry work yourself.
Firstly, remove any fasteners holding the boards down before attempting to pry them up. Screws can be unscrewed and nails can be pried out with the cat’s paw.
Note that the nails might be stiff and difficult to remove if they’ve been in there for a long time. For best results, try to use the prongs of the cat’s paw to gouge into the wood to get a good grip on the nail before using a little force to pull it out.
Ensure that any screws or nails are placed safely in the trash or hammer down any nails that are sticking out of the bottom side of old boards to ensure that no one will get hurt. Repeat these steps for all the broken boards.
Measure The Gaps In The Deck
Measure the gaps in the deck where boards are missing with your tape measure. Ensure that the tape measure is spanning across the entirety of the space.
To allow for some extra room and easy placement, subtract ⅛-inch from the measurement.
For example, if a gap measures 15 inches, 15 – 0.125 = 14.875. Record these measurements on a piece of paper or label the gaps in your deck to help you keep track of what you’re doing.
Clean Out The Joists
Although you might not think this to be a necessary step, dirt and debris build-up can actually affect the way the new deck boards sit level on the joists.
This is also a great chance to clear any leaves and trash that may have accumulated through the gaps over many years. A simple dustpan or broom can clear the joists out in no time.
Take this opportunity to check the joists themselves and evaluate what condition they are in. If they are showing signs of rot, then you may need to pause the board replacement project and assess if the joists also need replacing.
Hopefully, the framing of your deck will be in good condition as it’s protected from the elements by the boards themselves.
Cutting Out The Replacement Boards
Using a circular saw and rafter square cut the replacement pieces to the lengths you previously measured. It is important to ‘square up’ the ends of the boards to get rid of any ragged cuts on the ends and smooth things over nicely to help it slot in.
When marking the measurements on the new pieces of lumber, hook your tape measure onto the square end of the board to keep it steady whilst you mark the end point with an ‘X’ to indicate the cut location.
Using the rafter square, you can draw a straight light through the X to create a cutting line.
To ensure the blade has enough room to cut correctly, you can prop the lumber you’re cutting between two old pieces of lumber to create a workman’s bench.
This will help the blade to slide through the piece of lumber and avoid cutting anything else, including the original deck.
Line the saw blade so that it will cut straight down the middle of the line you made on the wood. The rafter square can be used here to guide the blade through the lumber, but make sure you’re comfortable using this method and don’t attempt it if you don’t feel comfortable enough with power tools.
Slot The Replacement Boards In
It’s time to test if the new board pieces fit in the gaps. At this point you can assess if there are any boards that are too big or too small.
If they all fit nicely, you can start to pre-drill two holes at each joist location. These must be around 1-inch from the sides of the board. To check if you’re on the right path, line the holes with screws in neighboring joists.
With some force, put the exterior screws into the pre-drilled holes, they should be long enough to sink 1½ inches into the joist below. We recommend using screws rather than nails to secure deck boards as they don’t loosen over time.
When there’s heavy foot traffic or lumber expanding/contracting as the weather changes causes the nails to lose their grip.
When all the screws are in place you can begin to attach them in all the joist locations. If a new board and an old board are sharing a joist, ensure the screws are driven in at an angle.
This ensures they sink into the joist they are sharing properly avoiding anything coming loose. Keep repeating these last steps until all your boards are replaced and are looking as good as new.
Treating The Wood
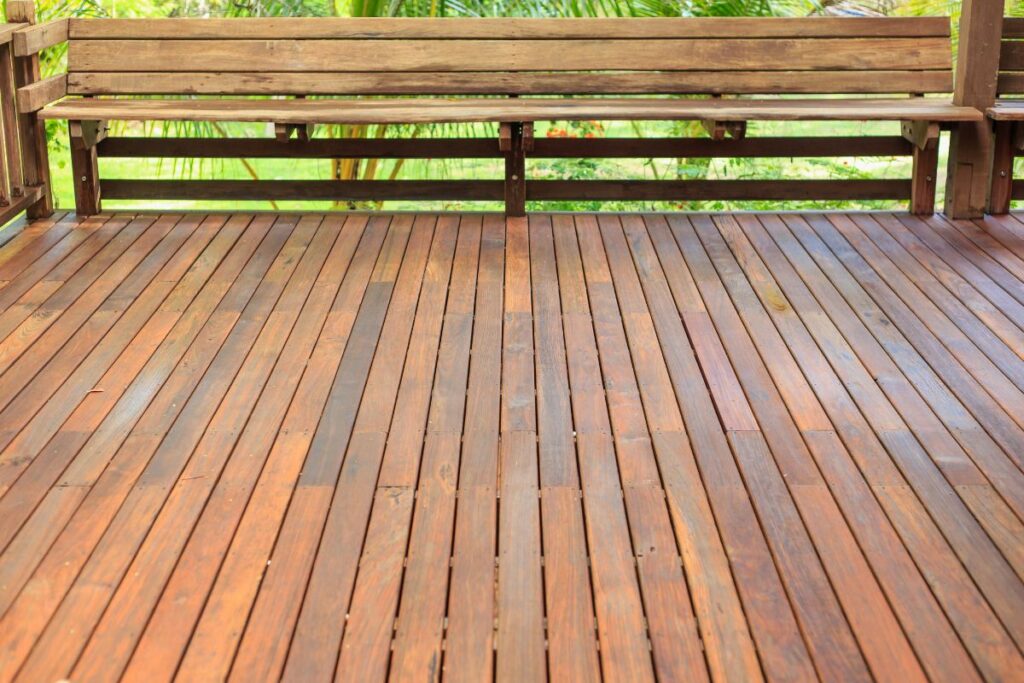
How to finish off your new deck boards is really important. Sometimes it can be cheaper to buy untreated wood and do this part yourself at home.
If your deck is painted a specific color then it can be beneficial to buy untreated wood to match the color later on.
To achieve a more cohesive look quickly, you can try using oil or deck stain to bring the board a smooth, even color. These can be purchased from your local DIY store or online paint retailer for a low cost.
Decking protectors can be clear or colored, using one of these can help protect your new deck boards from the elements and keep out water which can make them slippery. Many products can be used on smooth or ridged wood and are easy to apply.
Leftover Wood
Leftover wood can be stored safely under the deck if it’s been treated or you can store them to use them for other DIY projects in the future. Store untreated wood in a cool, dry place where it’s unlikely to get affected by moisture.
Closing Thoughts
If you fancy yourself as quite a handy person, you should find fixing your deck relatively easy as well as enjoyable! To ensure you do the best job possible, it’s important to have a good plan in place and correctly measure your lumber.
We hope you found this article interesting and informative, giving you all the tools and tips to rebuild your decking. If you’re ever unsure, always contact a professional to help you finish the job.
Frequently Asked Questions
Can Rotten Decking Be Saved?
It is safest to remove rotten deck boards and replace them with new boards as they will have been weakened and cannot be fixed.
Rotten deck boards are dangerous as they can split or break causing someone to hurt themselves or fall through a broken board in the worst case scenario. Rotten wood cannot be used for anything useful and is best to throw away.
Replacing rotten deck boards means you can extend the life of your decking for longer and create a safer environment for you and your family.
Why Do My Deck Boards Keep Rotting?
If you find that you’ve had to replace your deck boards more frequently than normal this could indicate that there is something wrong.
Dry rot is a fungus that spreads through wood quickly and easily. This fungus occurs when moisture and pools of water seep into the wood or accumulate on top of it. When the wood dries out it is brittle and weak.
Properly treating your deck wood will ensure that the water will slide right off and wont penetrate into the wood. You can use a clear varnish or a colored stain to do this.
If insects or animals are the cause of your wood rot then you may need to call out an exterminator to get rid of the problem before attempting to repair your deck.
- The Woodworkers Guide to Brad Nailers: Everything You Need to Know - September 25, 2023
- How To DIY An Aztec Garden Dining Table [The Easy Way] - October 18, 2022
- Farrow & Ball Pigeon: Is It Right For Your Home? - October 17, 2022


