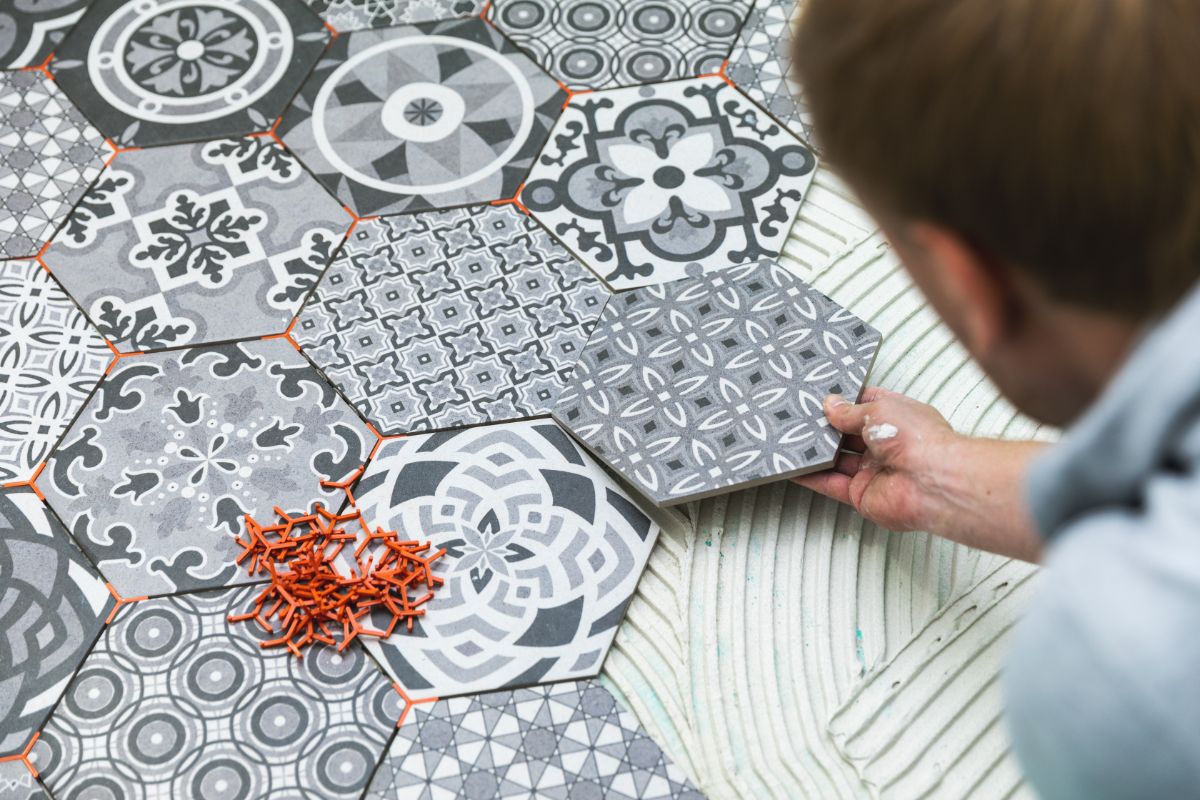
Adding tiles to your decor can be a great way to transform a space, offering an elegant, vibrant look that is sure to brighten up your home and make it feel more welcoming.
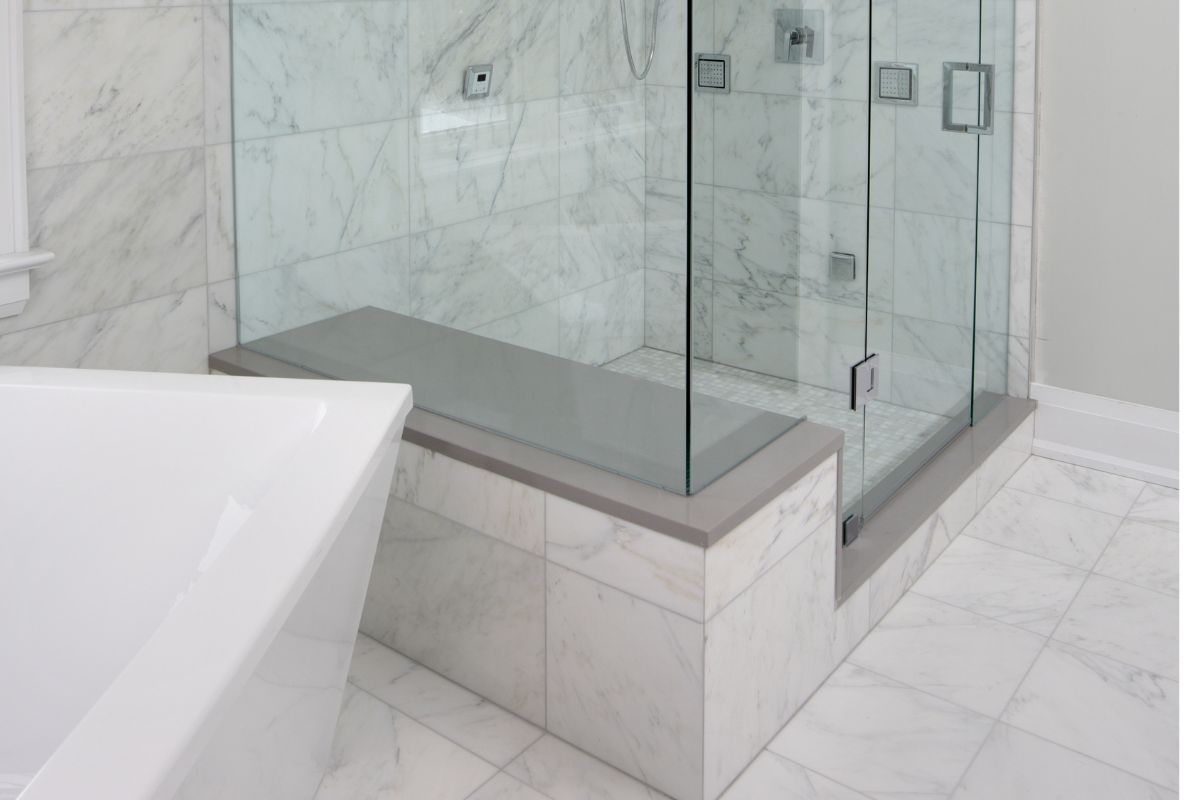
Tiles are also easy to clean and maintain, making them the perfect choice for any room in your house.
As an added bonus, tiling is a job that is relatively easier – until you get to outside corners.
Tiling outside corners can be a little tricky, and this is largely due to the different angles at which you need to tile. Fortunately for you, we have put together all you need to know about tiling outside corners – read on for all you need to know!
Why Is It Tricky To Tile Outside Corners?
Before we take a look at how to tile outside corners, it is worth taking a few moments to understand why this area tends to be so difficult. Tiling outside corners can be a challenge because of the angle at which you need to lay the tiles.
When laying tiles, you will often find yourself having to work with a 90-degree angle, but when working around outside corners, you will usually find yourself working with more awkward, less exact angles, and this makes it harder to achieve a neat finish.
The best way to avoid these problems is to ensure that you have a good understanding of how to tile outside corners before you start. This means knowing what type of tiles you want to use, where they should go, and how many there should be.
You may even want to consider getting some professional help if you are not confident in your skills.
If, however, you are keen to have a go, then you are in the right place – we have all you need to know to tile outside corners with confidence!
What Type Of Tiles Should I Use For My Outside Corner?
When choosing tiles for outside corners, you will generally want to choose something that has a smooth surface. Smooth surfaces tend to be easier to cut into, and therefore easier to adjust if needed.
If you do decide to use tiles with rough edges, then you will need to be careful when cutting them out, as it is easier to chip and damage the sides and end up with a more jagged finish.
You will also want to think carefully about the size of the tiles you choose.
Smaller tiles are easier to handle – and it can be easier to hide errors if things go wrong – while larger tiles cover a greater deal of space, meaning that you need fewer tiles to cover a given area, which can save you money.
Where Do I Want Them Placed?
Once you have decided on the type of tiles you want, you will need to decide where they should go. There are two main areas that you will need to consider: the inside corner, and the outside corner.
Inside Corners
Inside corners are those corners that are formed by walls meeting each other. They are typically found in bathrooms or kitchens and are used to create a decorative feature.
Inside corners are fairly straightforward to tile, as they are usually only one tile wide, and they are placed against a wall.
Outside Corners
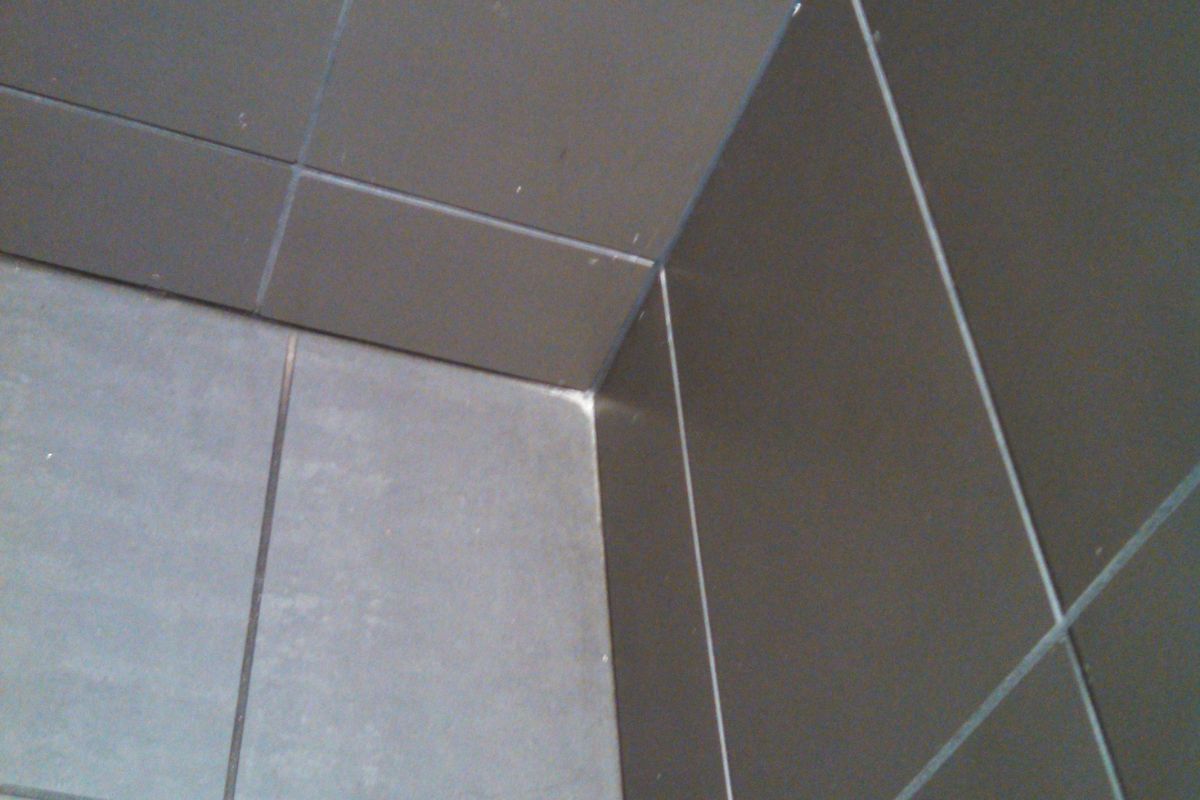
Outside corners are those corners that form between two walls, such as an outside wall and an interior wall. These are much trickier to tile than inside corners, as they require a lot more precision.
How Do I Tile An Outside Corner With A Corner Trim?
As we have mentioned, tiling an outside corner is a little challenging, and a corner trim can be the easiest option to achieve this. To help, we have put together all you need to know to achieve this in just a few short, simple steps.
Prepare The Surface
The first thing you will need to do is prepare the surface. This involves removing any loose material from the surface, and ensuring that the surface is clean and dry. Use paper tape and a thin-set to seal the joints, and then make sure that these are level.
You also need to choose the right corner – for a three-way joint, edge corners are usually the best bet, and these tend to come in a plain color, or in chrome. The purpose of these is to protect your tiling and create a clean edge.
Cut The Trim
The next step is to cut your chosen corner trim using a hacksaw, trimming this to the best length for your wall.
Fix The Corner Trim
Once the tile is cut, the next step is to use a strip of adhesive on the wall, and press the trim firmly against this, making sure that the edge of this term is correctly aligned with the tile from the other wall – this ensures that there is plenty of space for grout to be applied.
Take care here to ensure that the other tiles are not knocked off.
You will need to repeat the installation of a corner trim in every corner where two walls meet.
Other Options For Tiling A Corner
If adding a corner trim is not the best option for your needs, there are a few other options to allow you to tile an outside corner, and these include:
Mitering
Another method to tiling your outside corner is to use a mitering method; this includes cutting two pieces of tiles at a 90-degree angle to create two corners and can be achieved with a tile cutter or hacksaw.
Quarter Round
Another option for tiling a corner is to use quarter rounds; these are trims that are rounded and designed to hide the raw edge of a tiled section of the wall. They can be made out of wood or plastic, and are available in different sizes.
Bullnose Edge
A bullnose edge is another way to tile an outside corner. It is created by rounding the edges of the tiles so that they overlap slightly, creating a smooth transition between the tiles.
You can find them in a variety of colors, but it is important to note that they are not suitable for wet areas.
How To Make It Easier To Install Tiles
Now that we have taken a closer look at tiling outside corners, you may be wondering how you can make the entire tiling experience smoother and less stressful? We have some top tips for helping you to achieve this:
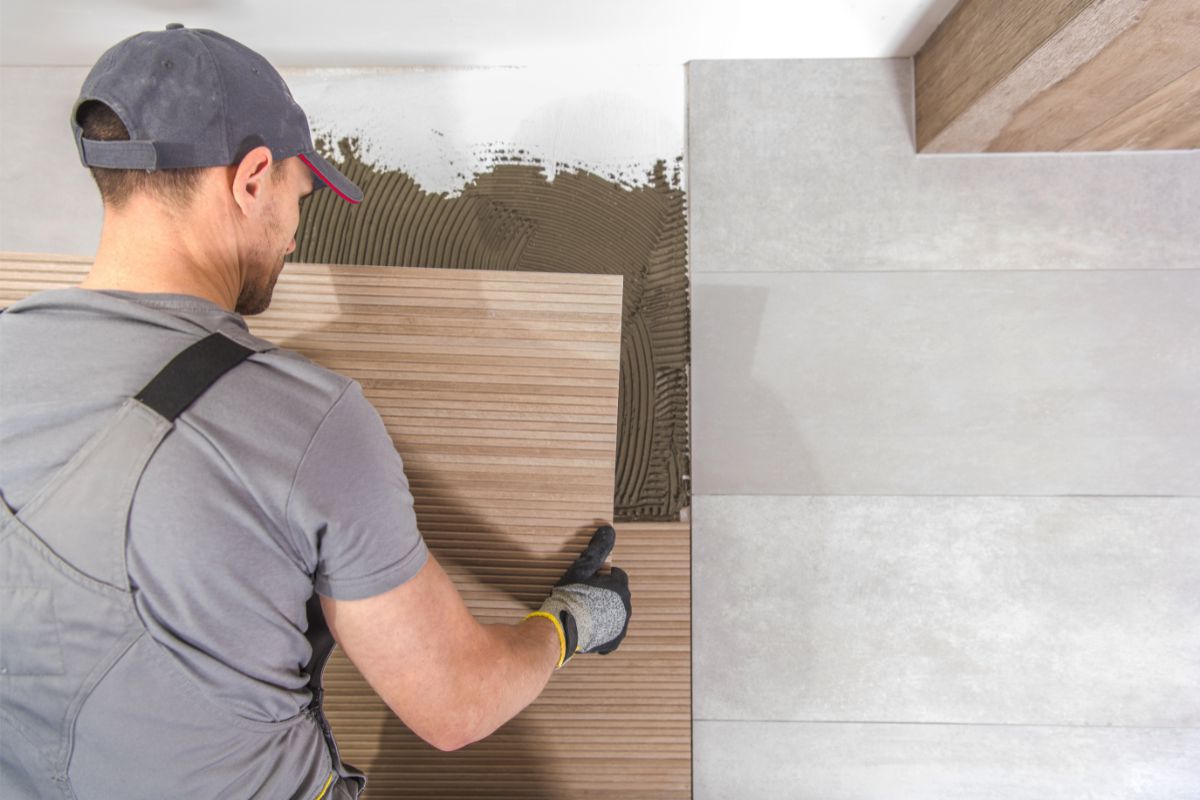
Make Sure That Your Walls Are Level
This is one of the most common mistakes people make when installing tiles. If you notice that your walls are uneven, then you should check if your tiles are sitting flat on the wall. If they are not, then you should try to adjust them until they sit flush.
You may need to add grout or filler to the back of the tiles or adjust the plastering to make the surface of the wall more even.
Ensure That All Joints Are Sealed With Paper Tape
When you install tiles, it is very easy for water to get into the gaps around the tiles, which means that it could damage the tiles over time. To avoid this, you should always use paper tape to seal all joints before applying the grout.
Apply Grout Before Adding Any Other Materials
When you apply grout, you should only apply it after you have finished laying down your tiles. This is because if you apply grout first, then you will end up having to remove it again later.
Use A Rubber Sponge To Remove Excess Grout
It is important to remember that when you are removing excess grout, you should never use a metal tool such as a knife. Instead, you should use a rubber sponge to gently rub away any excess grout – this reduces the risk of scratching or damaging the tiles.
Tile From The Inside Out
When tiling, make sure that you work from the inside of your wall and head outwards. This will help you to ensure that your tiles fit together properly, and will ensure that any patterns are consistent throughout the entire area.
Make A Plan Before You Start
Before you start tiling, you should draw out a plan of what you want to do. This will help you keep track of where you are going to put each tile, and will also allow you to see whether there are any issues with the layout.
Final Thoughts
Tiling outside corners can be tricky, but with a little bit of preparation and planning, you should be able to complete the job successfully.
Remember to follow our top tips above, and you should be well on your way to achieving a beautiful finish, and transforming a space in no time!
- The Woodworkers Guide to Brad Nailers: Everything You Need to Know - September 25, 2023
- How To DIY An Aztec Garden Dining Table [The Easy Way] - October 18, 2022
- Farrow & Ball Pigeon: Is It Right For Your Home? - October 17, 2022

