We all think our home has a charm to it and we all aim to have our own vibe shown throughout the house. Unfortunately building your perfect home is not too simple.
You will need to be working on numerous projects to ensure that you do get everything right at the end. One area of a home that will need some special attention is your flooring, an essential part of home decor.
Your floor layout will massively influence your home’s flow, your floor will be transitioning from one area to the next so it is incredibly important for you creating the perfect smooth and seamless finish.
If the flooring has different tiles for different rooms then the transition between rooms must be kept neat and almost unnoticeable.
Ensuring your transitions from tile to tile are crucial not just for the room’s appearch but also it is to protect your tiles from becoming warped or even cracked.
In this article we will list several great ideas for your blending of tiles to ensure that your home does not look like an uncoordinated jumble of tiles.
We will also teach you the step by step guide to installing them so you will not be left out in the dark.
Ideas For Transitions
Let’s start off talking about some great ideas you can implement in your home.
Transition Strips
This is an inexpensive way to transition your tiles between rooms. Transition strips are either a vinyl section or is a thick wood that easily fits between the flooring sections that you are attempting to connect, creating a new threshold.
They come in many different styles, the most common of these contain hooks that easily slip below your floor. As well as this the style has a curved lip that bends to the floor and provides it with a nice edge.
These transition strips are perfect for different types of flooring. They are far more functional than stylistic.
They may not look great but are the perfect way to merge two sections of flooring that are on two separate levels.
The main drawback of transition strips is, they are only useful as a separation of levels due to that being their main use and the few different options available holding them to really only one use.
Color Blocking
This is a very popular method of transitioning from two separate tiles. It’s best suited for a home where each room has a difference in tiles.
The block of colors will give off an amazingly appealing visual transition happening between the house’s rooms.
The overall process is very simple. All you have to do is lay down some of the tiles that are horizontal and small in a specific color that take place between the rooms.
If two separate rooms have tiles that are colored the same with just a difference in shades.
Then just a simple transition tile of a color that is a mix of both colors or one that is very similar will give the transition a seamless look to it.
Threshold Transition
Our next choice is a threshold transition you can decide to install between the tile floors. The transition thresholds are designed to allow the room to flow from one room to another seamlessly.
They are made up of tile, marble, pebble or deco strip.
Easily the best method to install a threshold using the area from the cut the section up into pieces and spread mortar over it, now simply install the threshold, a transition piece will span any gaps between two sections of tiled area.
You can also make the decision to use a pebble threshold, make sure to fill up any gaps existing between the doorway with some mortar then press down the pebbles this will give you a cleaner transition from your tiled floors.
Tile Patterns
Perhaps the most classic method of tile to tile transition is the tile pattern. This method is designed to have the nicest looking transition from one room to the next.
It is only possible if your tiles from each room will end up matching in style or color.
To make a threshold you will need to use any leftover pieces to cut them into some small triangle shapes from a section of the matching tile.
The tiles will then need to be placed in alternate triangular patterns to then create the threshold between the spaces.
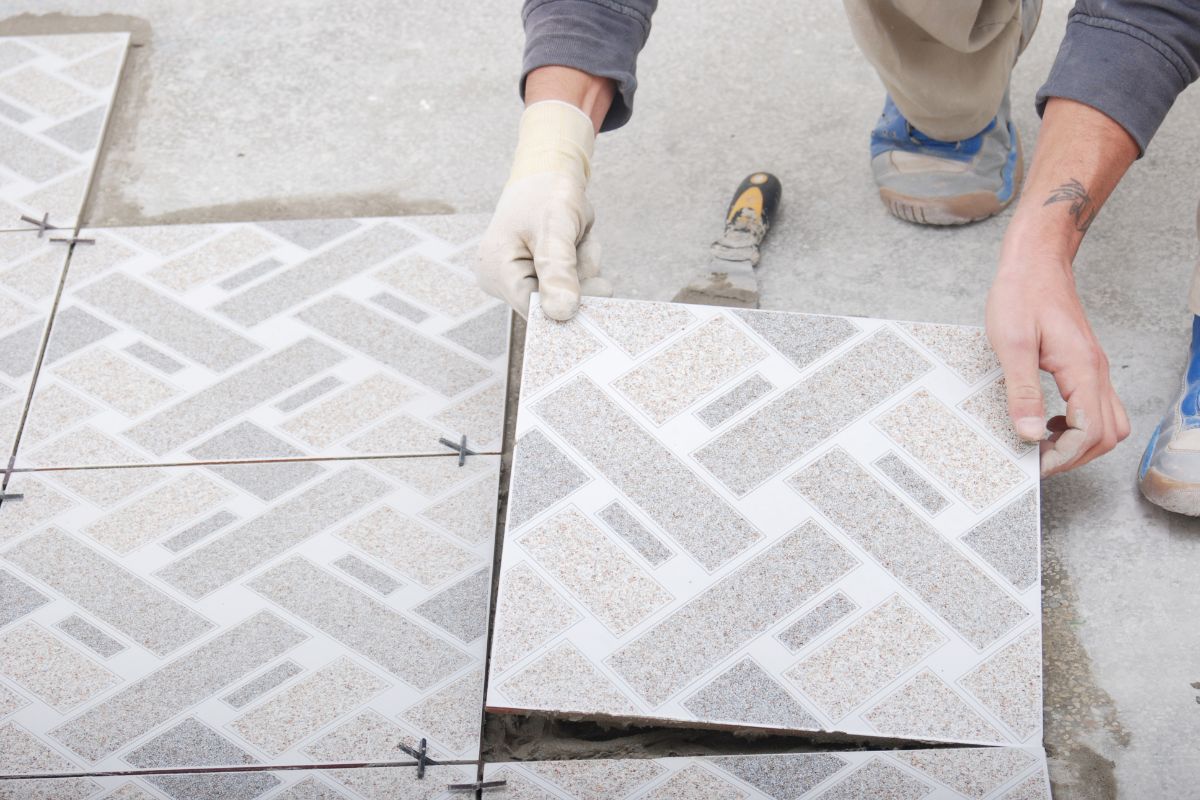
If you want your area to be more artistic then you can break apart the tiles and use the pieces to create a pattern to fill the space left behind with a dark colored grout and use it to give said space a contrasting look.
However if your tiles in the room do not match then you should think of picking up some neutral colors like gray or cream and then use them to create the pattern transition from the gap between the rooms.
How To Install The Transitions
Before diving into the process step by step first you will need some tools and materials that you will be using. So here is everything you are going to need to start this project:
- Safety Gloves
- Eye Protection
- Tile to tile transition
- Thin Set Mortar
- Mixing palette
- Drill machinery
- Saw
- Rubber hammer
- Bucket
Before purchasing anything ensure that you measure the length where the transition will be placed. If for example you are intending to build it between a door then you will only be requiring a short piece.
Now you have the materials and are ready to start let’s go through the process of installation step by step:
- Fix your transition trip and tiles in your doorway. Place the underlay on to your subfloor then proceed to tile over the underlay. Next pull out your pull saw and cut down the jambs in the door.
- Make sure you are using the tape measure to work out the length of the transition. Measure the gap in your doorway and use a vacuum to suck away any debris or dirt that is trapped in a two tiled surface. So now you are going to install a tile transition underneath the cut down door jambs, make sure to allow the transition to cut in longer. This will then make sure that it will fit both of the jambs on either side.
- You should choose aluminum transitions. Now for one end of the tile it should be able to pierce through the transition. Whilst the other side it should easily slot over the edge of the tile.
- Now that you have measured all dimensions it’s time for cutting out the line in your transition. To do this you need either a miter box or just a saw. When you have either you should sand down and smoothen your surface. Ensure that your transitions are firmly in position and then cut them.
- All of this work now means that the transitions are now ready. Make sure to check that the space underneath the planned doorway is a perfect fit and measure the dimensions where you’ll be cutting in the missing tiles. The transitions will have some gaps below that can be used for then locking transitions that are holding it in place with some screws. This is definitely not very necessary for every kind of transition. There are instances where a screw could make the tiles not fit into the transitions.
- Finally after all this set up we are ready to start with the tile transitions installation. Add in the adhesive whilst beginning to spread it to your floor ensuring it is spread evenly. Using a float ensures you will get that perfect layer. This tile adhesive will dry out rather quickly, make sure you spread the adhesive only when the cut out tiles are ready.
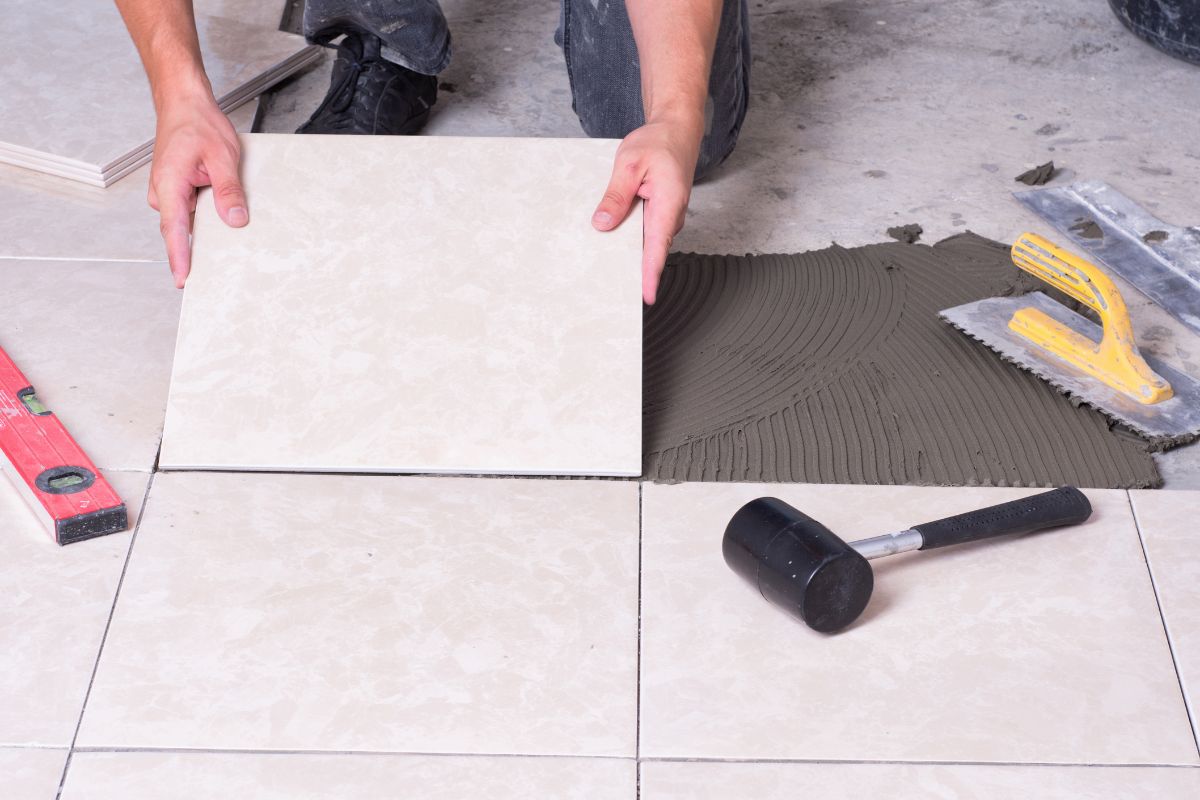
- After the adhesive has been spread, now we are ready for the installation process, make sure not to force the glue inside of the transition if you accidentally do this then the tiles will not fit. To make sure that you are doing this correctly you should regularly be checking the floor with a spirit level, using a rubber hammer proceed to hammer the tiles into place. Use the tile spacer to ensure that they are properly installed.
- Now that you have placed down and laid out all the tiles, check one last time to see if your floors actually level and your transition is perfectly aligned. Allow for it to all dry and once it is remember that this transition can not be moved so do not attempt to move or fix anything if you went wrong as all this can possibly do is break tiles and chip the adhesive you spent so long laying.
It is absolutely crucial that the job is done perfectly on the first attempt so always take your time and focus on the task at hand and you will surely succeed.
- The Woodworkers Guide to Brad Nailers: Everything You Need to Know - September 25, 2023
- How To DIY An Aztec Garden Dining Table [The Easy Way] - October 18, 2022
- Farrow & Ball Pigeon: Is It Right For Your Home? - October 17, 2022

