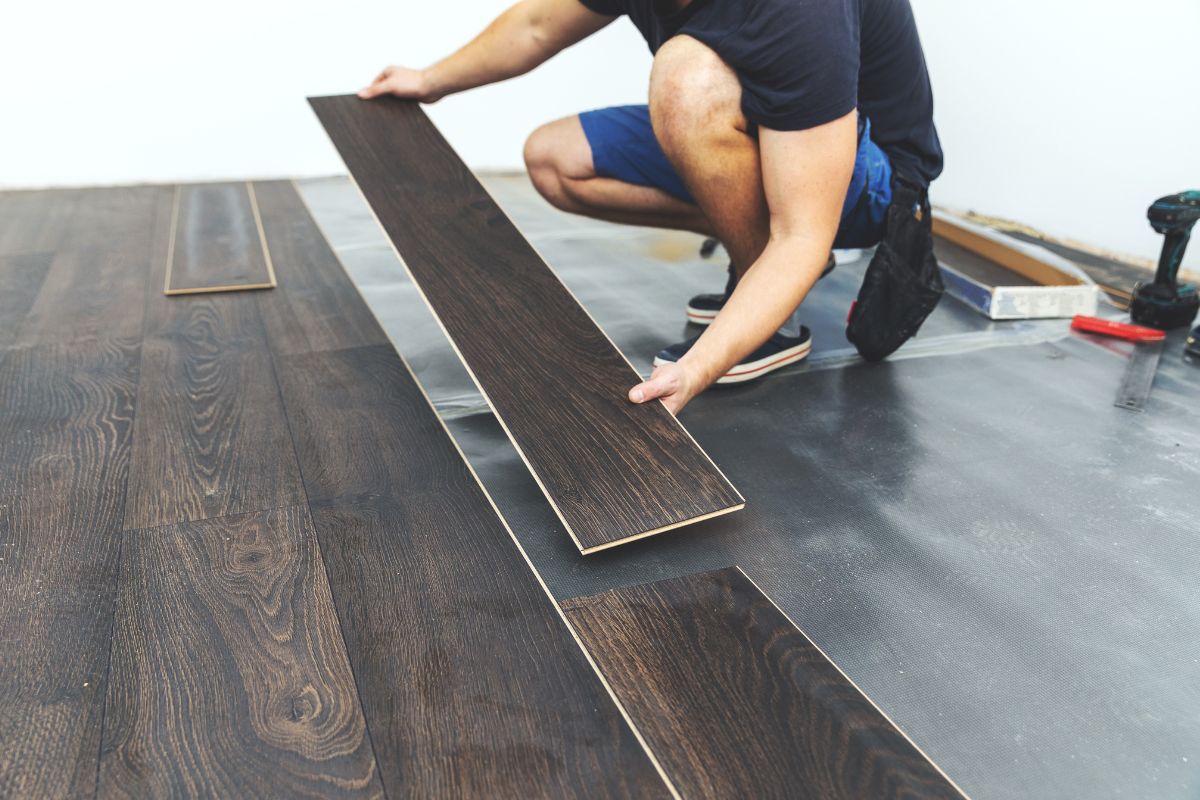
While porch columns are an incredibly important wood based structure which usually extend from the floor of a porch to a roof, they unfortunately are very prone to deteriorating and rotting over time due to their constant exposure to the elements and harsh weather.

It is important however to act quickly when you notice that a porch column is faltering or if it has been badly damaged since you don’t want to run the risk of the porch getting further damaged from not having the support it needs or even worse, if it is in danger of crumbling under its weight which can cause the roof or floor above to become unstable.
Luckily, replacing a porch column is not as hard as you might think and it is always worth knowing so that you can make any replacements that may be needed in the future.
Here is how to carefully replace a porch column the right way so you don’t cause any further damage.
What You Will Need To Replace A Porch Column
Because of their design and specific purpose, it is crucially important to always act with extreme care when replacing a porch column since if you don’t do it correctly, it can lead to far more damage being done to the porch itself, so it is always important to know exactly what you need to make this process as easy as possible.
Here are the main tools and materials you will need:
- 4×4 Post – In order to hold the roof in place and install the new one safely, a 4×4 post will be required as a replacement
- Hack saw with metal blade – Needed to saw through nails and screws holding the porch railing to the column
- Tape measure – Will be needed to measure the column to make sure the replacement will fit
- Ladder – For those bigger columns
- Screw/Nails – In order to secure the column securely and so that you can reinstall the railings
- Bottom plate – It is an optional addition but it will help the bottom of the column to resist rotting
- Jack – Used to raise and lower both the original column and the 4×4
How To Safely Replace A Porch Column
Now that you have all you need, here is how you can easily replace a porch column without causing any more damage than you need to.
Step 1 – Separate The Railing
If you have the type of porch column which is connected to and supported by a balustrade or a railing, in order to get to the column itself you first will want to use a reciprocating saw to cut out the screws so that they can become separated.
Just be careful while doing this that you do not damage both the top and bottom of the rails and if you can, try and support the railings by placing either wooden blocks or bricks underneath for when it’s detached.
Step 2 – Measure The Old Porch Column
Measure the old column from the porch beam to the jack, you will need this measurement in order to cut the new column down to the correct size if it’s needed.
Step 3 – Prepare The Base
As part of the preparation and to make sure your column will be as accurate as possible, you will want to know exactly where the base will be and especially what its measurements are going to be.
Start by marking down the centrepoint at the top and follow this down to make the exact same marking on the bottom.
This will allow you to be able to locate where to put the base, and in turn where to put the column. To make sure the base is completely accurate, measure out how long the base is and divide it in half.
From the center line that you marked down, measure out this subtracted distance in each direction possible, and this will give you a good idea of exactly where the base is going to set.
If it is a little too long, trim it down to size with a saw just so that it will be able to fit perfectly once you place it under the roof.
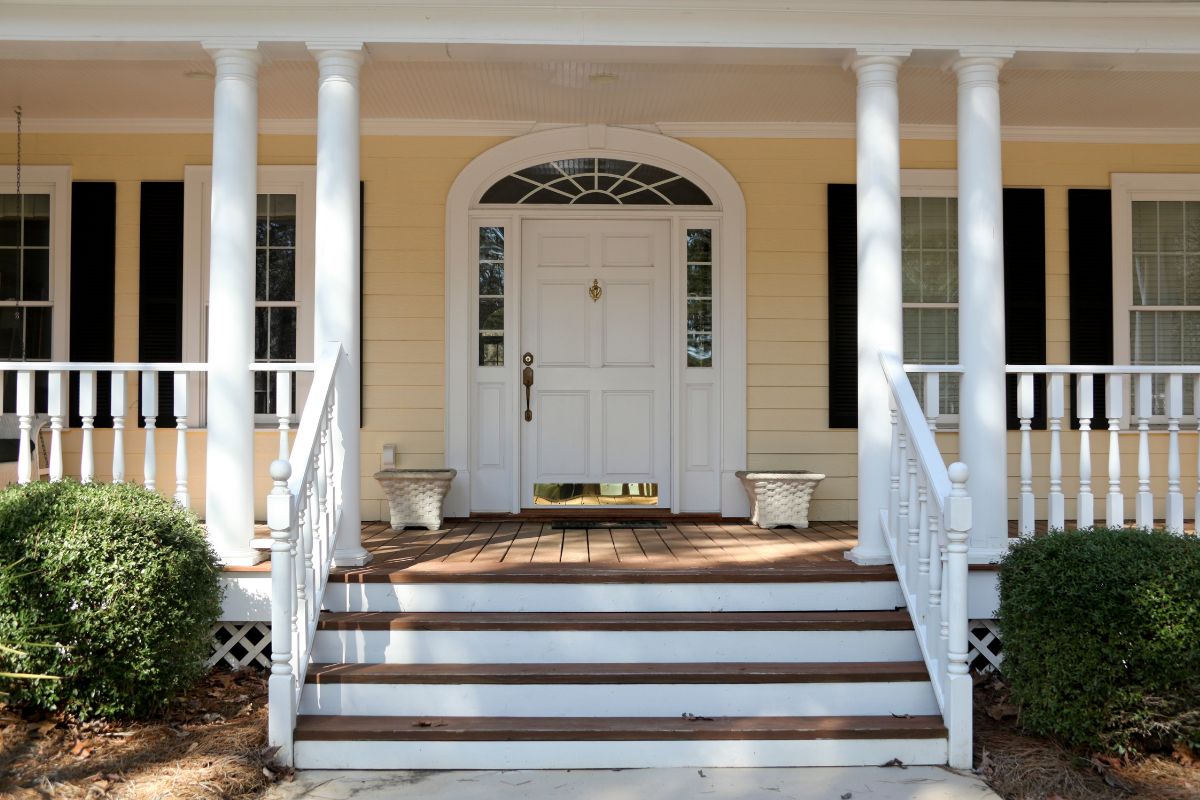
Step 4 – Measure Out The New Column
Next, you will want to start preparing the new column and ensuring that it can fit.
To start, it is crucial that all the columns are the same length, and it’s important when measuring that you measure from the center of the column and that the tape measure is parallel to the column since if it is on an angle, you will get an untrue measurement.
Using the measurement you got before, mark down anywhere that needs to be cut on the new column so that it mimics the same height.
Also to make cutting easier, try putting the marks very close together so that you can easily see where you’re cutting without having to stop and check.
Step 5 – Insert 4×4
Place the 4×4 on the jack so that you can use it to keep the roof stable as you prepare to move out the old column.
Once you notice that the column is free from the roof, carefully slide it out and be sure not to force it if it gets stuck.
Step 6 – Slide New Column In Place
Next you will want to slowly and carefully slide the new column into place while using the level to ensure that it is straight. Make sure it’s fitted into the base before you do this if you are using one.
Once it’s there, slowly lower the jack 4×4 until the top of the column is firmly planted onto the roof.
Step 7 – Screw Down The Base
Once the new column is in place, it’s going to quite loose so it’s time to screw it down. Drill several screws around the base and do the exact same thing for the top base until it is tight and firmly in place.
To make sure that the base is as protected as possible, especially from water, you can also apply some optional trim molding to the base and the top of the new column which can not only leave the final product looking a bit more clean and professional, but it will serve as a huge benefit in the long term.
Step 8 – Prime And Paint Column
Now that the column is securely in place, feel free to prime and paint it however you would like so that it fits in with the rest of the porch.
How To Know When It’s Time To Replace A Porch Column
The saying “If it’s not broke, don’t fix it” is the attitude many homeowners will take towards their porch columns, as long as it’s standing firmly, many will not take any further action, however there are some clear signs for when a column really should be replaced not just so it can look better, but also for safety concerns.
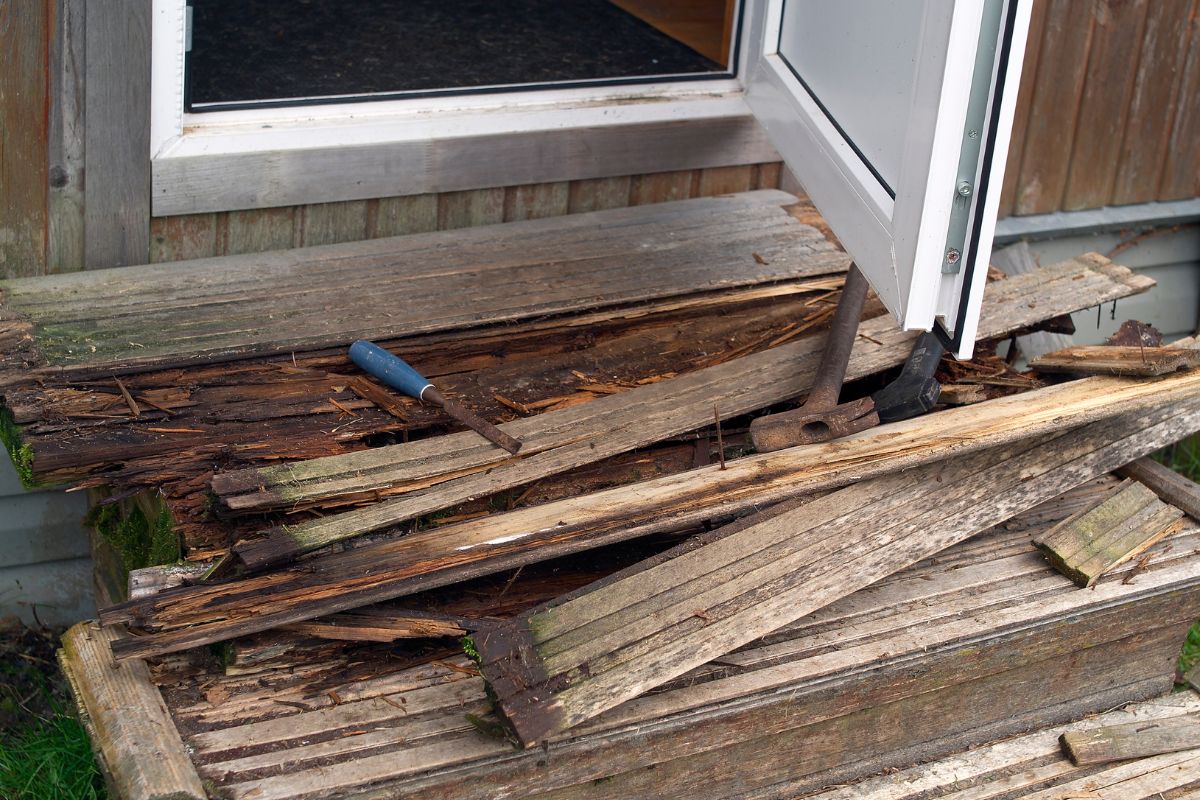
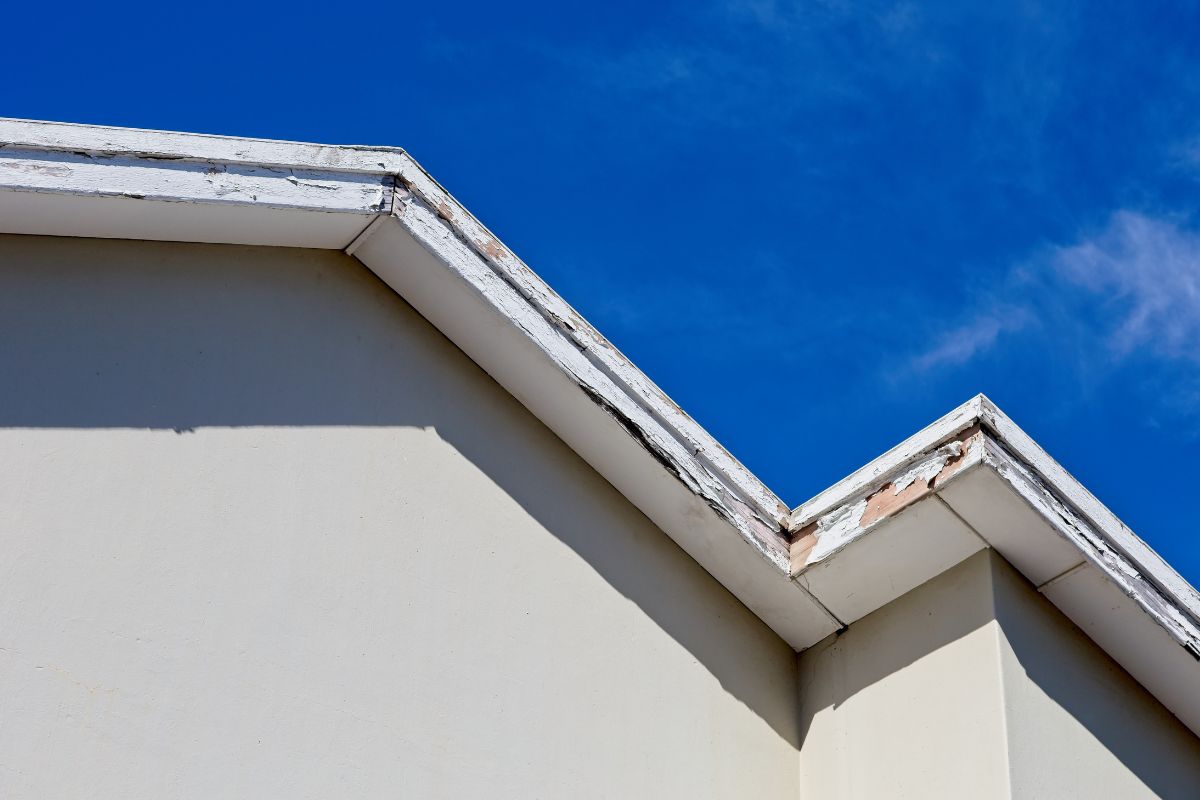
The main giveaway will be the appearance of the wooden column, and especially if the material is cracked, peeling and if the mitered corners and butt joint become separated, along with the wood itself usually being damp.
This unfortunately is a very common occurrence from when wood becomes weak and fragile from the rain, and while it may not look very appealing, it can also be a sign to replace the column as soon as you can to avoid any danger of it collapsing or breaking down.
It can also be common for wooden structures such as porch columns to start rotting which is unfortunately a development that will occur in all organic materials over time especially when exposed to the harsh weather conditions.
The way this works is because the water is graduated upwards from the base of the shaft to the top of the column, however as this cycle repeats more water becomes absorbed through the bottom of the columns, causing it to rot.
A rotting base can weaken the support of the columns tremendously and you can easily tell if it has become rotten by looking out for any mold or algae growth, separation of staves or if the base itself has sunk a few inches.
If you notice that the wood in your column is beginning to gradually break down due to exterior elements or if you think it is starting to rot, these can be clear signs to start thinking about replacing it.
What Is The Best Wood To Use For A New Porch Column?
When you’re planning out how to replace a porch column, one of the most important aspects aside from the actual task of removing the structure itself is choosing what kind of material you would want to replace it with since there are so many variations of wood on the market all with their own strengths and unique appearances.
Here are a few of the most popular and efficient types of wood you can use as part of a new porch column to suit your own personal style.
1) Birch
Birch wood is an especially popular choice because of just how durable it is, being highly stable and classed as a high-density hardwood, making it a lot heavier than most other hardwood and while this may be a downside in the preparation phase, it’s a huge benefit once you actually have the column in place.
Not to mention, the appearance and aesthetic of birch wood also adds a very rich look to each and every column with its pores and waves which can usually come in a variety of colors.
In terms of durability and strength, you won’t find any wood that fits the purpose better than birch wood.
2) Red Or White Oak
Not only will red and white oak give a column a good amount of durability, they are also incredibly resistant to harsh and extreme weather conditions and can be cared for easily, making them one of the best options for the long term.
With proper maintenance, red and white oak wood can last from a few years up to a few decades, making it an incredibly worthwhile investment that also looks amazing with the growth rings adding a naturally beautiful aesthetic to the wood.
3) Mahogany
If your biggest worry while preparing a new column is the wood getting damaged by harsh weather and water build up, mahogany wood is known for having incredible water resistance and stands extremely well against moisture when compared to other types of wood, making it the go-to option when you need columns that are going to stand strong and firm in the face of harsh conditions.
Mahogany wood is large, strong and very classy in its appearance and while it may be a little more expensive than many other types of hardwood, none are quite as resistant to the elements as mahogany wood is.
4) Cherry
Cherry wood is all about the aesthetic and design with its smooth, colorful and vibrant appearance making it an excellent addition to any porch that won’t stand out too much but still adds a lot of personality to the area in general.
This is not to say that cherry wood isn’t also durable, it definitely is and provides a good amount of strength that is guaranteed to serve you well in the long term with proper maintenance.
In terms of strength and hardness however it does lag behind the other types of hardwood, so it is important to keep this in mind when choosing some beautiful red and brown cherry wood.
5) Cedar
If you would consider yourself a beginner when it comes to DIY woodwork projects and want a material that will make the process of replacing a porch column as easy as possible, cedar wood is an excellent option because of how light and easy it is to install while also being a lot less expensive than many of the other models.
The pinkish-red color of cedar wood also helps it to stand out and and retain its own unique appearance, however because this type of wood has a porous structure, it does mean that cedarwood will absorb oils and chemicals easily which can lead to discoloration, so it is always advised to apply a sealer or coating to ensure the column stays as bright and colorful as possible.
Because it is considered a softwood, this does mean that cedarwood won’t be as sturdy in the long term as birch or red and white oak, however with a Janka hardness value of 320, it is still more than strong enough to be used as a column that will support the weight of the roof easily, making it a much better option as a cheap and easy to use short term material rather than something that will last in the long term.
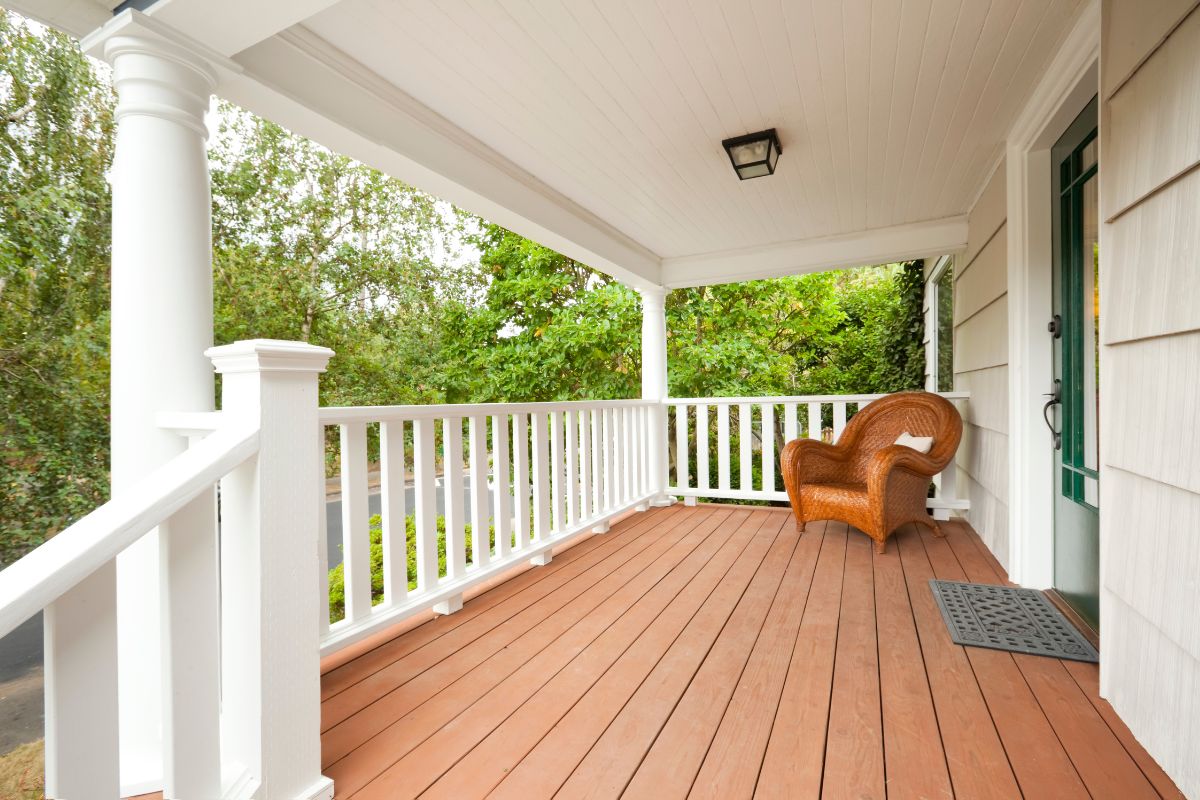
How To Protect A New Porch Base Column From Rotting
There is unfortunately little that can be done when it comes to repairing existing columns that have experienced rotting since the rot itself will usually make its way up the shaft, making it near impossible to remove it all.
When installing a new porch column, it can therefore be a very worthwhile idea to make sure the material is as resistant as it can be to rotting so you won’t have to deal with this annoying problem in the future.
Here are some easy ways you can protect your column from rotting while preparing it.
1) Use Aluminum Plinths Or Use A Synthetic Base
An easy way to prevent the wood from rotting is to ensure that there is a good amount of air circulation near the base of the pillar where the water is most likely to build up.
This can be done by placing aluminum plinths under the base or a different synthetic base such as polyurethane which will mold ventilation holes into the base and therefore encourage a good amount of air circulation.
2) Avoid Manually Drilling Air Holes
While it can originally seem like a good idea to fit some holes into the base of the new column manually so that you can allow good air ventilation, in reality all this will do is provide a conduit for water to build up which can then travel up the shaft and weaken the entire structure.
Therefore try using an aluminum plinth or synthetic base rather than drilling your own ventilation holes as this will only encourage the water to build up even more.
3) Use A Recessed Soffit
Try to make sure you have a recessed soffit as the column capital when possible since the capital will usually not have ventilation holes on its top so a recessed soffit is really the only way to ensure a good amount of airflow enters into the column itself.
Summary
If you notice that a porch column is starting to become weak, or if the harsh weather conditions have caused it to rot or start to break apart, then it is always advised to replace the column as fast as possible, and luckily this doesn’t need to be difficult and can be done quite easily when you have a spare afternoon or evening to get all the equipment together.
Just always make sure to take extra care when replacing a column since no matter what type of wood they are made of, because of their intended design they are always going to be big and very heavy, so removing it slowly with the appropriate tools will ensure you stay safe during the process.
- The Woodworkers Guide to Brad Nailers: Everything You Need to Know - September 25, 2023
- How To DIY An Aztec Garden Dining Table [The Easy Way] - October 18, 2022
- Farrow & Ball Pigeon: Is It Right For Your Home? - October 17, 2022

