Ivy can be incredibly annoying to have lying around and can obstruct a lot of areas of the garden where you may want to build and can most often be found carpeting the ground or growing up walls and trees.
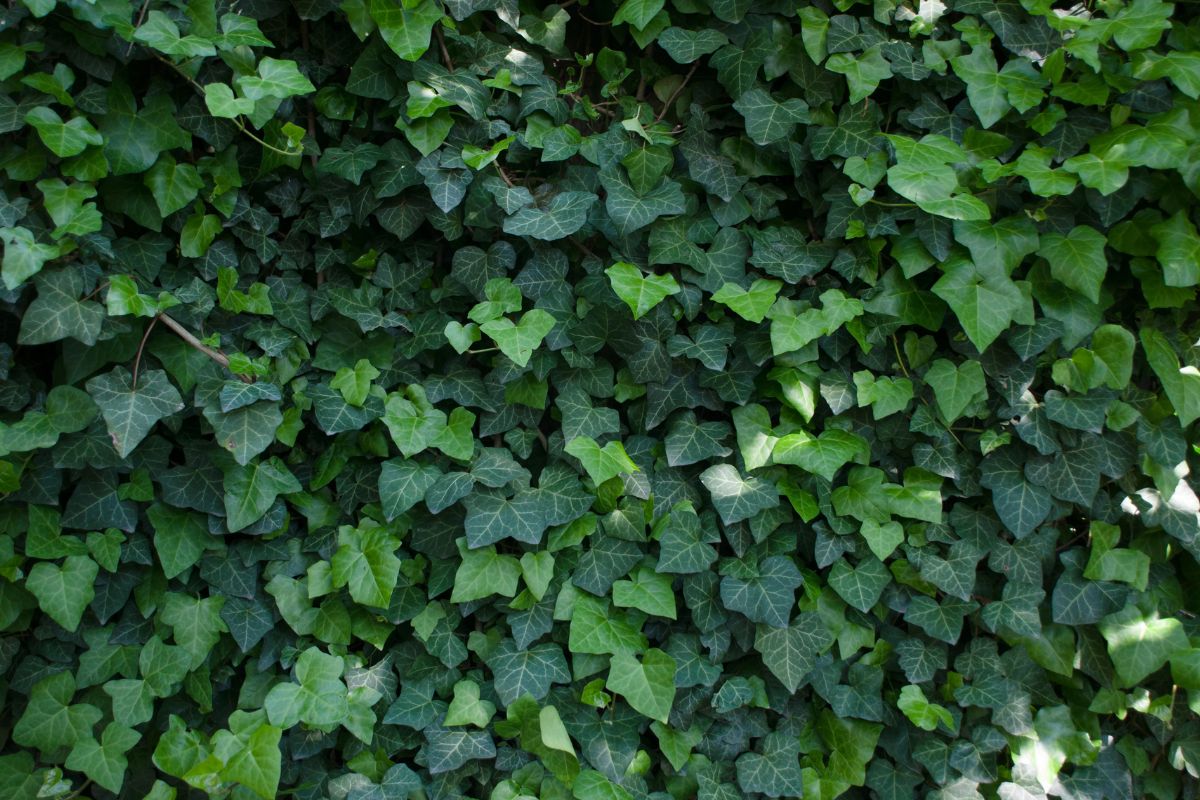
Not only can it become a real eyesore when you’re trying to refurbish a garden or when you’re just trying to keep it nice and tidy, it is also mildly poisonous if eaten and can easily lead to pets having an upset stomach if they choose to snack on them.
Luckily, if you find that you have run into the common issue of ivy’s growing out of control and taking over the yard, there are more than a few ways you can get rid of them not just temporarily, but for good, so that no guests will have to be stepping over them next time they come to visit. Keep reading as we take a deep dive into how to remove ivy so that they never return.
Why Does Ivy Grow So Fast?
Ivy is known for growing and spreading incredibly fast, especially when near or on a fence where it can take over the entire structure in just a few days, however it does majorly depend on the soil and how moist it is that will be the biggest factor determining the growth of ivy.
If the soil is rich and in moderate to full shade, this will encourage the ivy to grow incredibly quickly which is why it can often thrive when finding a colder or damp patch while the sun is shining.
In the colder months around the Winter time, ivy tends to have a much longer growing season, however in areas without harsh winters, it will form huge mounds in sometimes just a few days or months.
The main issue with ivy that you may have heard a few people mention who have had this plant infest their garden is that it never really stops growing, in fact, it is only after 10 years that ivy is considered in its ‘Adult’ stage of life.
It’s able to do this because ivy’s will commonly grow near trees where it will siphon the resources it needs (Water and nutrients) from the surrounding soil to support its growth, which is why as soon as you see a mound of it infesting the garden, it’s better to take action sooner rather than later.
How To Remove Ivy For Good
There are a few easy and simple ways you can remove ivy for good to make sure it doesn’t start rapidly growing into huge mounds again, here are some of the easiest and most effective ways of doing this:
Method 1: Removing A Small Patch Of Ivy
For this method, all you need is a sharp saw capable of cutting through heavier plants, a wire brush and either a shovel, fork or mattock to dig out the root of the ivy so that you can make sure it definitely won’t come back.
This method is best when you only have a small patch of ivy that doesn’t seem like too much trouble to remove, but that you want to get rid of quickly before it inevitably starts growing back again.
Step 1) Cut Through Stem With A Sharp Saw
To start, if the ivy is spreading over a wall then cut through it slowly with a sharp saw.
This can take a little bit of time since depending on how far the ivy has grown, it can become quite tough and resistant to cut through, and can often grow back if you leave it even for a day before cutting again, so while it will definitely take some hard work and determination it is definitely worth it in the end.

Step 2) Dig Out The Root
Once you have cut enough of the stem to the point where you can reach the root itself, dig it out and then wait for the foliage to die to make sure that it will be gone for good.
You can easily dig this out by either using a spade, mattock or fork.
Step 3) Remove Stems
Finally, all you need to do is remove the stuck-on stems carefully with a wire brush just to make certain that the ivy has no way of growing out again as it often can even when dug out from the ground.
Method 2) Removing Ivy From Walls
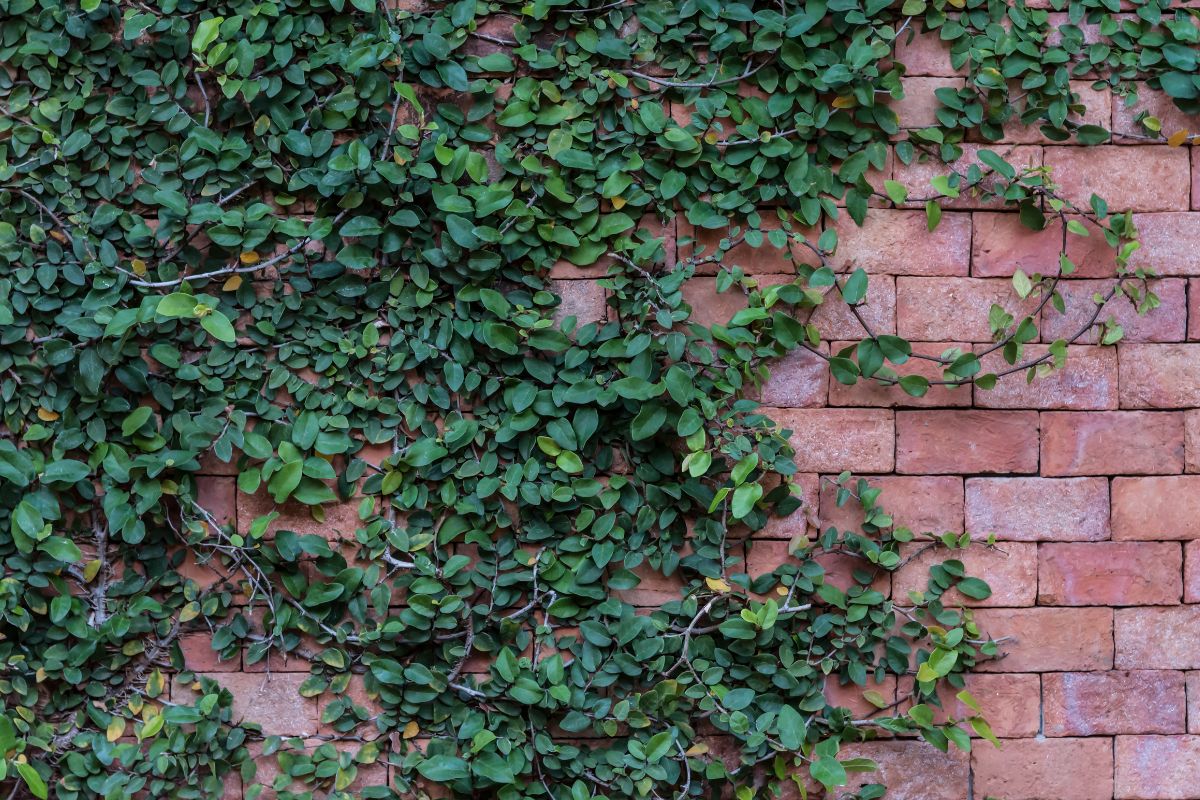
If you have ivy that has infested and spread over a wall or a fence, it can be quite a bit harder to remove it when only using traditional cutting methods, however there are still easy ways you can remove the ivy while making sure it doesn’t infest your walls again in the near future.
Step 1) Pull Out The Vines
Start by gently pulling out each vine from the wall. You will want to try and do this with enough force to get the vines detached, but not enough to where you could risk damaging the wall, especially if it is a fence and a little more fragile.
Step 2) Leave Leftover To Dry
If you find that there are any leftover vines which are a lot tougher to pull, let them dry out with time so that they become a lot easier to remove when you come back.
Step 3) Apply Some Weed Killer
Next, you’re going to want to make sure that the root’s don’t start infesting your wall again.
All you need to do to make sure this never occurs again is applying some weed killer to the ivy’s ground roots so that it’s gone for good.
Step 4) Scrape Off Remaining Rootlets
Using a wire brush, finish the job off by scraping away any remaining rootlets and tendrils you may find.
If it’s a wooden house exterior that you’re cleaning up, consider using a sander instead, just to prevent any damage to the material.
Method 3) Removing Ivy From Trees
If there’s one area you can be sure ivy’s love to grow more than anywhere else, it’s around trees where they can acquire the nutrients they need while also supplying them with enough shade allowing them to grow as fast as possible.
It’s always recommended to remove ivy from trees as soon as you notice they are becoming a problem since not only can it take a bit more time removing them from a tree, but they will also grow at a tremendous rate when wrapped around the trunks.
Step 1) Cut The Vines
Cut as many vines as you can at waist level 4-3 feet above the tree trunk using garden shears. Make sure to do this around the entirety of the trunk to make sure there are no spots where the vines can easily grow back.
Step 2) Leave To Dry
You will then want to leave any remaining ivy surrounding the tree to dry out and die, this on average will usually take about a month or so.
Just always make sure that the roots are actually dead before pulling them as otherwise you can end up damaging the tree’s bark.
You will be able to tell if the vines are dead from their appearance, if they are brittle and a little mushy then this means the roots are dead and wil be safe to pull out.
Step 3) Start Removing The Roots
Now that there is no danger of harming the bark, start pulling and removing as many ivy roots as you can around the trunk and leave a safe zone of around a 3-4 feet radius so that you can act fast if you notice that any new ivy vines do start emerging.
While this method can take a little more time, it is definitely the easiest way you can remove ivy from trees which is always worth doing since they can completely take over the bark in as little as a few months when growing in the right conditions.
Method 4) Removing Ivy From The Floor
One sight that can instantly fill a gardener or homeowner with dread is seeing huge amounts of ivy scattered all across the garden floor, however unfortunately this is very common as the ivy is much closer to the soil and is therefore encouraged to grow a lot easier.
It’s always worth getting rid of these types of ivy quickly since they can not only cause an upset stomach to any pets who start chewing on them, but they also present a tripping hazard and obstacle to many parts of the garden.
Luckily thanks to a little bit of a weed killer of your choice, removing them for good doesn’t need to be so hard.
Step 1) Mark The Plant’s Base Roots
When ivy is covering the ground, a lot of the time it isn’t as obvious where the base roots actually are since it could have started growing from anywhere.
Rather than cutting right away, it can therefore be a much better idea to first find and mark down where the roots are, so that you know which direction you will want to be cutting in.
Step 2) Leave The Main Roots For Later
Once you find the roots, make sure to leave about 1-2 feet worth of ivy coming straight from the base for later when it’s time to use the weed killer. For now, you will want to focus on cutting the ivy vines.
Step 3) Start Cutting And Pulling Vines
With a garden sheer or sharp saw, depending on how much ivy is scattered across the floor, start cutting the vines in patterns while simultaneously pulling out each section as you go.
Step 4) Pile Up All Excess Leaves And Vines
Removing ivy from the floor can be a very messy job and you don’t want the leaves and vines to be taking up more space than they need to after they have been cut.
Therefore it’s always a good idea to pile up everything you’ve cut which will make disposing of any waste far easier when you’re finished cutting.
Step 5) Spray The Week Killer
Spray the ivy coming from the main roots and any remaining leaves with a weed killer of your choice.
Step 6) Repeat Process
To make sure the ivy is gone for good, repeat this process every few weeks, you can never be too careful with ivy since it can grow back rapidly while also surviving a lot of harsh treatment, so it’s better to be sure.
Method 5) Removing Ivy Using Solarisation
If you notice that the vines of the ivy have grown a little too thick to cut through or if the weed killer isn’t getting through to the roots, solarization may be your only option, however it certainly isn’t a bad one.

Step 1) Cover The Ivy
Start by covering every inch of the thick ivy with a black plastic sheeting in order to block the plant from receiving any water or essential nutrients that it needs to survive.
The plastic sheet essentially works to heat and cook the ivy from the leaves all the way to the seeds, making for an excellent way to kill ivy from the source.
Step 2) Hold The Plastic In Place
For this method to work properly, you will also need to make sure that the plastic is held in place by something heavy, this could be a weight, a sandbag or even just a few bricks as long as they are heavy enough for the sheet you are using.
You just want to make sure that there is no danger of the sheet lifting up from the wind as this can still give the ivy some breathing room.
Step 3) Wait For The Process To Work
While this method does work incredibly well and will ensure that every last piece of ivy is removed for good, it will take a little bit of time so be prepared to strap in while it’s taking place.
The good news is that this method avoids a lot of the cutting that can be a nuisance on its own, and you can even use the plastic sheeting as a walkway in the garden.
Every 2 months, check under the plastic to see if the ivy is fully dead or not. If you see bits of green still remaining, then this means it’s going to take a bit more time, however if the vines appear brittle, flaky and take on a brown color, this means they are dead and ready to be removed fully.
Step 4) Pull Out Vines
Dead and dried up vines will be far easier to cut and remove than healthy ones, making this part of the process much easier than if you were to cut vines normally.
While cutting them with some garden shears is an easy way to break apart dead ivy vines, you could even mow over them if they’re a little on the thicker side and you want to thin them out so that they are easier to remove.
Step 5) Pile Up Ivy
Because you are getting rid of a huge amount of ivy in one go, and since it’s going to be more prone to breaking apart, be prepared to end up with a lot of mess when removing them completely.
It can be a worthwhile idea to pile up all the woody ivy excess as you go so that it can be removed all in one. The best ways to rid the dead ivy is either to try putting as much as you can into a compost bin, or burning it completely.
Step 6) Recover The Ground
While the ivy may be gone, as a final safety precaution it’s a good idea to just cover up the ground that was under the plastic with some cardboard or any sturdy material that doesn’t look too out of place, but that will also stick firmly to the soil to make sure no ivy outbursts occur any time soon in the near future.
How Often Should You Remove Ivy?
Knowing when exactly to remove ivy can be a little tricky considering that it is actually very beneficial for wildlife in a garden, and despite what some may say it is also not dangerous in any way to trees.
Additionally, some gardeners actually really like the subtle and quite romantic appearance of ivy which can add a bit of natural character to a garden easily.
It is therefore dependent on when the homeowner see’s the ivy as becoming a nuisance that is when they should be removed.
If they are becoming an obstruction by being spread across the floor or creeping over a fence, or if they are obscuring attractive bark on a tree to the point where it is becoming completely surrounded, then it can be time to take action to remove the ivy rather than letting it grow even more.
In terms of trimming ivy and keeping it in control, the rule of thumb is usually to trim it down twice each year if you want it to stay around but also want to prevent it from growing out of control.
Extra Tips For Removing Ivy Completely
While the actual process of killing an ivy by its roots and making sure it’s gone completely isn’t too hard, there are a few key pieces of equipment and quick tips that can make each method that much easier.
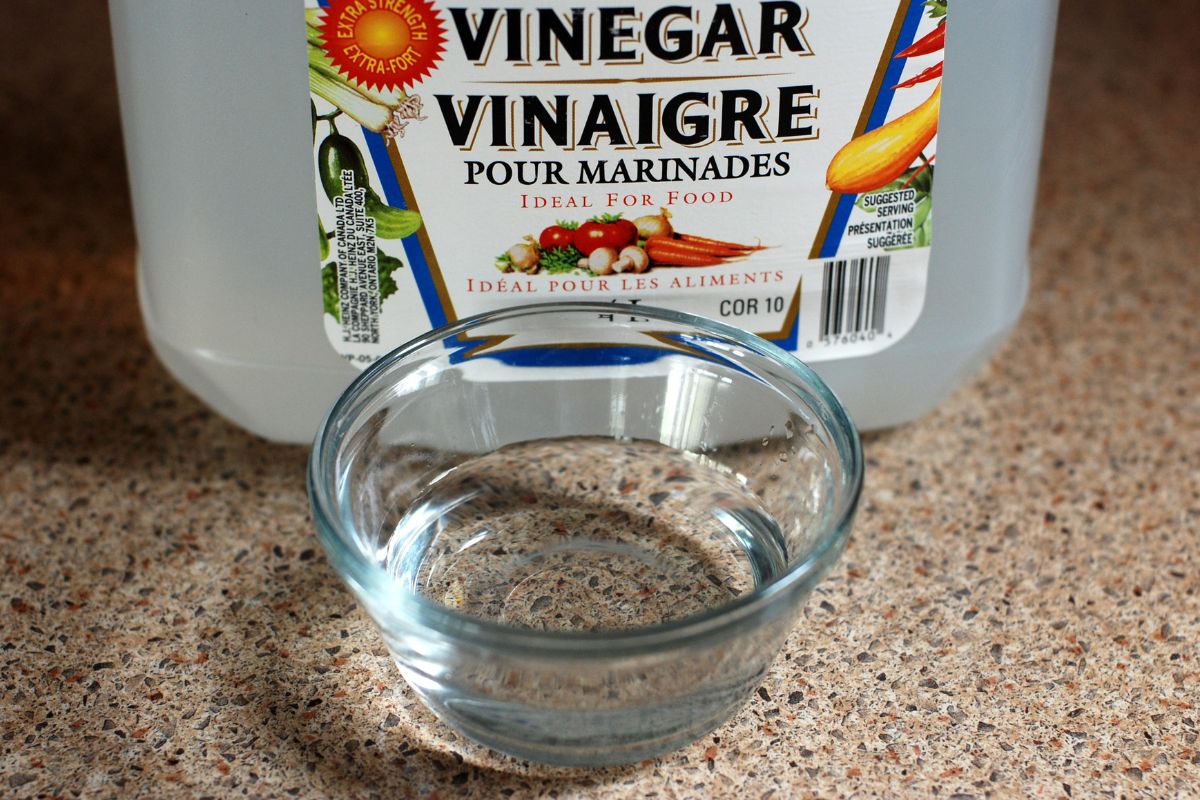
If you are not a fan of using toxic chemicals on your lawn or if you don’t have a spare bottle lying around when you need it, try using white vinegar as a substitute.
The acidic content of white vinegar makes it safe and non-toxic, but still powerful enough to kill the ivy in no time.
You can spray the white vinegar onto the vines which will kill them about as fast as regular weed killer spray, however it can be a much safer way to do it.
You can also use a mixture of 1 cup of salt and 1 tablespoon of liquid soap as a safe substitute that will work just as well.
Simply use this the same way you would with the vinegar, and it provides a safe and effective way to kill the vines with ingredients that many of us have already lying around the house.
Additionally, while it might seem obvious to those experienced gardeners who are used to some heavy DIY in the backdoors, safety equipment is always essential especially when dealing with big, thick and bushy ivy vines.
Garden glasses and gloves are the primary pieces of equipment to always wear when dealing with ivy so that you can make sure it won’t irritate your skin and that the harmful sprays don’t go in your eyes which can be extremely unpleasant.
Finally, when choosing to remove ivy completely, be prepared for a very messy job with a load of vines lying around when you’re finally finished.
However tempting as it can be, try to avoid simply throwing these vines aside as soon as you cut them since this will litter up the floor, adding on at least an hour or two more for the cleanup when you’re done.
Instead, place the dead plants and any other excess into a trash bag as you go, just so that the whole process is far easier and saves you a lot of time afterwards.
Summary
There is no doubt that for homeowners and gardeners who love decorating the outside of their houses and building around it, nothing is worse than long, thick ivy growing at a rapid rate and obstructing each and every pathway, as well as taking over the trees and fences until eventually, you feel like you’ve stepped into a jungle.
It doesn’t have to be this way however, try out a few of these simple methods to remove the ivy for good to ensure you won’t have to worry about it creeping up on you again.
- The Woodworkers Guide to Brad Nailers: Everything You Need to Know - September 25, 2023
- How To DIY An Aztec Garden Dining Table [The Easy Way] - October 18, 2022
- Farrow & Ball Pigeon: Is It Right For Your Home? - October 17, 2022

