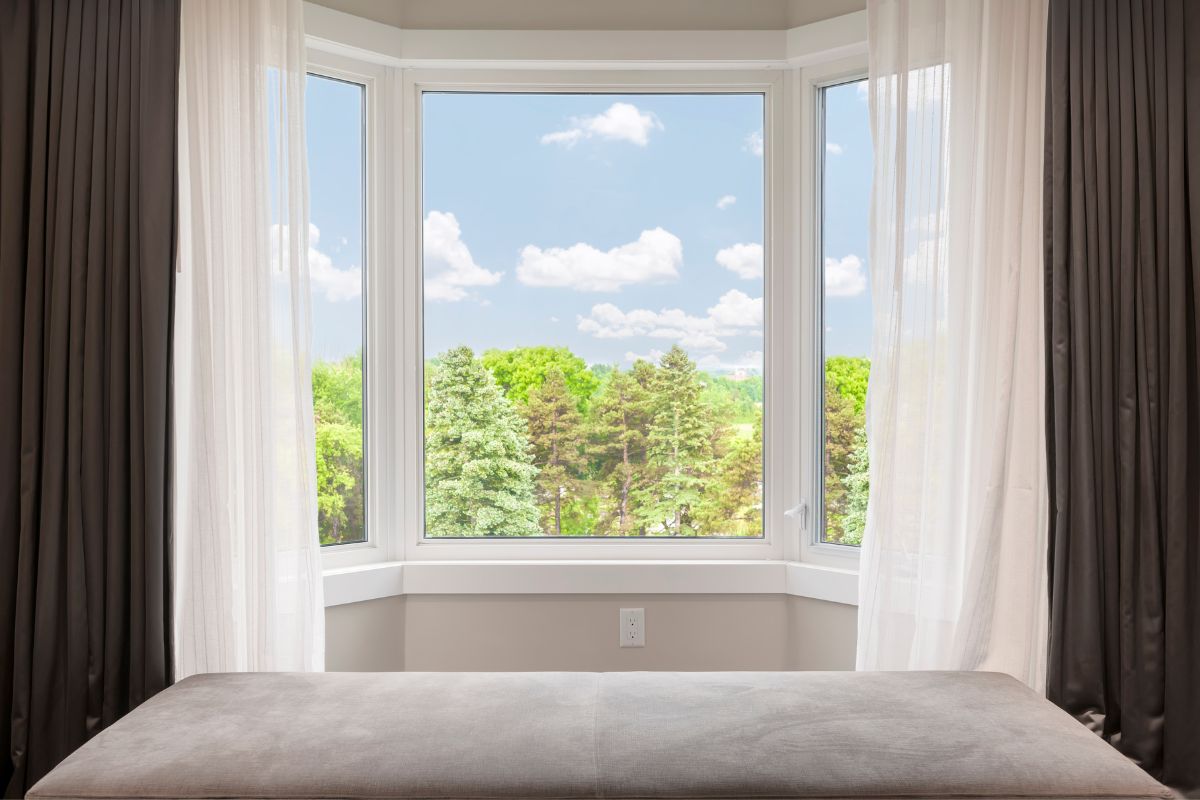
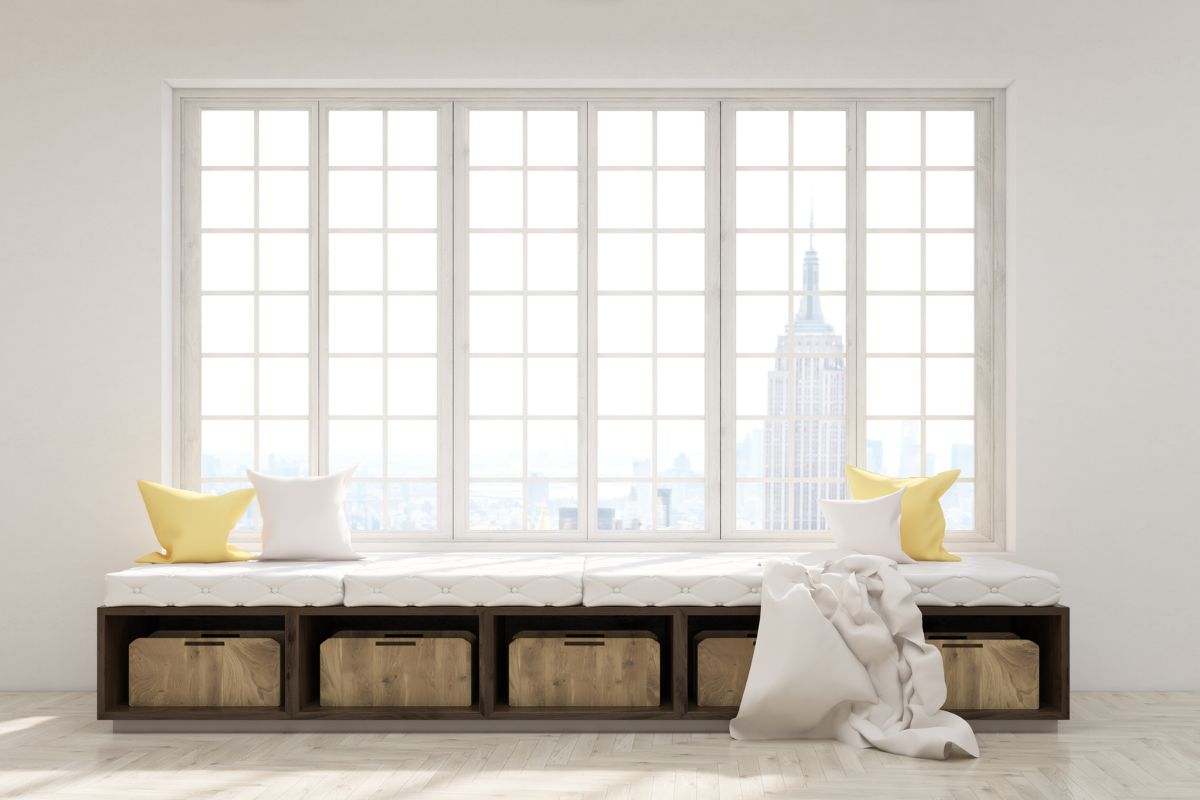
Window seats are great because they give you extra seating without taking up much room. They can also add value to your house and increase the resale potential.
However, building them isn’t always easy. Luckily, there are plenty of DIY projects where you can learn along the way. Here are a few ideas for cheap DIY window seat plans.
Plans
The first step in building a bay window is determining where it will go. This process involves measuring the interior dimensions of your room and taking into consideration how much space you want to devote to your window seat.
Walls are never straight and this can sometimes pose a problem.
Once you know what size bay window you’re planning, determine whether you want to install it permanently or temporarily.
Temporary installations are great because you can move them around as needed, while permanent ones require some serious prepping.
Next up, take measurements of the walls and ceiling to make sure everything lines up properly. If the walls aren’t parallel, you might need to adjust the height of your seat.
If you plan to add a frame to the window, now is the time to start thinking about it. Framing adds strength and stability to the structure, but you’ll need to decide how tall you want your frame to be.
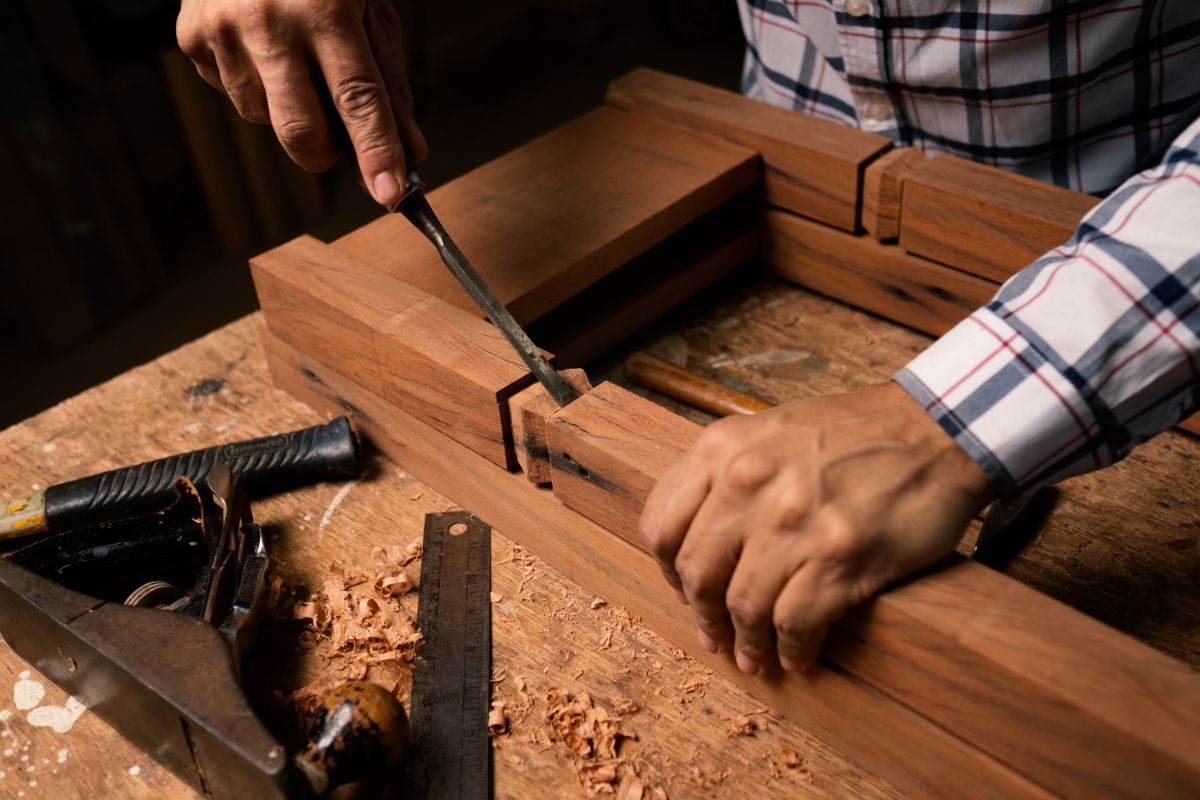
You’ll also need to figure out what type of material you want to use for the frame. Wood is traditional, but you can use other materials too. Look on youtube for inspiration.
Frame Building
To begin framing the box, start by locating the studs inside the walls. Studs are typically 16 inches apart on center.
You’ll want to make sure you’re marking the studs accurately because it’s easy to miss one and end up with gaps between the 2x4s.
Next, mark where each window sits on the wall. Once you’ve done that, measure how much space is left between the bottom edge of the frame and the floor.
This measurement will tell you how tall the finished box needs to be.
The next step is to cut out the rough opening for the door. Cut the openings with a circular saw fitted with a straightedge guide.
Be careful not to let the blade cross over into the opposite side of the opening. Also, make sure that the cuts are smooth and even.
Once you’ve cut out both sides of the openings, run a piece of chalk across the edges to ensure that the pieces fit together perfectly once they’re put together.
Now it’s time to attach the header trim. Start by screwing the 2×4 boards onto the studs on either side of the opening. Then nail the 2×4 boards to the header trim.
Finally, install the 2×4 frames across the top and bottom of the box.
Face Frame
For this project, you can use 1/2″-thick plywood for the base frame. This allows you to cut it down to size without worrying about warping the wood.
Also, the extra thickness makes the face frame stronger. You can use thinner material if you prefer.

It’s easier to assemble the face frame while it is still flat. To do this, build up one side of the face frame, then flip it over onto another piece of plywood and nail it into place.
This way, you can check the fit and make adjustments as needed. Once everything is assembled you can apply exterior glue to the inside edges of the stiles and screw the vertical boards together.
Then simply glue and clamp the horizontal boards together. Finally, attach the bottom plate and the door hinges.
The next step is to install the quarter round trim around the perimeter of the room. First, lay out the location of the quarter round on the floor and mark it with chalk lines.
Then measure and cut the quarter round to length.
Next, lay out where the quarter round would go on the walls and mark both sides of the quarter round to allow for cutting.
After marking the corners, remove the quarter round from the scrap bin and cut it to shape. Trim off excess material and sand it smooth.
Next, put some finish on the quarter round and let it dry overnight.
The next step is to attach the quarter round to the vertical boards. Screw the corner plates to the outside faces of the vertical boards then attach the quarter round to the corner plates with screws.
Finally, add the finishing nails to the vertical boards and the rear edge of the face frame.
After the faceframe is complete, prime it and paint it the color of your choice.
Covering Front Wall
Now that you’ve nailed the face frame into place, it’s time to start covering the front wall. You’ll use Liquid Nails construction adhesive and wood filler to fill in any gaps where the plywood meets the frame.
Use a putty knife to spread the Liquid Nails around the edges of the plywood. Don’t worry about getting too close to the edges of the frame because once you apply the wood filler, you won’t see those edges anyway.
When the Liquid Nails dry, sand down the surface with grit paper to smooth out any imperfections.
Apply another layer of Liquid Nails over the entire area, let it dry, and repeat the process one more time.
Once the second layer of Liquid Nails dries, apply wood filler to the entire area. Use a putty knife to mix up some wood filler and push it into any holes or cracks in the plywood.
Let the wood filler dry completely before applying a final coat of Liquid Nails.
Build The Top
The top of the window seat consists of four pieces of 3/4″-thick plywood cut into strips. Each piece measures 5 inches wide by about 15 inches long. These are glued together with wood glue.
You can use a circular saw to make the cuts. However, you can easily do it with a jigsaw or hand saw (Also check out The Major Differences Between Jigsaws And Bandsaws). Just make sure that the blade is set up correctly. You don’t want to tear out the entire side of the board.
After gluing the edges of the boards together, use a router to round over the ends of the sides. Then sande everything smooth with sandpaper.
Next, you can stain the whole thing with a high quality stain and apply several coats of clear finish varnish.
Conclusion
Now you know how to build your own custom window seat. Happy hammering!
- The Woodworkers Guide to Brad Nailers: Everything You Need to Know - September 25, 2023
- How To DIY An Aztec Garden Dining Table [The Easy Way] - October 18, 2022
- Farrow & Ball Pigeon: Is It Right For Your Home? - October 17, 2022

