But how do they work, and how long do they take to dry?
What Are They Used For?
Also known as plastic wood, wood putty is generally used to fill imperfections in wood and wood-made products – usually before lacquer or other finishing products are applied.
Perfect for filling cracks and damages in wood, one major application is for filling nail holes and other such imperfections.
They can also be used for wooden window frames as a means of securing the glass to the wood.
This can be less effective, and will probably require a different combination of ingredients, however it can be a good way of making things secure and firm.
However, if you don’t have wooden window frames, you can also use a number of specially formulated sealants, all of them suited to glassware and windows.
What Is It Made Of?
Most wood putties are usually formulated with wood products – such as traces of sawdust and similar byproducts – allowing the putty to properly bond to the wood, and to create a consistency similar – but not as strong – to that of the existing wood.
Like most putties, it consists of substances that have high elasticity, and is similar in texture to clay or dough. Wood putties are usually combined with products like linseed oil, which cause it to become hard and firm when combined with oxygen.
How To Apply Wood Putty
Of course, when it comes to applying wood putty, there are certain steps that need to be followed for the best finish.
Preparation
Before you can start, it is important to prep the wood you want to fill.
This simply requires you to clean up any dust or debris that might be on the wood, allowing you to get a good, smooth finish when it comes to the application.
Step One
The first step is to mix the formula. Most come with the formula and a hardener, and they are usually in different colors to ensure you mix them together properly.
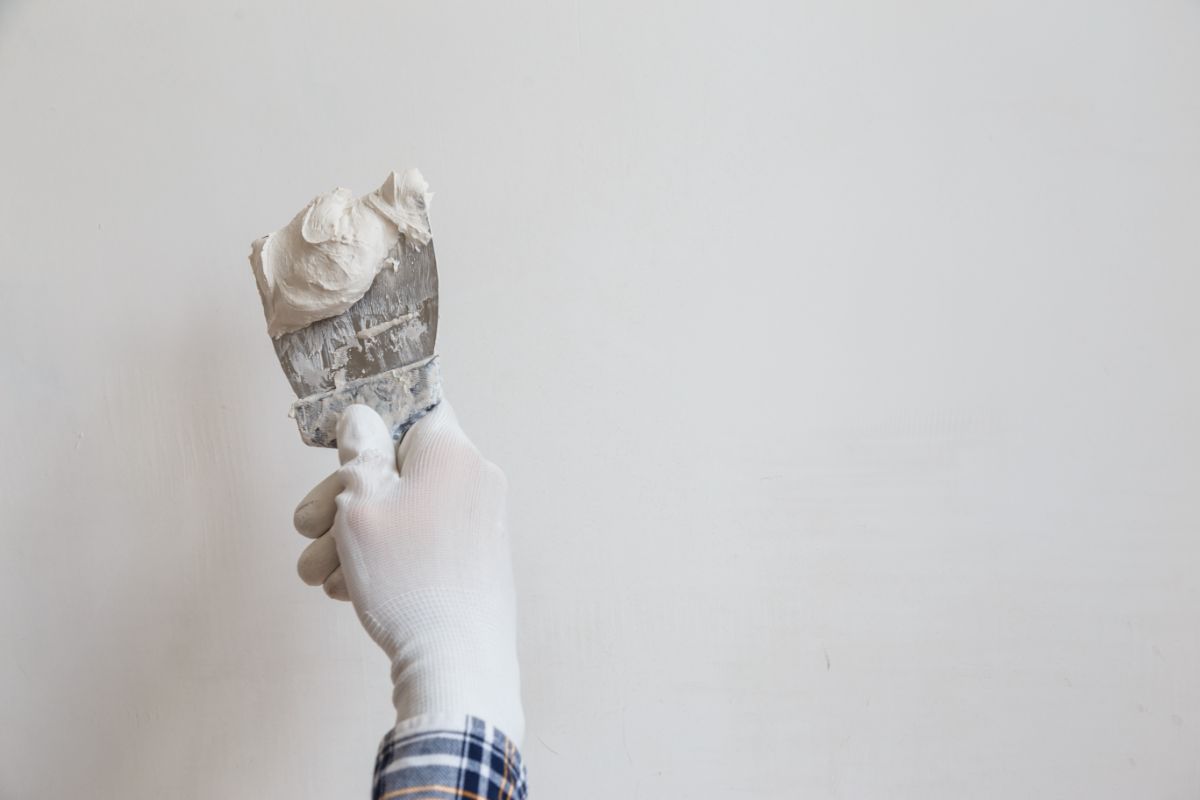
For this you can use a putty knife or any other implement you have to hand – just be sure to clean the residue off afterwards.
Step Two
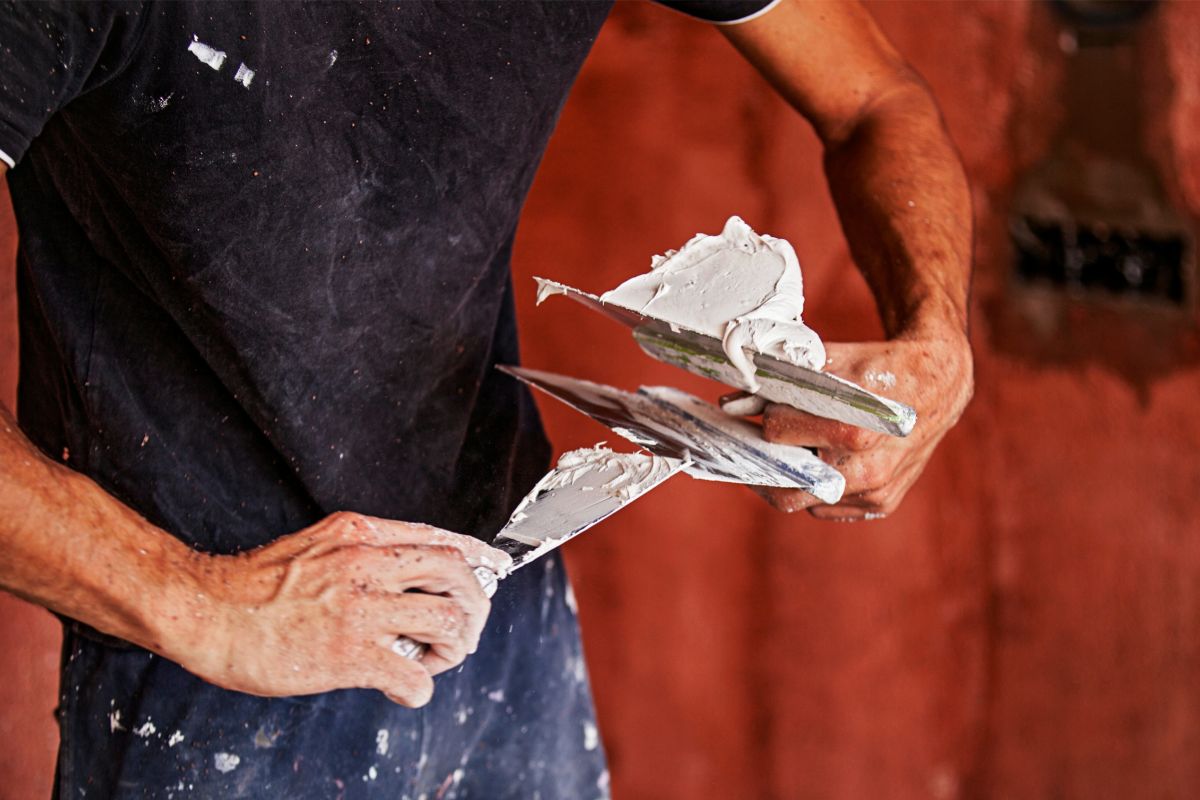
Apply the wood putty to the affected area, filling the entire area until it is totally smooth or at least level.
Use your fingers to press the putty down, ensuring that it is as tight a fit as possible, and then adding more if there is still a gap.
Step Three
After letting it dry, you can then sand off the rough edges and remove any excess putty that might have oozed out of the crack. This will ensure a good, smooth finish ready for the application of lacquer or varnish.
How Long Does It Take To Dry?
When it comes to drying times, this entirely depends on whether the product in question is oil based or water based.
Oil-Based Putty
With oil based putty, you will know that the drying process has begun when you see the color begin to get hazy and white.
This is the oxygen reacting with the components of the putty. However, this doesn’t mean it is dry – far from it.
After this time you can wipe off the excess oil and stain, and then the filler should be left to cure in the wood for a minimum of approximately 12 hours.
This will ensure that it is firm and will withstand further processes like applying lacquer etc.
Once you have waited 12 hours, check the consistency and the finish, and see if you need to reapply some more putty to create a smoother, uniform finish.
Ultimately, for the best results, you should let it cure for about 48 hours, after which you can begin to sand the top layer with sandpaper to smooth it out.
Water-Based Putty
Water based fillers dry much quicker than their oil based counterparts, and after application, you shouldn’t wait until it begins to haze.
Instead, wipe off the excess layer, let it stand for about an hour, and then, should it require it, you can begin the sanding process.
The sandpaper is the perfect test of dryness, and if it smoothly glides across the surface it is dry, but if it gums up then the putty is still wet.
If it is still wet, smooth down the disturbed surface layer, and let it dry for an additional hour or so before trying again.
Does It Matter Which I Use?
The decision between water based and oil based fillers comes down to the top coat you are using.
If you are using a water based top coating, then you should use water based putty, and likewise, if you are using an oil based top coat, you should use oil based putty.
This is because oil and water famously don’t mix, and will separate if you try to combine them – something that could affect the overall firmness and finish if you’re not careful.
Why Do We Use Fillers?
Different types of wood have different pore structures and wood grains.
This means that some wood has more imperfections (from a woodworking sense), have wider grains, deeper grooves, and is more prone to cracking and tarnishing.
This comes down to the type of wood, and whether it is hard or soft. Maple, birch, cherry, and poplar are tightly grained, and as such don’t usually require any filler or putty to smooth them out.
However, wood like oak, ash, mahogany, and walnut have pretty open pores, which can cause holes and other such imperfections to be more common.
While this isn’t a problem for the tree itself, if you are using the wood for a piece of furniture or item, it means there has to be a certain amount of treatment and work done to the wood – through fillers and similar finishing products – to make it smooth, even, and ready for commercial use.
What Happens After Drying?
Once the filler has been left to dry and cure for the appropriate amount of time (depending on the type), it is then time to finish the product.
This includes several things, beginning with sanding it smooth, and finishing with the application of gloss, lacquer, or some kind of special varnish.
The sanding process is especially important, particularly if it is your intention to create a piece of furniture – or similar consumer product – which humans will come into contact with. Rough edges are not only unattractive, but can ruin the appearance of the finished product.
Can You Make Your Own Filler?
It is possible to make your own filler, and many experienced woodworkers will do this as a means of saving time and money.
Taking sanding dust, wood glue, and resin finishes like shellac, they can make a thick, quick drying paste that is perfect for filling any imperfections in particularly troublesome pieces of wood.
However, sanding dust should not be confused with sawdust. Sawdust is a much thicker, coarser material, which doesn’t lend itself well to putty making.
Sanding dust on the other hand has much smaller grains, and feels more like soft sand rather than rough wood fragments.
Final Thoughts
And there we have it, everything you need to know about wood putty, its uses within woodworking, and how long it takes it to dry.
Putties and fillers have many uses in home improvement and woodworking, and can make all the difference when it comes to making a smooth, attractive finished product – particularly when working with imperfect pieces of wood.
Hi, my name is Maisie Park and I have recently moved into the home I renovated with my husband. It took an entire year to get it just the way we wanted it, and I learned a thing or two along the way!
We started this project together with no prior experience in renovating houses or home improvements – I think the best I had was that I knew how to change a lightbulb.
Flash forward a year and here I am, creating a website to guide others through these challenges.
Please use my website as a source of inspiration for your own home – does your porch need a fresh lick of paint, by any chance? We all deserve to live in the house of our dreams, so what’s stopping you? Let’s get started!


")

