Tiling the corners of your house can sometimes be the hardest part of an already hard job.
Getting into those tricky corners with tiles that are exactly the right measurement will be almost impossible. So how can you do this?
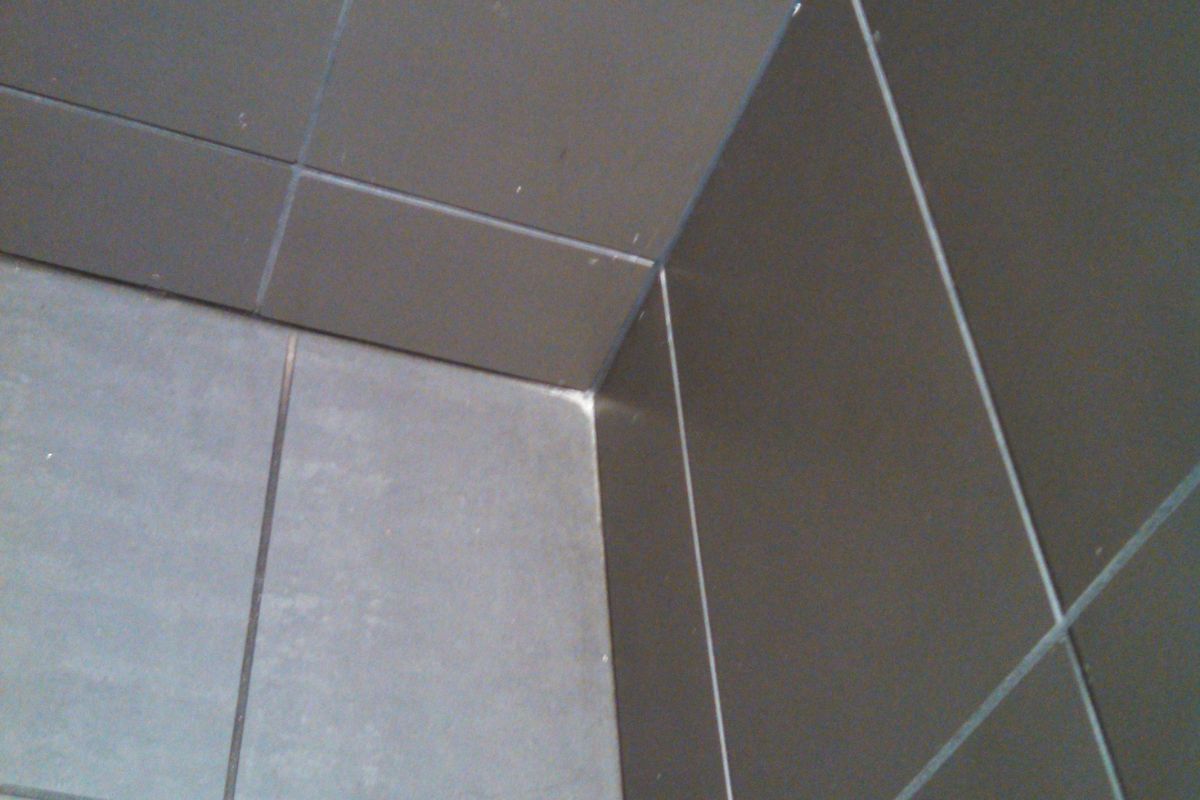
You’ll need to make sure that your tiles are cut correctly, although this will take the right know-how and the right tools. You’ll need to make sure that you are accurate and that you know a few hacks around this issue.
So how best to tile the corners of your home? Do you tile the corners at the beginning or at the end of your tiling job? Do you need to measure the corners?
Well, if you follow this tiling guide, then you will definitely get the shortcuts you need for an amazing tiling job.
How To Tile Corners – Everything You Need To Know In Less Than 10 Seconds
The fastest and easiest method of getting those corners tiled is to make sure that you tackle this part of your wall at the very end of the whole process.
You need to work from the middle outwards to make sure that you have the right measurements.
Here is a quick guide to getting those tiles right:
- Start in the middle – you’ll have plenty of space here, so there is no wrong answer when it comes to putting down your first tile. Make sure you start at the bottom.
- Measuring from the middle outwards – measure from the edge of the last full tile that you layed to the corner.
- Mark a tile – once you have taken this measurement, then take off a quarter of an inch to make sure the tile will fit.
- Cut the tile – take the measurement and cut the tile to fit into the corner. Leave the quarter-inch gap facing the corner.
- Smear adhesive on the tile – take your mixture and smear it on the tile before pressing it into the wall.
- Grouting – make sure that you do not grout the corner of your bathroom or kitchen. Use waterproof caulk instead.
An In-Depth Guide To Tiling Your Wall
Now that we’ve covered the shorthand guide, we’re going to go a little bit more in-depth. Once you’ve read this guide, you’ll have all the intel that you need to get a nice and evenly tiled wall:
Working Out Space Without Laying Tiles
When you are going to start laying the tiles on your wall, you’ll need to make sure that you start from the middle and slowly work your way outward.
You’ll need to make sure that all the tiles line up nicely. By laying your tiles out on the wall beforehand, then you can have a better idea of how they’ll lay on your wall.
Make sure that you leave gaps in between tiles to account for the paste.
You’ll have to build up the tiles layer by layer, starting with the bottom and working your way upwards.
Once you reach the ceiling or the sides and you do not have room for full tiles to be laid down, then you’ll know that you have to cut these ones.
If you are hitting the wall, then make sure to leave these sections blank. Lay the next row of tiles on top of the initial rows that you’ve created and repeat the pattern until you reach the edges.
You might have to stagger some of these tiles, but that will only matter when you get to that point and will be dependent on the design of the tile.
You can also lay your tiles out in a grid-like fashion. Whatever manner you want to lay out your tiles, you’ll have to make sure that you get it right before you start sticking your tiles to the wall.
Make sure that you use spacers to align the gaps between the tiles. This is because you want to create a more accurate representation of how the spaces that the filler between your tiles will create.
Once you have laid down this initial central layer, then you’ll need to start working on measuring the corner gaps.
Measuring The Corners
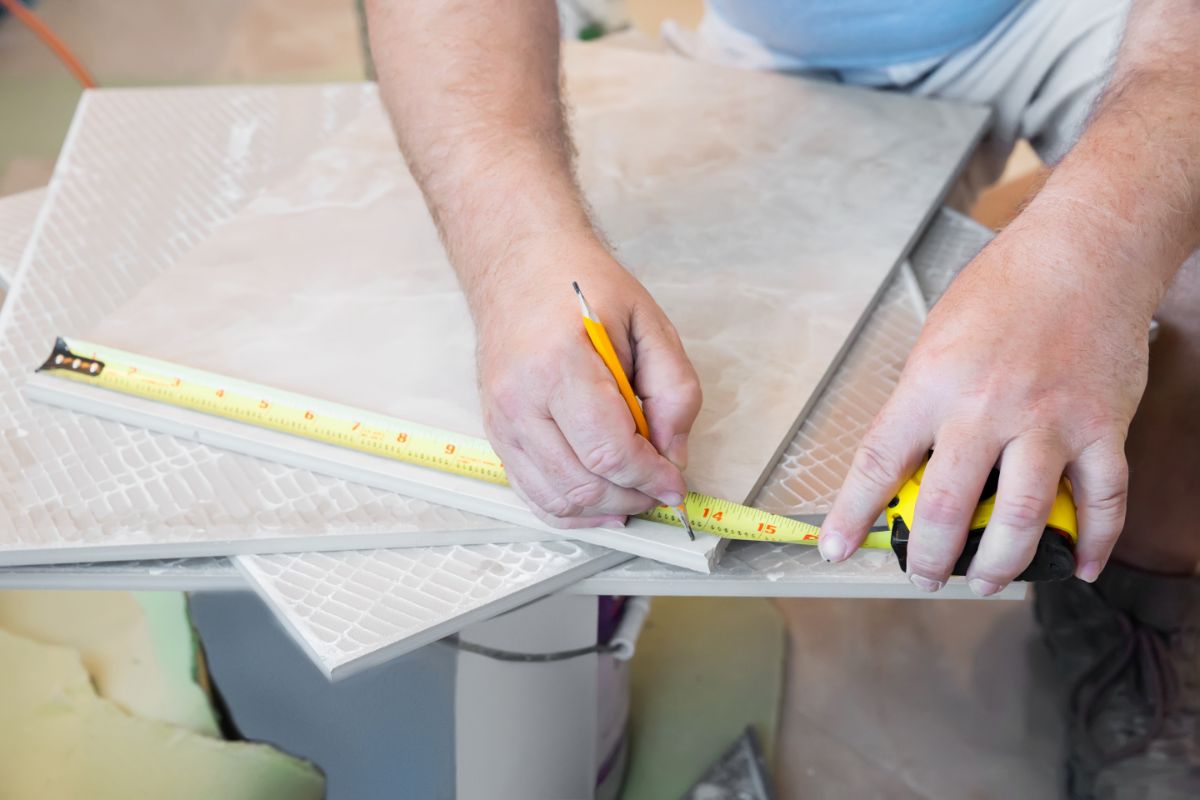
Take a tape measure and measure from the last tile that you’ve layed right to the corner.
Take it from the edge of the tile right to the corner, leaving around 1.25 inches at the end to account for the join between this corner tile and the one it will be joined to.
You’ll need to make sure that the two tiles on either edge of the wall meet exactly.
Once you have taken the measurement of the gap then you’ll need to make sure that you mark this on your corner tile in order to cut it properly.
If you are working with smaller tiles, then you’ll still need to apply the same logic to your method.
If you are needing to cut a smaller square from a larger square, then make sure you mark it vertically and horizontally on the tile.
When you have marked the edges of your tile, then match them up by drawing a straight line.
We would recommend that you measure your tiles more than once so you can get a completely accurate measurement.
We would recommend measuring a minimum of three times to get the exact measurement that you need.
Make sure that you start with the bottom row of tiles first and then work your way up. By doing this you can be sure that your measurements will be accurate and you can keep track of the different measurements.
It will also look more aesthetically pleasing if you lower rows and are more symmetrical than the higher rows. This is because the lower rows will be those that will attract people’s eyeliners.
Cutting Your Tiles
This is one of the simplest parts of the process. All you have to do is make sure that you are abiding by the straight line of your tile.
You can use plenty of tools to cut your tile, although we would recommend using a utility knife. This is because the tile is very thin and should be easy to cut very simply.
Make sure you have vinyl underneath so as not to scratch your flooring.
You can also score the underneath of your tile in order to make a clean break with your hands. This will only really work with porcelain tiles. If you are working with thicker tiles, then we would suggest using a tile saw.
If you are using a tile saw, then we would recommend trying to get one that comes with a wet spray. This will allow you to saw your tile while minimizing the amount of dust created as well as helping with visibility.
However, if you do not want one of these, then you can always use a tile grinding saw, which should help you to get an accurate cut without losing visibility.
If you have tiles that are made from ceramic or natural stone, then we would also recommend that you go with a simple tile saw.
Make sure that you are wearing the proper safety equipment when you are working with tiles. This is because when you are sawing them it will create a lot of dust that you can inhale, which will be very damaging to you.
Affixing The Tiles To The Wall
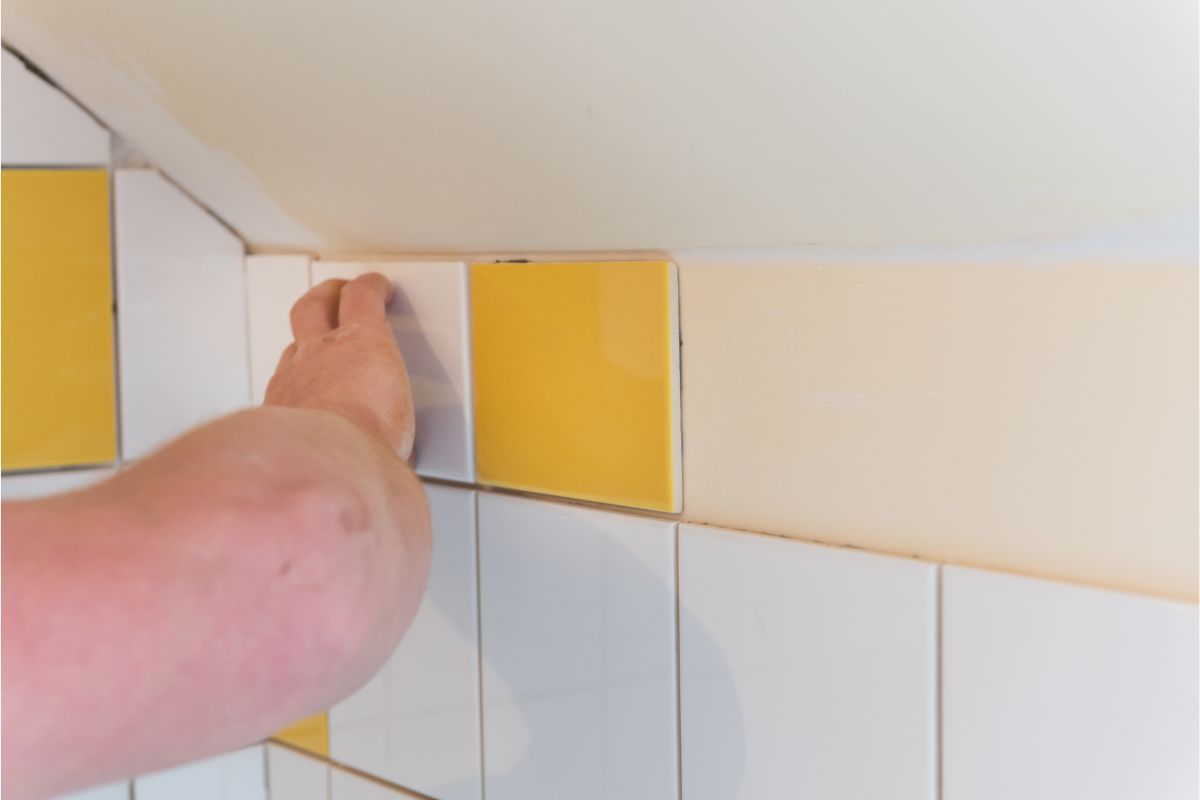
Before you attempt to glue the tile to the corner with your adhesive, always make sure that you have the spacers lined up, so that you can grout in between the tiles after you finish.
Once you have done this, then you should apply your adhesive and press it firmly into the wall.
You should always leave your tiles for at least 24 hours once you have affixed them to make sure they are on the wall properly.
Final Touches
Once you have completed tiling one wall, then we would suggest that you move on to the next. You’ll need to make sure that you fill in all the gaps between the tiles.
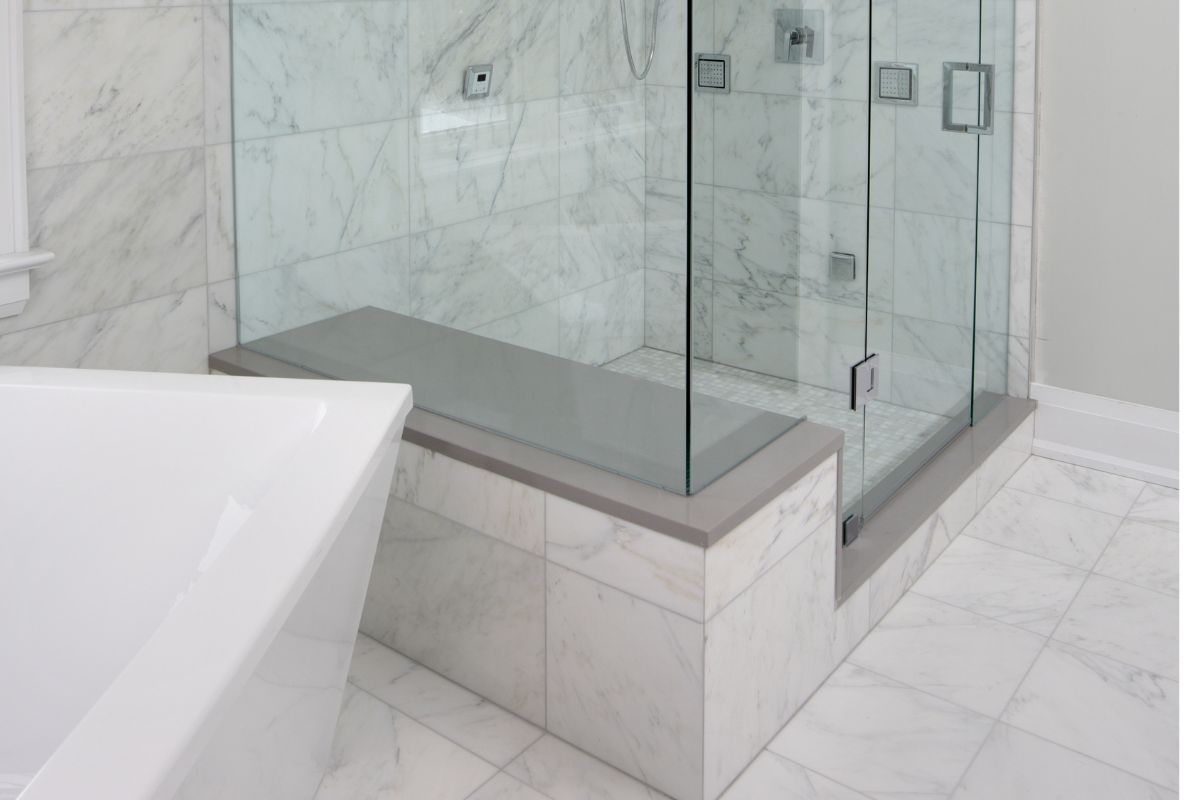
For those pesky corner tiles, do not use grout, but rather silicone caulk. This is much more flexible and waterproof than grouting.
The reason why you should use a waterproof material is that the corners are often subject to a lot more pressure than you would find on the center of your bathroom tiles.
Caulk is also very easy to use and you’ll be able to cut and amend it a lot easier. This ability to change your caulk will also be great if you are looking to switch out the color at some point in the future.
What Else Do You Need To Think About When Laying Your Corner Tiles?
There are things that you’ll want to bear in mind throughout the process of laying your tiles. Here are just a few of them:
- Make measurements and cuts as you go along – smacking all your measurements and then starting will not do you any good. Measurements change as you go along, so you’ll want to work with them.
- Follow instructions – when you are using adhesive, you’ll want to make sure that you do exactly what it says on the packet so that your tiles won’t fall off at a later date.
- Get help – having two people tile is better than one. You can always get another person to help you mark and measure as you lay out the tiles.
- Cutting stone tiles – if you are going to be working with these stone tiles, you’ll need to make sure that you do it outside, as this will create a lot of dust that might damage your furnishings.
- Work from the middle – we know that we’ve said this multiple times, but it is worth repeating again.
- Use a spirit level – make sure that you are using a spirit level to make sure that all of your tiles are completely even.
- Safety equipment – if you are cutting heavy-duty tiles, then you’ll want to make sure that you are not inhaling dust or getting tile fragments in your eye.
Frequently Asked Questions
How Should You Lay Corner Tiles?
One of the main things you should remember about two corner tiles meeting is that they should overlap. You’ll want to make sure that there is a little gap between them.
How Can I Tile Around A Bathtub?
You’ll need to make sure that your bathtub is completely level.
Once you have done this, press it right up against the wall. Now run a trace of silicone caulk right along where the tub meets the wall.
Conclusion
We hope that our guide to tiling the corners of your bathroom or kitchen has helped you know what to do.
You’ll need to make sure that everything is measured very precisely as you go along with this process.
- The Woodworkers Guide to Brad Nailers: Everything You Need to Know - September 25, 2023
- How To DIY An Aztec Garden Dining Table [The Easy Way] - October 18, 2022
- Farrow & Ball Pigeon: Is It Right For Your Home? - October 17, 2022

