If you live in an area which has weather which is consistently wet with plenty of rain, unfortunately the wood around your house, especially on your windows is very likely to be at risk of being rotted, or rotting. Unfortunately this is an unavoidable truth.
There is the fact that with newer houses we are moving away from wooden window frames and instead using materials which are not able to tot like aluminum or vinyl, but this is not the case for everyone.
People who are in an older house will tend to have wooden window frames made from standard hardwood.
It is unfortunate that windows are a point at which moisture will tend to congregate, because of this, unless you have made the measures to do preventative maintenance for your windows, there is a high likelihood that they will get water damaged.
This can not just affect the visuals of your windows but also their structural integrity.
Some windows which have gotten rotted can still look like they are in good shape and because of this many people will overlook them getting fixed, however, this does not mean that water has not made its way into the window frame and lead to internal wood rot.
If you are worried about this and want a simple and easy way to check if your wood has gotten rotten, all you need to do is press into it using a screwdriver.
If you find that you have a soft and spongier texture, unfortunately you have wood rot in your window. If it is harder, you likely will not have to worry.
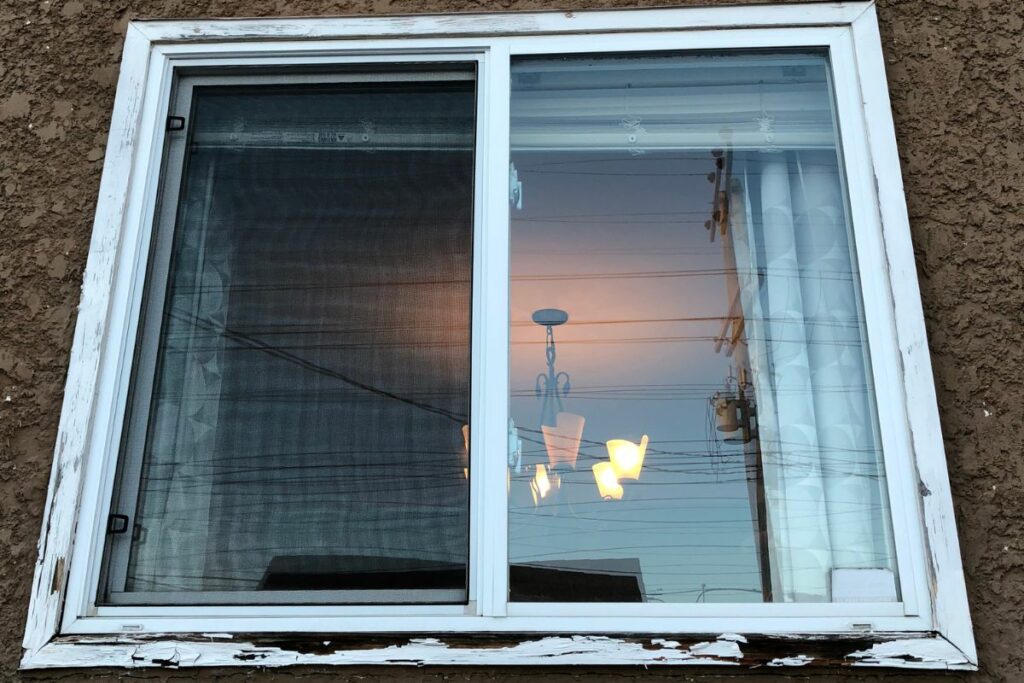
The most common part of a window to suffer from wood rot will be the lower corners of your window frame, this is even more likely to happen if there is nothing hanging over the window to stop it from being more exposed from the rain.
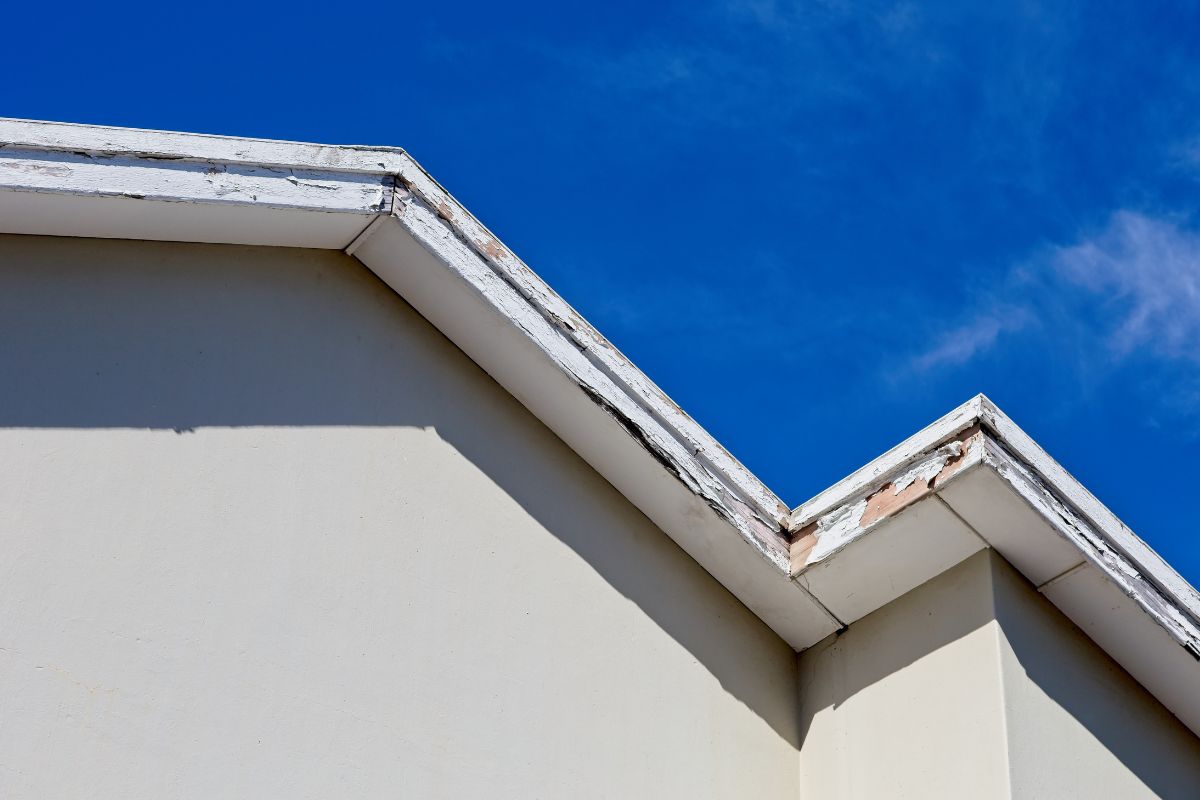
Another easy way to tell if your wooden windows have rotted is if there is chipped wood or missing paint if it is painted.
Because wooden window frames are subject to so much weather like snow, condensation and of course, rain, usually the only thing which will protect them from this is a coat of paint and/or primer, so if this is missing, it is a sign that moisture has made its way into the wood.
So if you have identified that you have rotten wood surrounding your windows, we assume that you will want to fix it.
Of course, you can call a professional to get the job done for you, but if you do not want to spend this money, and think that you are capable of doing this yourself, this guide is for you!
Different Methods Of Replacing Rotted Wood Around Windows
So, if you have identified yourself that you have dry rot on your window frame, you probably want to get it fixed, so what is the way to do this.
There are many different ways to fix this, but in this guide we will be going over the 2 most simple ways to do this which you can do yourself.
If the amount of damage done to your windows is relatively minimal, for example, less than a couple inches of wood rot, then the easiest way to fix this would be to use a wood filler epoxy.
However, you are not always going to be this lucky and the damage could be more extreme than this, for example, over 10% of the length of the window.
If this is the case, the best thing to try would be to make a wooden insert to replace the rotten part of the window frame.
As you can tell, this will be a more intensive options and will take significantly more effort, but because of this the results will be even better.
But if the wood rot is so bad, you will probably have to end up spending quite a bit of money to get an entire window replacement which usually does not feel good to do, but this is sometimes the only way to fix the issue.
For this guide we will be going over the epoxy wood method, and the wooden insert method and showing you exactly how to pull this off!
First Method – Using Epoxy Wood Filler
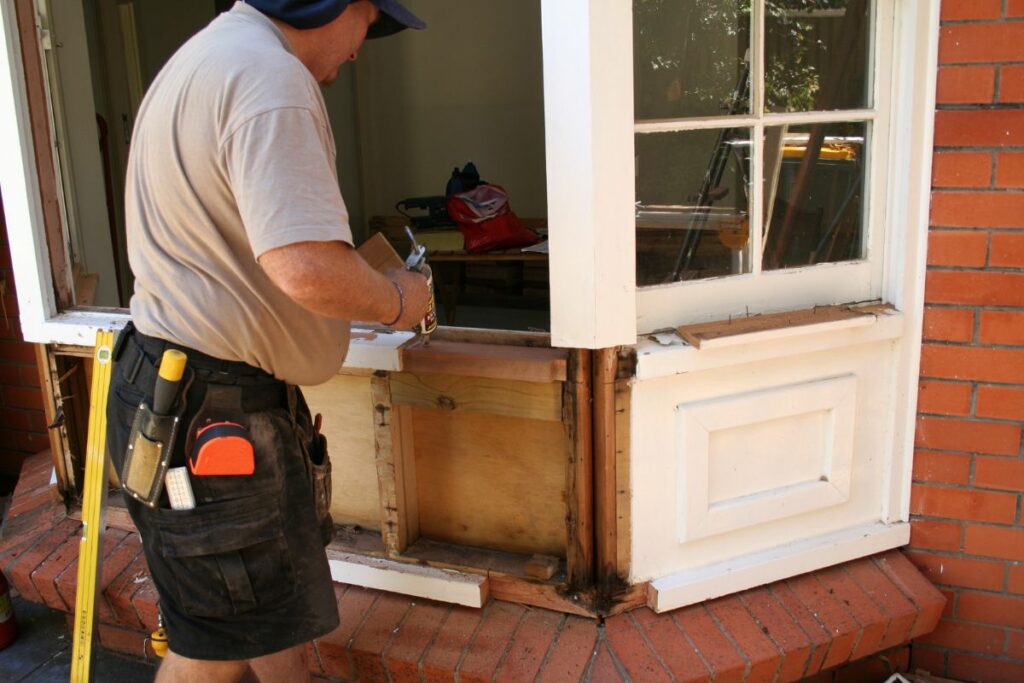
So, if your wood rot is not extensive enough to justify going to the effort to make a wooden insert, then instead using a wood epoxy filler to patch it up instead is a great option which is worth trying.
To summarize, this method will involve you removing the rotted window parts and then cleaning out the gap which is left, this gap will then be filled using a wood epoxy filler.
This is actually a great method for fixing wooden rot issues and is not too hard to do. It will also blend in pretty nicely with the rest of your window, especially if you go to the effort to do the finishing touches of sanding and painting.
What Equipment Will You Need?
To do the wooden epoxy filler method you will need to have:
- A pry bar
- A construction chisel and a hammer
- Some construction screws
- A putty knife
- A well-reviewed brand of epoxy wood filler
- Gloves as well as a face mask
- Primer and paint and brushes to apply with
- Rough sandpaper
- Caulk with an appropriate caulking gun
First Step – Assess If The Wood Has Rotted
The first step to take is to make sure that you actually have moisture damage and to work out to what extent the damage is.
This step has already been covered in the introduction, but as a reminder, you want to use a putty knife or a screwdriver and use this to test how soft the wood is and assess to what extent the wood has rotted.
If the damage is present, but not bad enough to constitute the wood insert method, you can carry on. You will want to use the same putty knife or screwdriver to get rid of as much of the rotted wood as possible.
This should not be too hard, and you can of course use your hands to help the process, but it is recommended to wear gloves to avoid getting splinters.
After you have removed all of the crumbly and soft wood, you will be able to tell how much the wood has been damaged. If you think it will need more than just a patch job, you will want to try our second method and not this one.
Second Step – Clear Out The Gap
If you have decided to carry on with this method, you will want to start cleaning the gap which has been left by the rotted wood.
For this stage you will want to use a construction chisel and a hammer to clear and clean the wood which is surrounding the damage.
This stage will be very easy if you can use an oscillating multi tool which uses a saw attachment, this will make it, so you are able to trim through the wood quickly as well as accurately.
You will want to clean the gap to ensure that there is absolutely no rotted soft wood left and there is only dry and solid wood left.
You will also want to make sure that there are no leftover wood chips, debris, or caulking left in the zone you will be patching.
Third Step – Prepare And Then Apply Your Epoxy Wood Filler
After you have done all the preparation you need to, you will want to mix up your wood filler which will be used to fill in the gap.
For this task there are plenty of different options which will work perfectly, try and find one which is suited for the wood type you are working with.
If you want a go-to wood filler to use, you can try the Bondo which is perfect for wood repairs.
For this step you will want to make sure that you are using protective gloves as well as a facemask since these products can often emit fumes which should not be inhaled, and if they touch your bare skin they can be an irritant which may be hard to get off of your skin.
Each wood filler will have slightly different instructions so follow them closely to ensure you get the right results. Usually they use a 2 part mix which once mixed will give you a thick mixture.
You want to start scooping up this mixture using a putty knife and filling in the gap you have made for yourself.
Try to avoid leaving any gaps in the filler you are putting in, and try and shape the epoxy to fit the shape of the original wood, this will make the next step significantly easier.
You may need to add thinner coats of epoxy if the repair needs that, and if you are doing a more thick patch job, you will probably want to use some of your construction screws to give the epoxy used more of a grip.
Fourth Step – Sand Then Paint
Once these steps have been completed you will want to first make sure that the wood filler has completely cured as working on it prematurely will make more problems than it will solve.
After you are sure that the epoxy has cured you can use your sandpaper to work on the filler until it matches the flush of the original shape and the window frame.
After this you will want to make sure to wipe away any debris and then caulk any leftover seams. After this is done you can use a primer and paint to finish the job.
If you are using a good quality filler, it will not absorb any water like wood, so the painting is aesthetic and not for any practical purpose. This is also a great chance to paint the rest of your window frame to make it all match.
Second Method – Make A Wood Insert
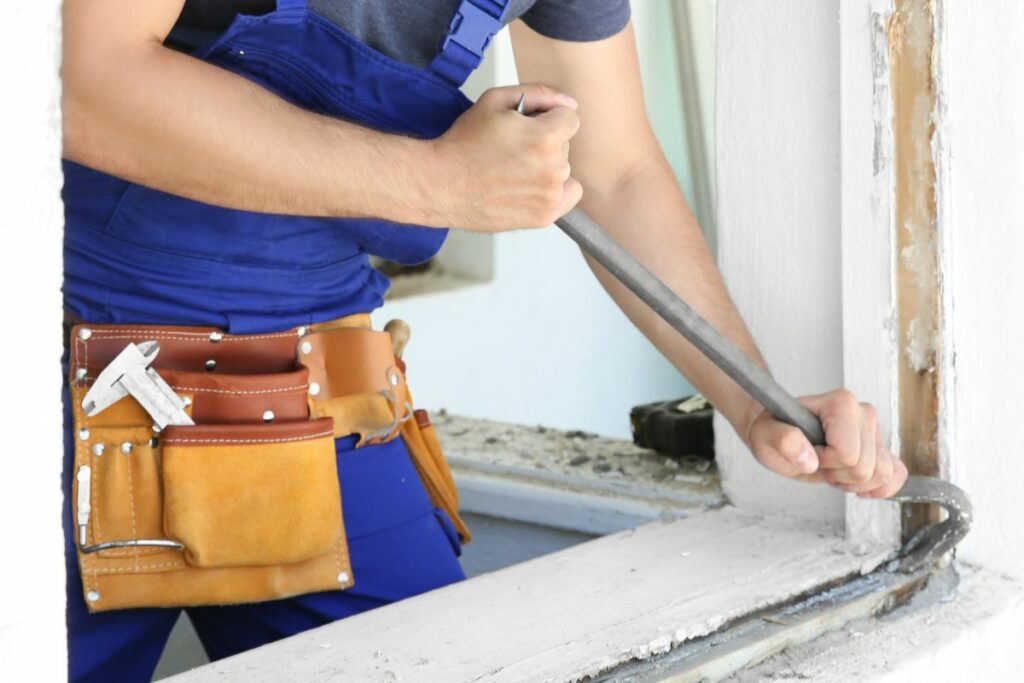
If the damage to your window frame is more extensive than just a patch job, you will need to do this method which will require a lot more effort and some carpentry skills to complete.
If you think you do not have the correct skill set for the job, it is worth hiring a professional.
With significant wood rot, a patch job will not be able to help for extended periods of time, so this is why this replacement insert is the best method.
What Equipment Will You Need?
To do this method you will need:
- A table saw or a circular saw
- The lumber for the insert
- A cordless driver or drill
- A mallet
- Some construction screws
- A tape measure
- A speed square
- Some wood putty
First Step – Get Rid Of The Rotted Trim
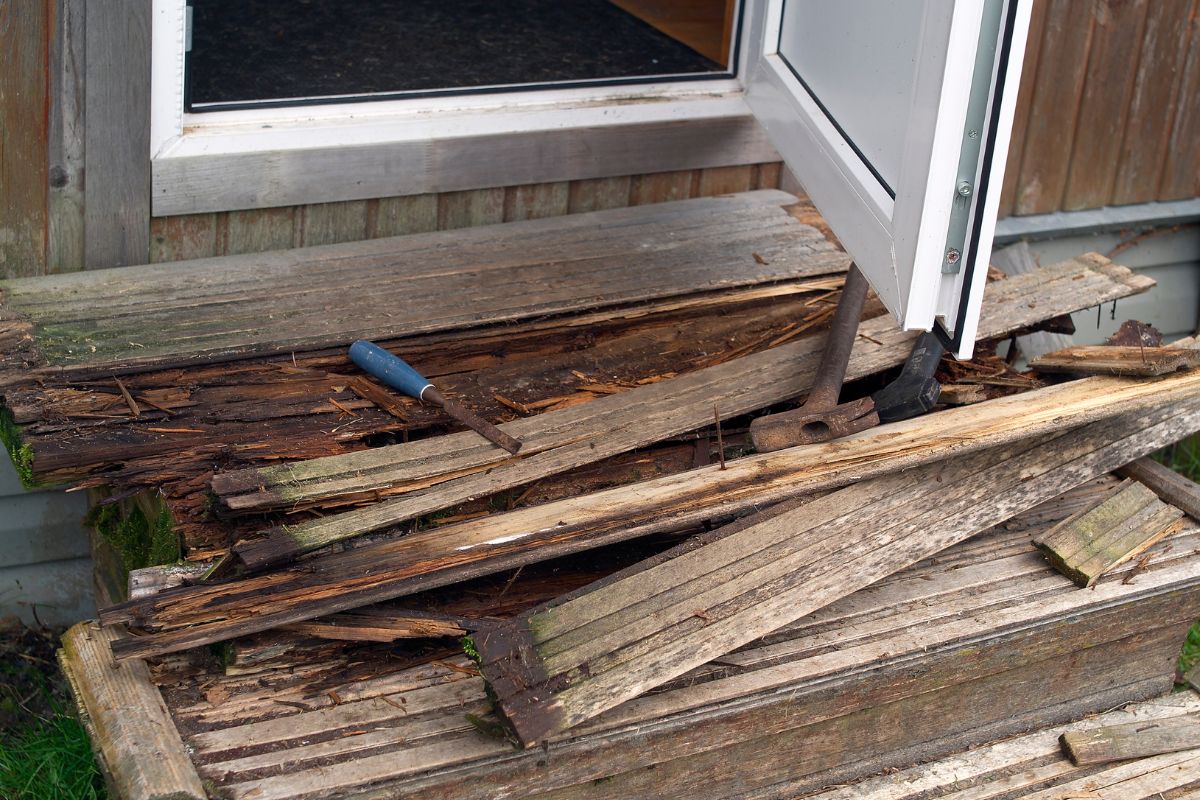
After you have assessed that your wood is rotted you will want to use your pry bar in conjunction with a hammer and chisel to get rid of the rotted piece of wood.
Hopefully this will not take long, but getting this foundational step out of the way is important.
Second Step – Clean Up The Gap
There may be some debris leftover after this removal so you will want to make sure to get rid of all this as well any nails or loose materials which are in the gap. Make sure to take time with this step to get rid of everything necessary.
Third Step – Measure The Piece Which Has Been Removed
If you were able to get out the rotted piece in one piece you can use your measuring tap to get its dimensions, but if this is not an option you will need to measure the gap instead.
When doing this you should also pay attention to any unique features of the wood shape which you may need to recreate for the shape to fit in the gap.
You could get lucky and the piece you need will fit a standard lumber dimension, this will make cutting the piece to size easier, but if this is not the case you will need to make adjustments.
Fourth Step – Cut The Lumber Needed To Size
Using the measurements from the previous step, you will want to cut your lumber to size, and you will do this using your table saw or a circular saw which uses a rip guide
You will want to use a durable and rot resistant wood to stop this problem from repeating. Dourglass fir and cedar are great choices for this. If you do not want to use wood you can also use PVC
Fifth Step – Check The Fit
This is a simple step but make sure that the piece will fit the gap which has been created before anything else.
Sixth Step – Paint With Primer
Make sure to paint and prime the entire piece, as well as aesthetically fitting your window, this will also help protect it from the rain more.
Seventh Step – Add On The New Pieces
You should be able to add the new pieces using a mallet and construction screws. If you want you can use galvanized nails for fastening as well. You will want to use your wood putty to fill in any holes which have been made by screws or nails.
Eighth Step – Add Caulk Then Paint
Finally, you will want to use a high quality caulk and to fill in the seams to make it fit and further waterproof it. This will be significantly easier if you own a caulking gun.
Conclusion
Hopefully one of these two methods will be perfect for what you need to do to replace the wood rot, but if the damage is extensive enough, getting a professional to replace the whole window is a viable option.
- The Woodworkers Guide to Brad Nailers: Everything You Need to Know - September 25, 2023
- How To DIY An Aztec Garden Dining Table [The Easy Way] - October 18, 2022
- Farrow & Ball Pigeon: Is It Right For Your Home? - October 17, 2022

