We all love to buy new pieces of furniture for our house every now and then.
It’s a great way to keep the house feeling fresh, not to mention extremely stylish!
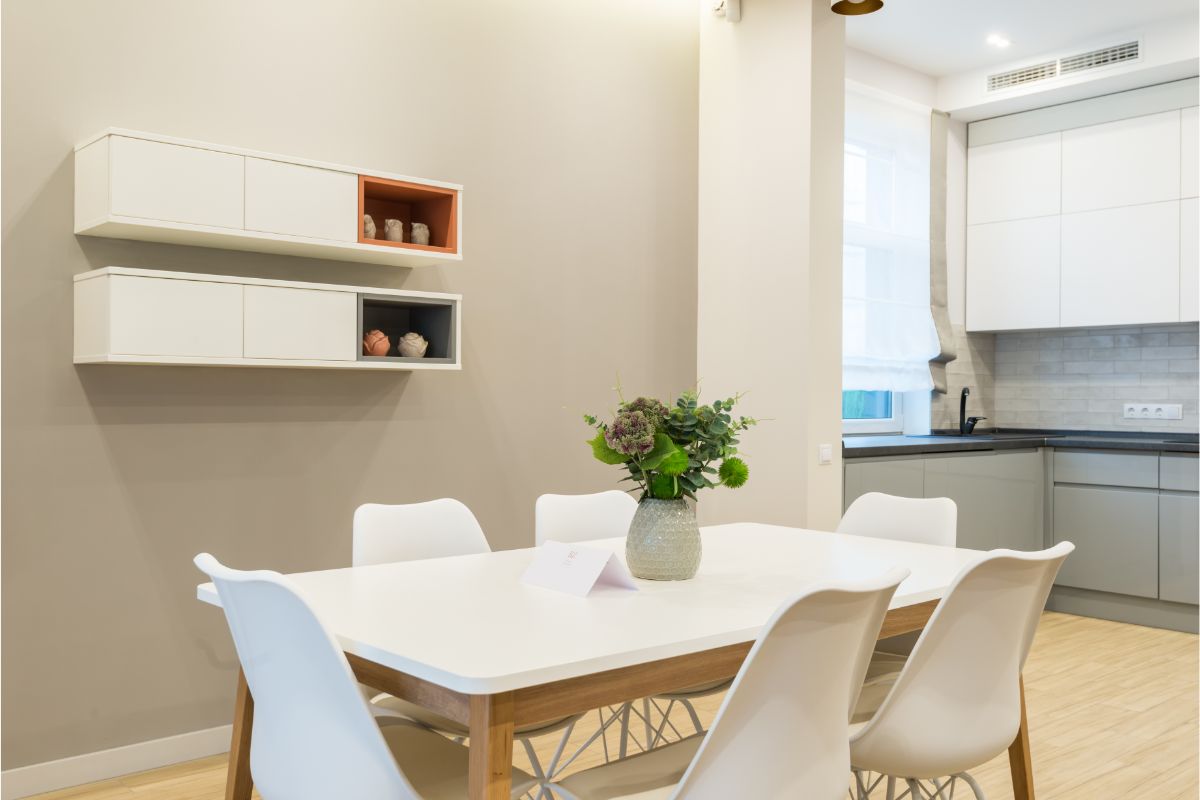
With that being said, the nicest pieces of furniture will often cost a lot of money.
Not all of us have the money to spend on these expensive things, but that doesn’t mean we can’t get around that fact, and still end up with some lovely new furnishings.
How so? Well, it’s often much cheaper to build the pieces of furniture yourself instead!
Now, you won’t be able to do this with everything (unless you’re a skilled carpenter already!), but there are some essential pieces of furniture that are relatively easy to construct yourself.
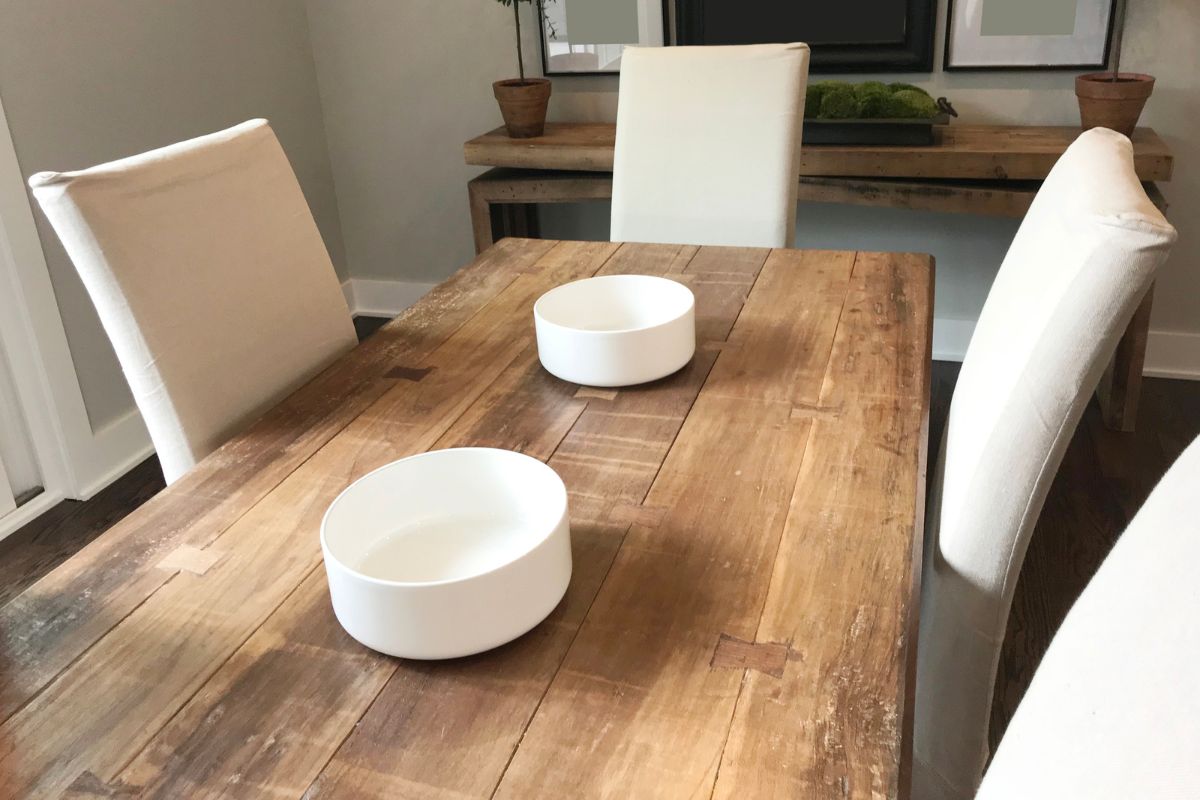
A white oak dining table is a great example of one of these.
If you think about it, a table is rarely more than a few different pieces of wood, neatly put together.
Obviously it’s more complicated than that, but it’s nowhere near something like a new chest of drawers or a bookcase.
In our handy guide below, we’re going to tell you how you can make your own white oak dining table.
It’s a great piece of modern-looking furniture that will immediately make your dining room more stylish.
Better yet, it shouldn’t be too difficult, even if you’ve got little woodworking experience.
How To Build Your Own White Oak Dining Table
Safety Warning
Before we get into the steps of how to build your own white oak dining table, we must first talk about safety.
In order to build the table, or indeed to build any piece of furniture, you’re going to be using some dangerous tools and machinery.
As a result, you must always take the proper safety precautions. When working, you should constantly wear:
- Protective eyewear
- Hearing protection
- Protective gloves
- Protective uniform
- Dust masks (when cutting or sanding)
- …and more
If you’re not properly skilled, you should seek the help of a professional.
It’s always better to get a professional to do the construction work for you than end up getting yourself injured or worse.
We are not experts. Our guide is a general look at how somebody could make a table, but it shouldn’t be the only guidance you follow.
Always read and follow the instructions that come with your tools, and don’t operate them if you’re unsure.
Similarly, always read the instructions for the products that you buy, too.
Finally, keep others (like your family) out of the way when the table is being worked on.
Step One: Finding The Correct Wood
First things first, you’re going to need to find the right wood.
Since the oak dining table is entirely made out of wood, you’re going to want to make sure that it’s made out of sturdy, proper material.
Since this is a white oak dining table, you’re going to want some white oak wood.
For the top of the table, we recommend some 5/4 white oak (which is 1-¼ inches thick).
For the base of the table, you’ll want some 8/4 white oak (which is 2 inches thick).
However, you’re going to be “ripping” the wood next, in order to get it into the right sizes.
As a result, there’s going to be a lot of leftover wood, and so you really want to buy more wood than you’re going to use.
For example, if you want your table to be a minimum of 40 inches in width, then you’ll want to buy more than that.
We bought around 48 inches of wood for this, with each board being 8 feet long.
Step Two: Ripping The Wood
Next, the wood will need to be ripped. This refers to cutting the wood along where its grain is, giving you a lengthwise cut.
This is done with a saw, like a table saw, which you’ll need to follow safety precautions with.
If you’re inexperienced with the tool, get a professional to do it for you. You can pay some lumber yards to rip the wood as soon as you’ve bought it, which is a good investment.
Once the wood is ripped, it also needs to be planed for smoothness. Lumber yards can do this too.
Step Three: Cutting Wood For The Table Legs
The legs of the table are essential, so now it’s time to get the wood ready for them.
The wood boards that are 8/4 are a little too big to manage, so cutting them down into smaller pieces will make them easier to work with.
Each of those boards can be cut down to a length of around 32 inches.
If the final length of the bases will be 29 inches, then this is going to give you an extra 3 inches on top of that, which is handy.
Step Four: Preparing Clamps
The next step will be all about gluing the boards together to make the top and bases.
Since the glue works quickly, you’re going to be rushed when clamping the pieces together, and there is no chance for mistakes! Therefore, we’re going to prepare the clamps beforehand.
Firstly, you will need a series of pipe clamps, around 8.
Before you use them, you’ll want to put some painters tape on the clamps at the points where they will be touching the wood.
This is because the glue could touch the pipe, leaving a mess on the wood.
Now lay out your wooden boards widthwise using the pipe clamps, with several to each clamp, and extra clamps along the board’s length helping to keep them aligned.
On top of that, use some clamping cauls to help the alignment even further, but put painters tape on the cauls for the same reasons as earlier.
By the end, you should have a row of wooden boards neatly aligned next to one another, all held together by the clamps.
Step Five: Gluing The Top And Bases
Now that you’ve got all the boards neatly aligned anyway, it’s time to glue them together!
You’ll want to use wood glue for this, which will take some time to dry, but will be worth it.
Apply the wood glue to each board, making sure that each has the glue down both edges of its length, allowing it to stick to the boards on each side.
Once you’ve got wood glue on all the appropriate edges, secure the boards next to each other again with the clamps and cauls.
They should eventually be secured so tightly that they are forced together, helping the glue to stick them to each other firmly.
You should do this to construct both the top of the table and the bases.
Once all the boards are clamped together, with the glue applied, leave them for 24 hours.
This should give them time to dry properly, sticking the boards together very strongly. Only after that period should you remove the clamps.
Step Six: Making The “Stretcher”
For those who don’t know, a “stretcher” is a piece of wood that will tie both of the bases together.
On top of that, it will give you another point for the top to connect onto, and overall help the stability of the white oak dining table.
You can get creative with how you make your stretcher. For example, you can use one of the 8/4 pieces of white oak that you got.
Alternatively, you can get a bigger piece of wood, like a 1X12, and rip it into three pieces of equal size. After that, you can stack and glue them together.
Whatever you do, you’ll want to make sure that the stretcher is neat, with proper edges.
You’ll also need to get the correct measurements for the wood, which depends on how long the table top is going to be.
For our one, we wanted the top to overhang about 16 inches on each end.
This means that you would cut the stretcher to be 32 inches shorter than the top of the table.
It’s up to you how long your top is, just cut the stretcher accordingly.
Step Seven: Cutting The Top
Now you’ll want to cut the top down to the correct length that you want it to be.
This all depends on how big you want the table, which can depend on how many people you want to be able to sit at it.
For example, a four seater dining table might only be about 36 inches in length.
On the other hand, a table that seats 8 or 10 people could have a length of around 87-90 inches.
We wanted our table top to be around 90 inches in length.
To cut it down, you can use a circular saw. Remember to follow all safety precautions, and get a professional to help if you’re unskilled.
Make sure to use some painters tape to prevent “tear-out”, which is to do with wood grain.
Step Eight: Cutting The Bases
You will also need to cut the bases down to the size you want. It all depends on the table size you want again.
We wanted ours to be about 29 inches long. Follow the same advice as above.
Step Nine: Notching
Next, you need to make notches in the bases, in order for the stretcher to work.
A circular saw can be used for notches, but get a professional to do it if you’re not skilled in using the saw. Always be careful and follow the safety precautions.
To make the notches, first clamp the two pieces of the base together.
Additionally, you should clamp a piece of scrap wood on each outside too, in order to avoid tear-out.
Then take a pencil and mark where your notch needs to be. The clamps will help line them up properly.
After that, adjust your circular saw’s blade to the correct height of your stretcher. Clamp a straight edge to the two bases, then make the pair of outside cuts.
Once those are done, make a series of smaller cuts. These should range in total as wide as the notch’s width.
Finally, get a hammer and chisel, and use them to get rid of any leftover wood from the notches.
The stretcher will need to fit perfectly in the notch. Try fitting it, or something its width, in the notch gap. If it isn’t tight enough, or it’s too wide, remove some more wood.
Step Ten: Filling Voids
Now it’s the time to fill any large voids or gaps in your white oak wood.
Nobody wants a table with holes in it, and it could be dangerous at that, so it’s best to get the voids filled properly.
To do this, buy some wood filler. Try to get one that is roughly the correct color of your wood.
Follow the instructions on the bottle, and apply the filler to any large voids in the wood.
It should, in time, seal them up. If the color is right, it shouldn’t even be visible!
Step Eleven: Sanding
This is going to take a lot of time, but it will be more than worth it.
Sanding down the wood will make it smooth, which is absolutely essential for a dining table.
It might be the case that not much of your table needs to be sanded down, but whatever there is will definitely need the work done.
An orbital sander tool can be used to do the sanding. If you’re not skilled with using one, get a professional to help you.
These tools are dangerous and you need to follow the proper safety precautions.
Orbital sanders use different levels of sandpaper to give different effects.
You can begin using the sander with an 80 grit sandpaper, then use a 180 grit sandpaper when you’re doing the very last sanding go-over.
Step Twelve: Routing Edges
The sanding down was partly to give the table a more finished appearance.
Similarly, you can use a palm router to round the edges of your wood – both on the top and the bases.
Use a roundover/beading router bit with the palm router. Once finished, give the wood another gentle sanding.
Step Thirteen: Attaching The Stretcher
To attach the stretcher, first put wood glue on the base notches, then slot the stretcher in place.
If it’s too tight, carefully use a dead blow hammer to wedge it in.
Next, use a countersink drill bit to drill two holes on each side. The holes should pass through the stretcher, then continue into the bases.
Once you’ve got the holees, use some long screws to screw the two bits together.
Step Fourteen: Figure 8 Fasteners
Figure 8 fasteners will secure the base to the top. Use a Forstner drill bit to make holes in the bases and stretchers, then use a chisel to remove excess wood.
Where should you make the holes? We put two in the stretcher’s middle, and then two at each base too.
Step Fifteen: Seal The Top And Base
Another step for making your table look as good as possible! This is all about sealing another finish.
You’ll want to get a tin of satin finish for this job. Follow the instructions on the tin, and apply your first coat with a foam roller.
After that, you’ll want to lightly sand the pieces down with sandpaper.
Then get a brush and apply another coat, sand again, apply a third coat, and sand once more. Pick up any leftover sanding dust with a tack cloth.
Step Sixteen: Installing Fasteners
Drill a pilot hole in the base, then screw the figure 8 fastener in.
Step Seventeen: Add The Top On The Base
You’re almost there! Place your table top on the base, making sure it’s completely centered, with the overhang you want.
Step Eighteen: Securing The Top On The Base
With the top perfectly centered, it’s time to secure it! Drill some pilot holes on the top’s underside, then screw the figure 8 fasteners to it.
The pieces should be secured together, and your white oak dining table should be finished!
Final Thoughts
Making your own white oak dining table may take some time, but it’s much cheaper than buying one from an expensive store.
If you’re inexperienced, get a professional to help you with the tools. Always follow safety precautions.
- The Woodworkers Guide to Brad Nailers: Everything You Need to Know - September 25, 2023
- How To DIY An Aztec Garden Dining Table [The Easy Way] - October 18, 2022
- Farrow & Ball Pigeon: Is It Right For Your Home? - October 17, 2022

