Are you looking for your next furniture project? Perhaps you’re looking for ways to cut down costs in a new home with some DIY weekend projects.

Good quality tables are expensive and you may not find a design that you like. This herringbone table is the perfect place to entertain guests and eat family meals.
With this simple guide, you’ll learn how to build your own herringbone table and brighten up your home.
Choosing The Table Size
The first thing to do when building a table is to determine how big of a table you want. This will influence how much wood you need to buy. However big you choose to make your table, you must also purchase a piece of plywood of the same size.
For reference, we’re going to pretend that we are making an 8 foot long table that would be big enough to seat four people around it comfortably. As most sheets of plywood come 4 x 8’ in length, this is an easy way to decide on your table measurements.
If you’d like to make a bigger table then check your local lumber yard to see if they have larger sheets of plywood, as this means you won’t have a joint in the plywood.
What You’ll Need
Before you start, make sure to grab everything on this list to ensure you have all the necessary tools and supplies to complete the job.
Materials
- ¾ inch thick plywood
- Whitewood or maple wood
- Carpenters pencil
- Metal table base (or any other preferred material)
- Nails
- Paintbrush
Tools
- Circular saw
- Measuring tape
- Minwax oil stain
- Clear varnish
- Framing triangle/rafter square
- Nail gun
- Clamps
Choosing The Materials
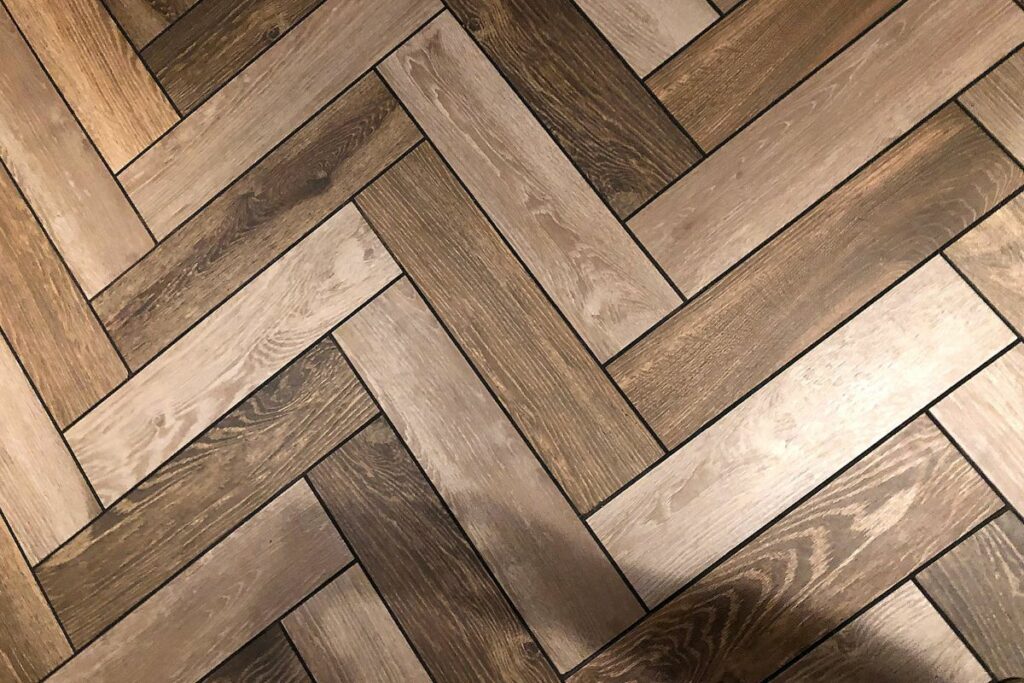
For a hard-wearing table that lasts you a long time, you can use hardwood such as maple which is highly durable. Soft woods such as whitewood is also a good choice as it is long-lasting and resistant to fire and termites. Woods such as pine aren’t suitable for making a table as it is easily dented and can be damaged easily.
For the purposes of this guide, we’re going to say we used 1 x 8’ whitewood. The good thing about this wood is that it is light in color which means you can finish it off with any type of stain you like. When purchasing your wood, make sure to check each board to ensure they are free of warping or bowing for a good, even finish.
You’ll also need perimeter boards, here we will use 1 x 2’ whitewood to create a uniform finish with the pieces of wood used for the herringbone pattern. Contacting your local lumber yard with the measurements of your table can help you figure out how many pieces of wood you’ll need.
Measure Your Materials
If you’re changing the length or width of your table, then measure the dimensions on the plywood base minus twice the thickness of the perimeter boards.
For example, if the perimeter material is ¾-inch thick, you double it, ¾” x 2 = 1.5”. Then subtract this from your original table dimensions.
Length – 1.5” = X
Width – 1.5” = X
Mark The Center
At both of the shorter ends of the plywood, use a tape measure to mark the center of the plywood. Using a straight edge, connect these marks to create a long center line down the middle of the board. If you don’t have a straight edge long enough, you can mark the center point at multiple intervals.
With a rafter square or framing triangle as it’s otherwise known, measure and draw a 45° angle from the center line to the edge of the table.
This angle is to create the basis of the herringbone pattern and therefore needs to be as precise as possible for an even finish.
Find The True Center
Before you can start cutting the pieces of whitewood to create the herringbone pattern, you must find the true center.
Firstly, measure the width of the whitewood boards and write this figure down. Then measure from a corner of the board up lengthways and stop at the width figure and mark it with a thick line.
If the width of the board is 6” then measure 6” from one corner up the length of the board.
Using a straight edge, draw a line from the opposite corner you measured from to the pencil marking on the length of the board. This will have created a 45° angle similar to the one you made on the plywood.
Then measure the distance from the opposite corner of the line to the line itself, this could be around 4” depending on the size of the pieces of wood. Now we need to divide this number by two.
For example, if the line was around 4”, 4/2 = 2.
Look back to your plywood and take 2” off the first measurements you made and draw a new angle line (or whichever length you measured). This essentially means you need to subtract 2” from the original 45° line along the edge of the plywood along with the center line.
As an example, say the center line measures 24” from the edge of the board, you must subtract 2” from this to give you 22” and make a mark at the top. Measuring how far the angle comes down the side of the board should also give you 24”, subtract 2” from this also to create two new points to form a 45° angle.
This new line is where the first board will go.
Installing The Herringbone Boards
Place the first board along the new line you’ve just made and allow the board to hang over the edge of the plywood.
For best results, it is recommended that the boards should hang over the edge by at least 1” to enable you to easily cut through when finishing up. You can line up the first board and cut off the excess at a 45° angle to reduce waste.
Place a second board to form a ‘V’ at a right angle with the first board. There will be spaces above both of these which will be filled in later, so don’t panic. Make sure you have created the perfect right angle using a rafter square.
Using a miter saw, cut the shorter end of the board to get rid of the rough edges. This will help to create the perfect 90° angle when placing all the boards together.
Repeat these steps until you have boards staggered all the way along the tabletop, with each board cut before installing onto the plywood.
When it comes to the awkward pieces at the top and bottom of the tabletops, you’ll need to use excess wood to create pieces to fill in these gaps. You don’t have to be an expert carpenter here to achieve a cohesive look as they’ll all be trimmed off at the end.
Fastening The Boards
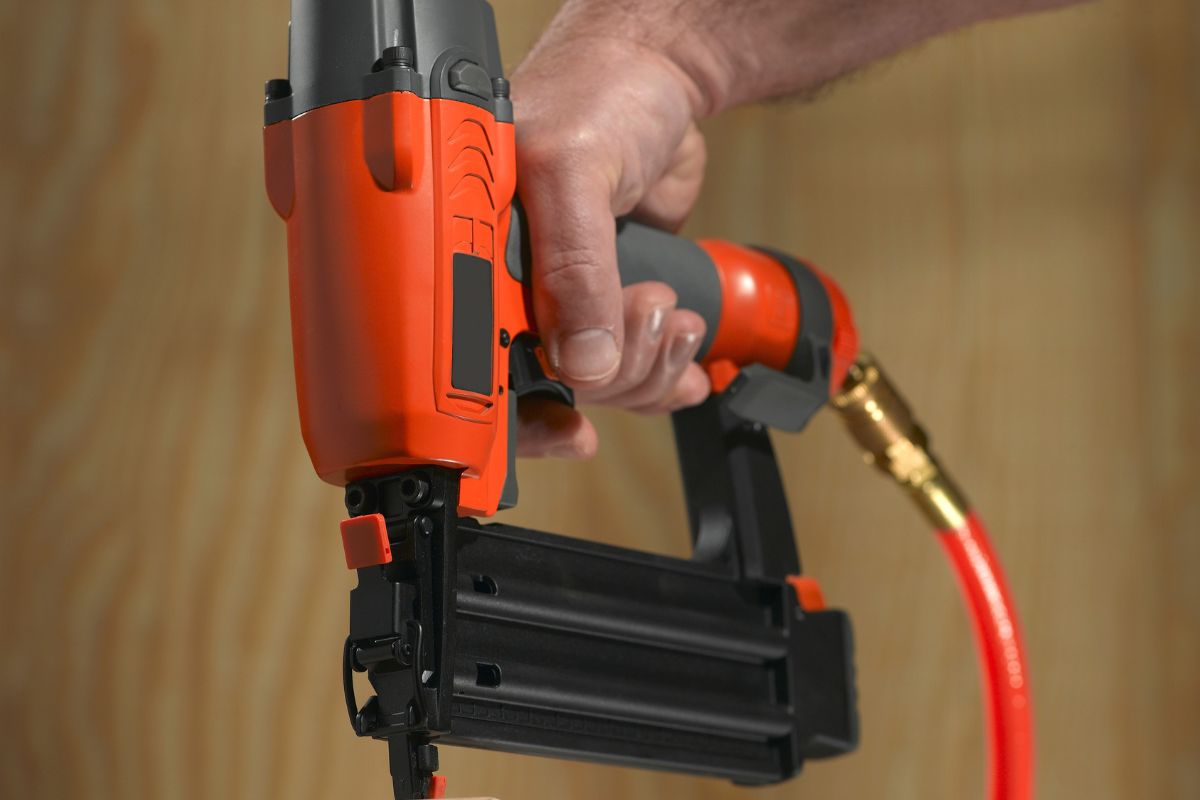
To attach the boards to the plywood, a nail gun is the most secure and durable method. We recommend using thin nails that are made for delicate woodworking jobs such as brad 18-gauge nails, 1 ⅜” in length.
Some people prefer to use wood glue as some nails can cause splits in the wood. Note that you’ll have to wait for the glue to dry before carrying on with the project.
Trimming Off The Overhang
Now the herringbone pattern is securely in place, the edges can be trimmed off to leave you with a perfect rectangle.
A track saw is the best way to get a perfect finish on the edges of your table, but this isn’t always viable. A circular saw comes in as the second best option.
To cut a straight line, you need to clamp the board down on both ends. Measure the space from the outside edge of the saw to the saw blade, this could be 2” for example.
Place a long straight board on top of the table, 2” away from where you want to cut (i.e. where the end of the plywood is).
The clamps are to keep the long board in place to guide your cut. Run the saw along the edge of the board using light pressure to stay in line. If you push too hard you may move the board out of line.
Continue to do this for the remaining 3 sides of the table.
Adding The Edges To The Table
Take the 1 x 2 pieces of perimeter whitewood and cut them to fit each side of the table. These can be fastened with nail guns or wood glue as mentioned before and use a square cut with overlaps.
If you prefer, you can use a miter saw to create a 45° angle at this joint depending on how you’d like it to look aesthetically.
Adding Stain And Varnish
Staining the wood will help protect it and make it last longer. We recommend using Minwax oil-based products to provide a beautiful rich color that enhances the natural wood grain.
Using a paintbrush this can be applied easily, as the oil absorbs deep into the grains of the wood.
A benefit of using Minwax products is that they can be recoated in just two hours, but double-check with the can before reapplying.
Be sure to test the stain out on scrap pieces of wood before you start on the main table to ensure you like the look of it.
When you’re satisfied with the wood color and it has completely dried, a clear coat of varnish can be added to add further protection. There are a number of different products out there, some are more expensive than others so bear that in mind.
This Everbuild quick-drying varnish is cost-effective and produces a scratch-resistant, heatproof finish ideal to use on interior wood. Apply extra coats to build up the protection and enhance the natural qualities of the wood.
Sand the tabletop in between coats, cleaning the table extensively between coats to avoid dust coming into contact with the varnish.
Once you’ve applied as many or as few coats as you wish, lightly sand the tabletop and sides a final time to create a silky smooth finish.
Attaching A Base
After all that hard work we don’t expect you to build a table base too. There are a ton of different styles and colors to choose from online, suiting every budget. Common table bases paired with this style of the tabletop can be found here:
Metal table legs or bases give you a strong and durable material that looks great in contrast to natural wood. The legs come with the appropriate attachments and fixtures to add to your tabletop for a quick and easy installation process.
Final Thoughts
There you have it, a step-by-step guide created to help you build your own herringbone table. We hope you found this article interesting and informative, giving you all the information you need for your next project.
If you ever feel uncomfortable or unsure when using a particular tool or material then get in touch with a professional immediately rather than trying to do it yourself. Safety first, always!
- The Woodworkers Guide to Brad Nailers: Everything You Need to Know - September 25, 2023
- How To DIY An Aztec Garden Dining Table [The Easy Way] - October 18, 2022
- Farrow & Ball Pigeon: Is It Right For Your Home? - October 17, 2022

