Wood paneling has always been a classic choice for interior design. The look is timeless and versatile, and it adds warmth and character to any room.
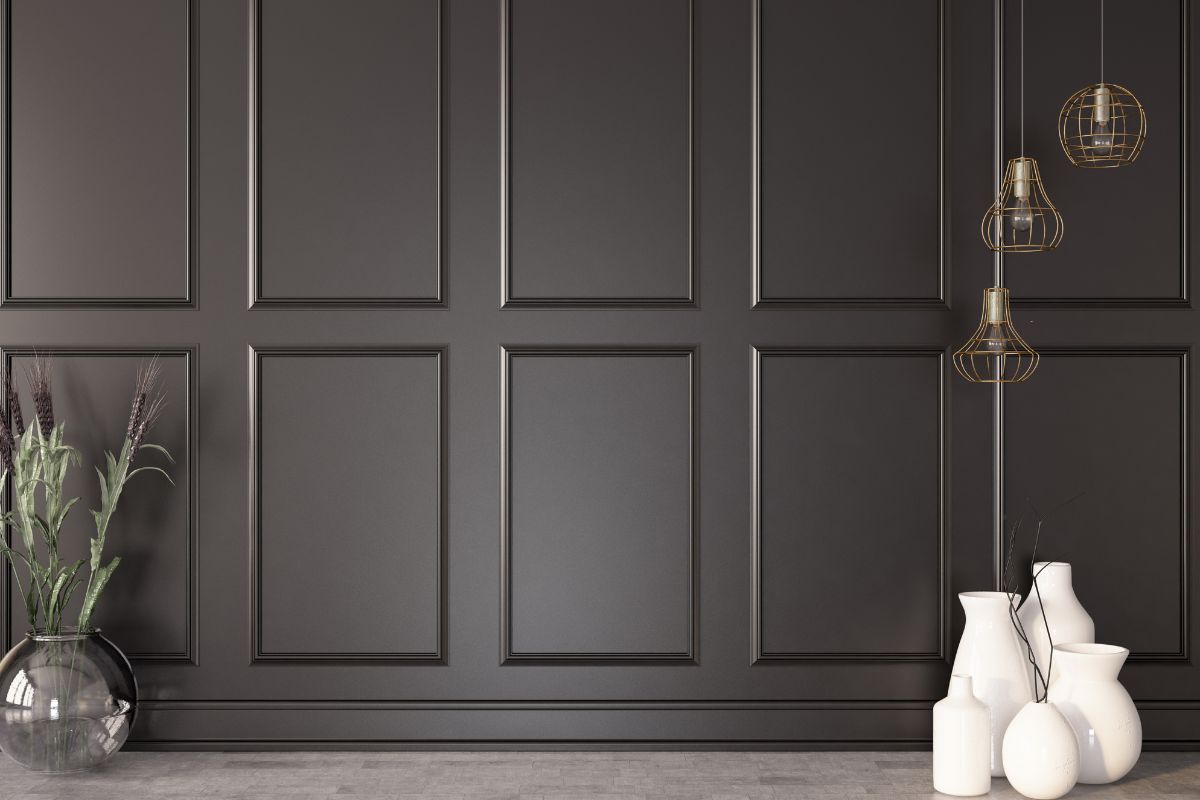
Wood paneling comes in various styles, finishes, and sizes, and you can choose between solid panels and veneers.
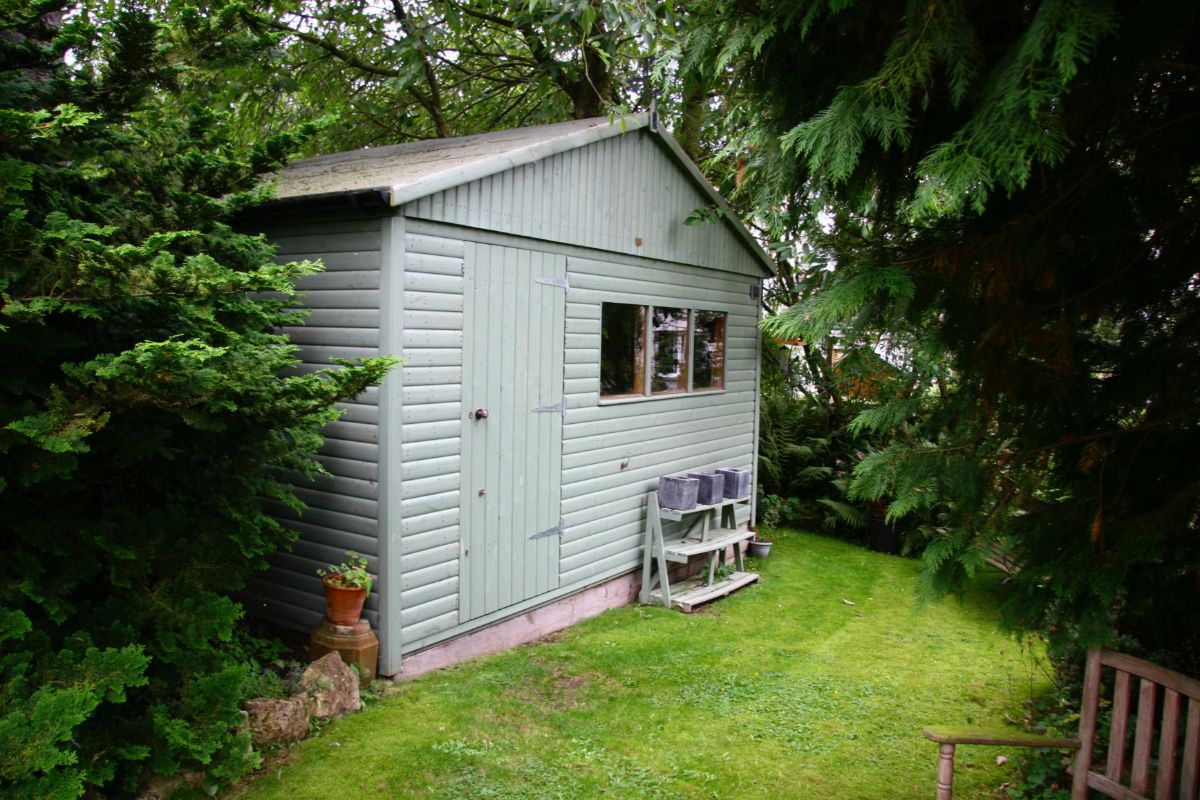
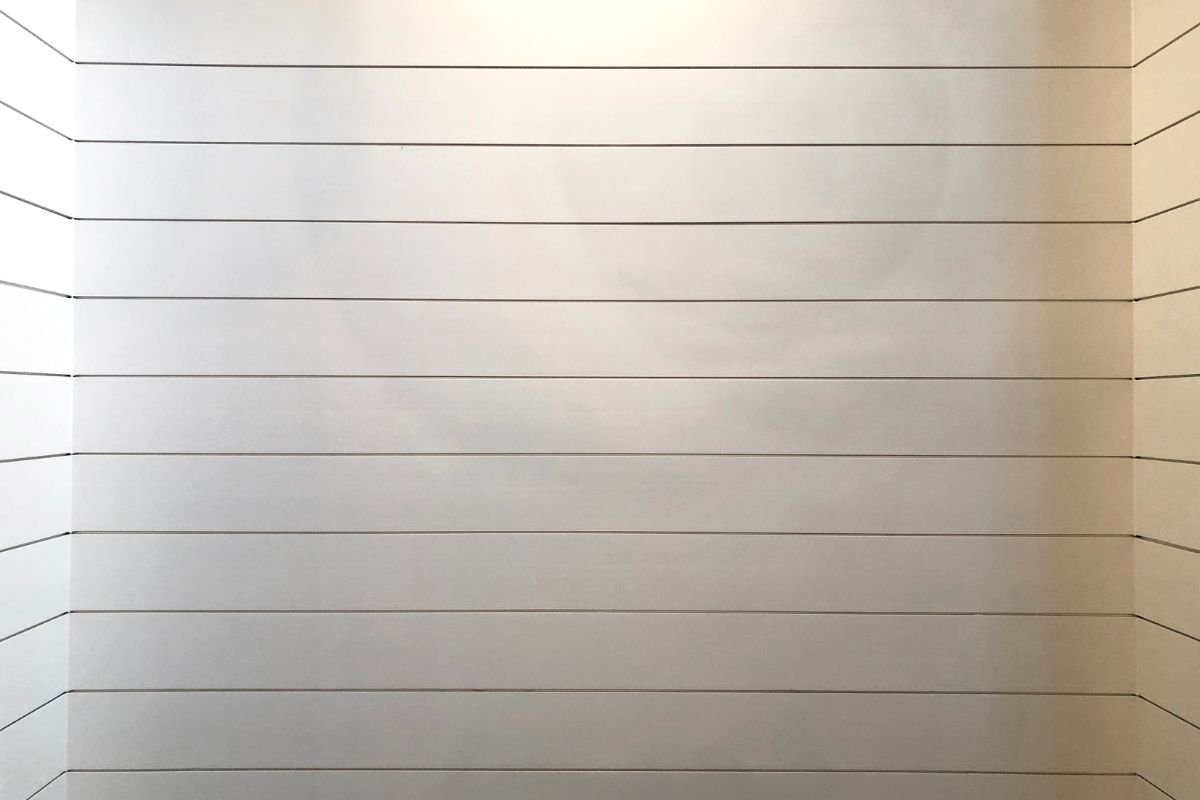
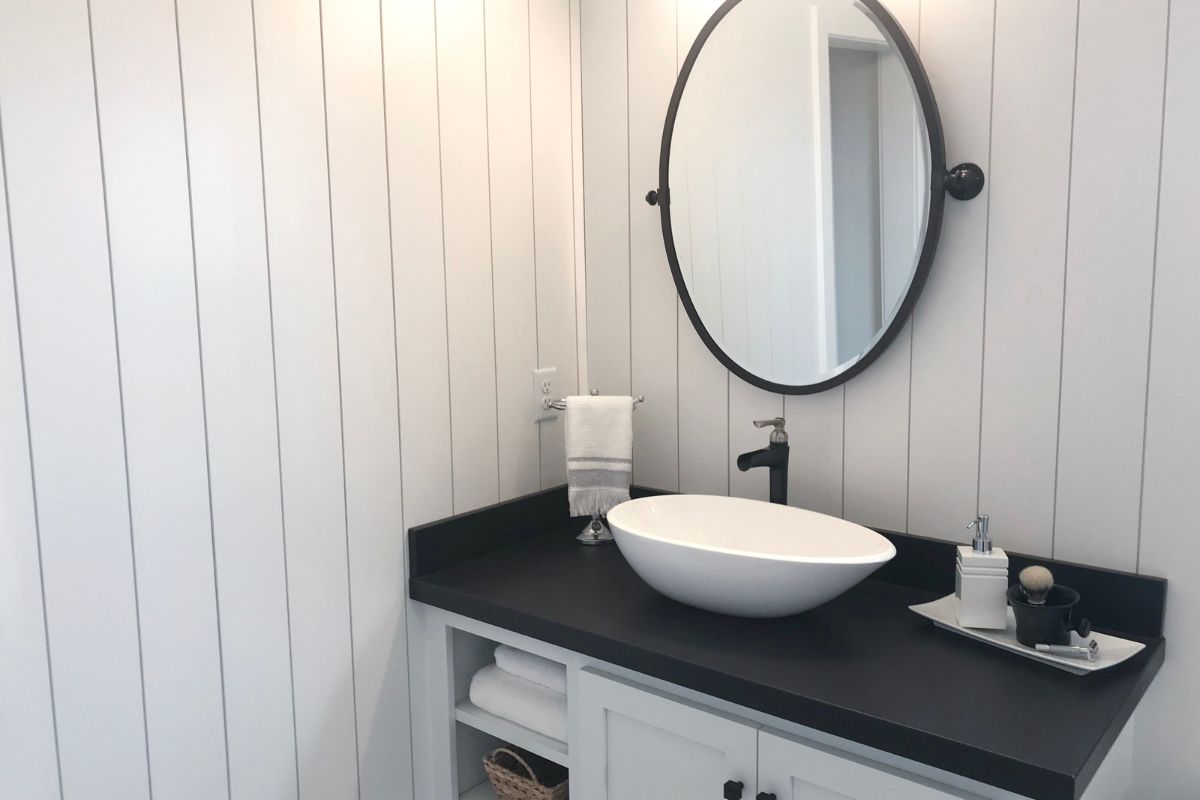
Board and batten wall paneling is a classic, traditional look that is easy to install and apply – even if you are new to DIY!
If you are looking to update the look of your space, then installing board and batten wall paneling may be just what you need.
This type of paneling is very popular because it gives off an old-fashioned, rustic feel while still being modern enough to fit into most spaces.
It’s also perfect for adding texture and depth to a small or large area. Keen to learn more? Then read on to learn how to add this paneling to your room in no time.
What Is Board And Batten Wall Paneling?
Board and batten wall paneling is a style of wood paneling that features horizontal strips of wood nailed onto vertical boards. The horizontal strips create a patterned effect, and boards are usually made of pine, cedar, oak, or other hardwoods.
They are typically about 2 inches wide and 4 feet long. The vertical strips are usually at least 1 inch thick.
The overall visual effect of board and batten paneling is one of simplicity and elegance. It creates a warm, natural appearance, which makes it ideal for use in living rooms, dining areas, bedrooms, kitchens, bathrooms, and hallways.
The beauty of board and batten wall panelings lies in their versatility. You can easily change the size, shape, color, and finish of the panels to suit your needs.
For example, you could opt for a smaller version with simple white paint, or you could go all out with a larger version featuring rich colors and decorative details.
You can also customize the look of your board and batten wall panels by choosing from a variety of different types of wood. Some common options include:
Pine
A softwood that is often used for furniture, flooring, and building materials, pine has a light brownish hue and is naturally resistant to decay. Pine is also very easy to paint, meaning that you can adjust and adapt it according to your needs and preferences.
Cedar
A durable, straight-grained hardwood that is commonly found in North America. Cedar has a golden yellow color and is naturally resistant to rot and insects.
Oak
An extremely strong, dense hardwood that is often used in construction projects. Its dark reddish-brown color is beautiful when combined with lighter tones.
Mahogany
This tropical hardwood is known for its deep red color and high resistance to moisture and pests.
Cherry
A medium-density hardwood that is commonly used in furniture making. Its bright cherry red color is beautiful when paired with darker shades, and can add a real statement feel to your home.
Maple
A softwood that grows best in cooler climates. Maple looks best when paired with darker hues, such as black, gray, and navy blue.
Walnut
A heavy, dark hardwood that is often found in antique furniture. Walnut is naturally resistant to rot, insects, and fire.
How To Make Board and Batten Wooden Paneling
As we have mentioned, board and batten wooden paneling is super popular – and it is also super easy to create yourself – we have the ultimate steps below.
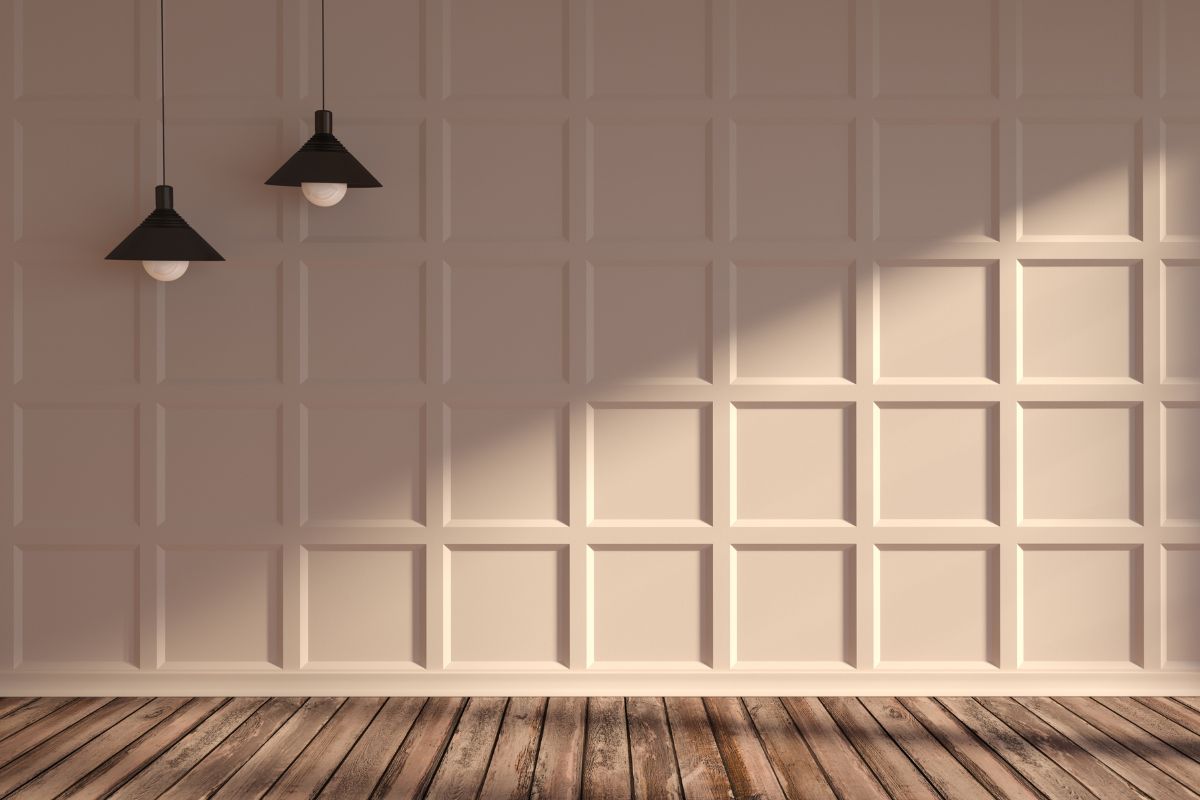
Step 1: Choose Your Wood
Choosing the right wood for your project is essential. In order to achieve the desired results, you will want to choose a wood that matches your design aesthetic and the intended purpose of the finished product.
Step 2: Measure The Boards
Once you’ve chosen your wood, you’ll need to measure each board. Do this by measuring the height and width of your wall, and deciding how far up you want the paneling to come.
Board and batten paneling is distinguished by its square or rectangle shapes, so you then need to determine your desired size of these, and work out how many shapes you want across the wall.
Achieve this by measuring the width, and then dividing it by the number of panels you want. This will tell you how much wood you need to cut.
Step 3: Cut The Boards
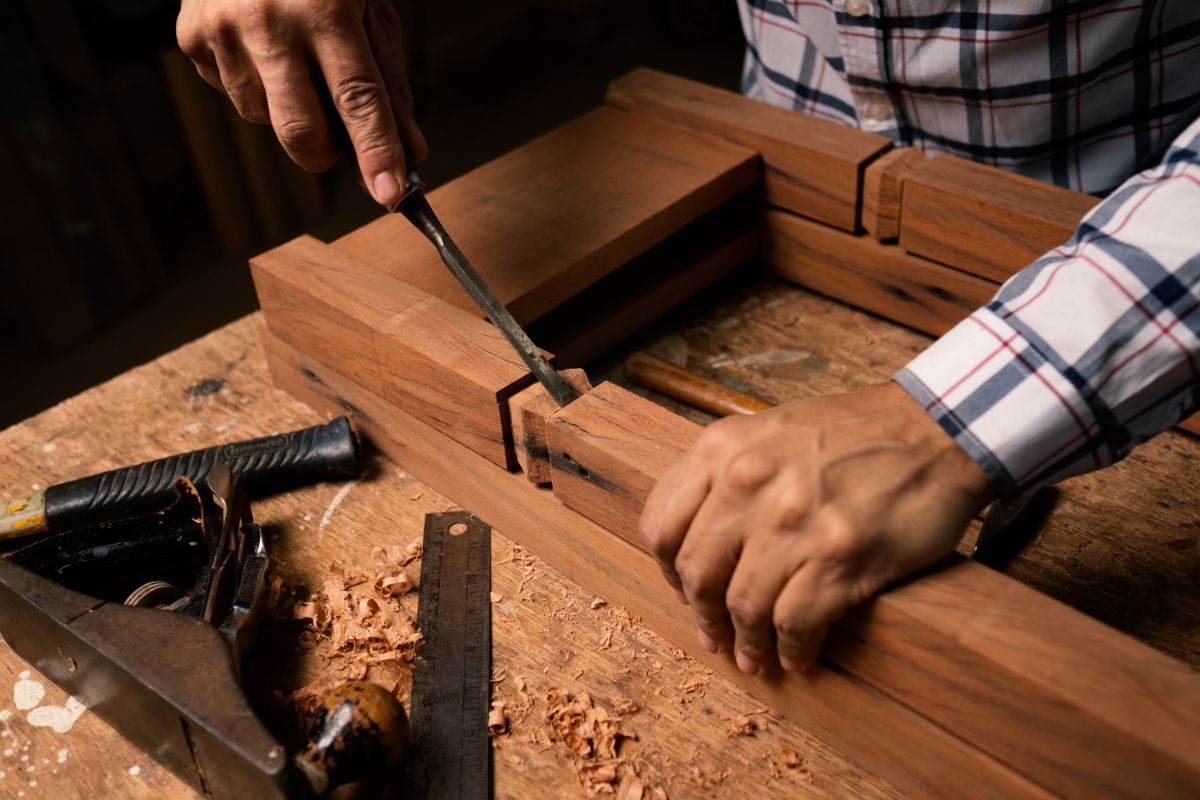
Once you’ve chosen the wood for your project, you’ll need to cut the boards to size. This step is important because it ensures that all the pieces fit together properly.
You can do this either by hand or with power tools. If you decide to go the manual route, then you’ll want to use a table saw, circular saw, jigsaw, or handsaw.
If you decide to go the power tool route, then you’ll first need to find a router. A router is a machine that cuts grooves into the wood. It’s perfect for creating intricate designs, but it’s not always necessary.
Step 4: Sand & Stain
After cutting the boards, you’ll need to sand them down so they are smooth and ready for staining. You can do this manually or with a power sander. Once you’re done sanding, apply stain to the entire surface of each piece.
You can also choose to paint the wood at this stage or wait until it is attached to the wall.
Step 5: Attach The Boards
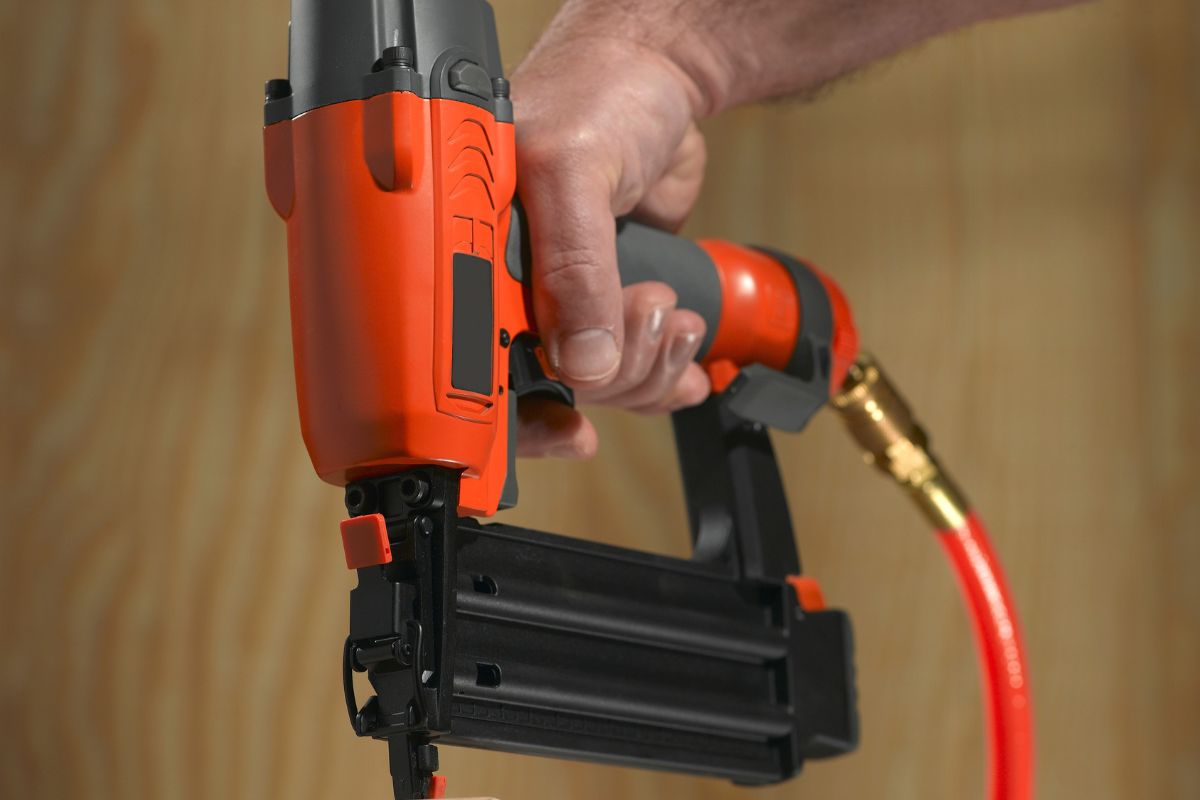
Now that the boards are stained and ready, you’ll need to attach them to the wall. There are several ways to do this, depending on what type of installation you prefer.
The most common method is to drill holes through the back side of the boards and screw them directly to the wall studs. This is a simple way to secure the panels to the wall, but it requires drilling holes in the wall, which may leave unsightly marks.
Another option is to use drywall anchors instead of screws. Drywall anchors are small metal clips that allow you to hang the boards from the top of the wall without drilling any holes.
The final option is to use adhesive strips. Adhesive strips are thin strips of paper that adhere to both sides of the boards. They come in different sizes and thicknesses, and some even include a backing material that allows you to hang them from the ceiling as well.
Step 6: Apply Finishing Touches
Once the boards are installed, you’ll need to add finishing touches such as moldings, trim, and hardware. This is also a chance to paint the wall and panel if desired.
Final Thoughts
Board and batten panels can be used to create an elegant and sophisticated look that adds character to a room. As an added bonus, they are very easy to attach and decorate, allowing you to update a space in no time.
- The Woodworkers Guide to Brad Nailers: Everything You Need to Know - September 25, 2023
- How To DIY An Aztec Garden Dining Table [The Easy Way] - October 18, 2022
- Farrow & Ball Pigeon: Is It Right For Your Home? - October 17, 2022

