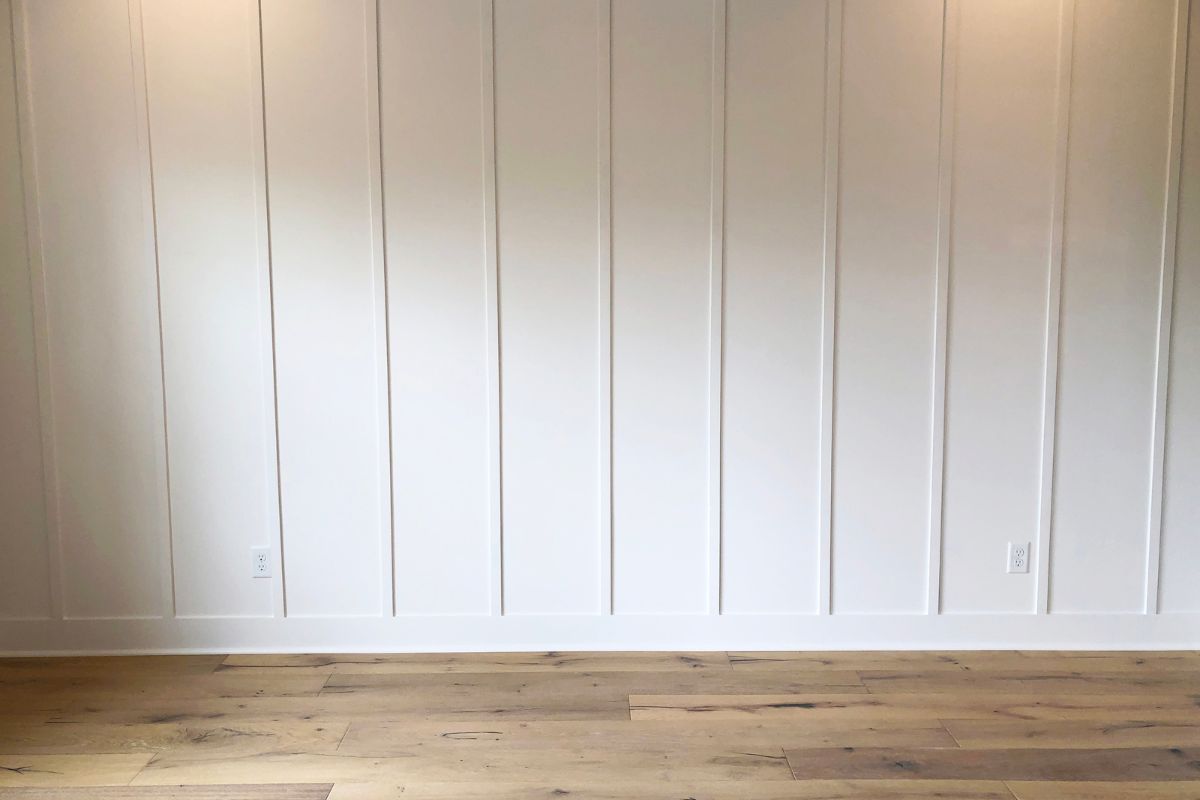
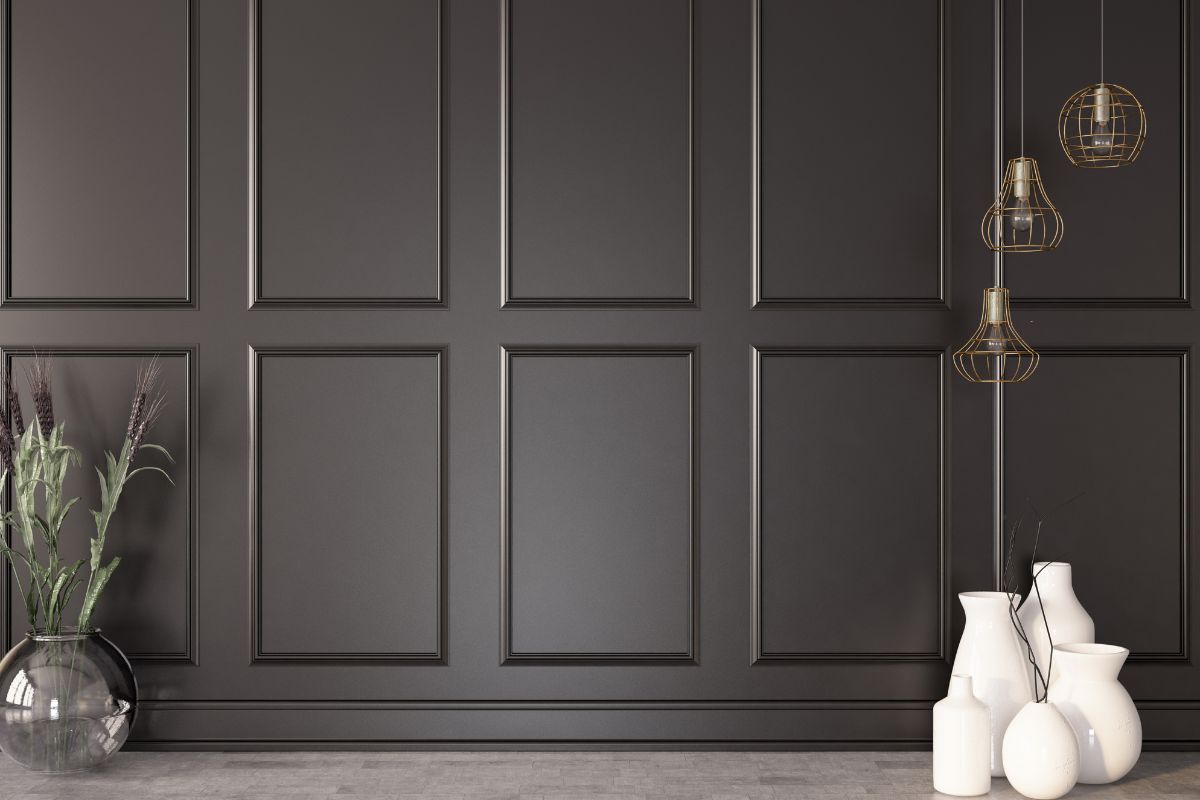
Board and batten designs have become increasingly popular in recent years, with many people incorporating them into their homes – either as a ceiling feature, a lower wall design, or as an accent wall to really add some interest to a room.
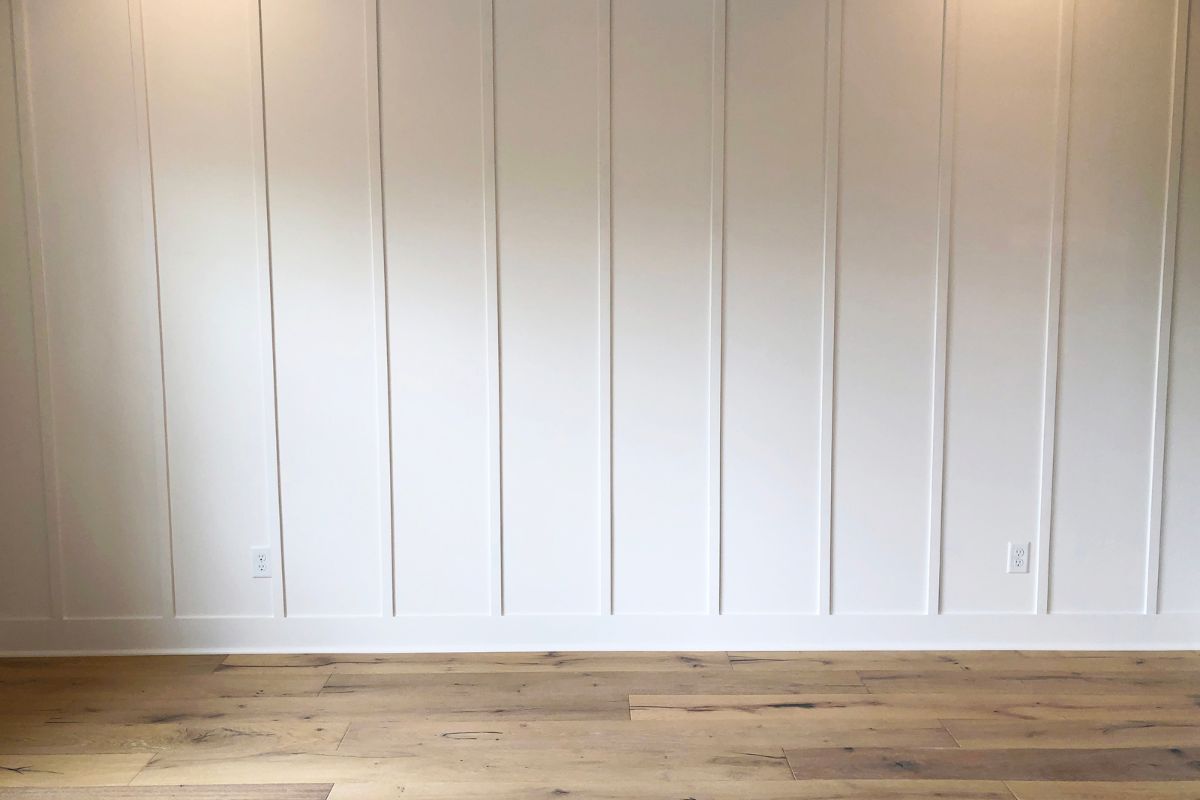
And while the process might seem like a stressful undertaking – particularly for those new to DIY – it is actually an achievable design style, especially when you follow a series of handy steps.
But what exactly is a board and batten wall, and what are steps to create your own at home?
What Is Board & Batten?
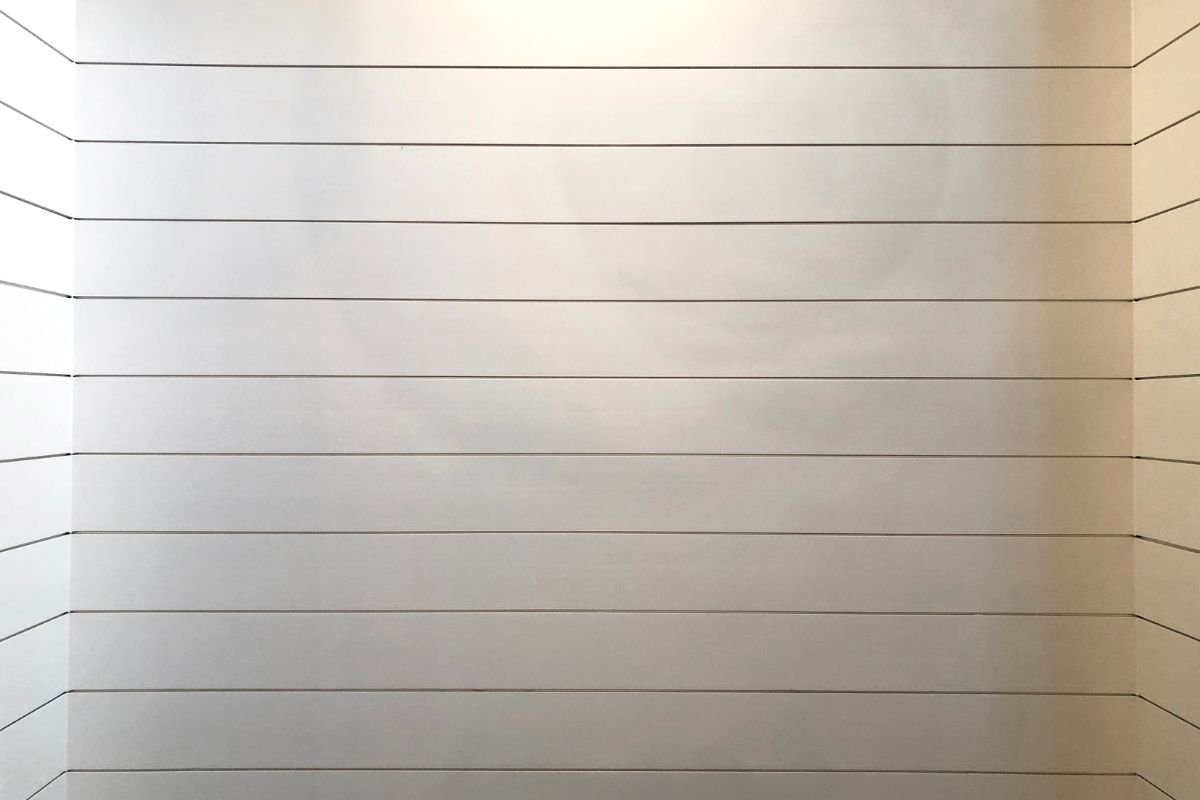
While the finished outcome of board and batten designs can differ, depending on the application, the general design style involves a framework of ‘battens’ set on flat material – usually wood.
This style has seen continued popularity throughout the centuries, and is commonly used in any number of settings, from domestic home decor, industrial installations, and even in sailing – with the design being used in the traditional form of ship building.
Creating Board & Batten Accent Walls
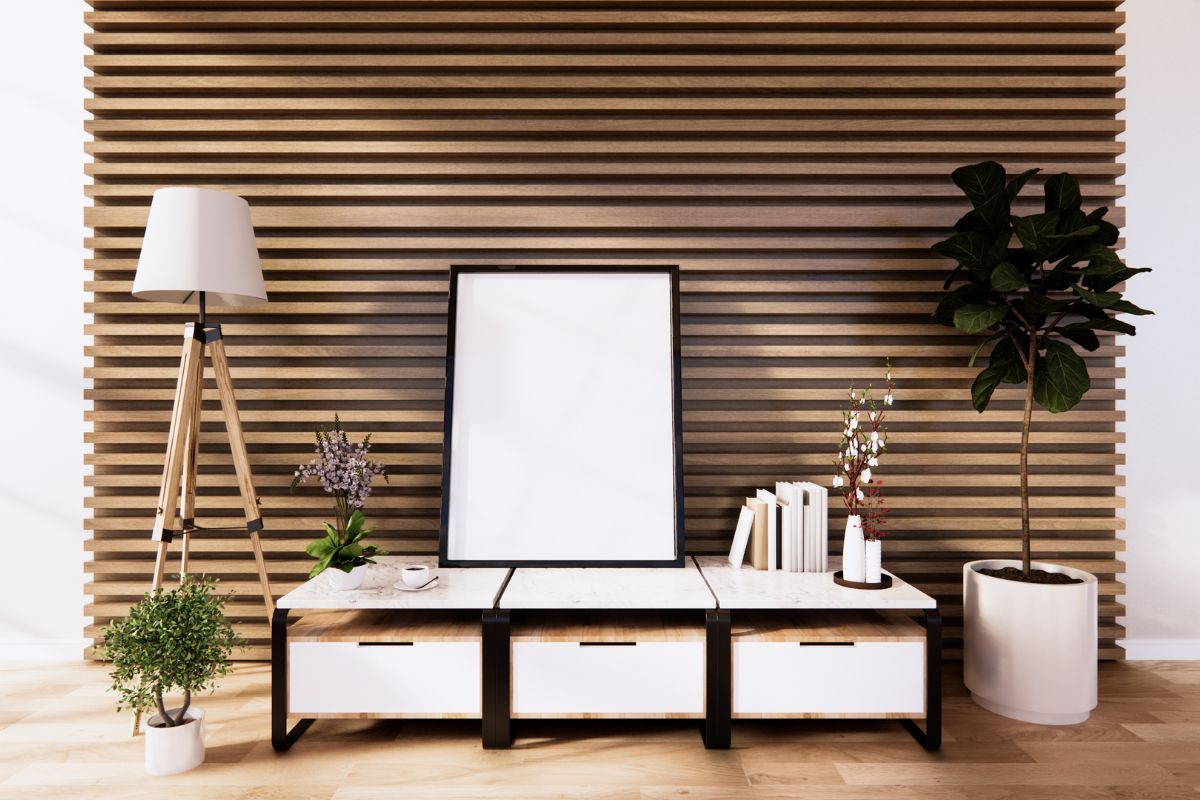
One common use for board & batten is within the home, and can be an attractive and interesting way to spice up a standard room, offering a little change of texture and materials.
In this way, board & batten makes a good accent wall – that is, an asymmetrical room design, wherein three of the walls are painted or papered as normal, and the fourth wall is coated in this famed wooden design.
Luckily, this is more achievable than ever, with countless how-to guides and affordable tools to help you on your way. So, without further ado, let’s take a look at the steps!
Tools Required
Before you can get started, it is important to make sure you have the necessary tools. For board and batten, this should include:
- Nails
- Liquid nails
- Wood Filler
- Sandpaper
- Paintable caulk
- Backer board (if your existing wall is textured and unlevel)
- Wood for the battens
- Jigsaw
- Hammer
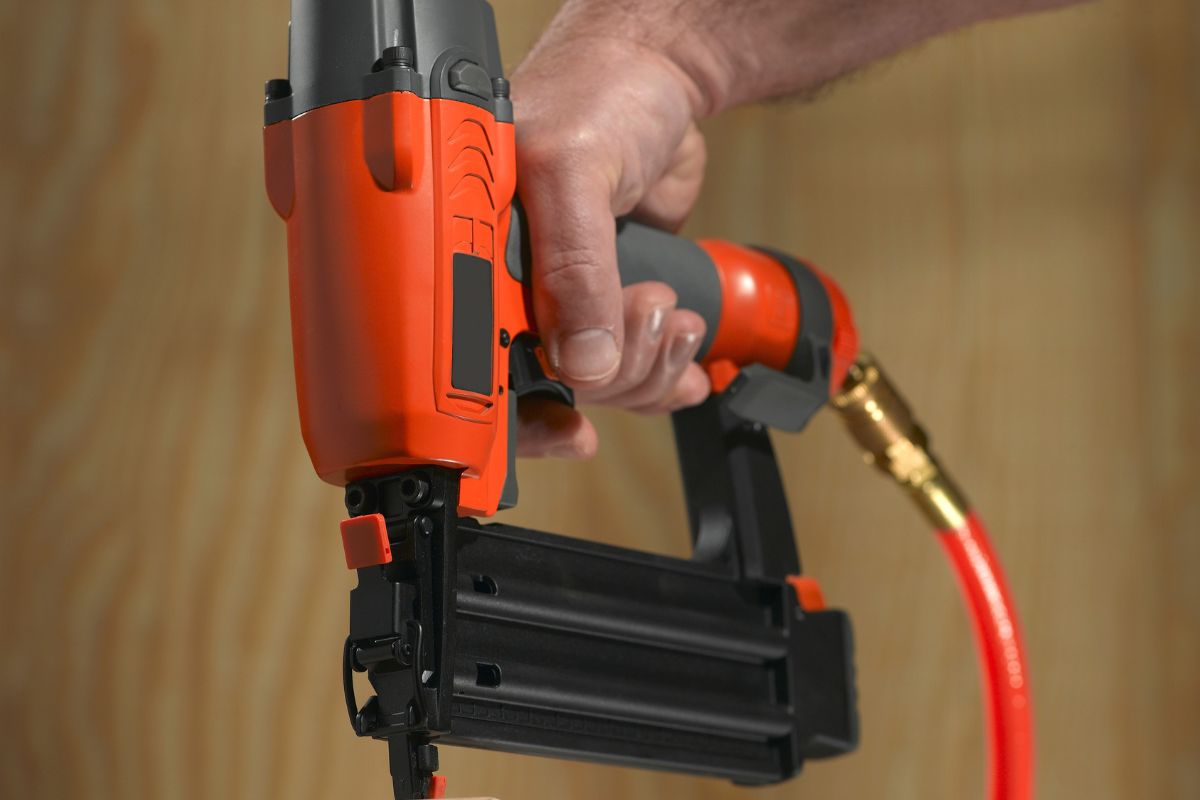
- Nail gun
Preparations
Most people purchase pre-cut wood when attempting to create this at home, and it can be pretty affordable and labor saving to do so.
This also reduces the amount of preparation you need to do beforehand, meaning that you can get it all finished in a much shorter time.
Backboards can be equally affordable, and often consist of composite wooden materials that provide a smooth, workable surface upon which to construct your framework.
Remember to measure out your boards, and make allowances for any windows and outlet sockets that might be present on your chosen wall.
Of course, if it is your intention to apply the battens straight onto the existing wall without any wooden boarding over the top, then you will need to make sure that the wall is in pristine condition.
This means using filler or putty to cover any cracks or holes, and works best when the wall has been sanded and smoothed off.
Step One
First things first, you need to measure out your wall, and appropriately mark in pencil where you want the boards and battens to go.
This will make the whole process much easier, and will reduce the risk of mistakes and potential damage.
This not only means that you will need to make sure you have enough battens, and that they can be evenly placed along the accent wall, but that you have set enough aside to cover the seams of the backboarding itself.
This isn’t compulsory, but will help to ensure a smooth finish, and a more professional, attractive look.
Step Two
Once you have properly marked out your boards, and made any adjustments for outlets and windows, you can then apply it to the wall. For this, use the liquid nails to add a good glue base to the back.
This will mean that your initial placement is less permanent, and can be adjusted accordingly if amendments need to be made.
Once you are happy with the placement, and you know all of the dimensions and positions are correct, you can then secure the boarding around the edges with nails.
You can use either a hammer or a nail gun for this process, but the latter would probably be easier, as it has the necessary force to punch through the wood and into the wall behind.
Placing the nails around the edges means that they can then be hidden by the batten pieces when it comes time to attach them. This will create better aesthetics, and will make it look more professional.
Step Three

When applying the battens, the first thing you should do is apply the trim pieces.
This not only gives you a proper sense of the dimensions you have to work with, but will make the whole framework-building process far simpler.
These can be attached the same as the backboarding – using liquid nails to perfect the placement, and then nails to lock in place. Do not worry about unsightly nail holes, these can be rectified later on in the process.
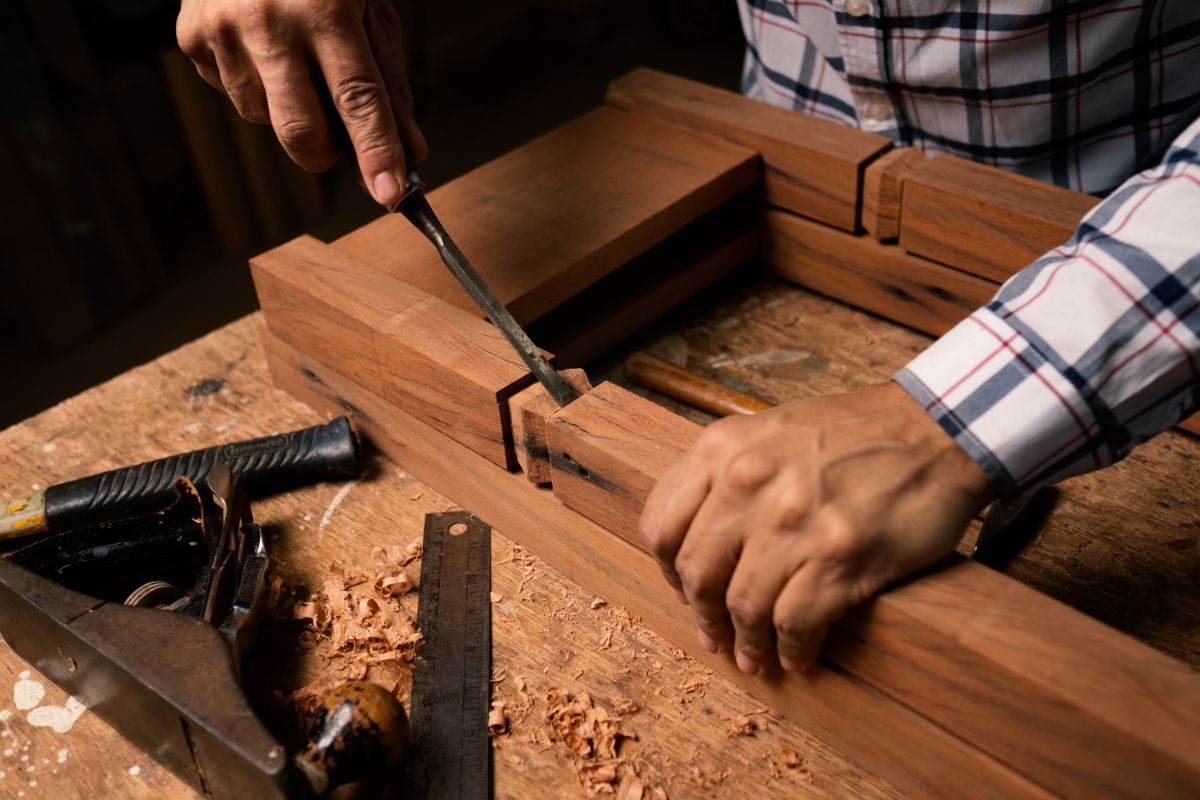
When it comes to constructing the framework itself, this might require some cutting, depending on the dimensions you have to work with.
The best thing you can do is mark on the wall where you want the battens to be placed, and mark on the batten how much you might need to cut off.
Once satisfied, use the same method to secure them to the wall, taking your time and regularly standing back to gain perspective on the finished look.
Step Four
Once you have attached the vertical pieces, then comes time to add the horizontal spars.
This can be trickier than the initial stages, so it is important to properly mark – using a level if you have one – and ensure that they are properly spaced.
You can use a tape measure to make sure they are equidistant from one another.
These will need to be cut, and should be done carefully and one at a time to get the best finish, and to ensure equal measurements.
Once you are satisfied, begin attaching them, using the marks you drew previously, and securing them with the same combination of liquid and real nails.
Step Five
Once you have attached all of the boards and battens to the wall, you can then begin to make the finishing touches you would like to make.
With regards to the nail holes, these can be filled with wood filler – creating a smooth finish on the grain that can then be stained or painted to your liking.
Once dry you can sand them smooth, and apply caulk to all the seams to make them look smooth and secure.
This will not only make it look better, but will help to ensure the longevity of the battens by adding that extra bit of security.
Now comes time for painting. This can be done with a roller for a good finish, or you could invest in any number of aerosol painting tools to expedite the process, and give you the best chance of getting an even all over coat.
Things To Remember
There are many things to remember when it comes to creating your own board and batten accent wall in your home – all of which will make the whole process go much smoother.
Measurements
You cannot hope to make a good job of this project without making the proper measurements along the way. It just cannot be done.
As such, for anyone hoping for an even finish, and a great looking wall, then measuring the backboard, the battens, and the spacing along the way are all paramount.
Patience
Similarly, this job requires patience – at least if aesthetic attractiveness is the end goal. If you rush through this work then you run the risk of making mistakes and getting it wrong along the way.
You could also run the risk of damaging the wood you have at your disposal, and prolonging the job longer than it needs to be.
Planning
With patience comes proper planning, and this will help to avoid mistakes, ensure you have all the tools you will need, and to make sure that the job is viable for the space you are working on to begin with – after all, if it is awkward, and obstacle laden, then maybe it isn’t the right one to choose.
Another aspect of planning means getting everything ready beforehand.
This means collecting your materials and tools before you begin, something that will make the whole job much quicker and easier when the work begins.
Final Thoughts
And there we have it, everything you need to know to create your own DIY board and batten accent wall at home.
With the proper time, planning, and measurements, you too can create this attractive design feature loved by so many. So, why not give it a try? Something tells me you won’t be disappointed!
- The Woodworkers Guide to Brad Nailers: Everything You Need to Know - September 25, 2023
- How To DIY An Aztec Garden Dining Table [The Easy Way] - October 18, 2022
- Farrow & Ball Pigeon: Is It Right For Your Home? - October 17, 2022

