A lot of people are opting for wooden countertops nowadays, seeking a return to the rustic, wholesome style of a time long since gone, and shunning modern alternatives.
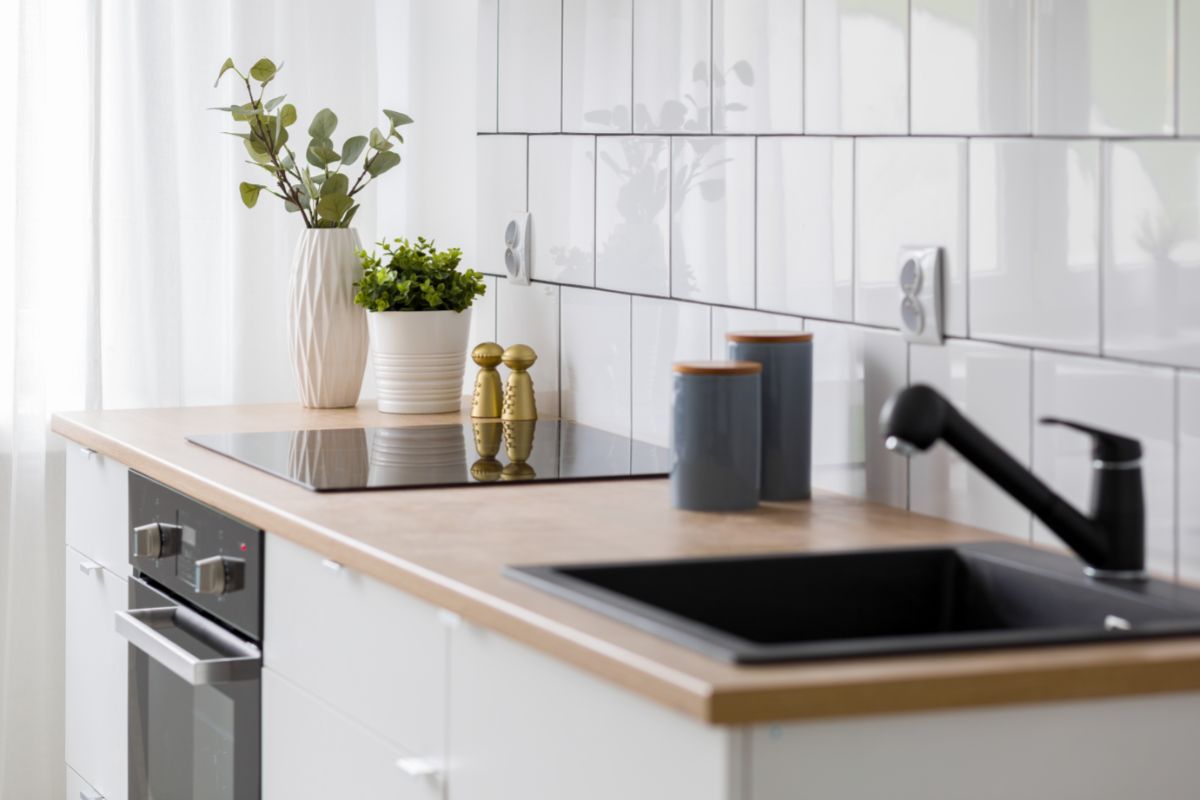
This opens up a lot of opportunities for homeowners looking to get creative, allowing them to find their own wood and install it themselves for a fraction of the cost that a professional countertop installation would cost.
But how exactly do you install a wooden countertop, and what preparations need to be made?
Where Has This Trend Come From?
With the high speed nature of modern life, many people find themselves longing for the feel of an old fashioned country kitchen, one laden with all the comforts and charm you could ever wish for.
Where Can You Acquire Wood?
Depending on the quality of the wood you are looking for, there are of course many locations where you could acquire your materials – all of them with varying costs and requirements.
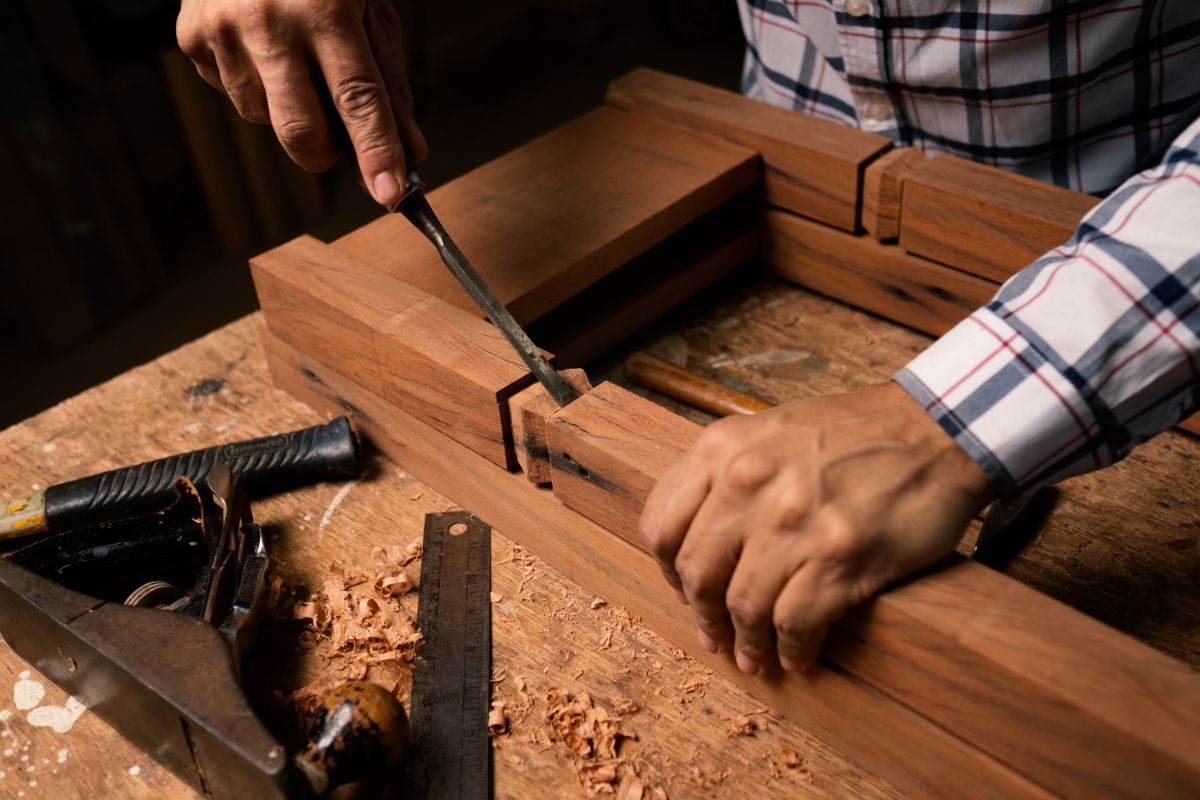
Many people opt for maple, as this is a softer wood that is easy to acquire, cut, and shape to the dimensions of your kitchen. However, people have even been known to use lesser composite woods like plywood.
These can be acquired from lumber yards, salvage yards, junkyards, or professional material merchants, and entirely depend on what your intentions are.
Where Will The Countertop Sit?
In most homes, kitchen countertops generally rest atop a row of cupboards and appliances, although in some cases they can be free standing.
Kitchens with under-counter cupboards and appliances make it much easier to secure the countertop, allowing you to attach the counter with nails to the existing cupboards, and using wooden boards to support the countertop above appliances and free standing sections.
What Tools Will I Need?
Of course, to do a proper job, you could really do with having the proper tools (Check out Husky Vs Craftsman, Which Is Better?).
For this particular job, you will need: circular saw, table saw, hand saw, reciprocating saw, clawhammer, power drill, vacuum cleaner, nails, wood glue/epoxy, measuring tape, spirit level, and something to mark with.
What Preparation Is Needed?
Of course, with any sizable job, there are preparatory steps that need to be taken before the actual installation can take place.
Taking Measurements
The main preparatory step that is needed is to mark out the shape of your desired countertop. This will require you to measure the dimensions with your measuring tape, making note of the specific measurements, and making sure you have enough wood.
Removing The Old Top
You also need to remove the existing countertop. You can use the clawhammer for this, using the claw end to pry the countertop away from the wall, cleaning any mess with the vacuum cleaner to ensure a clean placement for the new top.
Cutting The New Wood
Once you have done this, you then need to cut the wood using whichever of the above mentioned saws will do the job best. Depending on the size, thickness, and density of the wood you are using, we recommend the table saw or the circular saw, as these will make the lightest work, and give the smoothest, cleanest finish.
The Installation Process
Then comes time for the installation itself. This is by no means the easiest part, and is best done with a helping hand (if you have one).
Step One
Depending on the size of your countertop, you will probably do this in sections. This will make the whole process simpler, and gives you slightly more room for error during the planning and installation process.
The first step that should be taken is to ensure that the new countertop fits on the existing space – and you can do this by simply laying them atop the existing cupboards.
Once you are happy with the placement, a good step is to pre-drill the holes. This allows you more freedom of movement, and can allow you to see more clearly where you will need to drill.
Step Two
Once you are satisfied, you can begin to bond the countertop to the existing cabinets. You can use a combination of wood glue and nails – setting the first section in place with the glue, before moving onto the next, and so on.
The glue is a less permanent option, and will allow you to make last minute changes and adjustments if something goes awry.
Step Three
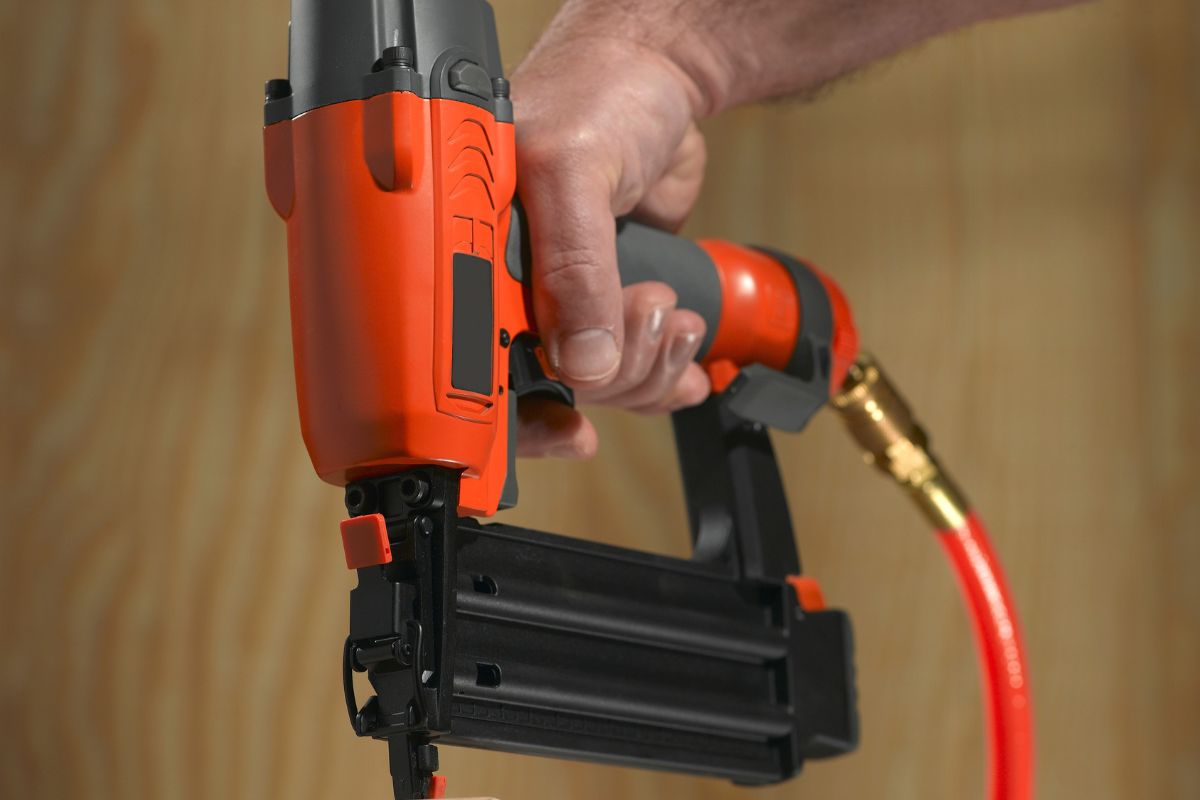
Once you have glued all of the pieces in place, and you are happy with their placements and dimensions, then comes the time to secure them in place with nails or screws – depending on your preference.
This will ensure that the countertop doesn’t come unstuck as the glue degrades over time, and will help to create a sturdy finish suited for family life.
Be sure not to over tighten the screws or nails however, allowing some natural movement within the wood, and helping to avoid cracks and breaks.
Step Four
Next comes the finishing touches, such as smoothing off and varnishing the wood.
Ensure there is no glue on the wood, and that the seals are good and uniform. Also make sure that the drill holes are smoothed off and neat looking, before applying the varnish – starting with one coat at first, and then applying more as necessary once the first has dried.
Once the whole thing is dried, all that is left is to sit back and enjoy your new country kitchen!
Final Thoughts
And there we have it, everything you need to know to install a wooden countertop in your home.
Wooden countertops have become incredibly popular in recent years, and it isn’t hard to see why. With a rustic finish, you can achieve a wholesome, country cottage feel that is perfect for creating that nice, cozy feel in the most important room in the home.
Why not give it a try for yourself? Something tells me you won’t be disappointed!
- The Woodworkers Guide to Brad Nailers: Everything You Need to Know - September 25, 2023
- How To DIY An Aztec Garden Dining Table [The Easy Way] - October 18, 2022
- Farrow & Ball Pigeon: Is It Right For Your Home? - October 17, 2022

