EMT conduits are becoming increasingly popular as a DIY building material, and for good reason!
These durable and versatile conduits are a great substitute for regular metal piping, and can be used to make anything from bookshelves to greenhouses with ease.
But if you’re interested in working with EMT conduits but don’t know much about them, it can be hard to know where to even start.
Don’t worry – we’re here to help! In this handy guide, we’ve gathered everything you need to know about building with EMT conduits.
Here, we’ll take you through everything from what EMT conduits are, the types of connectors used to fix them together, and how you can start building with them in no time.
So let’s get started, shall we?
What Exactly Are EMT Conduits?
First things first – let’s take a look at what EMT conduits are in the first place.
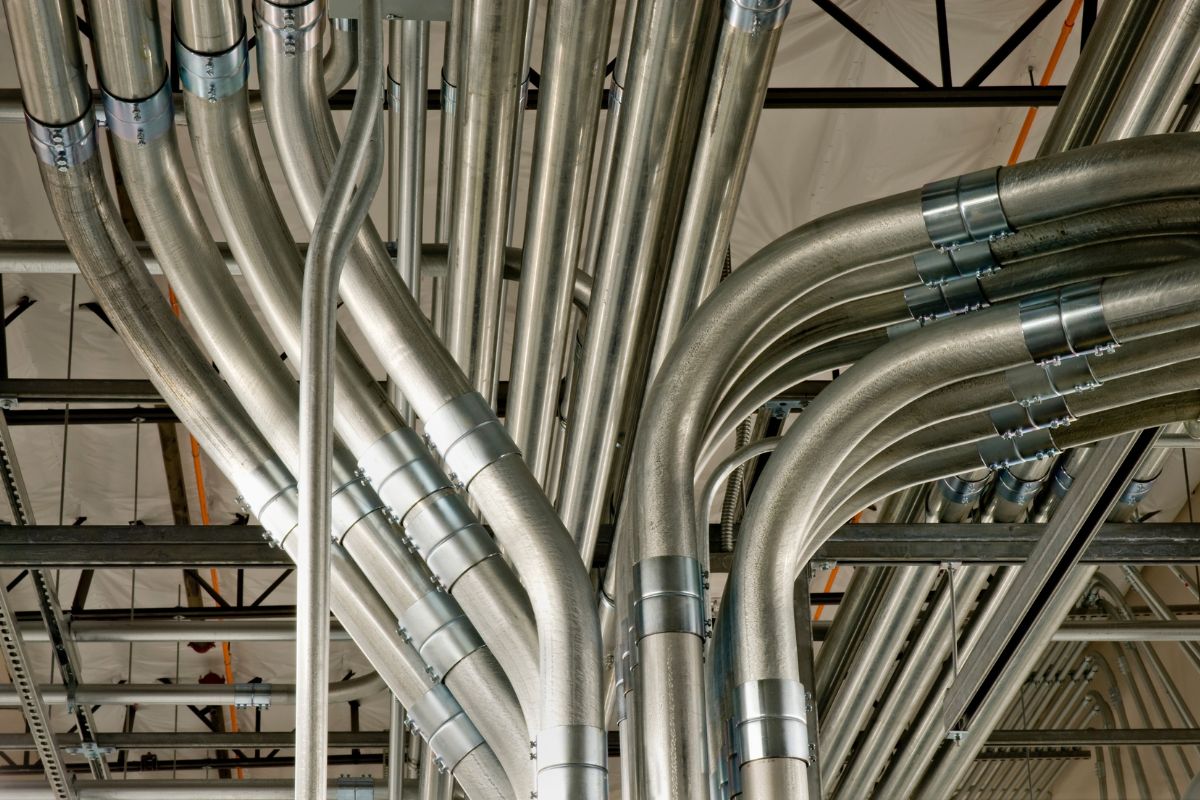
EMT (or Electrical Metallic Tubing) conduits are a type of metal tubing that is typically used to encase, protect, and guide electrical wiring both during and after construction.
EMT conduits are typically made from either coated steel or aluminum. They are a far thinner alternative to other forms of rigid conduit, making them much lighter but no less durable.
These long metal pipes can come in many different sizes, ranging from 0.5-6 inches in diameter and from 10-20 feet in length.
EMT conduits are also handy due to how they fit together with various connectors; this makes it easier to connect the conduits in multiple different ways, and removes the need for threading or welding.
Although EMT conduits are designed to be used for routing and protecting electrical wiring throughout your house, they are becoming a more popular way to build DIY projects and home decorations.
Their versatility, ease of use, and smaller size and weight compared to other forms of conduits make EMT conduits ideal for anything from bike racks to banisters.
When it comes to building with EMT conduits, the possibilities are endless!
Types Of EMT Conduits And Connectors (And How To Use Them)
As we’ve already mentioned, EMT conduits can be joined to each other using a wide range of different connectors.
These allow you to position and connect two sections of conduit without the need to weld or screw them together; as a result, it’s far easier to assemble and rearrange the conduits with very little effort.
EMT conduit connectors come in many different styles and designs – over 35, in fact! These let you connect the conduits any way from as a corner, perpendicularly, at a 45-degree angle, and even to connect 3 or more conduits at one join.
However, most DIY projects will typically only require a couple of the more common types of EMT connectors.
Here’s a quick breakdown of the most common types of EMT connectors, along with what they’re used for and how they can play a role in DIY projects.
90-Degree Elbow Joints
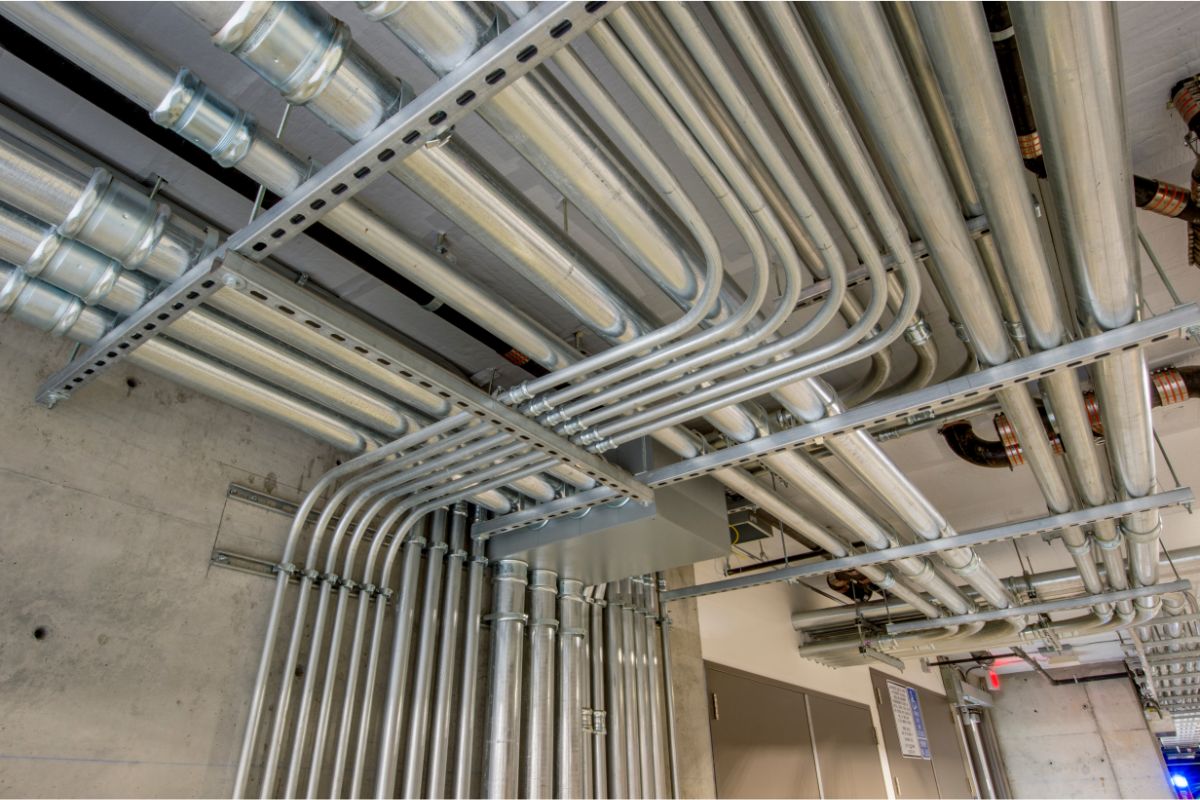
One of the simplest EMT connectors out there, 90-degree elbow joints are pretty much what they sound like. These connectors form a curved 90-degree angle that can connect two conduits as a perpendicular corner.
The curve of these connectors help remove any sharp corners and give your construction a more rounded finish, while also keeping everything neat and tidy.
90-degree elbow joints are great for use in things like shelves and trellises, where the curve rounds out the corners of two connecting conduits.
They can only be used for two perpendicular EMT conduits, however, which limits their functionality slightly. As a result, these connectors are best suited for simpler projects and for providing corner stability at the ends of conduits.
T-Connectors
These connectors are fairly similar to elbow joints, and are designed to connect two pieces of EMT conduits perpendicular to each other in a T-shape (hence the name).
The difference here is that one conduit is fed through a loop, which the other conduit is then attached to at a 90-degree angle anywhere along the length of the first conduit.
T-connectors are as useful as they are versatile – which is to say, incredibly so.
The ability to connect the two conduits anywhere along the first one makes them great for adding structural support to a project and making a 3-dimensional construction; meanwhile, you can also adjust the angle of the perpendicular conduit by simply rotating the loop of the connector before fixing it in place.
Because of this, you can use T-connectors for anything from creating a right angle between two conduits to fixing a 45-degree support.
Perfect for small-scale projects like building a desk, or larger construction projects like a greenhouse, it’s no wonder why T-connectors are one of the most commonly-used connectors when building with EMT conduits.
3-Way Connectors
3-way connectors are used to connect two pieces of EMT conduit together while also fixing a third, perpendicular conduit in the middle.
Like with T-connectors, this lets you attach the conduit at various angles ranging from horizontal to vertical, and even at diagonals.
However, the bonus with 3-way connectors is that the perpendicular conduit can pass through the other two joined ones uninterrupted, creating a cross-shape.
This is ideal for creating multi-layered structures such as shelves and wardrobes, where you can fix horizontal conduits to add additional shelves without them getting in the way of the longer vertical conduits.
3-way connectors aren’t exclusively used for large DIY projects, however, and it’s easy to repurpose them for small-scale projects with a little imagination.
Using short lengths of conduit at an angle is great for DIY shoe racks or bookshelves, where positioning them at an angle lets the shoes/books rest in the cross-shape.
4-Way Cross Joints
In case you couldn’t guess from the name, 4-way cross joints are much like their 3-way counterparts but with the ability to connect (surprise, surprise!) four conduits together.
Their design is almost identical to that of a 3-way connector, but with the addition of an extra connector perpendicular to the double-ended joint that you can fix a fourth EMT conduit to.
This allows you to make a more 3-dimensional structure, creating three axes to work with. As a result, you can give larger projects more stability without needing as many connectors as you would if you were dealing with fewer dimensions.
Things like bed frames, large structures like greenhouses, and large desks can all benefit from 4-way cross joints.
However, they do limit what angles you can fix your conduits at.
While other connectors let you adjust these angles easily by simply sliding the loop part of the connector around the conduit, with a 4-way cross joint you’re restricted to right angles only.
5-Way Cross Connectors
You know the drill by now – these connectors let you fix 5 different EMT conduits together around one central joint. Four conduits can be attached in a cross-shape around a fifth perpendicular conduit.
Because most DIY projects don’t typically require you to join 5 separate EMT conduits in one place, these connectors are less commonly used than other examples on this list.
However, they still have their places where they can be incredibly handy!
You can use 5-way cross connectors to add maximum stability to larger structures such as dining tables or kitchenettes, where they can act as a central point to link various structural conduits in one place.
Another way to use 5-way cross connectors is as the base of a rolling office chair; connecting the wheeled legs around a central vertical conduit means that the chair is stable and less likely to topple, and (as long as you leave the central connection loose) you can also spin around with the base fixed in place!
Corner Joints
It might be easy to mix these connectors together with 90-degree elbow joints, but there’s a major difference between the two.
Corner joints combine the right angle connection of an elbow joint with the perpendicular connection of other joints on this list.
This allows corner joints to create a 3-dimensional linkage of three conduits, adding a z-axis to the elbow joint’s x- and y-axis.
While adding an additional dimension to your connector might not seem like too big of a deal, it’s actually incredibly helpful for adding structure and stability to your project along with some other functionality.
For example, you can use corner joints to add an extra layer to a shelf or rolling desk, or to simply give taller structures some additional stability by connecting long conduits together.
These are just a few examples of the more common varieties of EMT connectors, and there are dozens more that each have their own unique uses and places.
Remember – if you’re planning on building with EMT conduits, you need to make sure you have the right connectors for the job!
Building With EMT Conduits: All You Need To Know
So now that we’ve covered what exactly EMT conduits and their connectors are, it’s time to take a closer look at how to actually build with them.
Building with EMT conduits can seem like a daunting task at first (especially if you’re new to the DIY scene), but in reality, working with EMT conduits couldn’t be easier!
The first thing you need to know about building with EMT conduits is how to cut and join them together. While it’s easiest to buy your conduits pre-cut to the right size, the likelihood is that you’ll have to do it yourself.
There are several ways that you can cut EMT conduits down to size.
Their relative thinness and lightness compared to other forms of metal piping means that they are easier to work with, and you won’t need a ton of heavy-duty power tools to cut through them.
The best way to cut your conduits is with a tubing/pipe cutter or angle grinder.
These will give you the cleanest cut without much effort on your end. However, bear in mind that the conduits can wear down your tubing/pipe cutter’s blades, while angle grinders can leave the edges messy.
You can also use a hacksaw, but this requires a bit more effort and won’t give you as clean a cut.
Connecting the conduits is even easier; simply assemble the connectors, slide the conduits into place, and tighten the connectors with an Allen wrench to secure the conduits.
If your connectors are too large for the conduits, use an EMT adaptor or some PVC piping to fill the excess space.
When you’ve assembled the conduits and connectors, you can start using them to build! The best way to use EMT conduits in a DIY project is to create a basic structure that you can build from.
The EMT conduits act as a frame for other materials; for something like a clothes rail or shoe rack, you may not need anything else, but for something like a greenhouse or bookshelf you can then easily attach your other materials by fixing them directly to the conduits or with something else in between!
EMT conduits are insulating and built to resist corrosion and damage from the elements – they’re designed to protect electrical cables, after all! This makes them perfect for both indoor and outdoor projects, and will stay in great shape for years to come.
Final Thoughts
And there you have it – everything you need to know about building with EMT conduits!
These versatile and useful pipes are perfect for all sorts of DIY projects, as well as being a cheap and simple alternative to other materials.
So if you’re interested in building with EMT conduits, just refer back to this guide and you’ll be ready to go in no time. Now all you need to do is get started on your new project!
- The Woodworkers Guide to Brad Nailers: Everything You Need to Know - September 25, 2023
- How To DIY An Aztec Garden Dining Table [The Easy Way] - October 18, 2022
- Farrow & Ball Pigeon: Is It Right For Your Home? - October 17, 2022

