Picture this, you’ve booked time off work, you’ve spent a ton of money on the perfect tiles and a beautiful grout to compliment or contrast them, and you’ve painstakingly spent hours working on making your kitchen or bathroom look beautiful.
You are so proud of your new and improved room. It looks nice, no it looks more than nice, it looks stunning.
You sit back and you admire your handy work. You pat yourself on the back. It’s a job well done.
You return to work, and life continues. We fast forward no more than three or four months and you are standing in your still relatively newly decorated room.
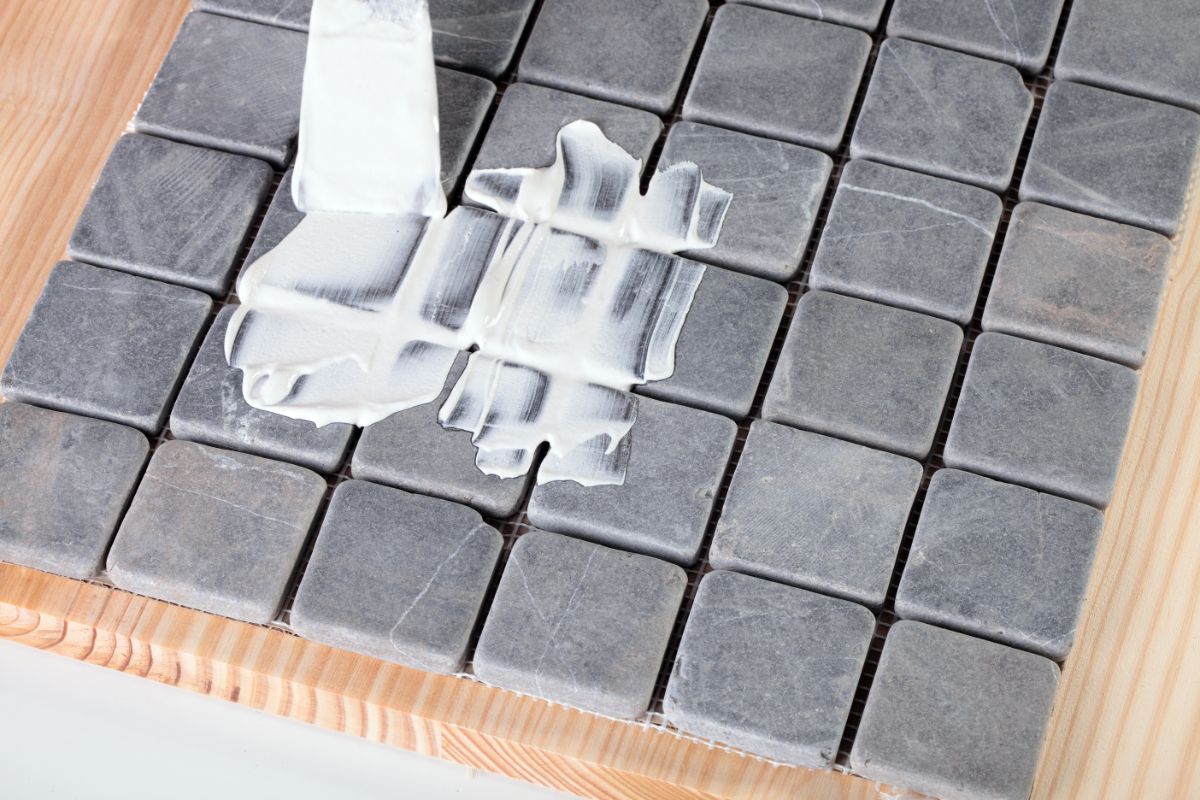
It doesn’t look newly decorated anymore. Nowhere near. The grout was never that color when you installed it. It’s dead, lifeless, dingy. It’s dirty.
That room you spent so much time and money on, looks withered, battered, and old. You’re not happy. You forgot to seal your grout.
This is exactly why it is so important that you do not skip the crucial step of sealing your grout.
In this article, we’ll go over exactly why you should never skip this part of the process as well as how to do it yourself. And we’ll do this to ensure that the scenario above never happens to you.
Is It Really That Important To Seal Grout?
Absolutely. I know that time is precious and valuable, and that we all have busy lives to get back to, but trust me when I tell you that you should never skip this step.
If you do, you’ll be giving up a lot more of your time trying to fix your mistakes. So it’s much easier to just spend the time now to ensure that it is done right.
When grout isn’t sealed properly, it gets ruined, and it gets ruined pretty quickly. Grout is incredibly porous, and basically what this means is that it will suck up every bit of dirt and grime like a vacuum.
When you seal grout, you cover it with what is essentially a protective layer that blocks the majority of that dirt and grime.
Even constant cleaning won’t solve an unsealed grout issue, as it will reabsorb all the dirt in the water as you clean it.
Sealing your grout just isn’t really optional, not unless you are happy with discolored and dirty walls.
Precautions To Take With Grout Sealer
Grout sealer is a very heavy-duty chemical that must be handled with caution and care.
So now that we have established that it is essential, we will talk a little bit about what precautionary measures you’ll need to take while using it.
The first thing that I’ll say is that I wouldn’t apply the sealer in the presence of children or pets. Next, you’ll need all the appropriate protective equipment such as eye goggles, a mask, and a pair of gloves.
You should always make sure that your windows and doors are open to increase ventilation and air out the house.
When you have finished, you should immediately discard of the cloth that you used to wipe off the sealant. I would discard this in the trash outside so that it is not accessible to young children or pets.
What You’ll Need To Apply Grout Sealer
- Grout Sealer
- Grout Sealer Applicator
- Protective Eye Goggles
- Mask
- Pair Of Gloves
Choosing The Correct Applicator
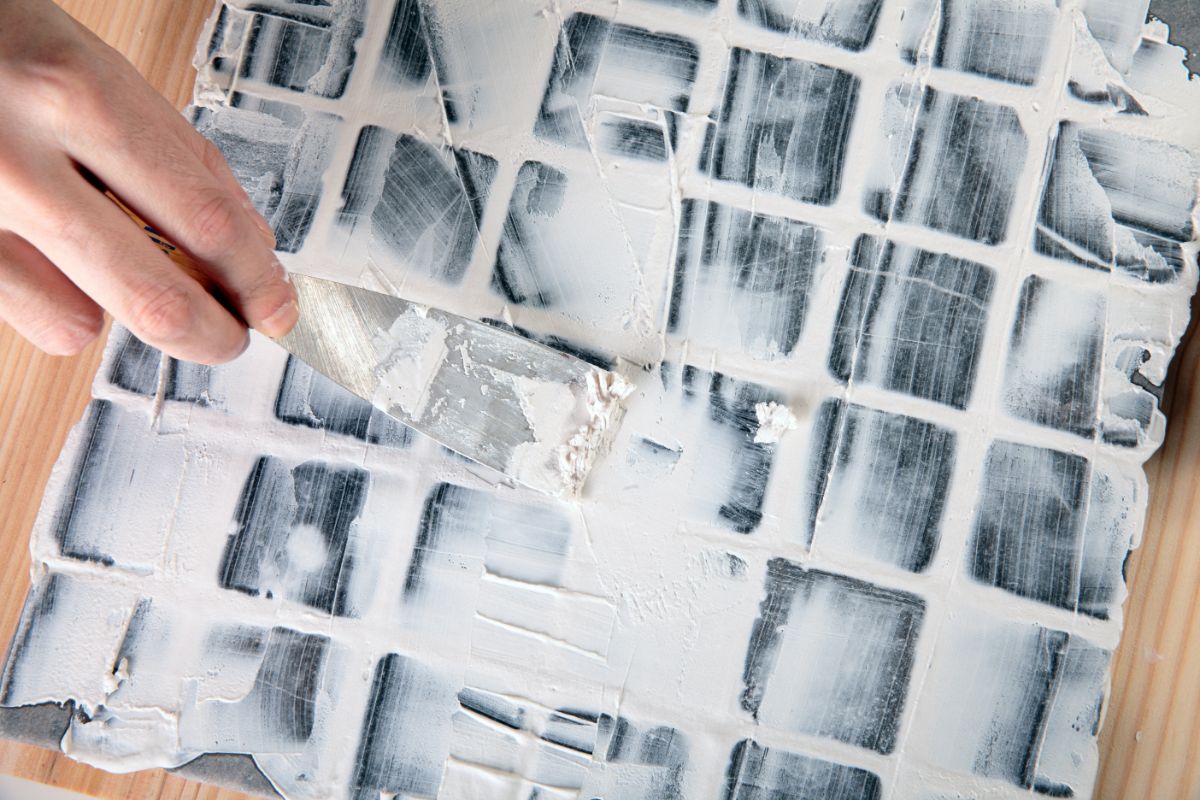
There are a few different applicators that you can use to apply your grout sealer. Below I will list all the types of applicators you can choose from so that you can make an informed decision as to which will be the best fit for you.
Foam Brush
You can find many foam brushes in the art section of stores. They are usually used in crafting but they work really well for sealing grout as they have an angled brush head.
To use this kind of brush you’ll want to place a small amount of sealer into a cup and then dip your brush into the cup and then apply.
Bottle Brush
You can also fill a bottle brush with grout sealer and then simply paint it on. Though I find this method a little messier.
Roller Bottle
This works much like a brush bottle does, though it is less precise and even messier than the bottle brush option.
This method is often popular when you have a really large grout job as it speeds up the process quite significantly.
Choosing The Correct Sealer
It’s usually the case, as it is with many things, that the higher the price the higher quality of the product. And sealer is no exception.
The more expensive grout sealers tend to work a lot better than the cheaper ones. Below you’ll find my top three picks in reverse order, starting with the cheapest option first.
3. Custom Building Products: Grout & Tile Sealer
This product is a spray sealant, and while I’m not the biggest fan of spray sealants this one does the job well. It does make it quicker to apply, but then you do also have to spend more time wiping sealer off the tiles.
And I find that this can take longer than the application, and you have to be really careful that you don’t leave any on the tiles.
2. Miracle Sealants 511
This product is great. It’s mid-range in price, but there’s nothing mediocre about this sealant.
No matter what grout job you’re about to embark on, you can be secure in the knowledge that this sealer will serve you well.
1. Aqua Mix Sealer’s Choice Gold
This is the best of the best. It is a little more expensive but it is well worth the money that you’ll spend.
It lasts massively longer than any other sealant I’ve tried and it is even often used by tile professionals.
When Should You Seal Grout?
Did you know that sealing your grout too early can ruin it too? Well, it can. You need to ensure that your grout is completely cured before you even attempt to seal it.
Typically, you’ll want to wait at least a full 24 hours before you begin sealing the grout. However, some experts say that you should actually wait longer than this, and apply your sealant around 2-3 days after the grout application.
How To Seal Grout
Many can be offput by sealing grout, assuming that it is a difficult, long, and laborious task. But it’s a lot easier than you may think. It is true that the process is not exactly quick.
I would give yourself at least half a day to get the task done. But it can be done in around 3 hours or so in most cases.
How To Seal A Grout Backsplash
- Ensure The Grout Is Clean – The first thing you’ll need to do is ensure that the grout is 100% clean before you start. It’s best to clean it the day before to allow it dry overnight and then you can apply the sealer in the morning.
- Protect Your Countertops – The next thing that I’d do is cover the areas of the room that you don’t want to get sealant on. I’d use drop cloth to do this.
- Apply The Sealant – The next job is to apply your sealer. You’ll want to bein in the corners and then work your way through the rest of the grout. Make sure that you don’t miss any. Don’t worry too much about getting sealant on the tiles, it’s inevitable but you’ll be able to wipe it off.
- Wipe Away Excess – The next step is to check your sealant for how long you need to wait before you can begin to wipe away the excess. Usually it’ll only take between 5 and 10 minutes. Remember that you’re only trying to wipe away and excess sealant, don’t try to wipe the sealer from the grout.
- Repeat – Then you will need to wait until the sealer dries and repeat the process for a second coat.
- All Done – That’s it you’re all done. Just remember it’ll take up to three days for the sealant to cure properly, so ensure you protect your backspalsh in the mean time.
How To Seal Grout In A Shower
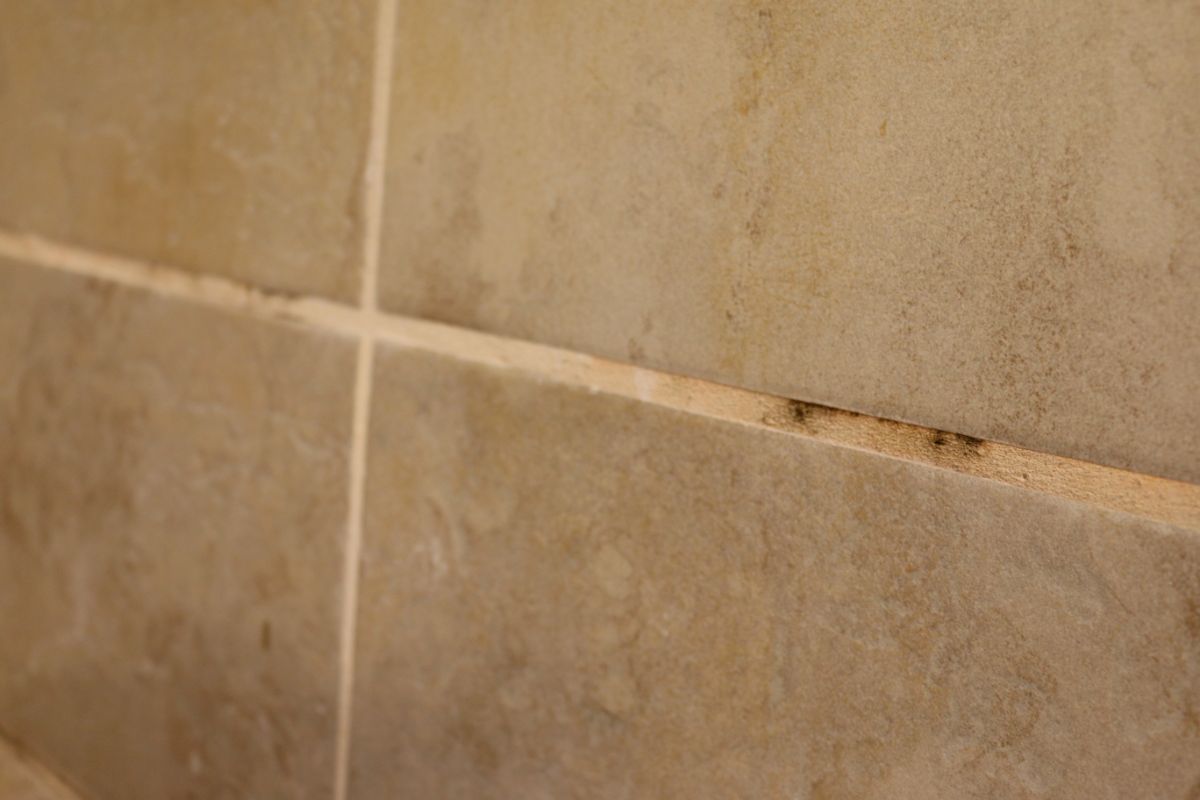
If you notice mould in your shower, do not apply sealant, you should speak to a professional before continuing sealing your grout.
- Make Sure The Grout Is Clean – The first thing you’ll need to do is ensure that the grout is 100% clean before you start. It’s best to clean it the day before to allow it dry overnight and then you can apply the sealer in the morning.
- Apply The Sealant – The next job is to apply your sealer. You’ll want to bein in the corners and then work your way through the rest of the grout. Make sure that you don’t miss any. Try as much as possible to keep sealant away from tile tiles.
- Wipe Away Excess – You’ll need to wait between 5-10 minutes and then you can wipe away any excess sealant. It’s really important that you wipe away any sealant on your tiles before it dries on. So get wiping as soon as your waiting period is done.
- Repeat – Once the first coat dries, which should take around an hour, apply your second coat os sealant. Then repeat step three.
- All Done – That’s it you’re all done. However, you shouldn’t allow the shower to get wet again until it is completely dry. I would recommend leaving the shower for at least 3 days.
Spray Sealers
If you use a spray sealant, all you need to do is spray the area of grout that you want to cover. Once you’ve done this you’ll need to check the wait period indicated on the sealant, and wait the allotted time.
Once this is done you can wipe up the excess with a cloth.
Frequently Asked Questions
What Do I Do If There Is Dried On Sealant On My Tiles Or Shower Door?
I would always say to check the sealant as it will usually tell you what measures to follow to get the sealant off your tiles or doors.
However, I always tend to pop a little sealant over the dried up area as this often reactives the dried sealant, then you can simply wipe it away.
How Often Do I Need To Seal My Grout?
The trap that many DIYers fall into is thinking that grout sealant need only be applied the once. While I wish this was the case, sadly it is not.
Grout loves to try and absorb all the dirt and grime it can find and because of this it requires a lot of maintenance. Realistically, you should be applying new sealant every sixth months, or at least annually.
If you tend to use harsh cleaning products such as bleach when you clean, you’ll need to edge closer to six months. This will also be the case if the grout does not have adequate access to ventilation.
A good way to check whether or not you need to apply more sealer is to do the water test. Pop a few drops of water onto your grout line. You won’t need to apply sealer just yet providing that the water beads up and trickles off the grout line.
I’ve Been Using My Shower With Out Sealant – Is It Too Late To Seal The Grout?
Not at all. It’s never too late for a bit of protection. You will need to make sure that your shower is really clean before you start applying the sealant though.
If it hasn’t been long since you applied the grout, you may be able to get away with using peroxide and baking soda to get the grout clean. However, if it’s been quite a while since you applied the grout, you’ll need to give it a real deep-clean.
If you notice that the grout is particularly discolored, you’ll definitely need to deep clean it before you apply the sealant. A nylon grout brush and some Sulfamic Acid crystals should do the job.
But once it’s completely clean – seal away.
Does Grout Sealer Darken Grout?
Topical sealers should not change the color of your grout.
However, it is important to note that they are not suitable for areas with access to high amounts of water such as your shower or bathroom. They will need to be reapplied frequently.
What Kind Of Grout Does Not Need To Be Sealed?
There is only one type of grout that does not need to be sealed. Epoxy grout does not need to be sealed due to the fact that it is already ‘pre-sealed. ’
Final Thoughts
Hopefully, from this article, you have realised the importance of sealing your grout. When you do not seal your grout, you allow it to absorb all that dirt and grubby grime.
And that will really hinder the appearance of your tiles. There’s nothing worse than applying a beautifully bright and vibrant white grout for it to turn to a yellow, brown, or blackish color in just a matter of mere months.
And now that you’ve learned why you should apply your sealer, you should also have a much better understanding of how to apply your sealer.
Whether it’s backsplash or for the shower, you should now know the appropriate steps to take as well as the correct applicator and sealers to use.
You should now be ready to transform any old tiled room into something new and beautiful. I wish you all the best with all of your DIY projects.
- The Woodworkers Guide to Brad Nailers: Everything You Need to Know - September 25, 2023
- How To DIY An Aztec Garden Dining Table [The Easy Way] - October 18, 2022
- Farrow & Ball Pigeon: Is It Right For Your Home? - October 17, 2022

