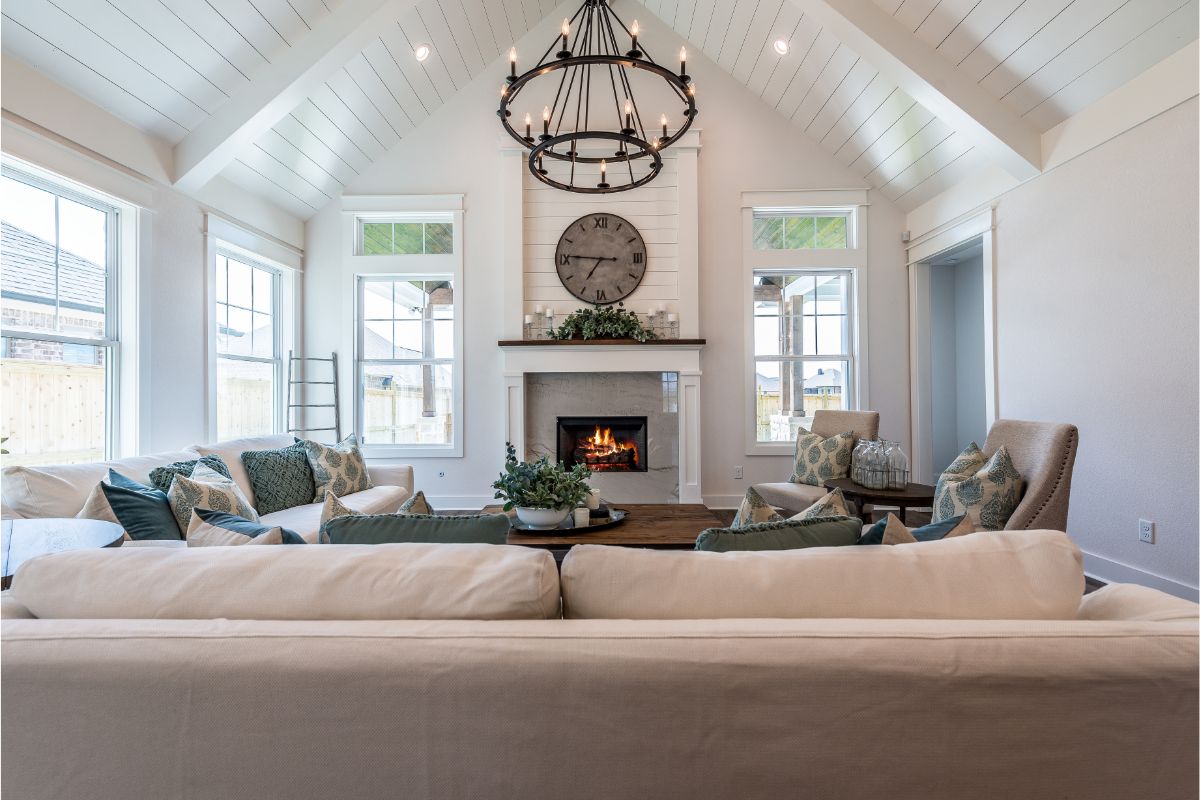
If you’re looking to sparkle up the interior of your home a bit, there are all manner of cool DIY projects and redesigns that you can take up in order to make the place more stylish and welcoming.
Whether it’s giving your home a specific aesthetic, or just adding in some new furniture, every new thing can make a difference.
One of the best ways to really revolutionize the inside of your house is by doing some wall treatments, where people change the design of their walls.
This can be done in lots of different ways, from adding some new wallpaper or tiles, to even installing some wood paneling.
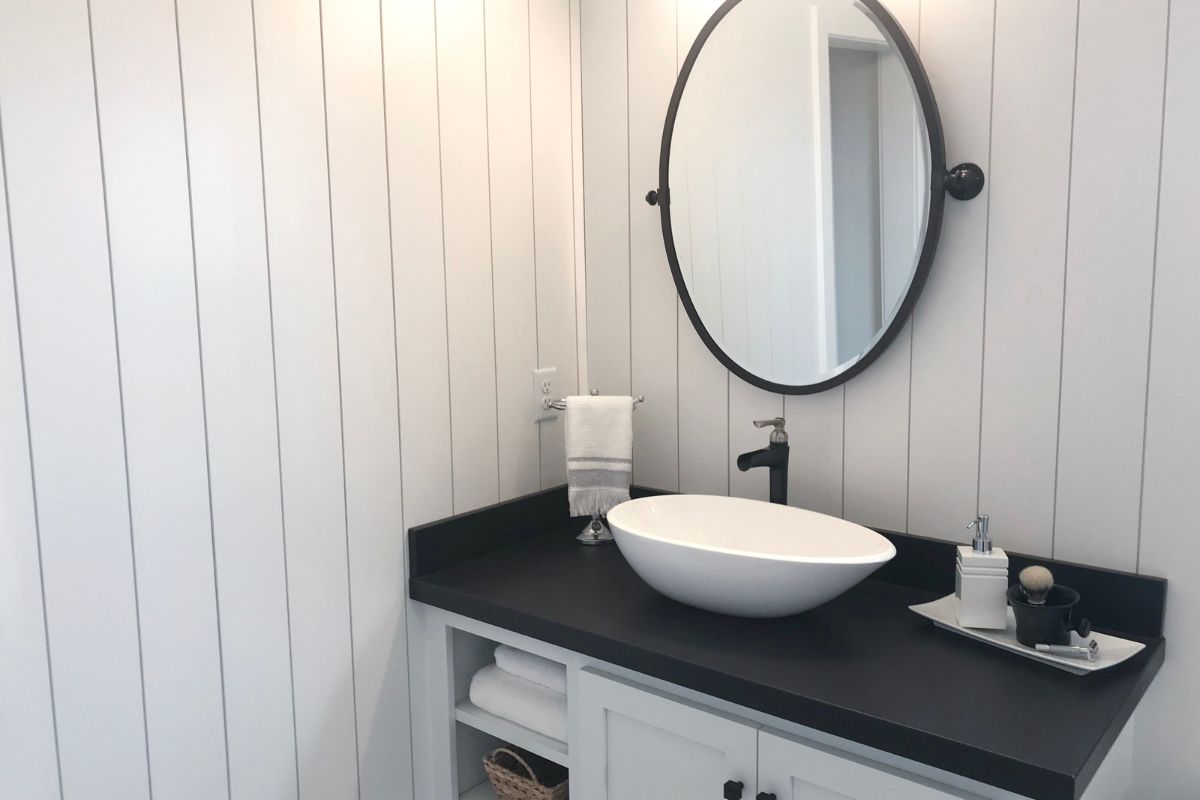
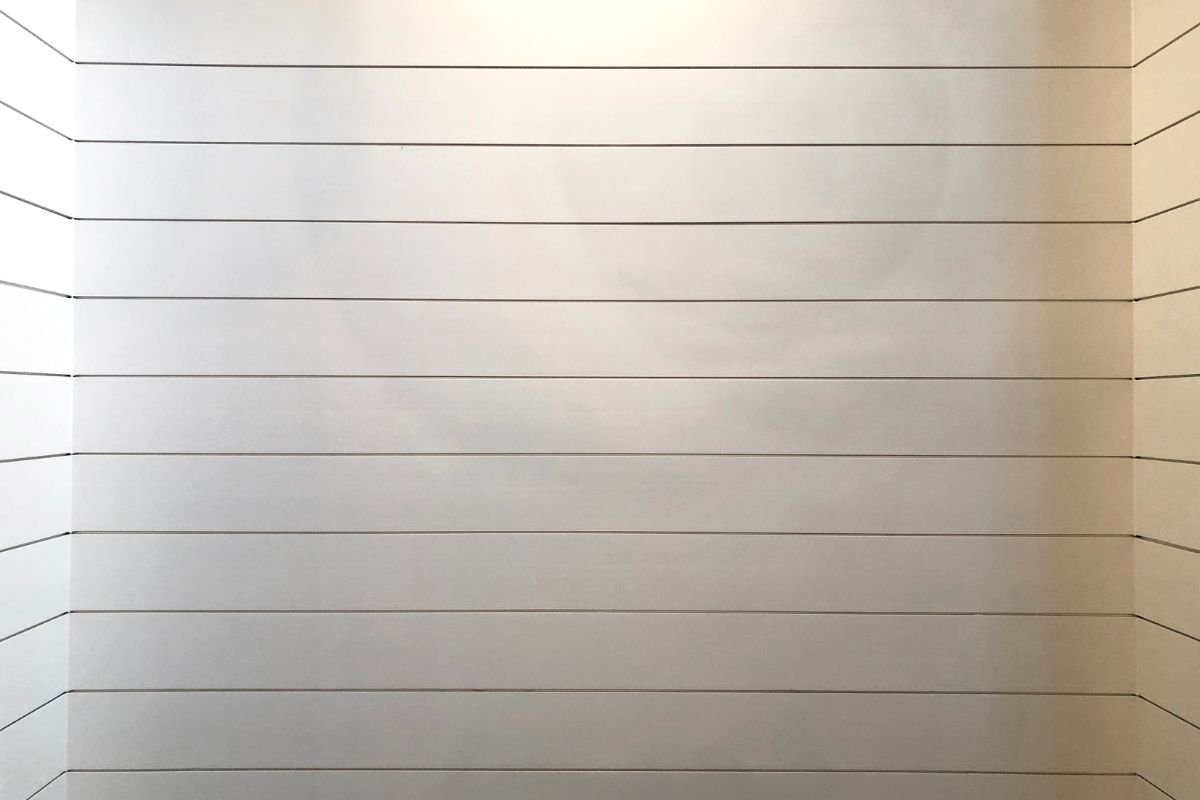
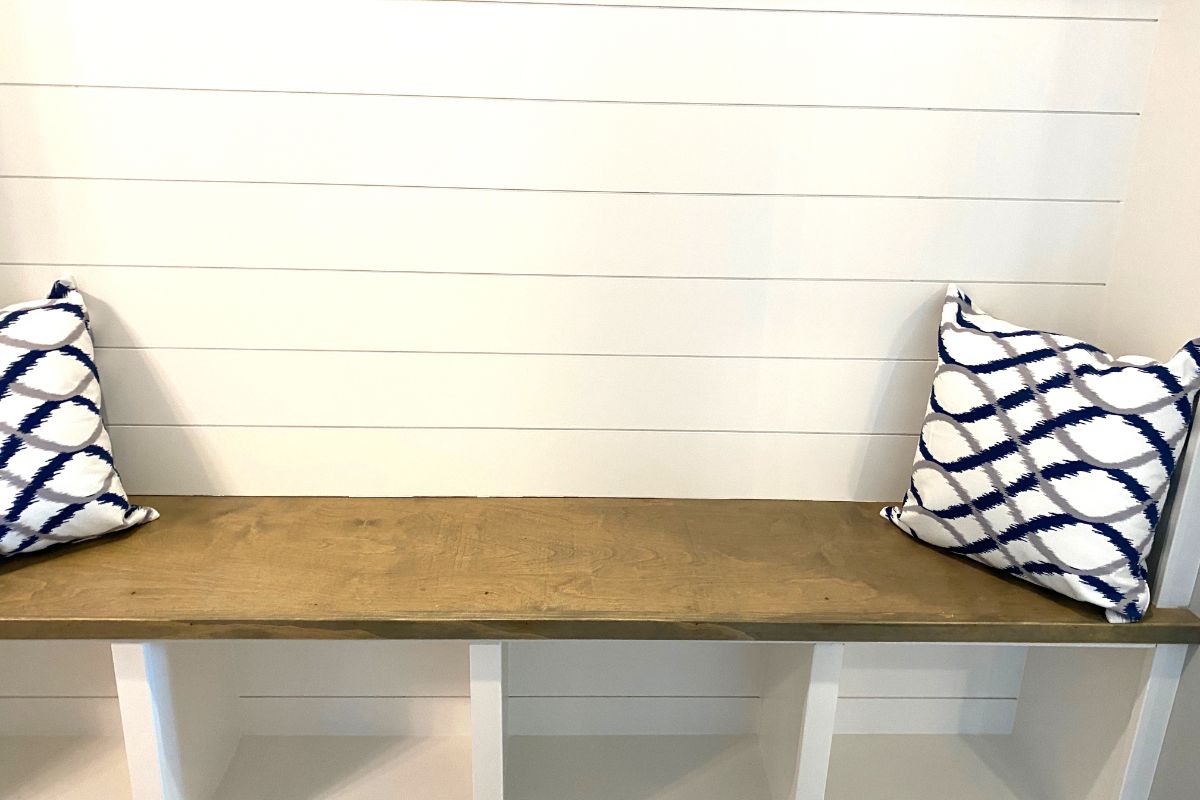
Getting “shiplap walls” is the perfect way to do paneling, with DIY-enthusiasts remodeling their inside walls to be fronted with horizontal long wooden planks.
These planks are often white, giving the whole place a breezy feeling, and there are often small gaps between them.
You can get shiplap walls with all sorts of different wood, but we’re going to be looking at pinewood today.
In our handy guide below, we’re going to explain how you can shiplap walls using pinewood, giving your home a fresh and stylish new spin inside. Read on!
How You Can Shiplap Walls Using Pinewood
We’re going to take you through a step by step process of how you can shiplap a wall using pinewood.
Pinewood will not be to everybody’s taste, and it can be a lot more expensive than other forms of wood, but it can certainly look nice at the very end and is worth trying if you’ve got a dusty, beaten down wall somewhere.
If you’re inexperienced with DIY, there are a few tools that you will need to use in the process that can be dangerous if they’re not handled properly.
As a result, you should seek help from a professional and get them to use them.
Additionally, make sure that you are taking the proper safety precautions whenever you’re working:
- Protective eyewear and ear covers
- Protective gloves
- Dust masks for wearing when cutting
- Protective uniform
Necessary Materials
You will also need the following materials and tools:
- Paint
- Jigsaw
- Miter saw
- Nail Gun
- 1X6 Pinewood Boards (measure your wall area to determine how many you need)
- Paint
- Caulk
- Tape Measure
- 1-½ inch Nails
Step One: Update Your Trim (Optional)
First things first, you can choose whether you update your trim or not.
If your trim is already the right style that it will match the shiplap walls, then you don’t have to change anything!
However, if you think your trim at the bottom of the wall is going to clash with the new shiplap walls, then it may be worth updating it.
You can do this by removing it all and replacing it with a new design of trim.
If the color of your trim doesn’t match the color that the shiplap walls are going to be, then you don’t need to tear out the whole thing! It’ll just be a case of painting it the new color.
Step Two: Painting The Walls
Speaking of painting, the next step that you need to take is to paint the walls the same color that the shiplap is going to be in.
It may be that you’re only doing one wall or multiple walls in shiplap, but whatever the case, you need to paint it.
Shiplap walls are typically white, but you can do whatever color you want.
We find that white is breezy and bright, and really livens up a place.
Plus, it suits the wooden planks. It looks like it would be right at home at the beach!
Step Three: Measuring For The First Board
Reach up to the top of the wall and measure how long it is, going across.
This will tell you how long your pinewood board needs to be.
Step Four: Cutting And Attaching The First Board
Once you have your measurement, it’s time to cut a pinewood board down to the right size.
You can use a miter saw to do this, but be sure to keep very safe and be careful when using it. If you’re inexperienced with saws, get a professional to help.
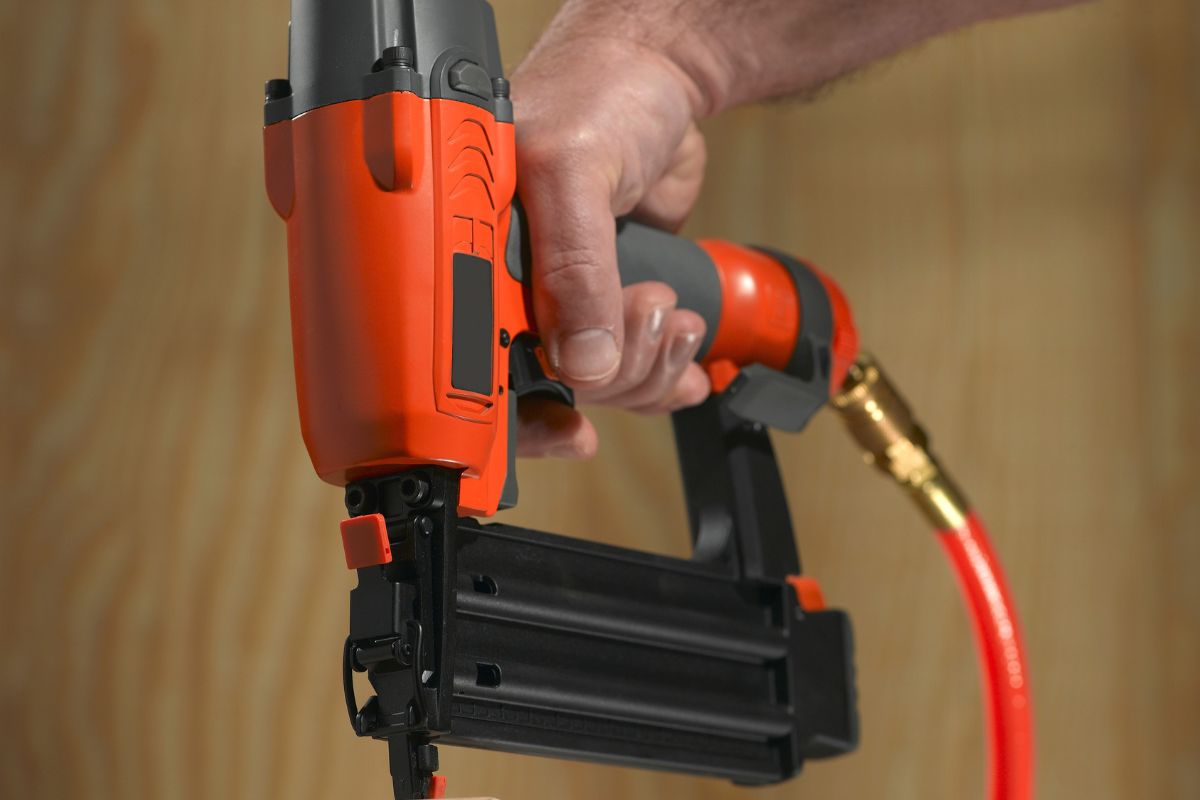
After you’ve cut your board to the correct size, attach it to the wall by using a nail gun. Again, be very careful using the nail gun, as it is very dangerous.
Step Five: Attaching The Second Board
You now have one pinewood board at the top of your wall, attached to it. It’s time for the next one!
For the second board, follow the same steps: measuring the length of the wall going across, cutting it down with the miter saw, and then attaching it with a nail gun. However, don’t attach it just yet!
Before you do, you need to leave a little gap between it and the first board, to give it the proper shiplap wall look.
To get the gap correct, slot a ruler in between the two boards, and that tiny gap should be about right.
Once you’ve done that, you can attach the board to the wall.
Step Six: Attaching All Of The Remaining Boards
Now you need to repeat this whole process for all the remaining boards, until you’ve got them covering the wall horizontally.
Remember, always measure the length of the wall each time. It may be the case that there are things preventing same-size boards all fitting in, and some will need to be less long.
You must also remember to leave the tiny ruler-sized gap between each board, and always be careful using the tools.
While you’re doing all of the boards, however, you might run into the next step – which you will need to deal with before continuing.
Step Seven: Outlets, Switches, And Smoke Detectors
If you’ve been trying to attach all of the boards and you’ve run into a protrusion on the wall (an electric outlet, a lightswitch, a smoke detector, etc.), you will be wondering how you can continue around it. Well, you’ve got two options.
The quick option is to cut around them. Cut a hole in the pinewood board that will allow you to still access whatever the protrusion is.
For example, if you have a circular smoke detector you want to cut a circle out around it (always make sure that the detector is still working afterwards).
Similarly, a rectangular outlet can have a rectangle cut around it.
You can use caulk to fill in any joints and make your cutting neater.
The other option is slightly more difficult and will take longer, but will look better: pulling the objects out and placing them onto the boards.
For example, you disconnect the smoke detector, run its wires through the wooden board, attach it to the board itself, and then turn the smoke detector back on.
This method will require some know-how about wiring, and you will need to be extra safe dealing with electricity. It’s a good idea to get a professional to handle this option.
Step Eight: Getting Your Walls To Line Up
If you’re going to add more shiplap to another wall, then you can follow all of the same steps to do so.
However, you might find that it’s difficult to get the pinewood boards to line up with the ones on the neighboring walls, since a lot of walls aren’t straight.
Now, if the boards are visibly not aligned, then the whole shiplap area is going to look bad!
Thankfully, though, there is a very easy way to get around this, and it’s all to do with optical illusions.
If your boards aren’t aligned across walls, then put a 1X2 piece of wood vertically in the corner between them.
It should go from the baseboard to the ceiling, and its presence in between the two shiplap walls will actually trick our eyes into assuming that all of the boards are actually in line with each other.
Step Nine: Caulking The Gaps
Now that your shiplap walls are done, you want them to be as neat as possible. This means that it’s caulking time!
With your dispenser of caulk, fill in any big gaps that you see. These could be where the boards are meeting the corner or the trim, or just anywhere else.
Step Ten: Paint
With the boards and caulking all done, now all you have to do is paint the shiplap walls.
As we’ve said, white is the most popular color for shiplap walls, and it gives it a breezy feeling. However, you can use whatever color you want.
Make sure that your color is matching the trim, and ideally everything else in your shiplap area – you can even paint your doors and doorframes to match it!
Finally, remember to paint the gaps between the boards, too.
Final Thoughts
Constructing pinewood shiplap walls is easy and really refreshes your home visually.
Remember, be careful operating the tools – get a professional if you’re inexperienced.
- The Woodworkers Guide to Brad Nailers: Everything You Need to Know - September 25, 2023
- How To DIY An Aztec Garden Dining Table [The Easy Way] - October 18, 2022
- Farrow & Ball Pigeon: Is It Right For Your Home? - October 17, 2022

