Sometimes finding a table that is made to measure is nigh-on impossible. If you have a smaller shed you might find a table that fits but does not give you that much wiggle room outside.
However, there is a solution to your problem, and that’s to buy yourself a table with some scaffold piping.
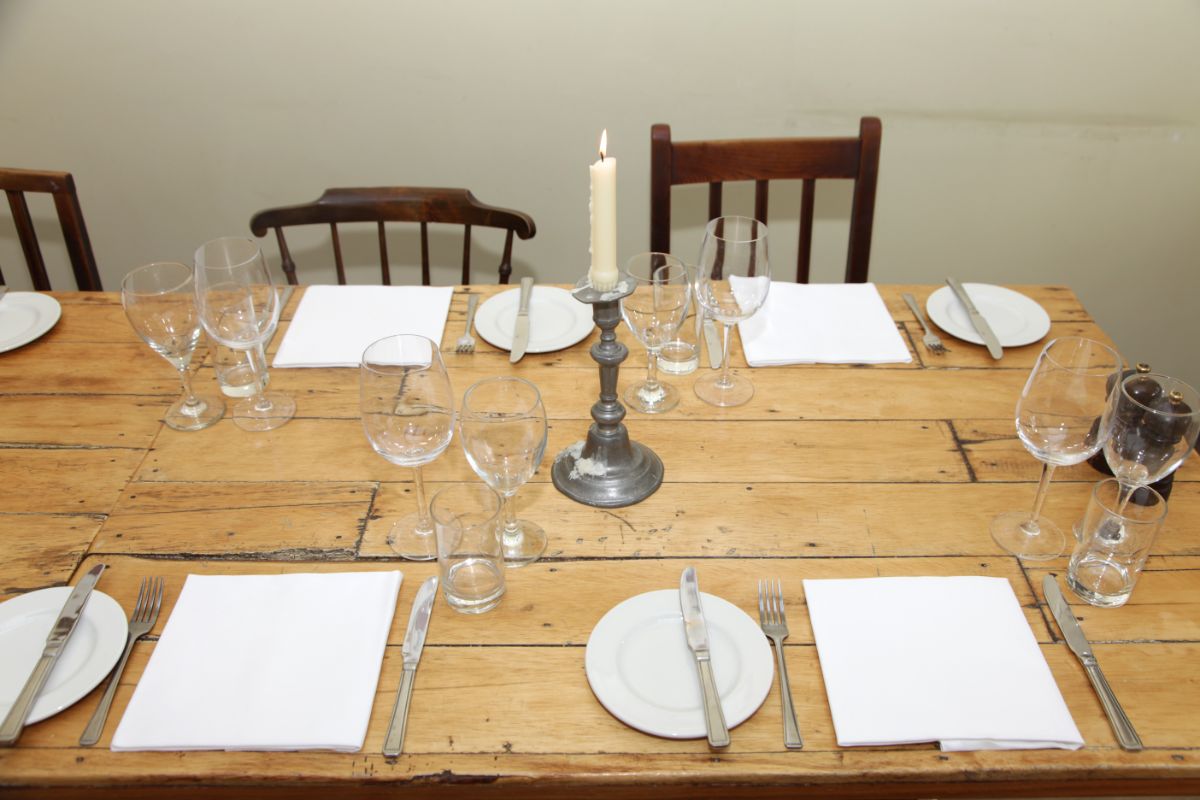
You won’t need that many materials and you’ll only need an intermediate knowledge of carpentry to get it all fitted together.
So how can you build a rustic scaffold table? What materials will you need? What is the best method of building it?
Well, if you want to know the answer to these questions, keep reading, as we’ll tell you how to get it done in just a few easy steps.
Why Make A Scaffold Pipe Table?
There are a few different reasons why you might want to make a scaffold pipe table. One of the first ones is that you might just like the aesthetic!
These tables really give you everything that you need for a solid base and they really work well with a rustic style decor.
If you have a lot of bare floorboards and exposed brickwork, then a scaffold pipe table might be the perfect centerpiece.
You might also want a table that is made-to-measure. If you have a smaller space and a lot of tables that you buy from the store just won’t fit, then you might not be able to find something that will suit your needs.
Now that we’ve looked at some of the reasons why you want a table like this, let’s look at some of the materials that you’ll need before you start building:
Gather Your Materials
So, before you get stuck into building your scaffold table, you’ll need to gather your materials. Here is a list of things you’ll need:
- Scaffold boards – these will be the main base of your table.
- Scaffold piping – these will act as the legs of your table. If you do not have access to this piping, you can always use leftover timber wood.
- Hammer and screwdriver – this is to help you join all the materials together.
- Saw – this is to cut the lengths of wood to the right measurements.
- Electric sander and sandpaper – this is to trim down all the sharp edges.
- Self-drilling screws for wood – attach your wood to your scaffolding pipe with these.
- Wood stain or garden paint – this is to give your wooden tabletop that final finish.
Once you have these materials, then you can embark upon the 3 stages that you need to complete this table.
Step 1: Sanding And Gluing
Sand your wood down to around 180 grit. This will ensure that they are nice and smooth and there will be no frayed edges that will cause splinters and cuts to your hand.
You can then start gluing these pieces together. If you have some extra timber lying around, then you can always use this to reinforce the wood underneath.
Take the beams that you are going to use for support and glue them to the underneath of your table. Glue to top planks together in sections, waiting for each section to dry before you add on another piece of wood.
Wait for the whole of the table to dry before moving on to the next step.
Step 2: Waxing Or Painting
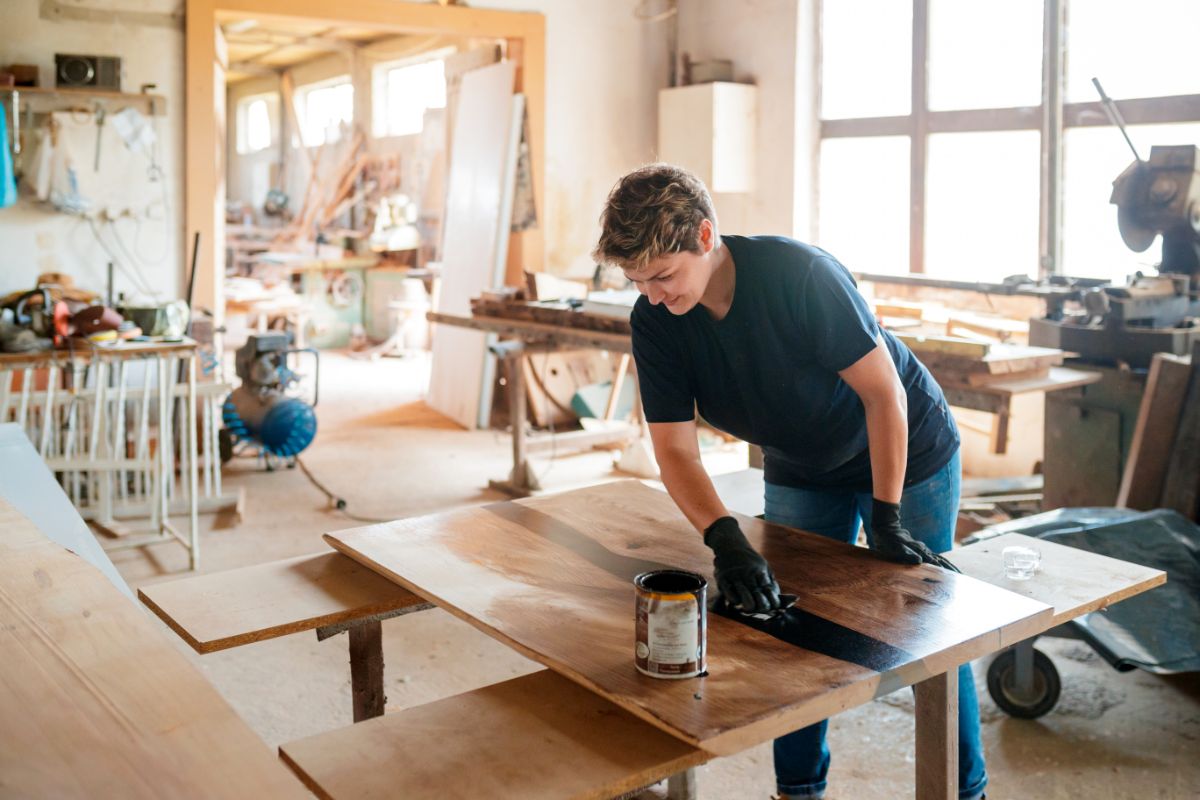
Before fixing the legs on, you should paint or wax the top and underneath of the table.
This will all depend on what you want from your table in terms of looks. You can wax the table and leave the wood exposed, giving you a nice rustic look without any of the hazardous edges.
You can put on a coat of paint first and wait for that to dry before laying on another coat.
If you are going to be keeping your table outside, we would recommend using waterproof paint. Again, you should apply around 2 coats of this paint so that the wood doesn’t rot over time.
We would recommend some beeswax for your table if that is the route you are going to go. This will help to protect the table from the elements.
Step 3: Installing The Legs
There are plenty of types of legs that you can get, including hairpin legs which come with their own brackets and screws that you can use to attach it to the underneath of the table.
However, if you are going to go with traditional piping, then you will need some pretty heavy-duty screws.
Use your screwdriver to get the nails in nice and deep. Make sure that the nails aren’t so thick that they drive through to the top of the table. This could cause your guests some serious injury.
Make sure that the legs are sturdy enough to support the weight of the whole table.
Also, make sure that when you apply the legs to the underneath of the table that they are of equal distance. If your table legs are wonky, then it will cause your table to fall over.
You should also make sure that your scaffold legs are coated with water-resistant resin, especially if you are going to be using your table outside.
Once you have completed these steps, then your table should be ready to go!
Other Things To Bear In Mind
You’ll need to make sure that you check the level of your table when you are sanding. Make sure you sand evenly on the top or you might have a wonky surface that will cause objects to break.
Make sure that the legs are set evenly too, as this will also cause your table to go wonky.
Make sure that the weight of the support beams and the timber is not too heavy, otherwise, the legs will not be able to support them.
Conclusion
We hope that our easy guide to making your very own rustic scaffold pipe table has helped you to tackle this fairly challenging DIY task.
- The Woodworkers Guide to Brad Nailers: Everything You Need to Know - September 25, 2023
- How To DIY An Aztec Garden Dining Table [The Easy Way] - October 18, 2022
- Farrow & Ball Pigeon: Is It Right For Your Home? - October 17, 2022

