Stairways can be one of the most boring places in your home to decorate. It doesn’t take many years in a house to exhaust all the different paint options that you can think of.
Having to simply recycle color schemes can be incredibly dull, especially when you have taken so much time and effort to carefully decorate and curate the other spaces in your home.
Thankfully, there are some fairly simple DIY methods that can help bring life and style to your tired staircase. A square board and batten wall treatment is one such method.
In this article, we have put together a step-by-step guide to help you breathe new life into your stairwell.
What Is Square Board And Batten Wall Treatment?
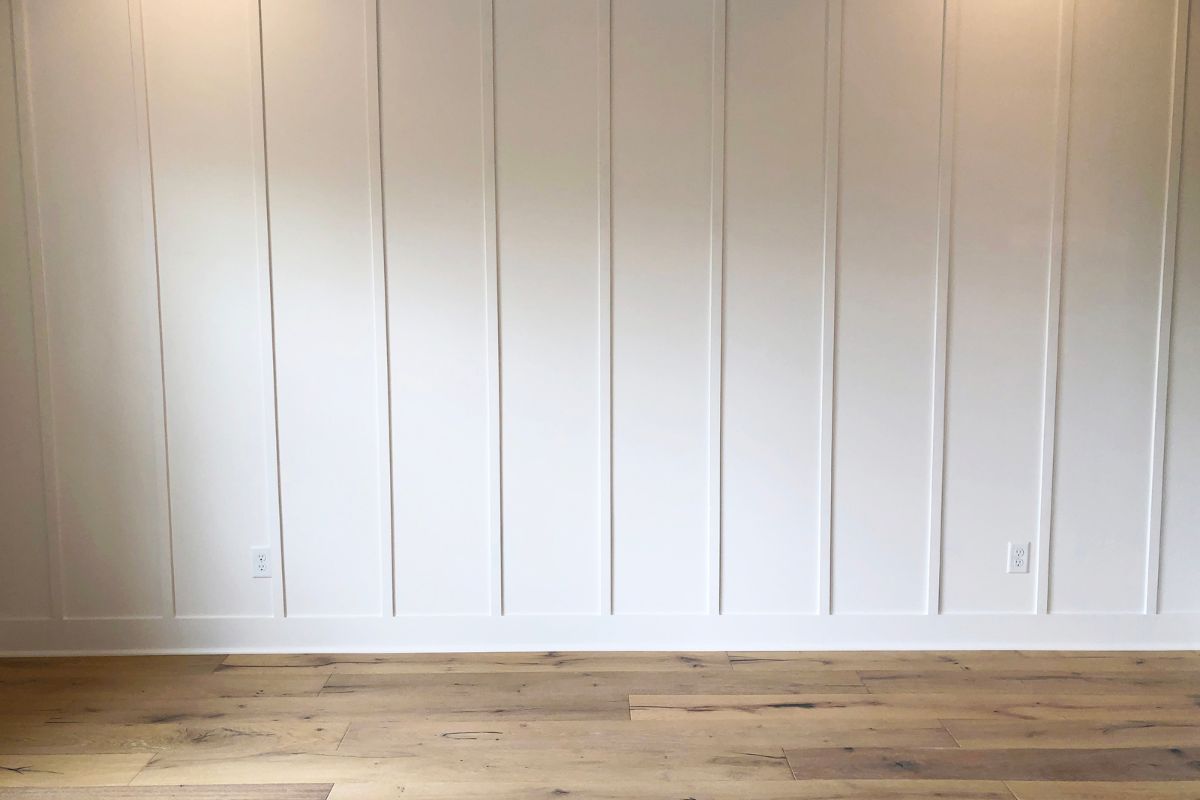
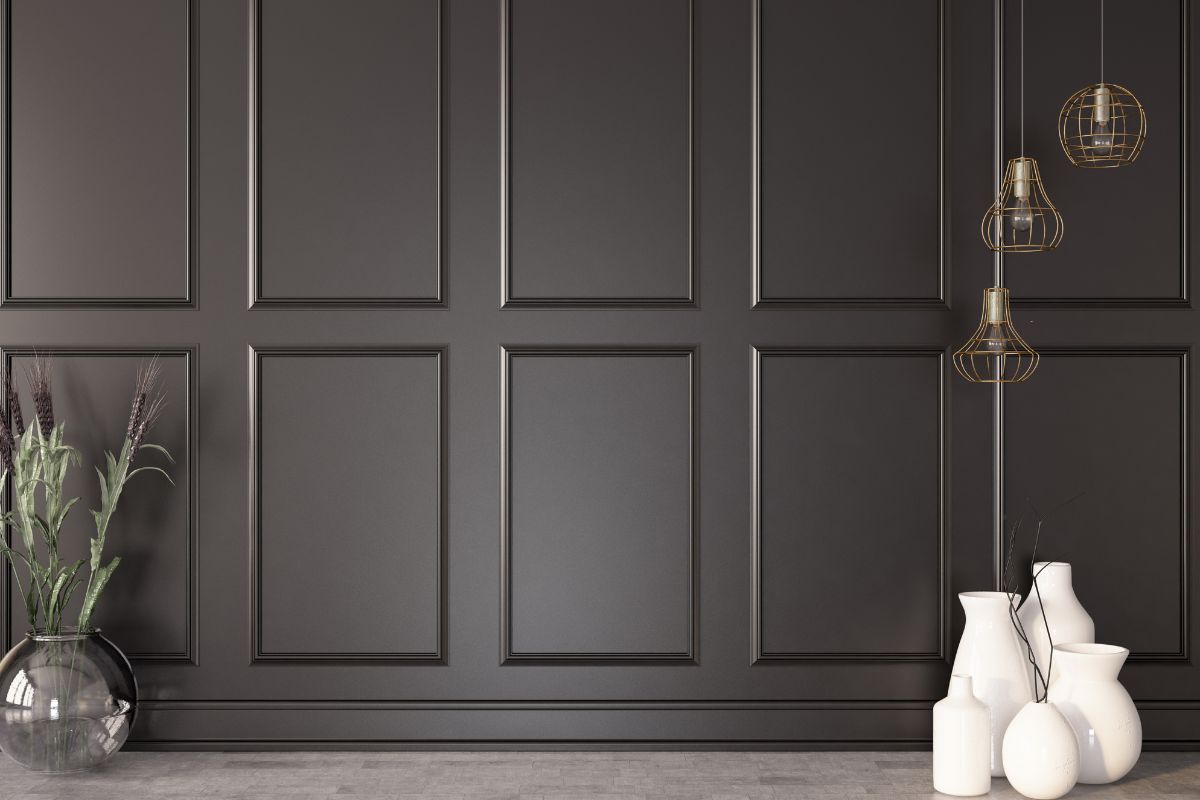
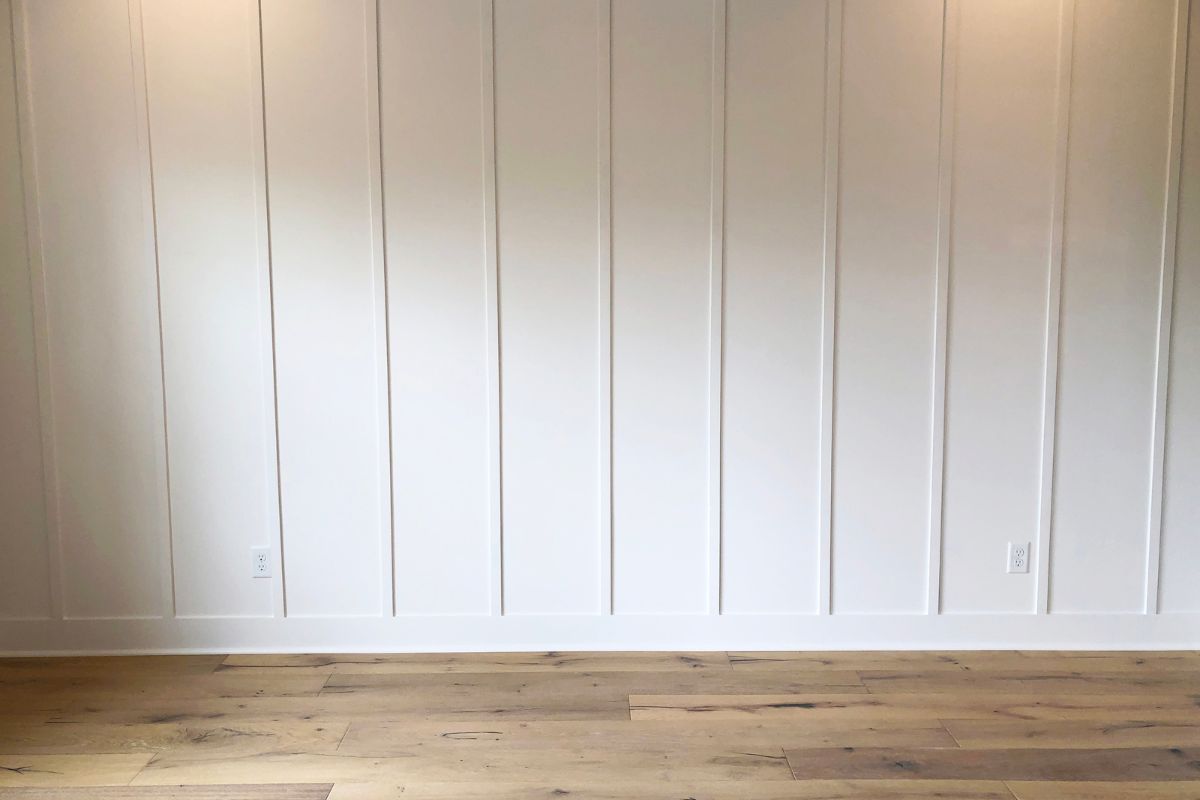
Authentic square board and batten is made up of panels that feature alternating wide square boards and narrow strips of wood known as batten. The paneling can be used to cover a lower portion of a wall or it can cover the entirety of the wall.
DIY square board and batten wall treatment leaves you with the same effect as authentic square board and batten but for a fraction of the cost.
The dimension that it brings to your walls can add style and sophistication to an often overlooked space.
How To Apply DIY Square Board And Batten To Your Staircase
DIY square board and batten wall treatment might seem overwhelming at first glance, but with a little bit of care and attention, it can be a really effective addition.
Tools Needed
The first thing you need to get together is the tools that you will need for the job. Some of the tools you are likely to have lying around your house, others you may need to hire to complete the job.
You will need a tape measure and a level which you may already have, or can be picked up from any hardware store at low cost. You may also need a hammer and nails if you do not want to use a nail gun which brings us to the tools that you will need that you may need to hire.
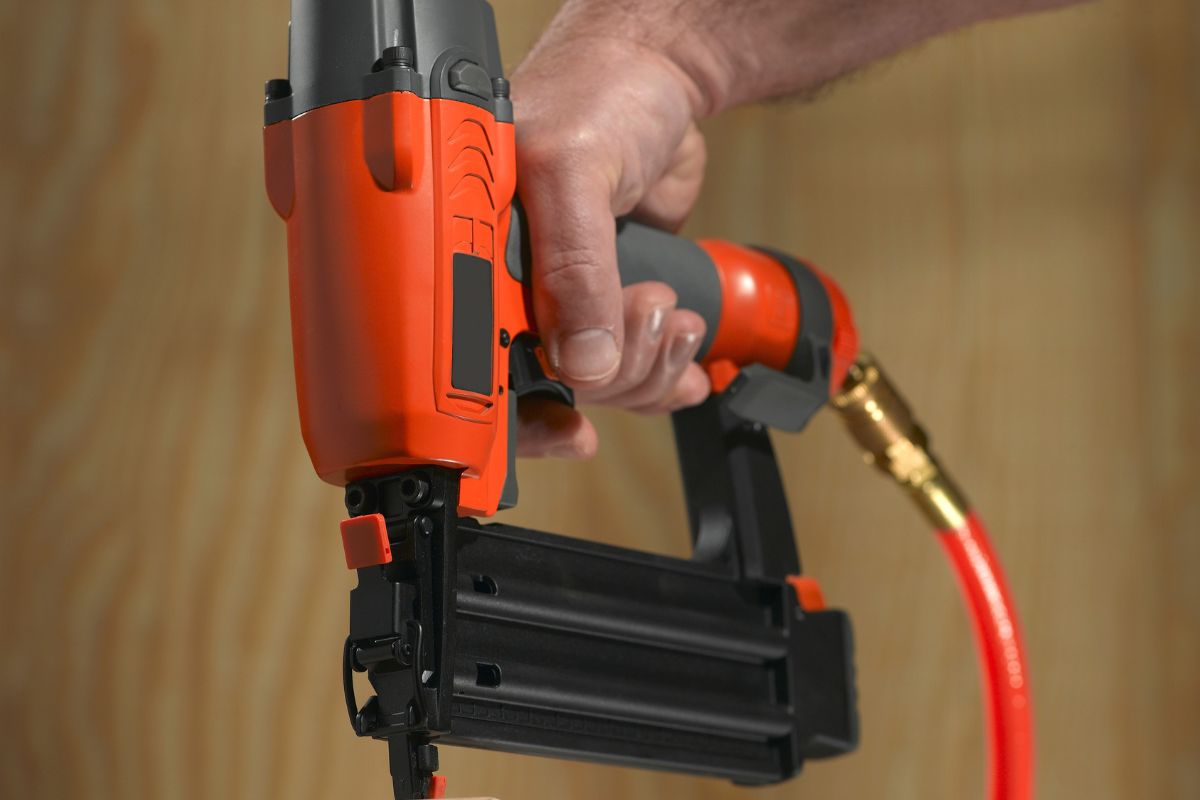
A nail gun is preferable to a hammer and nails because it takes a lot less effort and time to complete the job. You will also need a miter saw to cut the pieces of wood to the right length.
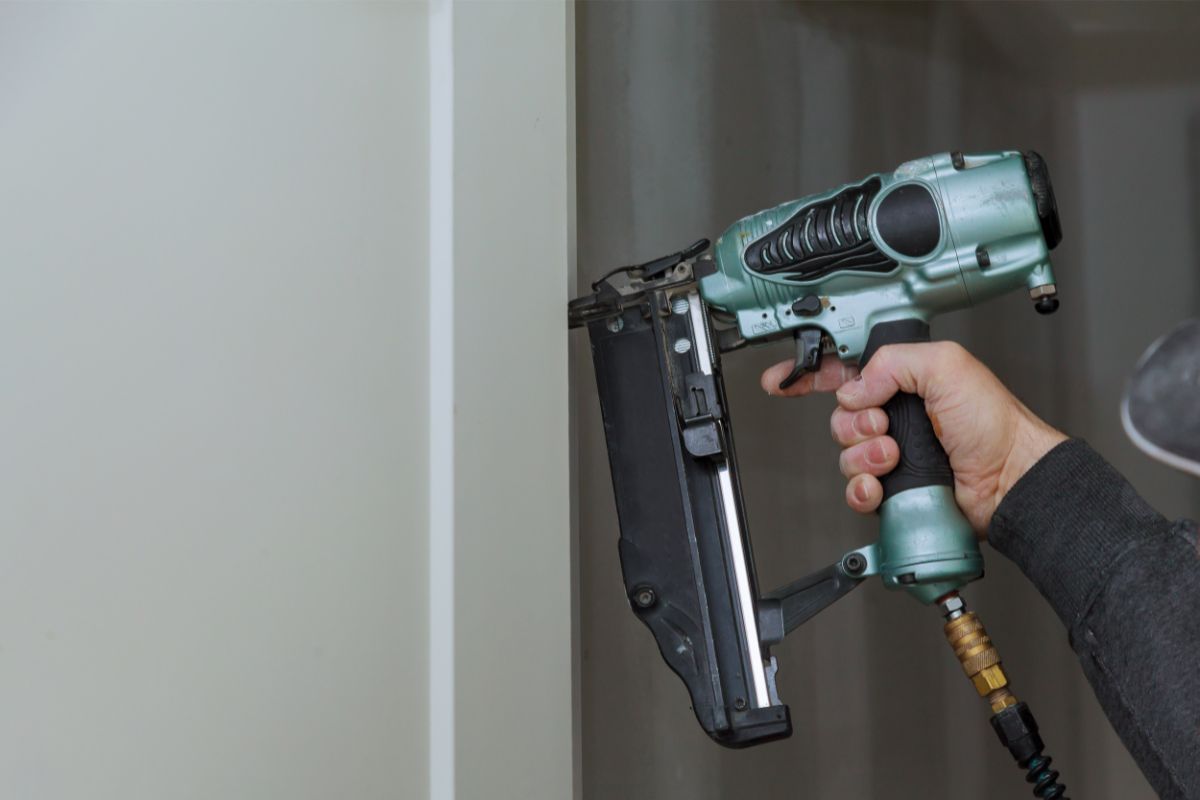
You can also use a jigsaw or a table saw, alternatively, you can get stores such as Home Depot to cut the boards for you. Just remember to have the measurements exactly right to save yourself an extra trip.
If you do need to hire any of the power tools, most hardware stores will have a scheme where you can hire the tools that you need from them on a daily or even hourly basis as necessary.
Materials Needed
In addition to the tools that you will need, you also need to make sure that you have the right materials for the job. The main material that you need to purchase is wood.
A 4×8 piece of MDF is a good place to start, the number of sheets that you need will depend on the size of the area that you are covering with the square board and batten as well as your desired thickness of the strip.
You will also need nails to help secure the wood to the wall, if you are using a nail gun, ensure that the nails will fit in the gun that you have.
It is also important to make sure that the nails that you purchase are long enough to go through the wood strips and anchor into the wall.
You will also need to get painter’s tape or masking tape, paintable caulk, wood filler, sandpaper, and paint. All of these materials will be available in your local hardware store for a reasonable price.
Step One: Mark Out Pattern
Once you have gathered all of your materials and tools, it is time to begin marking out the pattern that you want on your wall. Using the painter’s tape, mark out the placement of the wood strips.
Remember to create the thickness of the strips that you want with your tape to get a proper idea of what it will look like and help you cut the wood correctly.
Once you have marked out all of the strips that you need and are happy with the pattern, it is time to start working with the wood.
Step Two: Begin Batten Placement
Now that you know what size you want the wooden strips to be, use the pattern that you have marked out on the wall to help you cut the correct length and width of the wood.
Remember the old saying here, measure twice, cut once, it will save you a lot of time and money getting extra MDF.
Once you have cut out all of your strips of wood, you can begin placing them on your wall.
If you have a lot of boards to attach at varying lengths, you might find it easier to number the pieces of wood with a pencil and write the corresponding number on the painter’s tape, a bit like flat pack furniture.
Simply attach the battens with your nail gun or manually with a hammer and nails. The nail gun will make this process happen a lot faster, but if you aren’t confident using one, it is fine to use a hammer instead.
Step Three: Finishing Details
Once you have fixed all of the wood strips to the wall, it is time to work on the details that will help to give the batten a professional and high-quality finish.
Using the wood filler, cover the nails and make sure that the filler is smooth and flat against the wood. The caulk should be applied to the seams and edges of the batten.
Step Four: Painting
Once you have filled the nail holes and caulked the seams and edges and they have dried, it is time to start painting. The color that you choose doesn’t matter, whatever suits the color scheme of your home.
Because MDF has a tendency to soak up paint, it will be necessary to apply multiple coats. It is also worth letting the paint dry completely before you decide whether you need that one final layer to help avoid any patchiness on the wood.
Final Thoughts
Square board and batten wall treatment is a surprisingly easy DIY project that can add a stylish and sophisticated appearance to your boring stairway.
When you take care to do it properly, it can look like a really expensive addition to your home on a budget.
- The Woodworkers Guide to Brad Nailers: Everything You Need to Know - September 25, 2023
- How To DIY An Aztec Garden Dining Table [The Easy Way] - October 18, 2022
- Farrow & Ball Pigeon: Is It Right For Your Home? - October 17, 2022

