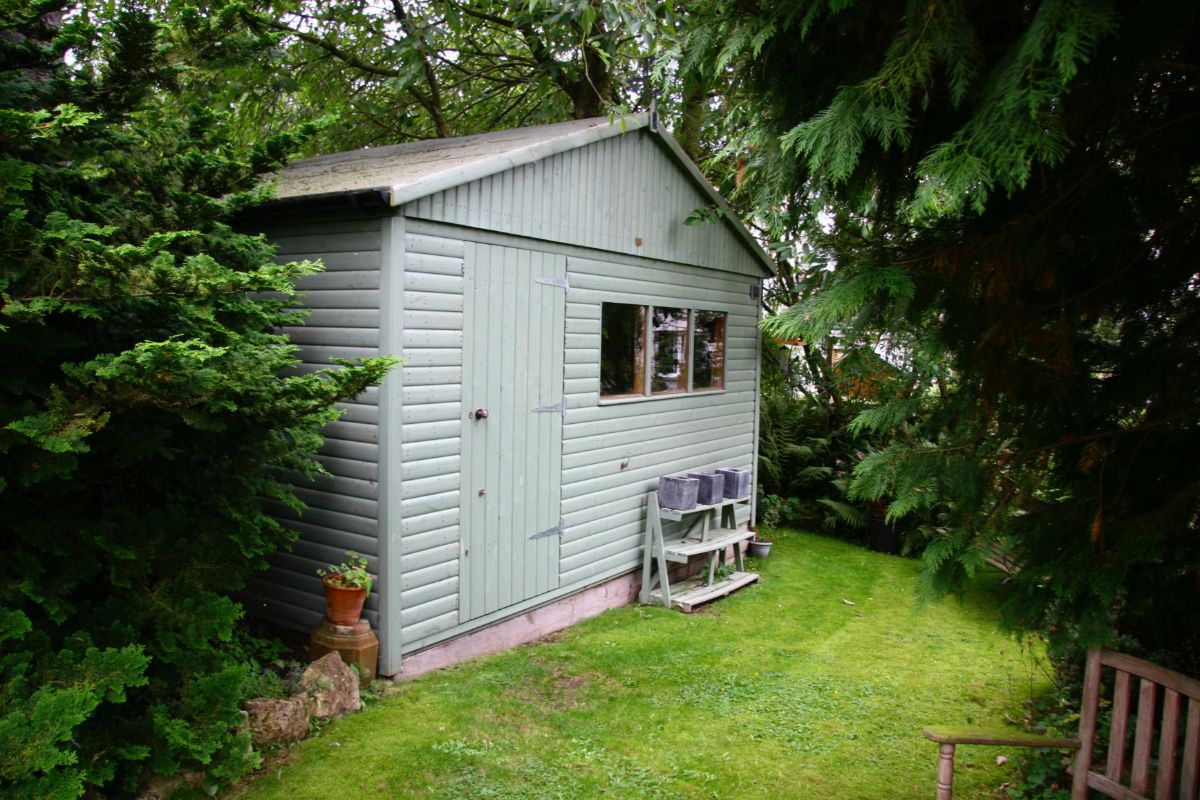
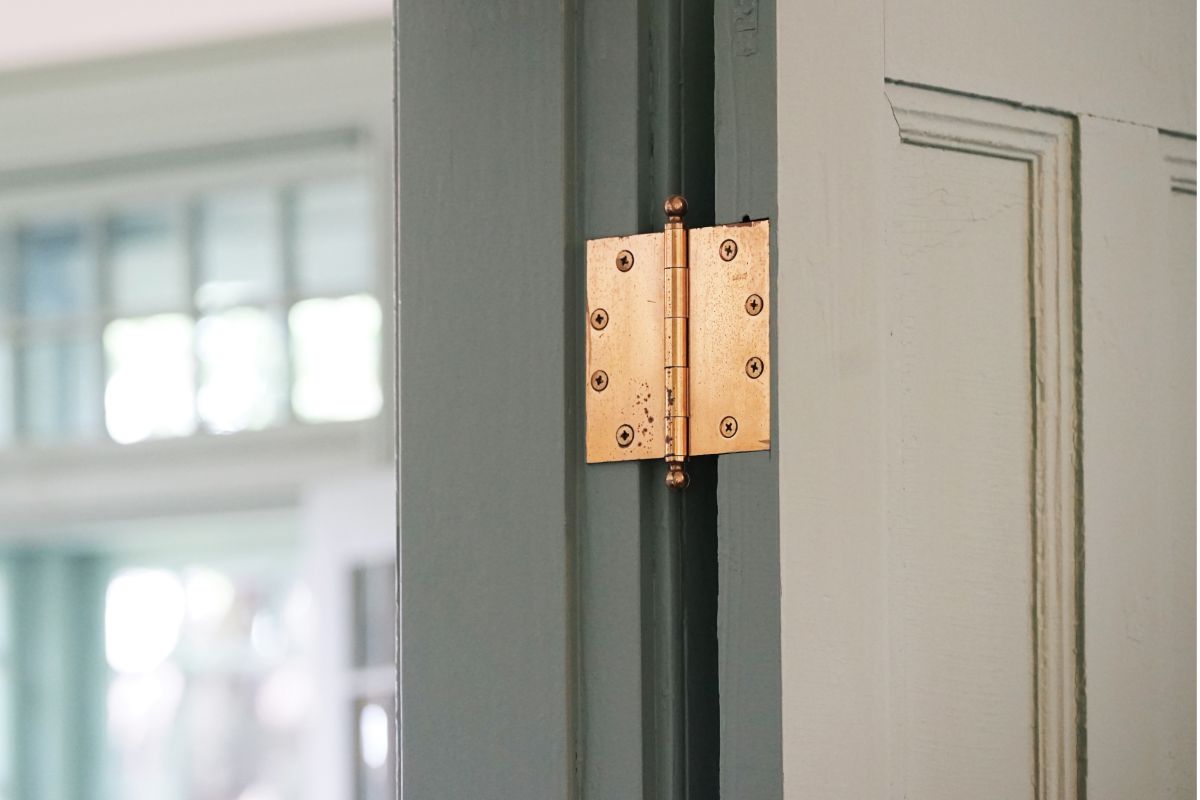
Attaching a hinge to a gate is an easy way to not only make it look far more modernized in its appearance, but it also grants a tremendous amount of security in being a visual deterrent for any potential intruders.
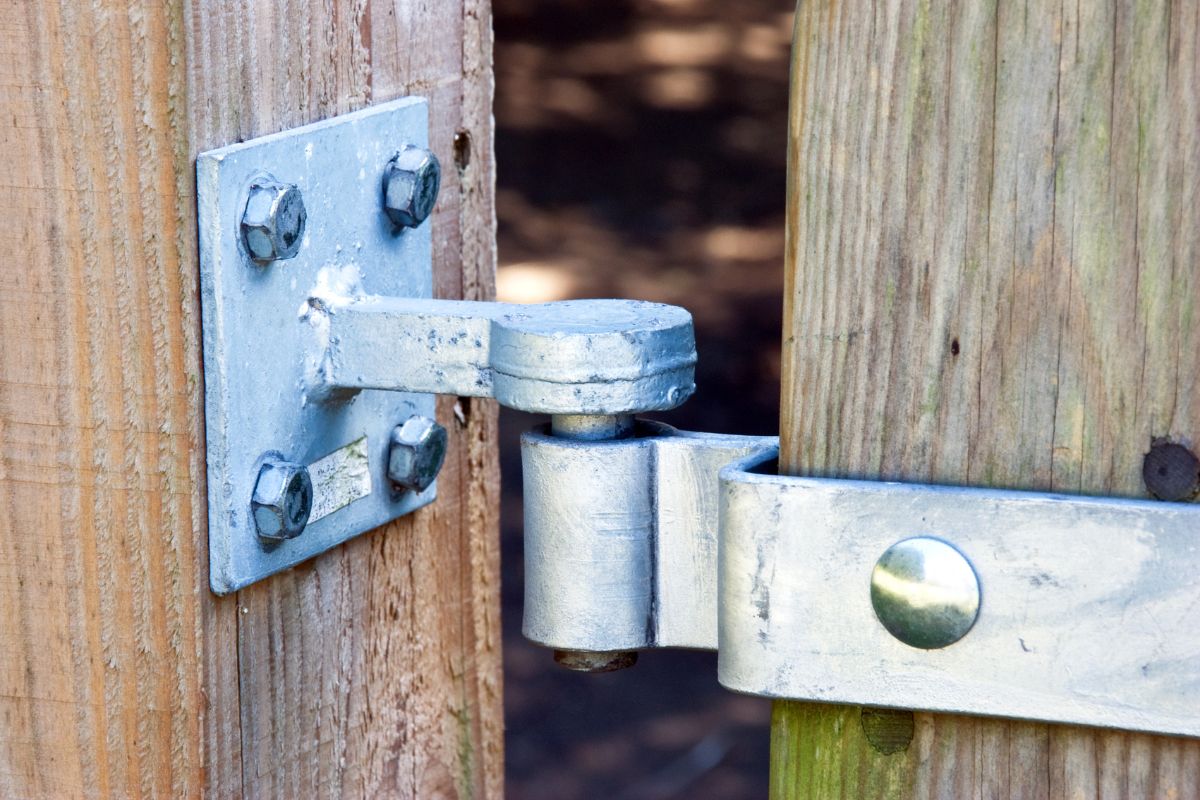
While hinges have become incredibly popular over the last few years and are now an extremely common addition to just about every garden gate that you will see, with such a variety of models and materials available it is not always clear exactly how to install this handy and worthwhile addition.
Luckily, installing a hinge onto a gate takes no time at all and can be done in just a few steps. Here is how you can easily install a hinge so that you can make your gate as secure as possible.
What You Will Need To Install A Gate Hinge
There are just a handful of tools and pieces of equipment you will need to start installing a hinge onto your gate, however the good news is because this is not a heavy duty project you won’t need to worry about needing to spend tremendous amounts on tools and equipment, in fact you could very well have a few of these lying around your house already. Here is all you will need to get started.
- Hinges
- Latch
- Screws
- Tape measure
- Drill
- Screwdriver
How To Install Each Type Of Gate Hinge
There are several types of hinges that can be installed onto a gate all with their own unique designs and functions and while many can be installed in a similar way, there are some small differences to always keep in mind. Here is how to install each type of hinge.
Strap Hinge
Step 1) Place Hinge Onto The Fence
Start by placing the hinge in the position where you would like it to be fastened onto the gate.
The hinge should preferably always be running down the side of the fence post and extending over to the main door itself, so that both halves are connected and the door can swing open.
You will also want to ensure that the strap is horizontal which can be measured easily by locating the center of the horizontal supporting beams and then using a pencil line as a guide.
Step 2) Attach To The Fence Post
Next, fasten the one half of the hinge to the fence post, making sure it’s nice and level as you go.
Once this is done, it can be worth quickly checking with a ruler or tape measure that the gate is perfectly aligned at the top and bottom.
Step 3) Install Other Half Of The Hinge
Now that the hinge is resting nicely on the fence post, it’s time to screw the other half onto the door itself so that it is fully attached.
Step 4) Repeat Process For Other Hinges
Repeat these same steps for the other hinges to allow the gate to have as much maneuverability as possible.
Feel free to also paint over the hinges so that they don’t stick out and instead blend in with the gate itself.
Gate Rim Latch Hinge
Step 1) Insert The Spindle
Start by drilling a 12mm hold into the part of the gate near the fence post where you want to place the spindle which is the part of a gate latch that you will be moving up and down.
Insert the spindle into the hole and fasten around it with screws.
Step 2) Install Ring Gates
Install the single or double ring gates used for securing the latch on either side of the gate with one on the fence post and one directly on the gate itself.
Use the latch during this to check that both gates are level, preferably you want the latch to be able to extend just a bit longer than the ring gate itself so that there is no danger of it being too short and slipping out.
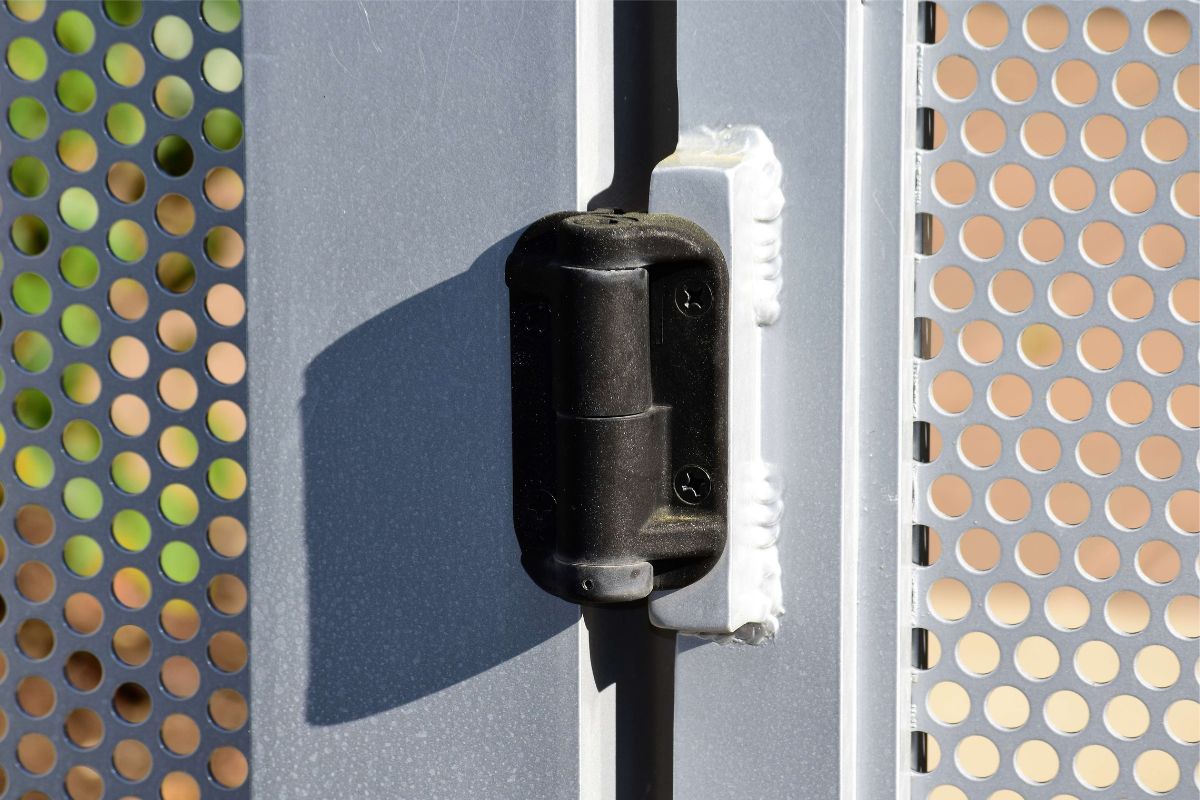
Step 3) Test Out The Latch
The final thing to do before you start painting over the hinge is to test that the latch itself works properly as it should be able to fit tightly into the secured ring gate handles so it cannot be opened when they are fastened, making for a quick and easy but also extremely safe gate hinge.
Tower Bolt Hinge
Step 1) Fasten Bolt Assembly
Tower bolts may look confusing and daunting to install upon first glance, however they are actually some of the easiest types of gate hinges you can install and simply require a few more screws than usual.
To start, place the bigger section of the tower bolt with the toggle on the actual fence and secure it with screws.
Step 2) Align Staple Section
You will then need to line the much smaller section up so that it is perfectly aligned with the other half on the fence.
This step is especially important for tower bolts since the whole mechanism depends on the lock being able to slide in and out of the smaller staple section, so it’s never a bad idea to double check that it is perfectly leveled.
That really is all you need to prepare a tower bolt hinge that is guaranteed to keep any gate fastened and secure when you need it to be.
How Big Should A Gate Hinge Be?
The size of your hinge is crucial in making sure that it works as it should, otherwise if it is too small, it can make the gate even harder to open than it was before and can sometimes lead it to stop opening halfway.
The general rule of thumb is to use a hinge length at least half the width of your gate.
If however your gate exceeds 81 inches, then it is heavily recommended to use a third hinge so that you can be sure that the added weight is supported efficiently.
In terms of exactly how many hinges you will need, the general rule is to have one hinge for every 30 inches of the gate, so for example doors up to 60 inches would require 2 hinges but doors that go past 60 but don’t quite reach 90 inches will need 3 with any gates going over 90 requiring 4.
This is just so that the hinges can support the gate’s weight to ensure that they won’t immediately slide open once the lock is lifted.
How Much Does The Hinge Material Matter?
In terms of the material of the hinge itself, many types will work exactly the same, however the appearance and overall aesthetic of the hinge can change drastically depending on what you choose.
Brass hinges for example give off a shiny bronze appearance which is perfect if you want to add some vibrant color to a gate and really want the lock to stand out when pressed against a dark or light brown fence.
In contrast, the shining silver appearance of stainless steel is perfect for when you want the hinge to look sturdy and durable but also modern and eye-catching at the same time while regular steel is a lot more traditional and slightly more rugged looking if that’s the aesthetic you’re aiming for.
Summary
Hinges are an incredibly easy way to make a gate secure, safe and easy to use, and luckily whichever kind of hinge you choose whether it’s the slide in tower bolt hinge or the common but reliable strap hinge, each one is incredibly easy to install and can be done in no time at all.
Always make sure before buying a hinge that you know exactly how many you will need for your specific gate, along with the material that you think would suit your gate and gardens overall aesthetic the best.
- The Woodworkers Guide to Brad Nailers: Everything You Need to Know - September 25, 2023
- How To DIY An Aztec Garden Dining Table [The Easy Way] - October 18, 2022
- Farrow & Ball Pigeon: Is It Right For Your Home? - October 17, 2022

