Ikea’s dressers are some of the most popular pieces of furniture out there. They’re inexpensive, functional, and come in lots of different colors and styles.
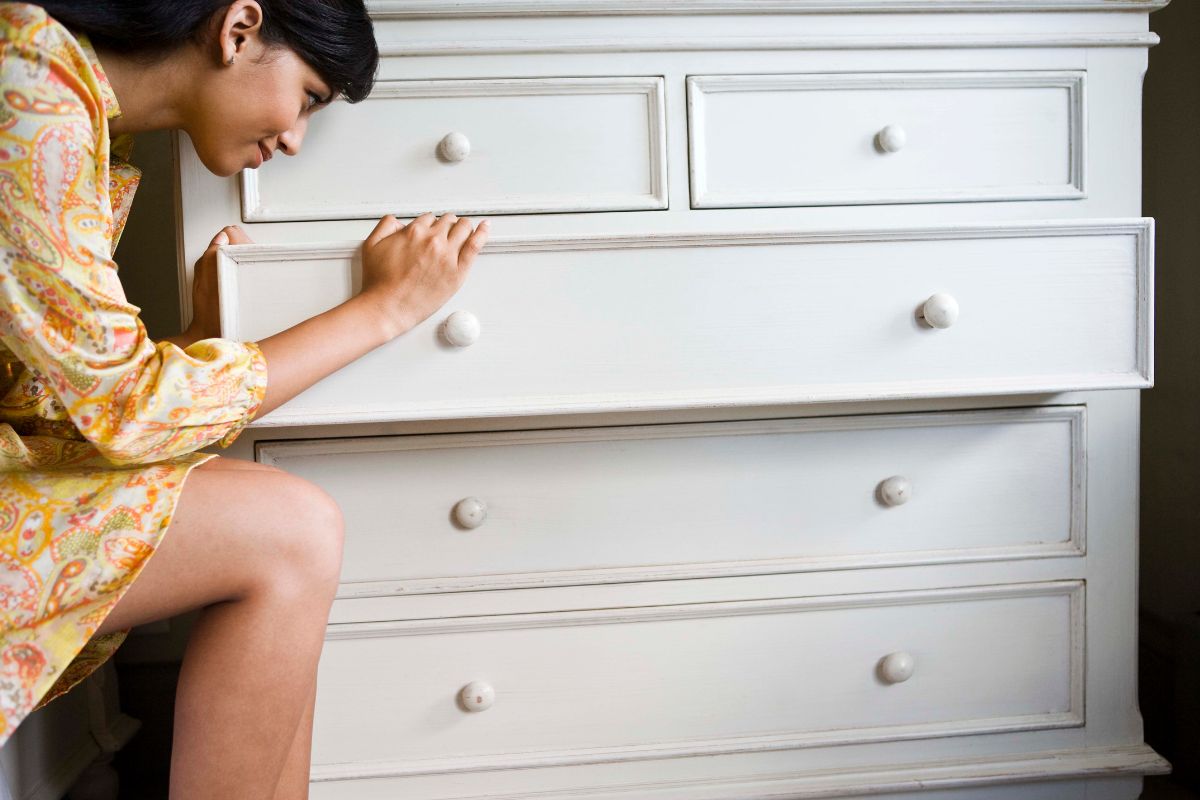
If you want to personalize your dresser there are many ways to do so.Here are some tips and tricks to help you out.
Tools Needed
The first step is to gather all the things you’ll need for the project such as:
- One sheet of sandpaper
- Paint (including top coat)
- Roller (microfibre)
- Painting tray
Assembling
You’ve got a few options here. If you’re building a traditional IKEA dresser, build the frame and drawers first, lay them out on plywood or MDF and cover them with painters tape.
Then, once everything is painted, screw down the drawer fronts and attach the knobs. This method works well for those looking to save money and do it themselves.
If you’re planning to use pre-finished wood pieces, such as IKEA’s KALLAX collection, you’ll want to assemble the unit and install the knobs before painting.
But, there are some things you might consider doing differently. For instance, we recommend installing the handles before attaching the drawer fronts.
This way, you won’t have to worry about painting around the hardware. And, if you choose to paint the entire piece, you can skip the step where you apply a clear coat over the whole thing.
Sanding
The next step is to sand down the entire piece of furniture. This includes the drawers, doors, frame, etc., so make sure you’re ready to spend some time doing this part.
I’d recommend starting off with 220-240 grit papers. You might want to do this on a belt sander, but I prefer hand sanding because it gives me better control over what I’m doing.
You’ll probably find yourself wanting to go even finer than 240, so I’d start there and work my way up. If you’re looking for something really smooth, you can always go to 320, 400, 600, etc.
But remember, you’re not trying to make it look brand new; you’re just trying to make it accept paint. So keep it light and easy.
Once you’ve got everything sanded down to about 150-200 grit, it’s time to move onto the final stage of preparation.
Painting
In total, you’ll want to do 2 coats of paint. Allow at least a few hours in between coats for drying.
You can use a brush for edges and corners and a small microfibre roller for the flat surfaces – it’s easier to roll over a piece of paper rather than try to get a nice even coat across the whole thing.
If you use chip brushes you can reduce the amount of cleaning afterwards. They’re a little harder work with though if you are new to painting so you may want to start out with something nicer quality.
You want to work on one side at a time, meaning you should paint the edge and corner first, then immediately roll that flat surface.
The idea here is to use your brush as a way to get into those hard to reach spots where the roller can’t go. But the microfibre roller is what’s gonna give you that lovely smooth surface so you want to paint everything with it.

Types Of Paint
The popularity of latex paint has grown tremendously since it became widely used during the 1970’s. Latex paints are water based, making them easier to use than oil based paints.
But you have to choose the right paint for your specific project. Keep the following in mind before painting:
- Choose the right color – You want to choose colors that complement each other well. For example, red and blue make a nice color combination, while orange and green don’t work too well together.
- Use the correct amount – If you’re painting a large part of the dresser you’ll want to apply enough paint to cover the entire surface evenly without having to go back and re-apply extra coats. Too much paint applied too thickly will cause drips, runs, and uneven coverage.
- Apply two thin layers – A thin coat of paint goes on very smoothly and covers most imperfections. After applying the first coat, wait 10 minutes and then apply a second coat. This helps ensure evenness and prevents brush marks.
- Let dry Before applying another coat – When you finish one coat of paint, let it completely dry before applying another layer. Otherwise, you run the risk of getting rid of the previous coat. Let’s look next at applying the top coat.
Top Coat
It’s wise to start every project by painting the wood surfaces. This includes the drawer fronts, sides, backs, and drawers themselves.
You can use a spray primer, followed by 2 coats of semi-gloss latex paint. Then finally apply a final coat of matte polyurethane clear coat.
A matte finish will help the finished product to look good in both natural light and artificial lighting. If you’re looking for a glossy finish, go ahead and skip the semi-gloss step.
Now let’s talk about how to properly top coat a piece of furniture. First off, make sure there are no holes in the surface. Next, take a small brush and fill in any gaps around the edges.
Don’t worry too much about getting into the crevices. Just try to cover up any rough spots and make sure everything looks smooth. Once you’re done, give the surface another quick dry to make sure it dries completely.
Then it’s time to apply the top coat. Start by spraying the entire piece, making sure to work quickly and thoroughly. Make sure each section gets covered evenly. Let dry overnight and then move onto the next step.
Once everything is dried apply the hardware. Once the hardware is installed, you’re ready to assemble the dresser!
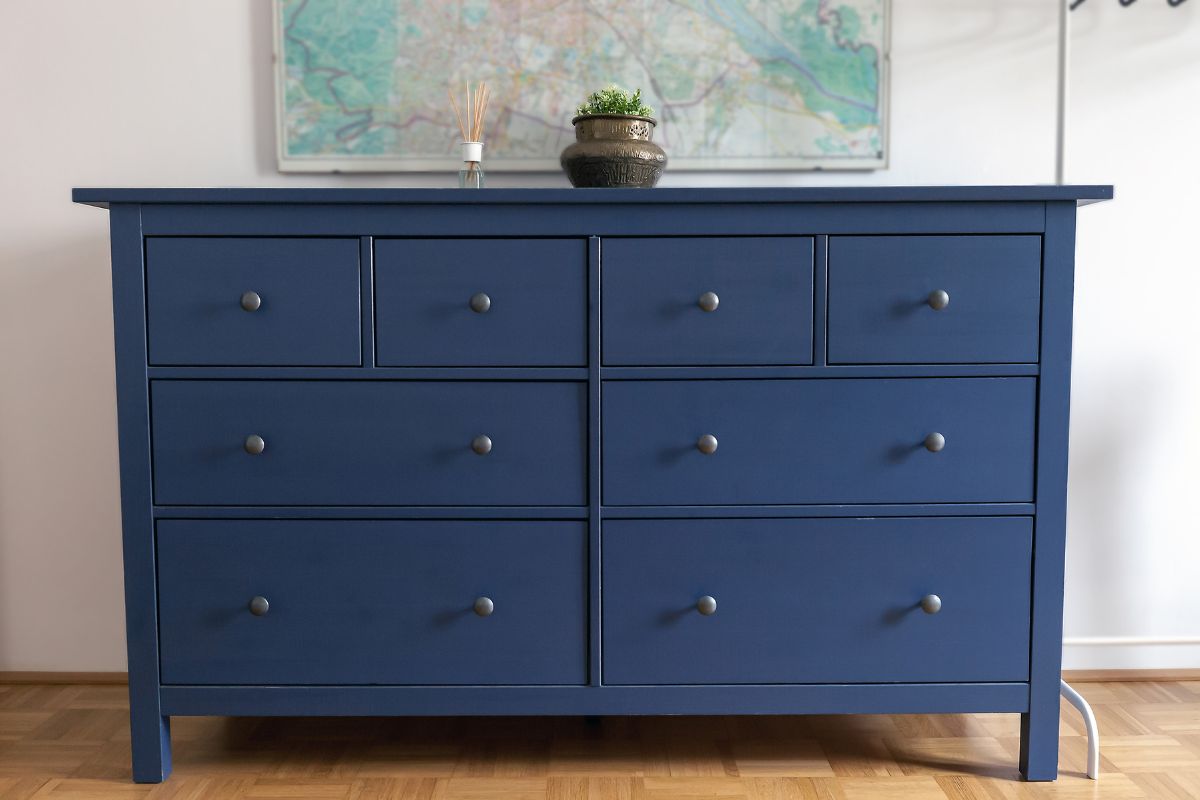
Wax
Another option for finishing your IKEA dresser is to use wax. Why do we use waxes for painting furniture? Why not just spray paint? Well, there are several reasons why we choose to use wax over spray paint:
- Wax gives a beautiful smooth finish. You don’t see those ugly brush strokes like you do with spray paint.
- Wax is much easier to apply than spray paint. Spray paint requires multiple coats and sometimes sanding between each coat. Wax is easy to apply one coat at a time.
- Wax does not require priming. Primers are used to make sure the surface of the wood is clean and free of dust and dirt. When applying spray paint, you must prime the piece because it is very difficult to apply a second layer of paint without getting overspray on the primer.
- When waxed, your furniture looks better longer. Worn out spray painted surfaces look terrible – especially around the edges where the paint starts to peel away. Waxed furniture looks great even after many years.
- Waxed furniture lasts longer. In my experience, spray painted furniture wears off faster than waxed furniture. This is probably due to the fact that wax protects the wood underneath.
- Waxed furniture is easier to keep clean. A good quality wax will protect the surface of your furniture from being stained. There are no harsh chemicals involved in the application process.
Personalizing
Once you are done painting, it’s time to start adding some extra special touches to make your Ikea dresser stand out. You want to think about what makes your dresser special.
Maybe you like the way your hardware looks, maybe you want to change up the color of the drawer fronts, or maybe you just don’t like how plain the drawers look.
Whatever it is that makes your dresser special, we recommend adding those elements into your paint job.
Here are some tips on how to do that:
- Sand down the surface of the dresser. This will help give your finish a nice smooth texture or a “shabby chic” look.
- Use a dry brush technique to apply stains. A dry brush gives off less dust particles, making it easier to work with.
- Try changing out the hardware. We love these custom knobs. They really bring the dresser together.
In Summary
If you still aren’t happy with the way your dresser looks, there are plenty of options for finishing your project. You could always go ahead and refinish it yourself, or you could hire someone else to do it for you.
Either way, you know it will turn out great!
- The Woodworkers Guide to Brad Nailers: Everything You Need to Know - September 25, 2023
- How To DIY An Aztec Garden Dining Table [The Easy Way] - October 18, 2022
- Farrow & Ball Pigeon: Is It Right For Your Home? - October 17, 2022

