Conducting any home improvement project can be tricky – not least of which is installing a new door.
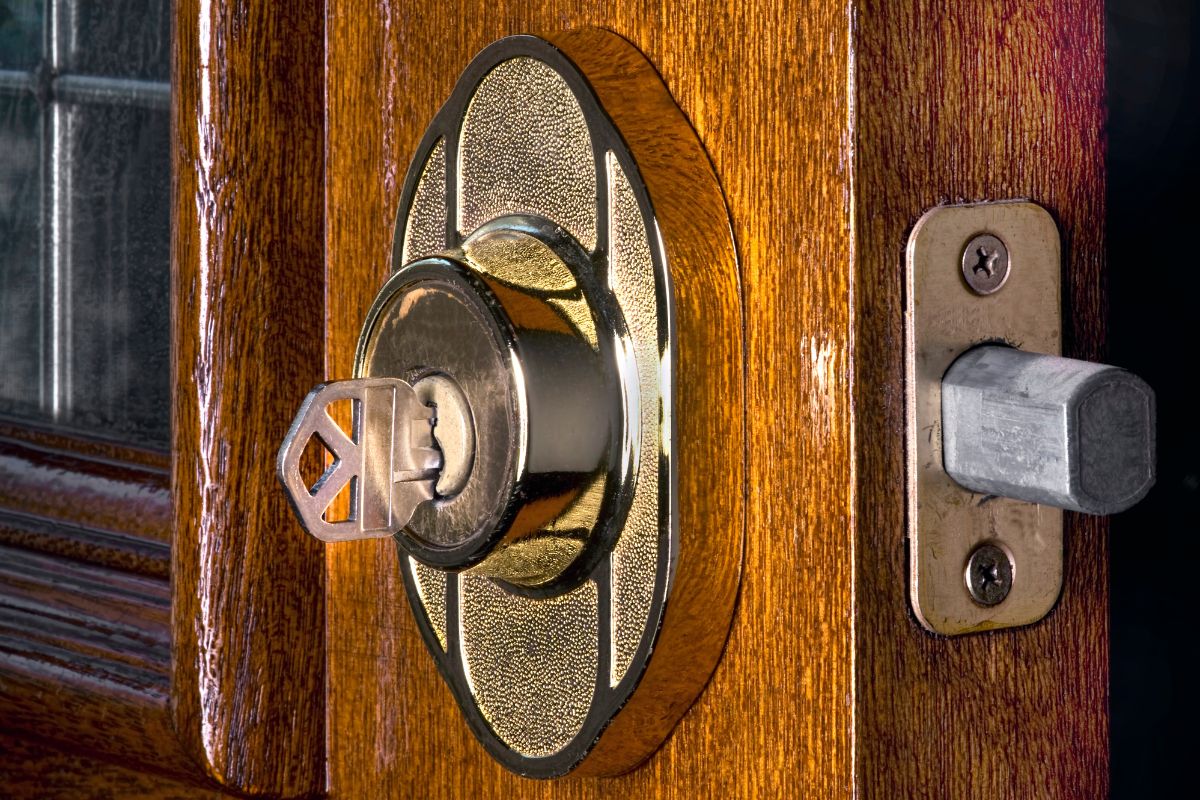
While many of these come ready cut and primed for use, those seeking to create their own might run into trouble – especially when it comes to drilling holes for the door knob and any security elements, such as a deadbolt.
So, what hole sizes should you actually use, and how can the best finish be achieved?
Deadbolts: The Best Hole Saw Size
Security is important, be it in a home or a business, and as such, having good, sturdy security systems in place is a must for long term safety and prosperity.
This means that when installing your own door handles and deadbolts, you really need to measure, take your time, and ensure you follow the steps.
Are Deadbolts Standard?
Generally speaking, the standard size for deadbolts tends to be around 2 ⅛ inches, however there can be different case depths – often ranging from 64mm to 76mm.
Of course, with different brands, there can be different sizes of deadbolt, and can range from 2 inches long (at the smallest), and 5 inches long (at the longest). Extensions can also be purchased, especially for those seeking an extra bit of security.
How To Measure For A Deadbolt
Firstly, you should always measure the entire size of your door.
This is particularly important with regards to the doors thickness, as this will determine what size deadbolt it is capable of housing.
Most doors tend to be around 1 ⅜ and 1 ¾ in thickness, but it is always best to properly and accurately measure your door – particularly before making any sort of cut.
Deadbolt kits themselves can be chosen with the help of a standard measurement template. These come with instructions for everything you will need to install and set up your deadbolt.
To get the right one for you, be sure to take note of the cross and latch bores, the lock spacing, and the backset – all of which are important to the efficacy of the end result.
For a bit of extra help, these standard measurements might also come in useful:
- Standard door thickness tends to be between 1 ⅜ and 1 ¾ inches.
- Door jam hole tends to be 7 to 8 inches in diameter, with a depth of 1 inch.
- The deadbolt faceplate width tends to be 1 inch at a minimum.
- The height of the faceplate generally measures 2 ¼ inches.
- The backset distance tends to be between 2 ⅜ inches, and 2 ¾ inches – taken from the edge or the door to the center of the cross bore.
Hole Size For Deadbolts
Once you have drilled the initial hole for the door knob to be inserted, you will also need another for the deadbolt to pass through when the door is shut.
This whole can be tricky to determine at first, especially with regards to the width and depth. However, for this job, a 1 inch hole saw is usually recommended for this job, as this will bore the necessary size hole used for most deadbolts.
These are generally included with most door installation kits, offering a range of different hole saws to suit your needs.
The standard dimensions for a deadbolt hole – determined by latch and cross bore holes – tends to be 1 inch for the latch, and 2 ⅛ inches for the cross.
Door Knobs: The Best Hole Saw Size
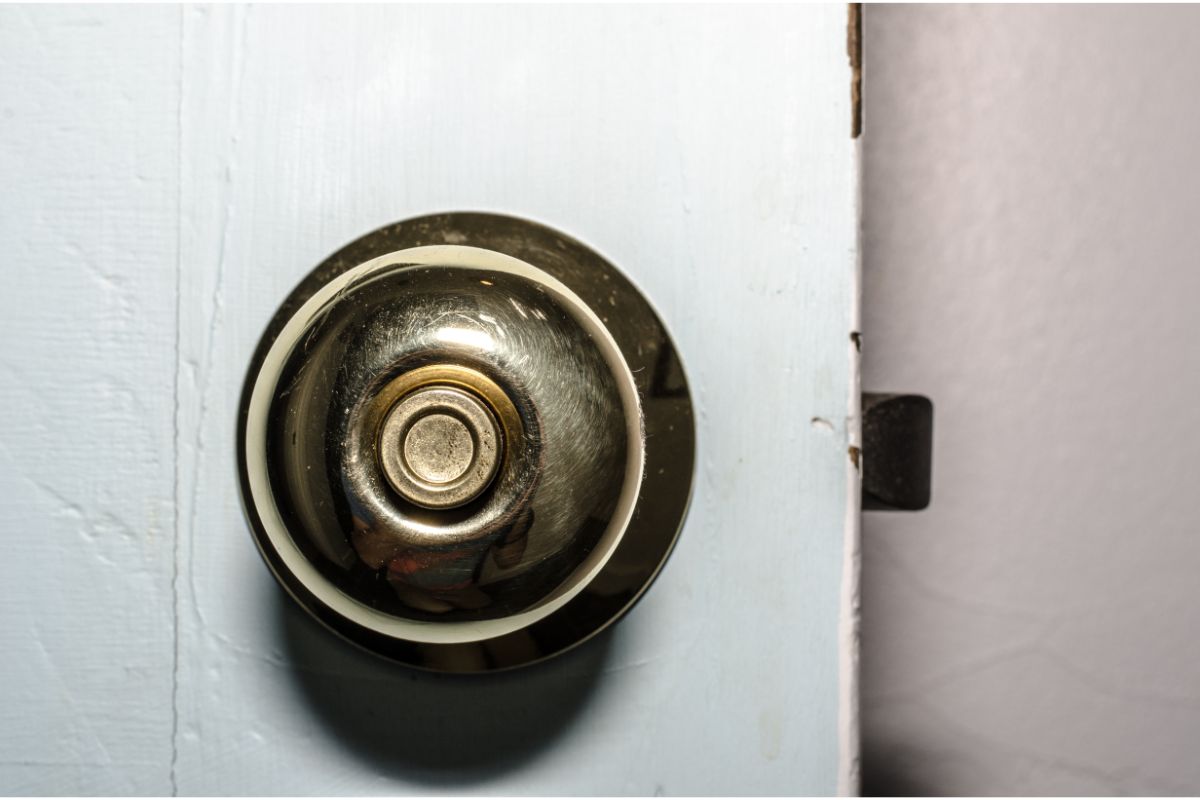
When choosing a door knob, it is equally important to pick one that is right for the door in question.
These aren’t always uniform, and as such a lot of planning needs to be done before choosing one you like and drilling the necessary holes.
Standard Door Knob Holes
In modern times, standard door knob holes tend to be around 2 ⅛ inches in diameter.
This will differ from older doors, which used to have smaller holes, and shouldn’t be considered if these are what you are working with.
Are Door Knobs Universal?
Unfortunately, whilst they adhere to a series of standard sizes and dimensions, door knobs are not universal, which can make finding the right one difficult in some cases.
Hole Saw Size
There are certain things to consider when determining hole size.
For standard bore holes, the size tends to be 2 ⅛ inches in diameter.
Before making the hole, it would probably be best to check the dimensions of the door knob you have purchased, to make sure that you not only have the necessary hole saws, but that both the size of the hole and the knob are suited to the door in question.
How Much Space Between Door Knob & Deadbolt?
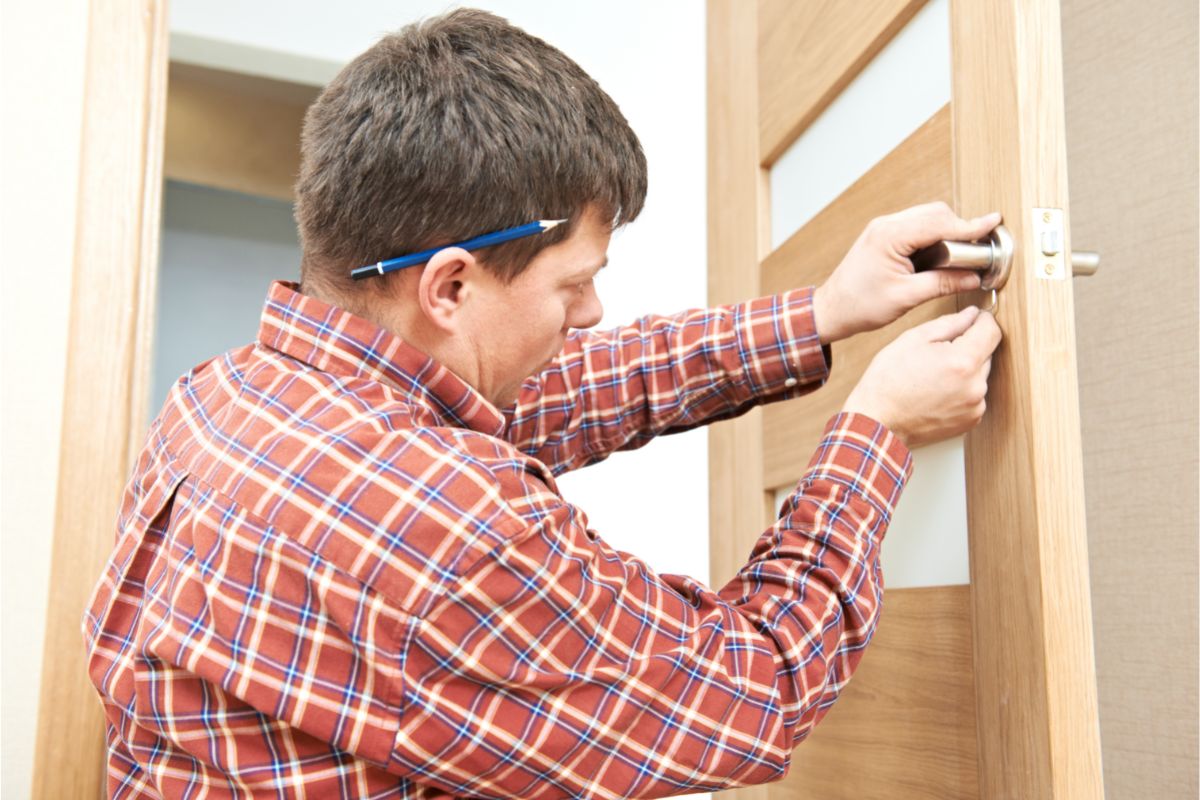
This can be the trickiest bit of the whole operation, and many people have ruined many doors by rushing into things without measuring or double checking the positioning.
The standard space between the deadbolt and the door knob tends to be around 5 ½ to 6 inches (above the handle).
This distance might need to be less in some cases, although these are rare and tend to occur when working with non-standard door sizes, designs, and knob styles.
If there is little space available on the door itself, then the solution is to move the deadbolt closer to the door knob. However, for the lock to work effectively, these two things should not be positioned too close together.
Are Deadbolt & Door Knob Holes The Same Size?
Nine times out of ten, yes, they are the same size. In the United States, this measurement tends to be 2 ⅛ inches in diameter, meaning that in most instances you won’t have a problem ensuring that your hole is big enough.
However, it is still recommended to check the specifications of the hardware, as deadbolt sizes can vary.
The Installation Process
When it comes to installing your door knob and deadbolt, there are several steps that you should follow.
Step One
Once you have made your bore holes, or indeed removed the old door knob if you’re reusing the same door, now comes the time to install the new hardware.
Begin by extending the bolt and rotating the front to stretch it out. Then insert the deadbolt latch into the top hole of the door, being sure to insert it the right way around for the best, secure fit.
Step Two
Remove the handle set’s internal lever section, and the cover for the assembly. Insert the handle set by pushing the bolt of the latch inward.
Then insert the new internal lever, attaching the base and aligning the spindles, turning it counterclockwise to accept the screws, before removing it, turning it clockwise again, tightening the screws, and securing the handle lid.
Step Three
Next, place and tighten the lever on the mount, making sure the set screw is securely locked in place.
Step Four
Next install the lock, holding the exterior in place and inserting the internal components. Then enter and attach the long screws, before mounting the final cover.
Step Five
Lastly, replace the old door jam and hitting bars with the new ones included with the kit. Remove the old by unscrewing, and then screw in the new ones to finish.
Handy Maintenance Tips
To ensure the longevity of your new knob and deadbolt, there are some handy tips you can follow.
Clean Regularly
Cleanliness is next to Godliness, and the same applies to door knobs. Keeping them clean and free of grime can make all the difference when it comes to the continued functionality of your hardware.
Be Gentle
Avoid excessive force when using the door knob, as this can weaken the internal mechanisms and even the long screws holding them in place.
Final Thoughts
And there we have it, everything you need to prepare your door for a new deadbolt and door knob.
With the right amount of planning, preparation, and measurements, you can ensure you do a good job, and finish with a door that not only works like a dream, but keeps you and your positions safe from crime and intrusion.
So, the next time you find yourself installing a new handle, be sure to take the proper measurements, and always double check before making that first cut.
- The Woodworkers Guide to Brad Nailers: Everything You Need to Know - September 25, 2023
- How To DIY An Aztec Garden Dining Table [The Easy Way] - October 18, 2022
- Farrow & Ball Pigeon: Is It Right For Your Home? - October 17, 2022

