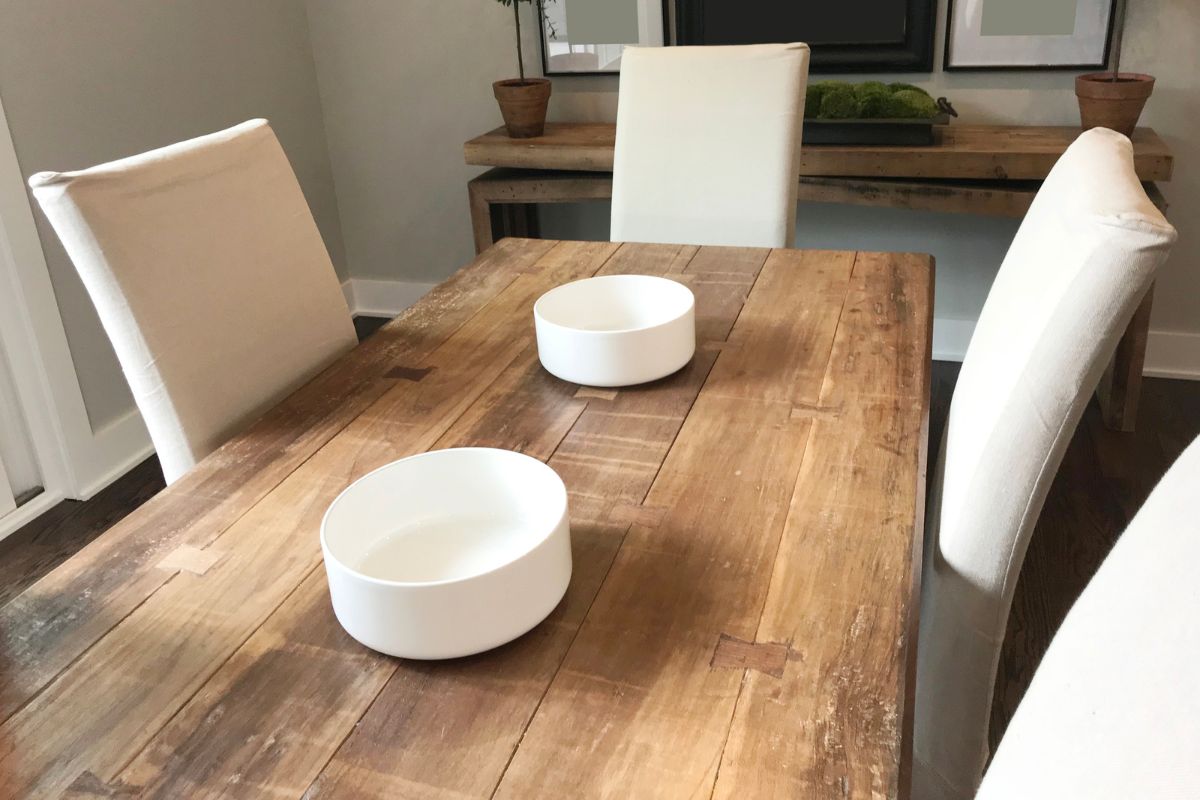
The best way to build a round table, Whether you’re building a new project or renovating, you first need to choose a style that fits your needs and budget. Then you need to understand what it takes to build a round table.
Round table design is a great way to add a little extra style and function to your dining room at an affordable cost.
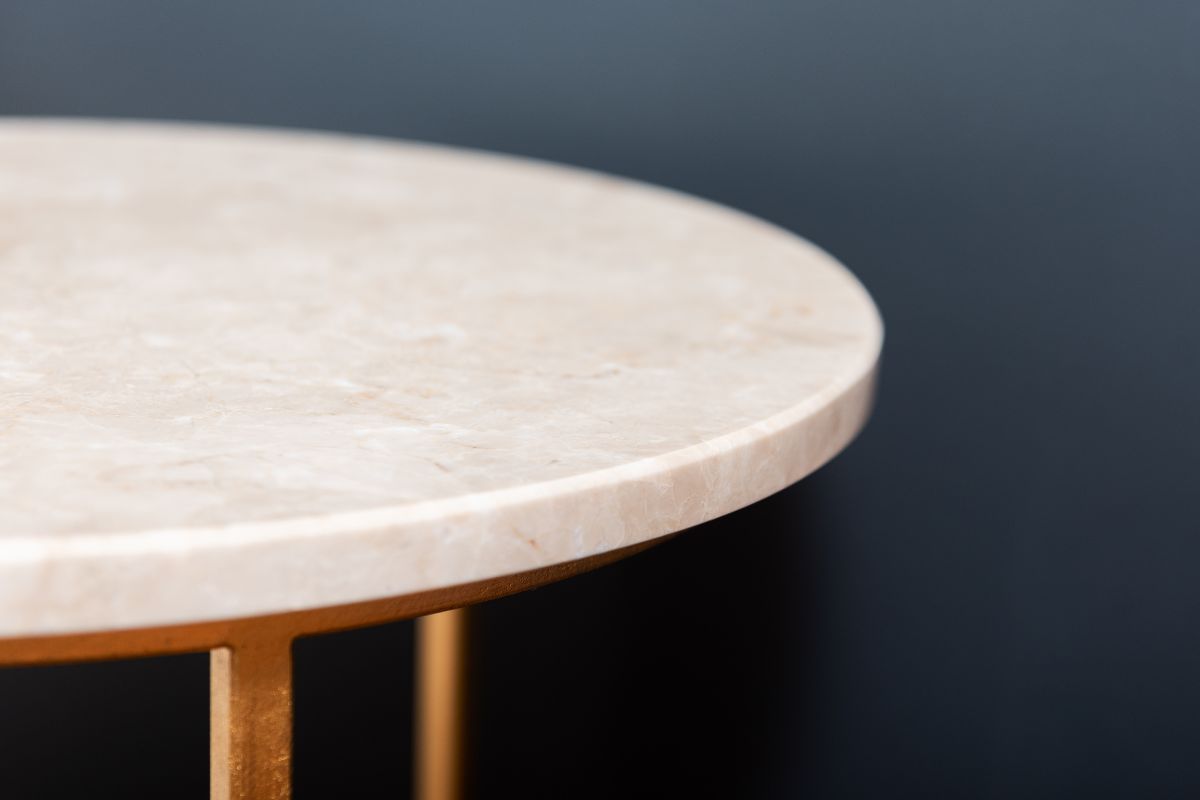
A round table is a really important part of your home if it’s your dining table or a social space which is why you need to be creating it properly so it will last. Find out the easiest and most effective way to make your own round table right here!
What Will You Need?
- Saw
- Drill and bits
- Pocket-hole jig (optional)
- Sander
- Tape measure
Materials
- Round table top (30” diameter used for this project)
- Paint (if wanted)
- Two 8 foot long 2x4s
- Glue
- Screws or Nails
Small Round Tables
For this particular method, you can either buy a small round table top beforehand or make your own by putting different lengths of wood together and shaping them.
If you are buying it already round, you will want to sand it down really well to get rid of any blemishes to make it nice and smooth.
1. You will start working on the upper/lower attachment which includes cutting different pieces of wood to certain sizes. You will first need to cut lower attachment pieces to 14.5”.
You then need to look at doing the width dimension. You need to Chamfer the width dimension to a 60 degree and the thickness to 15 degrees.
2. You then need to start working on the lower attachments. You will be cutting them into 7’’ and chamfer the width at 60 degrees and the thickness at 15 degrees.
3. When you have completed all of the cutting processes you will need to attach the lower and upper pieces of wood together. They are all cut at angles and need to be put together in a star shape. There will be the longer pieces put together and the smallest pieces put together.
4. Most people use a pocket hold jig to create those connection hoes you will need. These holes need to be facing the floor. You will be screwing these parts together but you should glue them first.
5. Now we are moving onto cutting the legs. You will be cutting their length to 31’’ and you will be doing this for three pieces of wood. You then need to chamfer the thickness dimension to both ends at 15 degrees.
6. You are now going to attach those freshly cut legs onto the upper star shaped attachment which will be holding the table top. It is ideal to use screws to put these together because it will make it feel a lot more secure.
If you will be using this table often, you need it to be able to carry weight.
7. You can now move onto doing the lower attachment on the floor. You will also screw these into place and you will now have a structure which stands up on its own. When this process is done, it is time to start thinking about attaching the table top and sanding the wood.
8. It is super important to sand all of the wd you have used so far because it needs to be smooth. If you have screw holes, you will need to fill these for the best finishes. You will also need to sand down the joints as well.
9. You can now paint the legs and attachments after you have finished sanding. For this smaller type of round table, many people like to switch up the colors on the legs and top of the table.
10. Now you need to add the table top. To do this, you need to drill a hole into the top of the upper attachment where the table top will be placed on. Then you can make the same hole in the middle of the table top.
You can use the arc method to find the exact point which is the center. You need to make sure it is accurate so it doesn’t wobble.
11. You can now put a nail through the center of the table which will go through the upper attachment. You will also be adding in wood screws which do not go through the table top.
12. Many people love to add a glass feature on top to protect the table top. Now you should shave your finished product painted and finished.
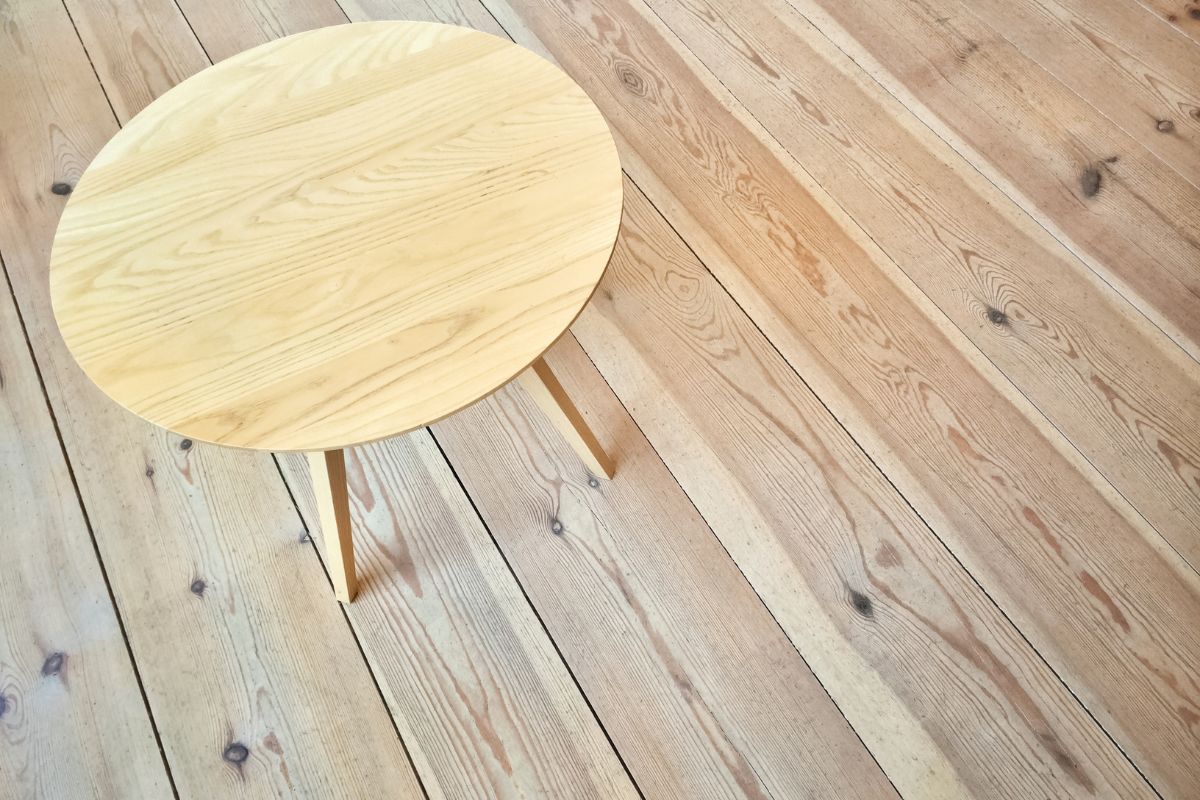
Making Your Own Table Top For A Medium Sized Table
- 12 x 2x4x8 lumber (we used cedar)
- Wood screws
- Wood glue
These are all very simple types of materials and will be easy to get your hands on.
Tools
- Miter saw
- Tape measure
- Sander (orbital)
- Drill
- Table saw
1. You need to be working with square edges on your lumber because it makes it much easier when it comes to making the table round.
2. Now you can start figuring out what sort of pattern you would like to create on the top of your table. This is done by moving the wood in different directions and placed together.
You need to make sure you leave around an inch on the outside of the table top for when you cut it.
3. You now need to get your wood glue out and glue it all together before adding the screws in. Once you’ve finished putting it all together, you will need to let that glue completely dry overnight.
You should also be weighing it down overnight wil something heavy like gym weights.
4. When it is all dry, you can now think about cutting the table top. Some people use completely different methods for creating that pencil line around the table for a perfect circle. However, it is very popular to use a compass and cut it with a jigsaw (Also check out The Major Differences Between Jigsaws And Bandsaws).
5. Free hand is always a good option depending on what wood you are using because some saws wont be able to penetrate through thick wood.
6. To finish off, you need to sand down your table top, so it is nice and smooth with no blemishes.
7. Many people who love wooden tables also love to stain it instead of painting it in the finishing stages. You will be stirring your stain and will apply with a rag rubbing it all over the table top to create the effect you want.
8. It is not essential, but many people love to use a nice matte top coat to really finish off. You will need to do a few layers of matte coats on the table tops and the edges.
You can also sand a little bit in between the coats to make sure that it is not too thick in places and it is all the same thickness across the table and the edges.
Conclusion
Overall, if you’re looking for a smaller side table or coffee table design you want to try, this is a great option. It is simple and you barely need any materials or tools (Check out Husky Vs Craftsman, Which Is Better?).
Even if you’re not the best person for DIY, this type of creation could save you a lot of money building it yourself rather than buying it from a store.
It will only take up a small amount of time and you will end up with a safe and sturdy round table. You can also create your own table top if you have the time where you have to use different sizes of woods put together and cut around to make a circular shape.
This is great because you can make the table top run in different patterns.
Hopefully this guide has helped you build the perfect small table for your living room or bedroom. You also need to make sure you pick the best colors for your decor because it can be a great bit of furniture which can match your interior.
Make something you will love and be happy to have in your home!
Frequently Asked Questions
How Do You Build A Simple Round Dining Table?
A simple round dining table can be created out of a couple of 2X4’s. To build this type of table, you’ll need a couple of boards that are 3-1/2 feet long. You also need one 2X4 that is 18 inches long.
Does It Take Long To Create A Round Top Table?
No, you will not take days on a project like this because it does not require any big steps, only small ones. You just need to make sure you are measuring well so you are able to assemble them easily.
If you do not measure the pieces of wood accurately you might have to keep going over them so they can all fit together. This goes for both the table top creation in the legs.
- The Woodworkers Guide to Brad Nailers: Everything You Need to Know - September 25, 2023
- How To DIY An Aztec Garden Dining Table [The Easy Way] - October 18, 2022
- Farrow & Ball Pigeon: Is It Right For Your Home? - October 17, 2022

