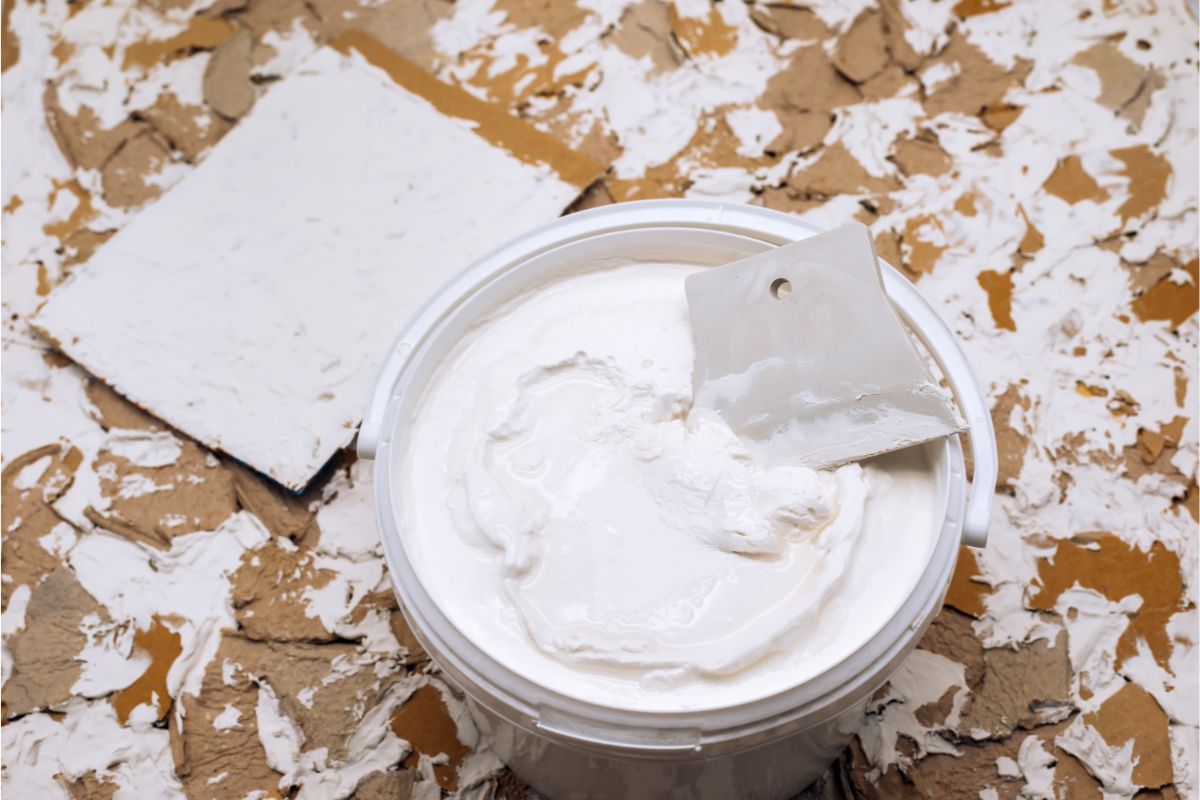
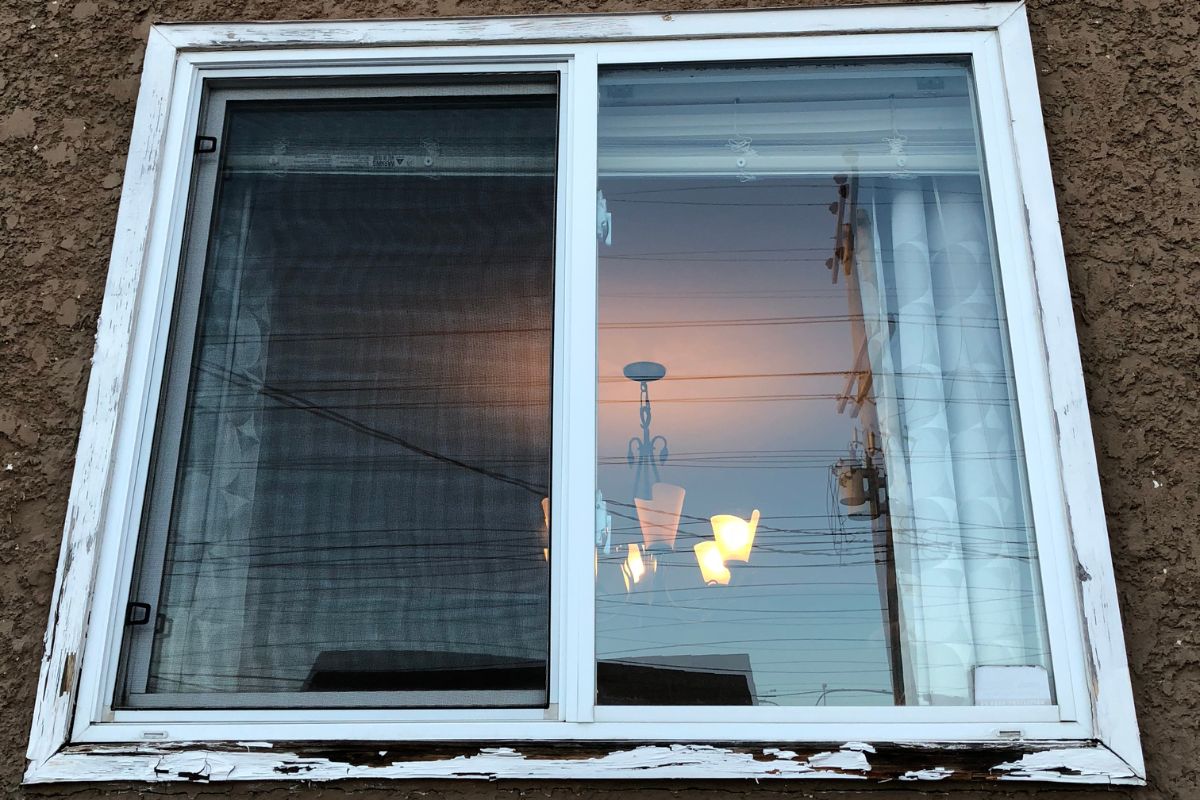
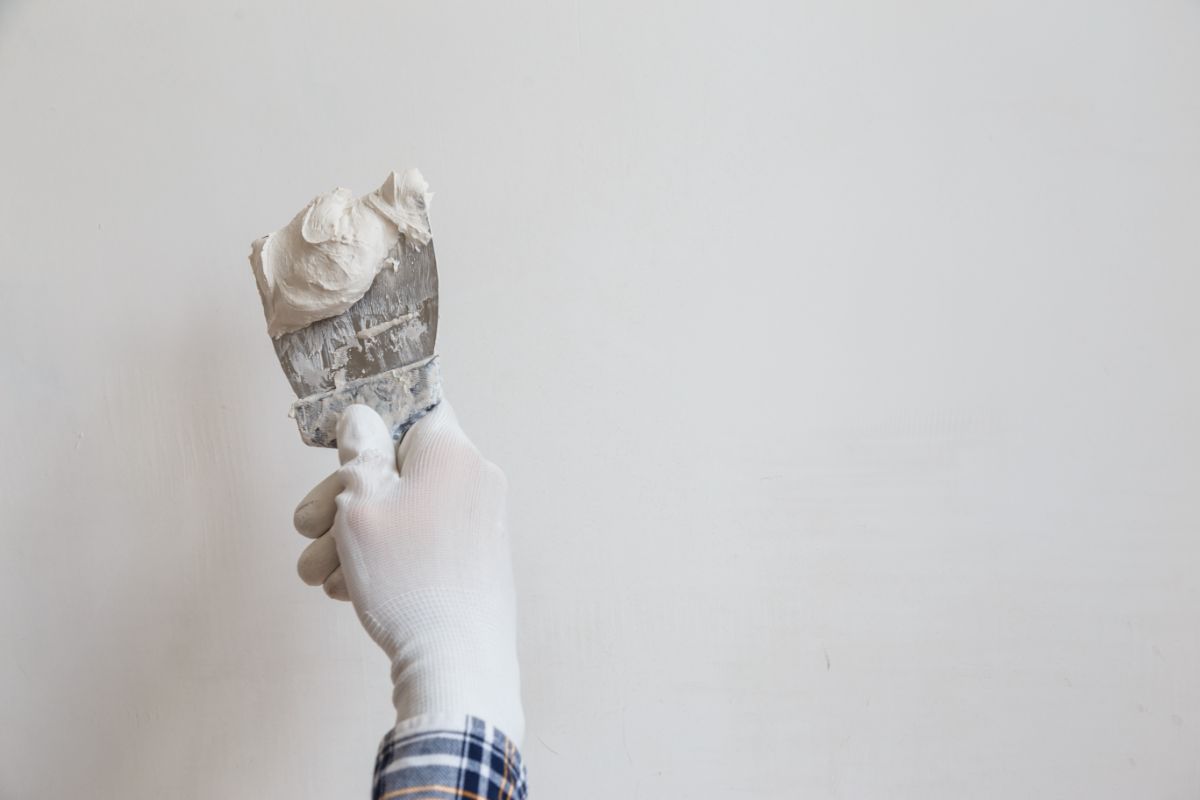
Bondo is probably the most versatile ingredient in the DIYer’s repertoire, with applications ranging from fixing decomposed window frames to correcting drywall and reviving your furniture.
The two-part resin’s primary use used to be for auto body repairs, but its amazing features make it perfect for restoring and maintaining wood as well.
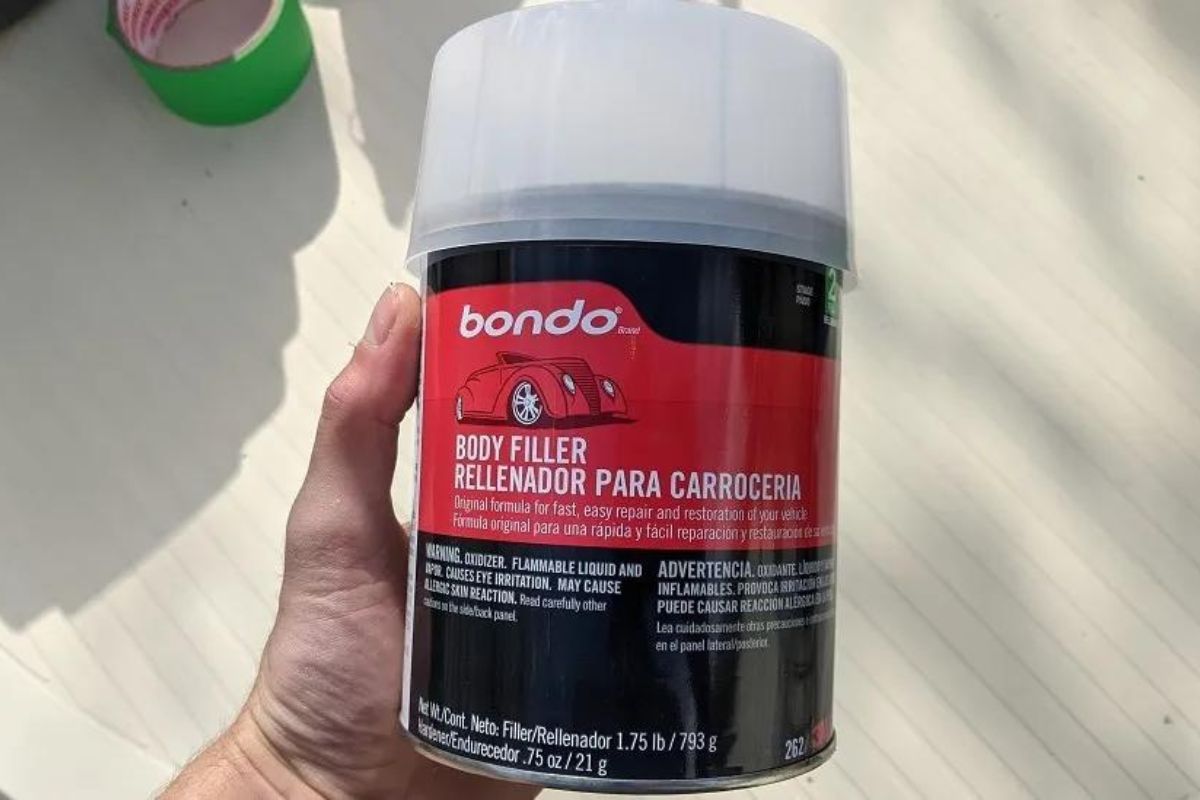
However, not all people know how to use it, so let’s see how you can use Bondo filler on wood!
Can I Use Bondo On Wood?
The Bondo body filler comes with several characteristics that render it suitable for wood restoration.
It has a quick drying time, allowing for quick repair work, and numerous coats require way less time than most other processes of repairing.
Moreover, as the name suggests, Bondo is bonding to itself, making it possible to add several layers of coating on the same base to get the desired shape.
This product is also great at not shrinking, resulting in a sturdy restoration that can last much longer than originally anticipated.
Finally, Bondo is reasonably priced. A container of Bondo Body Filler normally costs no more than half of what other wood filler products do while producing comparable results.
Guide To Using Bondo Body Filler On Wood
In case you haven’t previously used Bondo, there are some things to remember and do in order to get a good result.
Here is what you need to know:
- Tools And Materials Required To Use Bondo
- Bondo Body Filler – alternatively, you can use the Bondo All-purpose Putty
- Protection mask
- Wood hardener (if you want one)
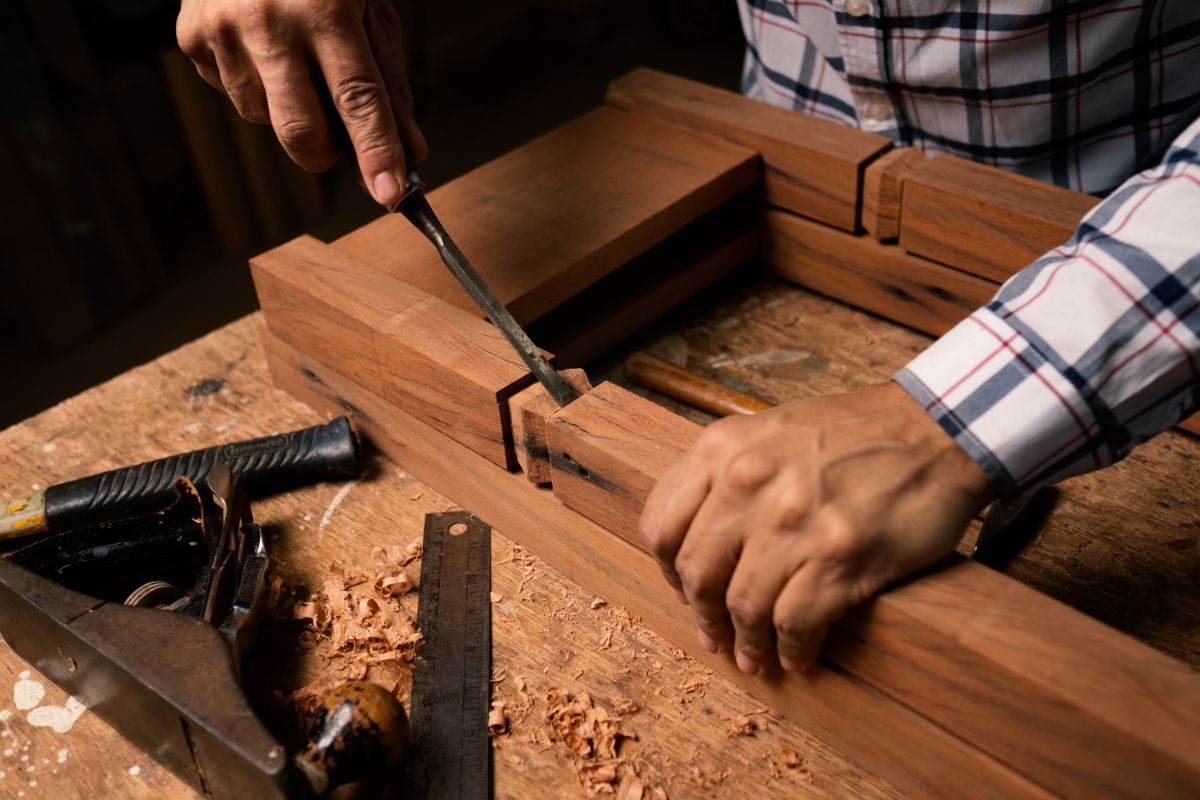
- Chisel and hammer
- Sandpaper, coarse or medium
- Putty knife
- Plastic gloves
1. Start By Removing And Cleaning Old Material
To ensure an effective application, the very first step involves removing any flawed, rotted, or flimsy items from the wood.
To soften and detach any feeble items, go for that hammer and chisel we added to the list, as well as something like a nail puller or pliers.
Press the edge of a screwdriver inside the leftover wood to see if it is healthy; in case it starts to crumble, that means it needs to go. Remove all the dust and wood bits from the gap.
Once the feeble stuff has been removed, ensure that the remainder wood has been properly dried prior to adding Bondo to it.
Moisture is not a great match for Bondo, so get your blow dryer to clear any moisture content.
2. Use Wood Hardener (Optional)
Wood hardener comes in liquid form and what it does is penetrate and hold wood fibers together. It will basically petrify wood, transforming old and rotted wood into a sturdy one that can shield itself from moisture.
Wood hardener isn’t necessary for every type of scenario, but it really is especially useful when carrying out repair work in areas prone to damage from leaks.
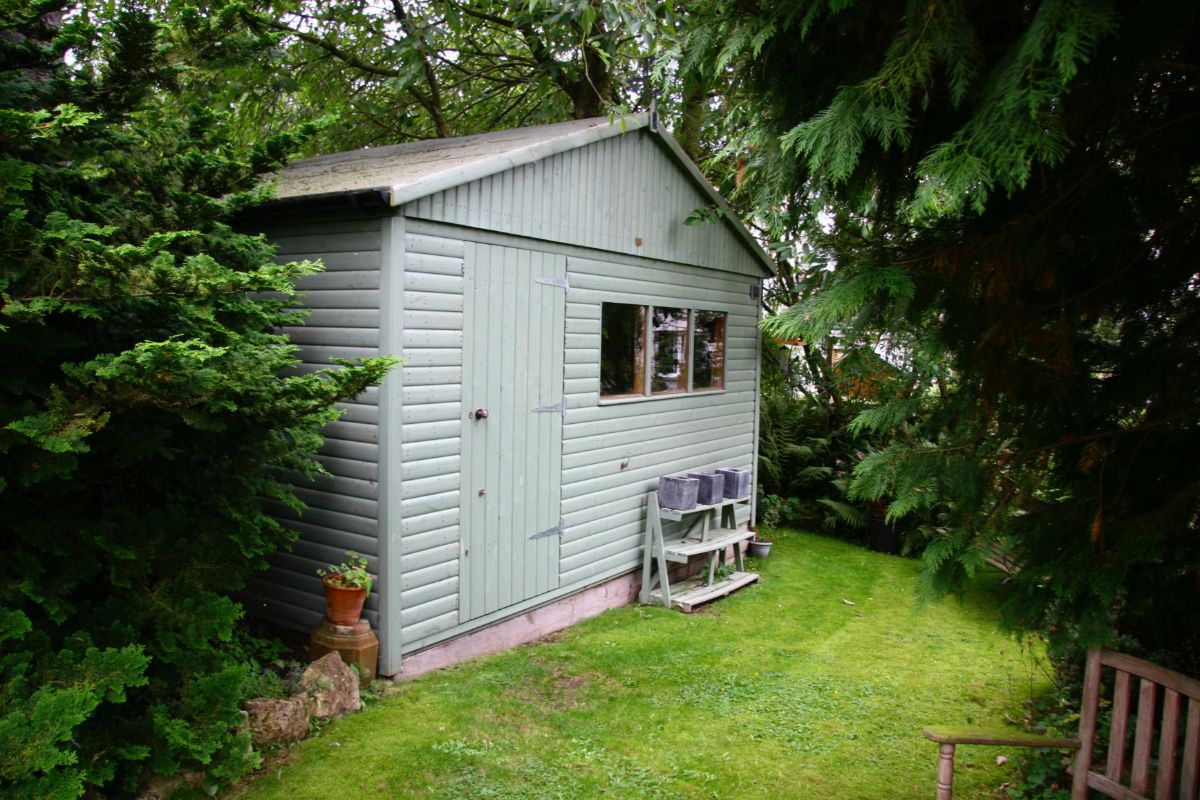
Wood hardeners can be used on windows, doors, patios, and other outside spaces.
Begin applying the wood hardener as instructed and allow it to fully dry before proceeding with the rest of the steps.
3. Get The Bondo Surface Ready
If you’re going to make a wider restoration, adding some sort of attachment point can help make sure the Bondo adheres well.
Several woodworkers will add screws in the wood so that they can function as anchors for the Bondo, providing it with more surface area to hold on to.
To close any bigger gap the wood might have, pick a wooden piece to fill the vast bulk of it before heading on to covering the rest with Bondo. That way you will eliminate the necessity for several coats and reduce the quantity of Bondo required.
4. Prepare a Batch
In this stage, you can join the two pieces of the resin in one. Bondo is available in a variety of colors, with several having a red hardener and others having a white one.
We recommend choosing the red one because it is easier to tell when the hardener has been thoroughly blended in the putty. When combined, it will transform into a pink-red color.
Before you proceed to this stage, keep in mind that you need to do this in a space with good ventilation. In addition to that, make sure you are wearing plastic gloves and a protection mask as Bondo is a dangerous substance that you should avoid breathing if possible.
Bondo hardener should be applied at a rate of one inch per section of putty the size of a golf ball.
Overdoing it with the amount of hardener you are adding will result in the putty becoming impossible to implement.
However, adding too little means that the putty will not dry properly.
We suggest mixing small batches, regardless of whether that means applying multiple layers or not.
You only have no more than 15 minutes to spend on adding the putty once your hardener’s been mixed, as after that time it will be too sticky to be applied properly.
Furthermore, take into account the fact that heat affects the time Bondo requires to dry. Bondo can solidify in no more than 5 minutes when it’s warm outside, so use it only when the temperature is slightly lower.
5. Coat The Surface With Bondo
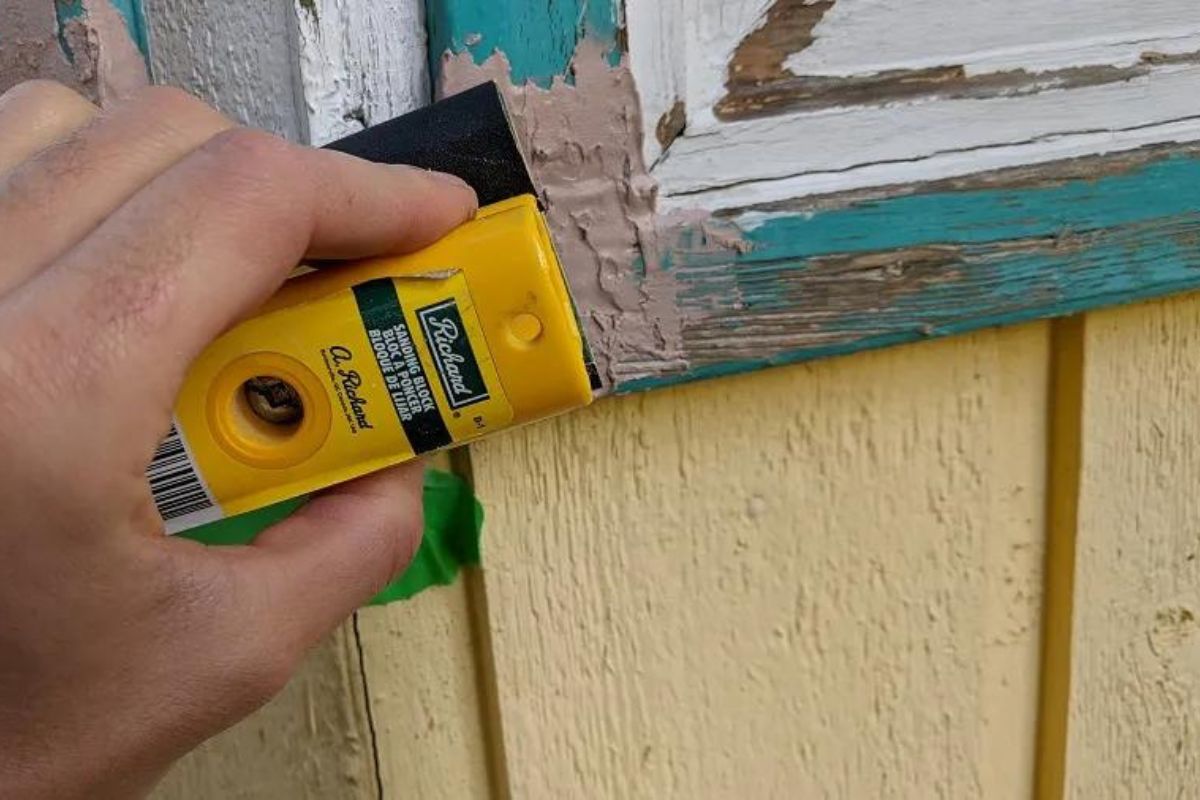
Take a scoop at a time and begin applying the resin mixture into the gaps with a putty knife.
As you apply the product, aim for a structure that will look like what you wish for your final result to look like.
The reason why you want to aim for that is that it will be considerably trickier to smoothen it once it’s been fully hardened.
Perhaps you want to also use a few extra coats if you see that the area you will apply the Bondo to is bigger or deeper than expected.
6. Remove Any Extra Product
After around half an hour of mixing, the resin will be firm enough to smoothen it out. As stated in the previous phase, try to scrape away as much extra material as you can before sanding.
Keep smoothening your surface till you get that desired look. This job will be much done and much simpler if you use a power sander.
Wear a mask while you sand the extra material away. as it is best not to inhale any dust.
7. Primer And Paint
All that remains is to add some more coating layers of primer or paint to the final piece.
Do remember, though, that Bondo does not absorb wood stains effectively, so unless you add extra coats on it, it will not look that great.
Bondo also produces a specialized wood filler that is developed to cover wood stains. Therefore, in case you know you will stain your final result, it is advisable that you get this Bondo product too.
How Much Time Is Needed For Bondo To Dry?
Bondo’s drying speed is a key feature of the product that makes it so useful for household repair work.
It dries way faster than other wood repair brands, meaning that you can apply several coats of Bondo within a much shorter period of time compared to other similar products.
That being said, knowing how much time Bondo needs to dry is essential when preparing for a project or repair.
Hardening time is determined primarily by two variables: temperature and the quantity of hardener incorporated into the mix.
How Much Time Is Needed For Bondo To Dry Without A Hardener?
But what if you don’t utilize any hardener whatsoever? Will Bondo dry? As previously stated, the quantity of hardener added to the Bondo mixture influences how quickly it will dry.
Bondo is a two-part mixture, so neither component is complete without the other one.
The resin will dry slightly without the hardener, but it will not attain the hard and sturdy cure that appears when the proper hardener-to-resin percentages are used.
Temperature
Bondo hardens through a chemical process that generates heat, so increased air temperatures will speed up that reaction. So, the higher the temperature, the quicker Bondo dries.
Hardener-to-Putty Percentage
The quantity of hardener incorporated into the mix also has a significant impact on how much time Bondo needs to dry. The putty cures sooner when more hardener is added to the mix.
The Bottom Line
Knowing how to properly use Bondo filler on wood is essential if you want to achieve the best results.
Dedicating time to fix and repair wood is not something all people can do, but Bondo can make this task a much easier one. All you have to do is follow the instructions above!
- The Woodworkers Guide to Brad Nailers: Everything You Need to Know - September 25, 2023
- How To DIY An Aztec Garden Dining Table [The Easy Way] - October 18, 2022
- Farrow & Ball Pigeon: Is It Right For Your Home? - October 17, 2022

