Thanks, in part, to social media videos, drywall mud textured canvas art is growing in popularity. The neutral tones of the art are the perfect addition to any home with any decor.
This art style also offers enormous freedom in the types of strokes and visual effects you can use to create stunning works of art that convey various emotions without any color.
With the increase in popularity of this style of art comes an increase in the number of people wanting to learn how to create it. In this article, we will look at how to make drywall mud textured canvas art, what you need to make this art, and tips and tricks to help you.
What Is Drywall Mud Textured Canvas Art?
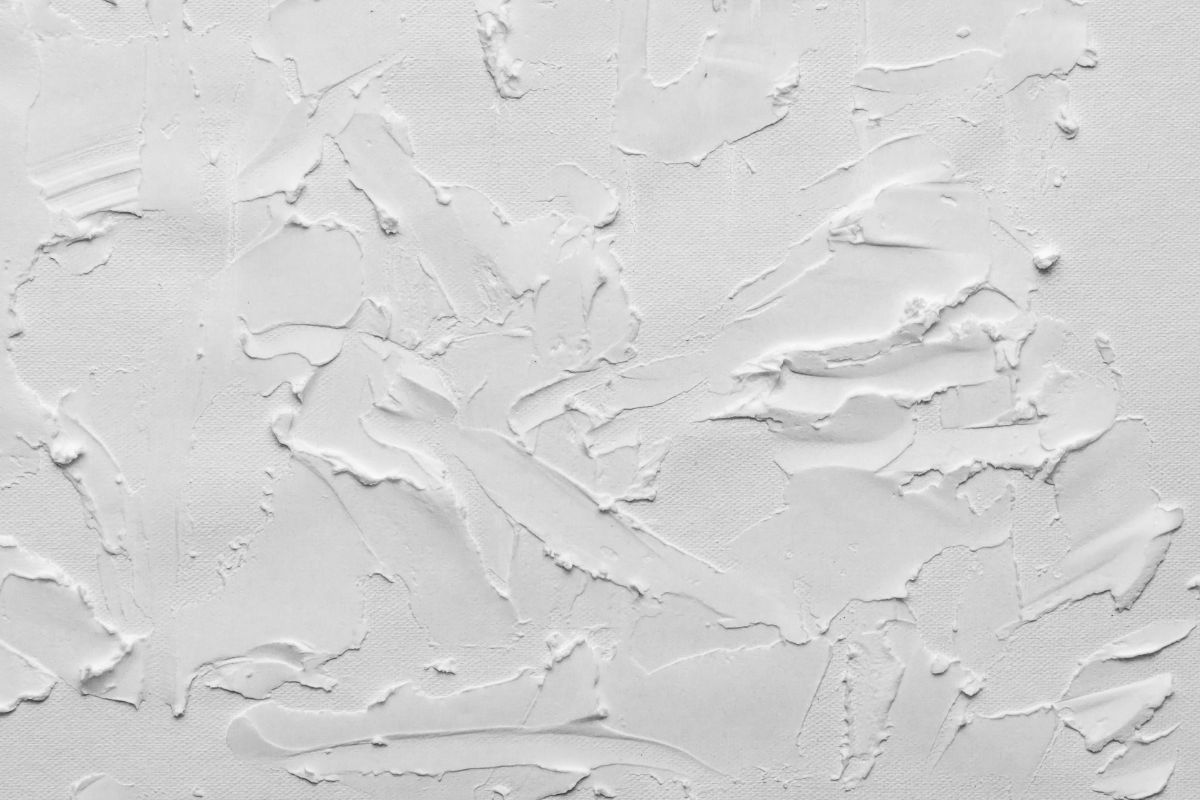
Drywall mud textured canvas art is a style of art that involves placing drywall mud onto a mounted canvas in order to create textured patterns. Because of the consistency of the drywall mud, it is very easy to create detailed and intricate raised texture patterns.
These patterns can be any shape and almost any size which gives the artist full freedom to create the patterns and shapes that they want in order to create the artwork that they envision.
Drywall mud textured canvas art can be left in the off-white, neutral shade of the mud, or color can be added to it once it has dried to create a different effect.
Supplies For Drywall Mud Textured Canvas Art
As with any art project, there are a few supplies that you will need in order to successfully complete your project. If you regularly create artwork, you may already have some of these supplies, others will need to be purchased.
These supplies can be obtained from craft stores or DIY stores.
The supplies that you will need that can commonly be obtained from craft supply stores include a mounted canvas, the canvas can be any size depending on the art you want to create.
You will also need painter’s tape or masking tape, and a palette knife set that you might also use with acrylic paints.
The supplies that can commonly be sourced from DIY stores include a notched trowel, a putty knife, paint primer, and sealant. The main supply that you need to get from a DIY store is drywall mud which can also be called joint compound.
If you cannot find this, you can also use painter’s putty to achieve the same effect.
You can also use a fork, spoon, comb, and sponge that you will likely already have in your home. It should be noted that any comb, sponge, or utensil that you use for your drywall mud canvas art may not be suitable for its original use once it has been used for the artwork.
Similarly, if you don’t want to have to purchase a new mounted canvas you can purchase canvas wall art from thrift stores and paint over the image to create a new base.
How To Make Drywall Mud Textured Canvas Art
Now that you know what you need to create drywall mud textured canvas art, you can gather your supplies and begin the process of creating the artwork.
Below, is a step-by-step guide on how to create drywall mud textured canvas art.
Prepare The Area
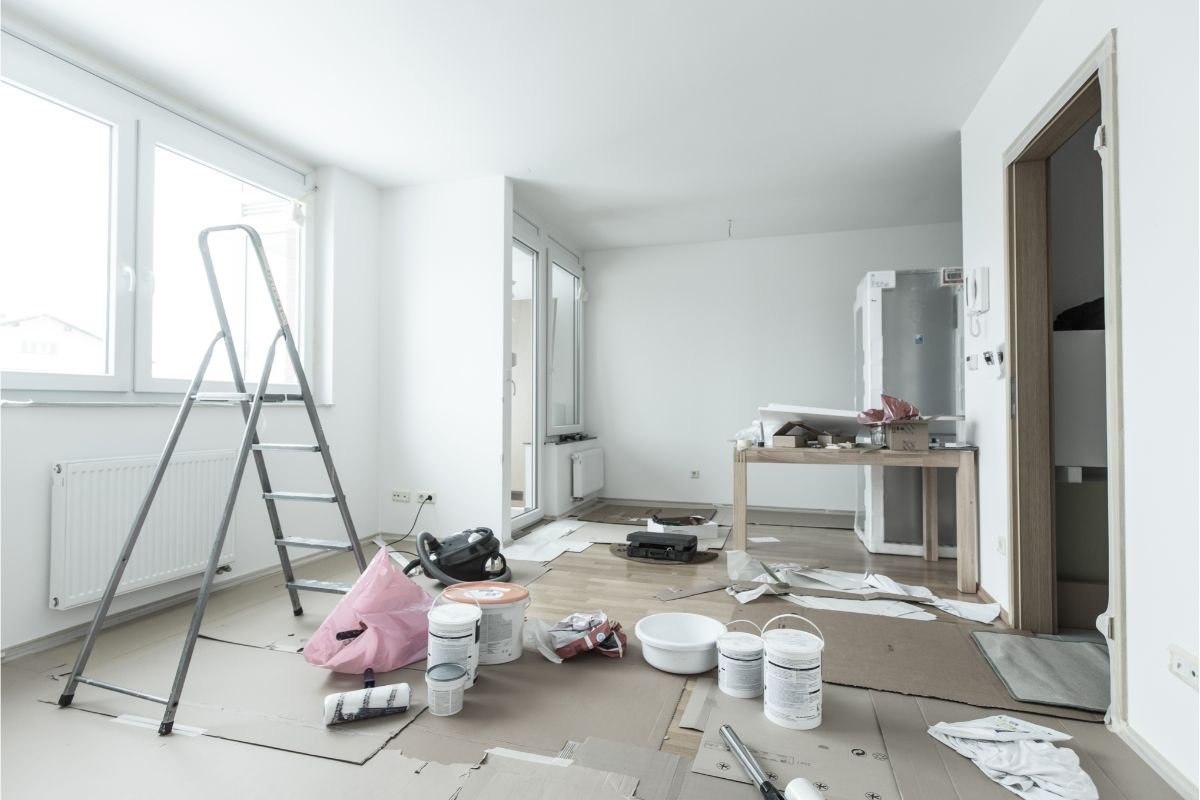
The first step in beginning any art project is to prepare the area or surface that you will be working on. The easiest way to do this is to lay down an old bed sheet or cover the surface or area with trash bags.
This will help to protect the surface or area from becoming covered in drywall mud or sealant.
Prepare The Canvas
Once the area has been prepared, it is time to prepare the canvas that you will be using as well.
To prepare the canvas, simply cover the exposed frame and any edges that you do not want to be a part of the artwork or that you do not want to be covered with drywall mud or sealant.
You can cover these parts using painter’s tape or masking tape that can be easily removed once the artwork is completed.
Prime The Canvas
Now that you have protected your surface and canvas frame from the sealant, paint, and drywall mud, it is time to prime your canvas.
Regardless of whether you have bought a brand new canvas or are repurposing an old one, applying a layer of primer can help improve the results of your artwork.
With a new canvas, a single layer of primer will suffice. However, if you are repurposing a canvas that has an image on it already, it may be necessary to apply multiple layers of primer. You should apply layers of primer until the canvas is fully white again.
Apply Drywall Mud To The Canvas
Once the primer has been applied and has dried fully, it is time to begin applying drywall mud to the canvas. It is important not to apply the drywall mud or the painter’s putty to the canvas with one big dollop of mud.
Rather, you should apply multiple scoops of the mud onto various areas of the canvas. These scoops or globs should then be spread across the canvas until you have a relatively smooth and uniform coverage of the canvas.
It is important to note that the more texture you want to create, the thicker this coverage should be. Similarly, if you want to be able to create different depths of texture, the thicker your coverage of the canvas, the more easily you will be able to do this.
Although the coverage of the canvas should be uniform and complete, it is important to not take too long to cover the canvas as the product will begin to dry immediately.
Add Texture To The Canvas
Once you have successfully covered the entirety of the canvas, you will need to work quickly to add texture to the drywall mud that you have just applied.
As mentioned above, the drywall mud will begin to dry as soon as you apply it to the canvas, therefore, time is of the essence with this type of artwork.
If you are just experimenting with technique, you can begin to make marks wherever you like.
If you are wanting to attempt a specific pattern on the canvas, it could be a good idea to have planned out, on a piece of paper, what you want to achieve to give you some sort of guidelines or plan to follow.
When adding texture to the drywall mud on the canvas the tools that you use will help you to create different effects, patterns, and textures.
If you are new to working with texture art or drywall mud, you may wish to experiment with the different results produced by different tools.
Allow To Dry
Once you are happy with the textures and patterns that you have created on the canvas, you should allow the drywall mud or painter’s putty to dry. For this process to happen fully, it is best to leave your artwork at least overnight.
Leaving the artwork for a 24-hour period will produce the best results. When the drywall mud has dried, you may notice some cracks in the texture that you have created. You can find out how to fix these cracks in the tips and tricks below.
Add Color (Optional)
Once the drywall mud has dried completely, you can add any color that you would like to your artwork. This is an optional step and it is possible to leave the drywall mud as it is if that is the aesthetic that you are going for.
Apply Sealant To Canvas
Once you have applied any color that you want or you are happy to leave the drywall mud looking natural, it is time to apply a sealant to your canvas. The sealant should be applied in an even coat that covers the entirety of the canvas surface.
This will help to protect your artwork and improve the longevity of the piece. Once the sealant has dried completely you can remove the painter’s tape or masking tape that you applied at the beginning of the process.
Tips And Tricks For Drywall Mud Textured Canvas Art
Creating drywall mud textured canvas artwork takes a not insignificant amount of time and money to be invested. Therefore, it makes sense to take the time and care to ensure that you make the artwork look as professional and high-quality as possible.
Below are some tips and tricks to help you.
One of the easiest ways to ensure that your drywall mud artwork ends up looking professional and neat is to remember to clean your edges.
As you spread the drywall mud across the surface of the canvas, you will begin to notice that there will be a build-up of the drywall mud around the edges of the canvas.
If this does not add to the textured effect that you are going for, cleaning the build-up can improve the overall finish of the canvas. The edges can be cleaned by scraping the excess off with a putty knife.
If you want to clean the edges, it is important to check them again before letting the drywall mud dry. The excess can be returned to the drywall mud container for use at another time.
When you are starting out with drywall mud art, it is sensible to repurpose old canvases and wall art rather than buy new ones. There are many reasons why this is a good idea.
One of the main reasons is that it will save you a lot of money in the long run. New canvases can be expensive and you can purchase old, used ones for a few dollars. This is a frugal tip that is true no matter how experienced you are.
Similarly, it is better for the environment to reuse and repurpose things that are already in existence than to purchase new things.
One of the most important tips on this list is about fixing the cracks that will appear when the drywall mud is drying. For some people, the cracks will simply add to the texture and personality of the piece.
However, for others, it may be unwanted. If you do wish to fix the cracks that appear, simply take some wet drywall mud and very carefully apply it to the cracks. This should be done in a very thin and light manner.
You are simply trying to fill the unwanted cracks. Allow the drywall to dry completely again before moving on to paint or sealant.
Final Thoughts
Drywall mud textured canvas art can create beautiful and simple artwork that looks really effective on any wall. There are many different textures and effects that can be created with different tools that make this a great project for anyone who loves creativity.
- The Woodworkers Guide to Brad Nailers: Everything You Need to Know - September 25, 2023
- How To DIY An Aztec Garden Dining Table [The Easy Way] - October 18, 2022
- Farrow & Ball Pigeon: Is It Right For Your Home? - October 17, 2022

