Tongue and groove might be a term that most people are familiar with, but they might not be entirely sure of what it actually means.
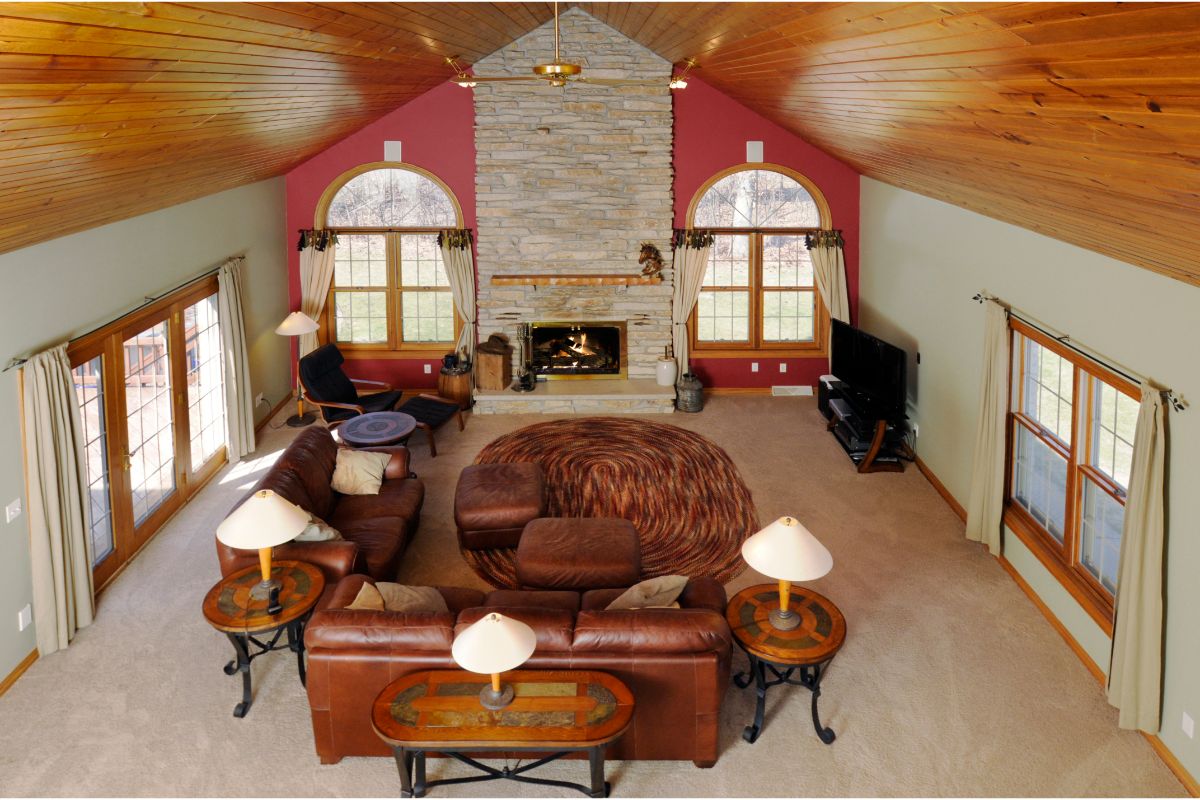
Usually involving wood or similar construction materials, tongue and groove joinery is a method of combining said materials together, and is used frequently in wall and ceiling cladding, as well as various other applications throughout the varied woodworking industry.
But how exactly does tongue in groove work, and what are the benefits?
What Are They Used For?
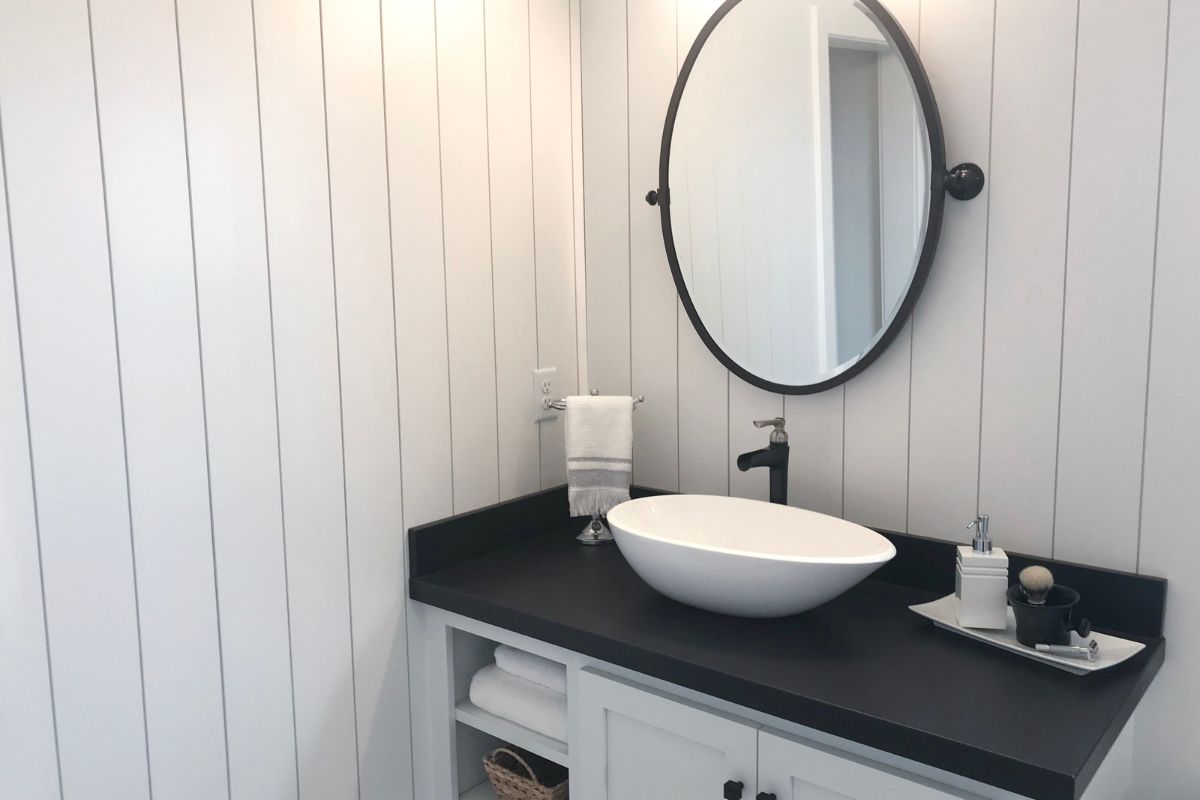
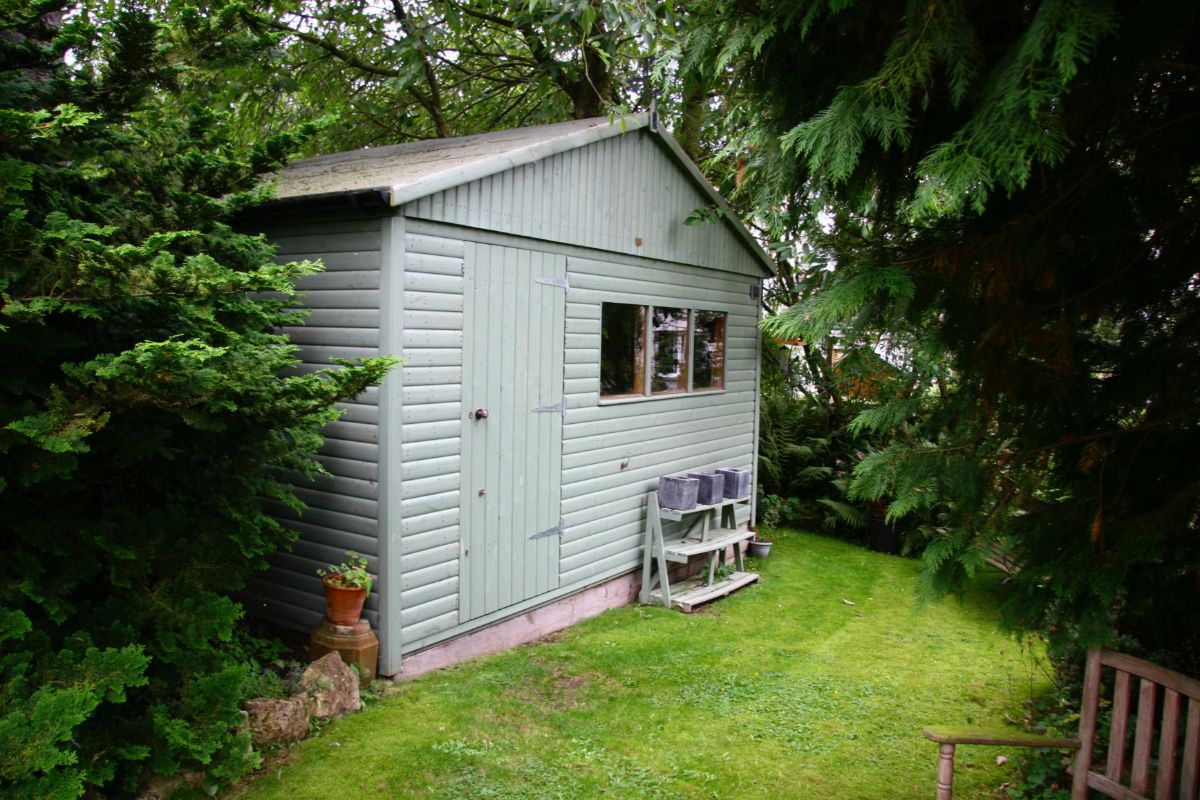
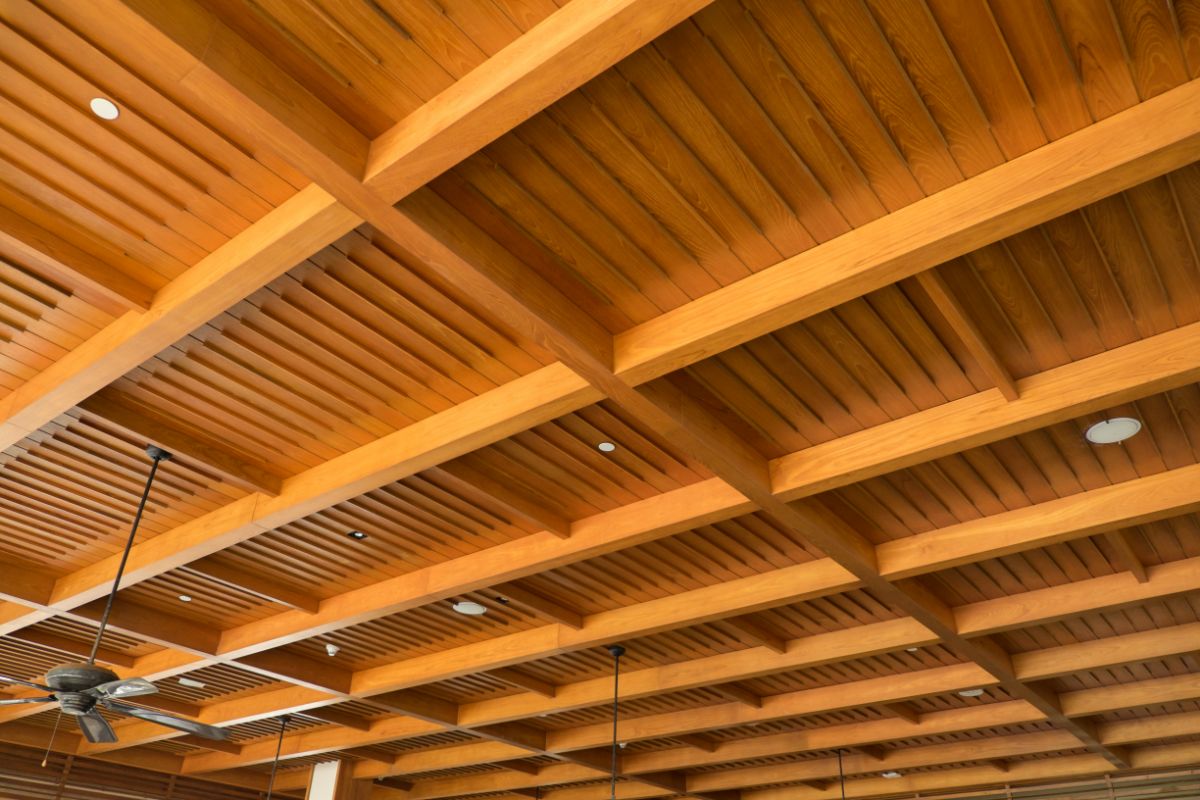
As mentioned above, they are commonly used for wall and ceiling paneling, using wooden boards to cover surfaces in rooms with uniform boards.
However, they are also used in the making of cabinets, edges in shelving, and for the creation of certain pieces of furniture.
The countless applications are all thanks to the locking mechanism synonymous with this design, which really lends itself to intricate woodworking that might otherwise be damaged or ruined by using excessive glue and nails.
This also makes it far easier for novices to do it themselves, and to amend any mistakes with relative ease.
How Does It Work?
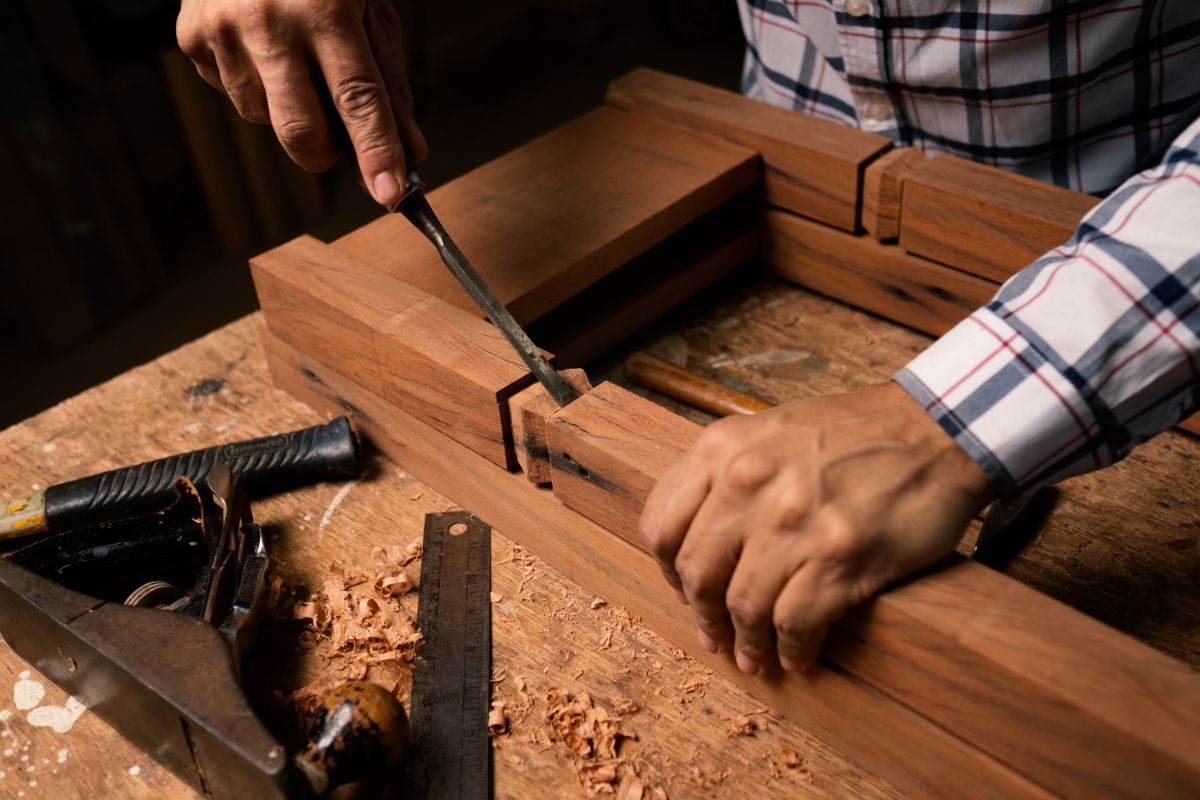
Tongue in groove involves each piece having a slot cut all along one edge, and a deep, thin ridge on the opposing side.
The tongue itself is usually slightly shorter than the groove, and doesn’t require any glue to hold it together, meaning that when there is any temperature driven shrinkage within the wood, the joints are not damaged and can move freely.
Of course, this isn’t the only method of assembly.
Other construction methods involve the pieces being end-matched, which reduces the need for miter joints, excessive nailing of boards, and means that there is less need for 16 inch and 24 inch joints at the usual intervals.
Other types of tongue and groove joints include the use of a slip tongue, which slots between two separately grooved pieces.
What Tools Would You Need?
There are a couple of specific tools that are fairly necessary when it comes to creating tongue and groove.
These can include a wood shaper (also known as a spindle molder), a circular saw bench, suitable hand planes (such as plow planes for the groove, and tongue planes for the tongue), and a spindle router.
What Materials Work Best?
When using this method of design, certain materials work best. As far as wood goes, various species of timber are used, due in part to their strength, flexibility, and easily worked consistency.
The strength comes in handy to avoid breakages, wear and tear, and unwanted damage, and the flexibility gives the completed structure the ability to swell and contract with the seasonal movement experienced by most forms of wood.
Of course, the easy workability of timber also lends itself to this intricate process, as it allows woodworkers to create these joints with limited effort and difficulty.
How Are They Installed?
However, there are certain instances where this relatively simple method can prove difficult – for example when applying them to ceilings or walls for paneling.
Of course, with ceiling work, gravity is working against you, something that can prove tricky when you are either not using glue at all, or working with a limited amount of adhesive.
Preparations
First things first, before you can get started on the boarding, you will need to make sure that your ceiling is smooth, level, and (if you have recently finished it) dry.
If this is the case, then it is important to fasten battens on the ceiling. These are lengths of wood that can provide a necessary framework upon which to secure the tongue and groove paneling.
This framework can be attached with screws, and should run the full length of the room in which you are working.
Step One
When getting started, always ensure that the tongues are pointing towards the direction of the installation – that is, away from the end of the ceiling you started on.
When working with ceiling paneling, nails will need to be used to secure the initial boards to the ceiling – something that goes against the ethos of tongue and groove boarding, but which in this instance is essential to combat gravity.
The best (and most aesthetically pleasing) method of doing this is by using blind nails (nails without a head) and inserting them through the ‘shoulder’ or the tongue – which is in the corner where the tongue meets the board itself.
Step Two
The best method then is to lock them in place, working along the rails/framework you have made, and gently hammering them into place as you move along the room.
After the initial preparation, the actual installation is fairly simple, and once you get going you will be surprised by how quickly you progress.
Finishing Touches
There will undoubtedly be a few things that you will need to sort out as you proceed.
These could be random mistakes brought about by human error or the dimensions of the room, or they could be little finishing touches that need to be completed.
Preempt Fittings
It might be useful to measure and mark out where your fittings will be beforehand.
This can be done by measuring the width of the boards, seeing how many will fit between the wall and your light fitting, and then marking out the dimensions of the fitting on a board.
You can then cut out the necessary shape for the fitting using a jigsaw.
Close The Joints
With tongue and groove joints, it is important to create a tight fitting. This will ensure the continued strength and efficacy.
This is why it is important to close any gaps in the joints, as one mistake could weaken the whole configuration.
What Are The Benefits?
When it comes to tongue and groove joints, there are several advantages that make it an incredibly popular method.
Stability
Each connected piece receives far more support than a normal flat edge to edge join, as there are three layers of support within the typical tongue and groove joint.
The interlocking design ensures that there is minimal movement, and avoids the problems that things like wood glue and nails can cause – such as staining, damaging of the wood, rust of the nails, and perishing of the glue’s integrity.
Movement
While more stable than most methods of joinery, tongue and groove joints also allow for necessary movement within the various pieces.
Wood is subject to seasonal movement – encouraged by the changes in temperature, moisture levels, and humidity. When glue is present, this can hinder this natural process, which can cause cracking in some severe cases.
With tongue and groove, there is sufficient room for the wood to expand and contract, with specially designed fittings that give room and allowances for such changes.
Simplicity
The lack of additional materials and adhesives also gives a sense of simplicity to the tongue and groove method, and makes the whole thing much less labor intensive and messy.
Not much time is required to assemble all the pieces, and as long as the woodworking is accurate and to a good level of quality, anyone should be able to create a flat, connected surface – regardless of their experience or skill level.
What Are The Downsides?
Of course, with any process, there are always certain downsides.
Durability
The lack of nails and adhesives can also, unfortunately, make tongue and groove joints less durable than more modern methods.
While it should still last for a long time – especially if it is completed to a high standard – it does run the risk of becoming damaged, depending on the intended purpose of the boarding.
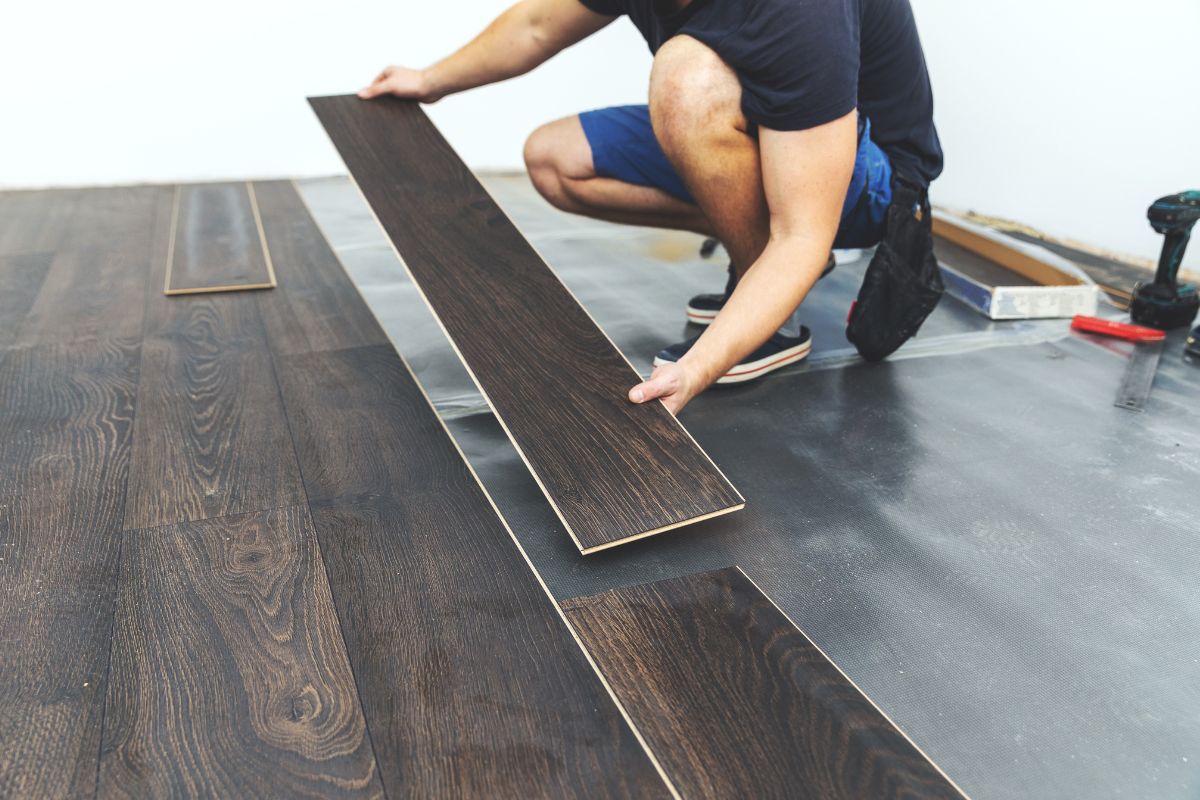
For example, if the process is used for flooring, especially flooring that sees a lot of foot traffic, some of the joints could wear down and experience damage over time.
Repairs
The intricate, tightly locked nature of tongue and groove joints also make the repair process slightly complex and awkward.
Often, there is a need for entire boards to be replaced – depending on the level of damage – and this can cause inconsistencies in the coloring, stain, and grain of the wood, and can cause a lot of inconvenience for tradesmen and homeowners who need to facilitate and make the repairs.
Final Thoughts
And there we have it, everything you need to know about tongue and groove joints, and their usefulness within the woodworking industry.
There are obviously many advantages to this method of design, and when combined with the sheer attractiveness of the finished product, it is not hard to see why it remains such a popular feature in many homes, businesses, and public buildings.
So, if you are looking to create a rustic, wooden surface in your home, and don’t want the hassle and mess of glue and nails, then why not consider tongue and groove? Something tells me you won’t be disappointed!
- The Woodworkers Guide to Brad Nailers: Everything You Need to Know - September 25, 2023
- How To DIY An Aztec Garden Dining Table [The Easy Way] - October 18, 2022
- Farrow & Ball Pigeon: Is It Right For Your Home? - October 17, 2022

