If your fence is falling, this means that it won’t be effectively doing its job of keeping things in, or keeping things out.
Depending on what you use your fences for, it can be damaging for a farm or someone preventing animals from especiaping. Therefore , issues like these should be sorted as soon as possible.
This guide will be sifting through the best and easiest ways to fix your fence if it is falling to one side and is no longer in a stable position.
You need your fences to be strong and stable to be able to do their job, which is why it is important to get on the job right away.
Tools You Will Need
- Quick clamps
- Tape measure
- Speed square
Why Might Your Fence Be Falling?
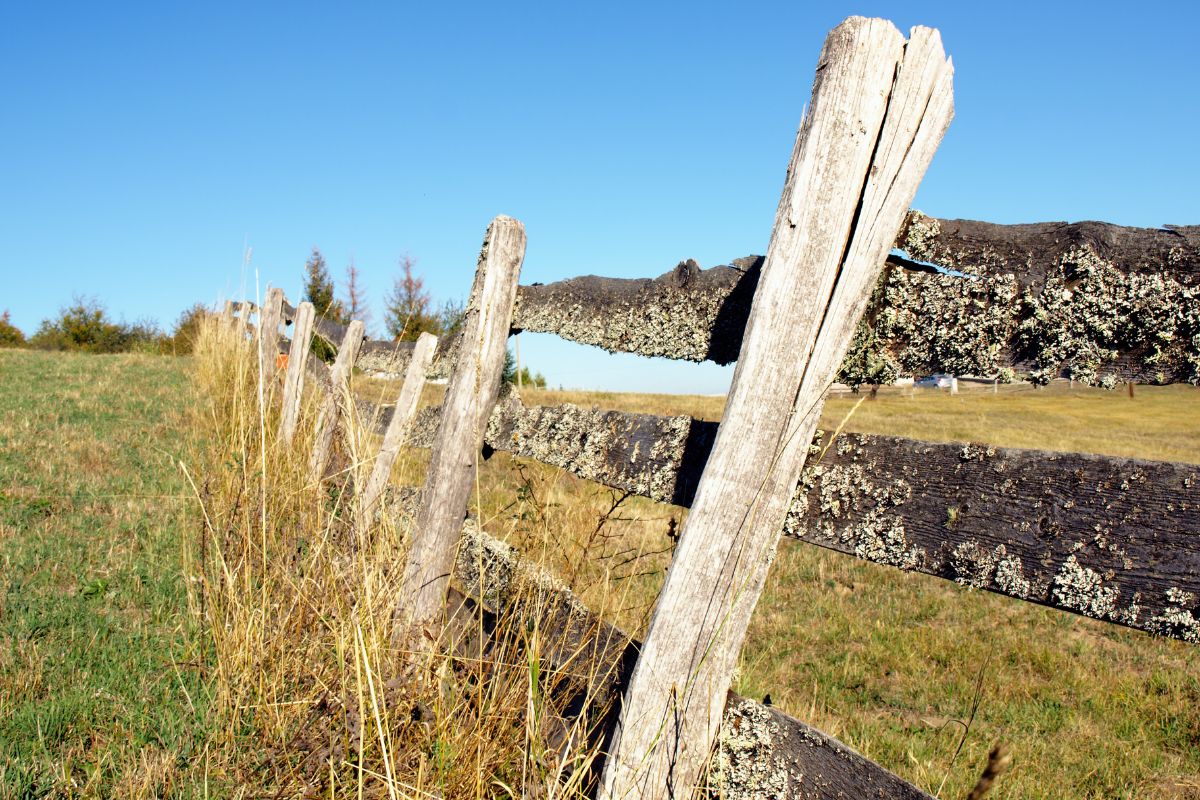
Most fences tend to either lean to the side or completely fall over because there is rotting at the bottom of the vertical pieces of wood.
The rotting causes the material to become weak and the weaker it gets, the more gravity will be pulling it easily to the ground.
Maintaining your fence is really important because you might find yourself having to install completely new fence pieces because they have gone past the point of repair.
You can either re-anchor the old posts if they are in good enough condition, or install new posts.
Digging
For most people, you might think the digging part is the easiest, but it can actually be really difficult and annoying at times. You will have to dig around the existing fence to start the process. You will be needing a drill and some screws for the fixing part!
Step 1
If your fence is leaning to one side pretty bad it means it will most likely be pretty damaged. However, when trying to fix this, you need to keep it upright while you are doing other work around it.
You do not want to start the work and the fence’s condition becomes worse. Therefore, the triage system is used to keep the fence upright.
You can use two pieces of long wood to keep the fence in an upright position while you’re working on it.
Step 2
For step two, you need to reattach the rails to the now upright posts. You also need to be aware that there could be other areas that have detached themselves over time which might need putting back together as well.
This tends to happen when the fences are put together with nails and when the sagging starts, it weakens the wood and it can fall apart in areas.
You need to clamp the rails back into place with the quick clamp tool mentioned at the beginning and you will be using 3-1/2″ screws.
Step 3
Some of the posts might have become so damaged that they can no longer be used and need to be completely replaced. These are the bad parts which are most likely causing the fence to lean and fall over because they have become so weak.
What are you looking for? You need to find the posts with no anchoring. It will be quite easy to find because of how they look and how they will be moving around quite easily.
You need to be looking at the ground level to see how much they have rotted away. If you start to dig a little bit around the bottom, it will start to become very clear how badly it is rotting.
If you find this problem, you will need to install a brand new post next to it for that extra stability. Most people do not like to remove the bad post because it might cause more damage to the whole fence if taken out.
Therefore, a new one can be put in close to where the old one is and will hold the structure better.
Depending on where the fence is, you might be able to get behind the fence to carry out all of this work. It will be easier for you to see the problem and fix it.
However, you can do it from either side, so do not worry if you are not able to access the fence from the back.
Step 4
For step 4, you will be digging a new hole for the new post to go into. Most people might think this is a really simple job but it is not and you won’t be using the tools that first come into your mind.
Shovels and hand digging will be completely useless in this situation because digging around posts that are already there is hard.
The hole needs to be a certain size and using tools like a shovel will create a hole that is just too big. The holes need to be both narrow and deep to create the best space for the new post.
So what is the best tool to use? It can be really handy to use a wrecking bar because it doesn’t pull out a wide amount of dirt but will scoop it out and make the hole deeper.
For a good stable fence you will be looking at having a good amount of the fence in the ground. If you don’t put it in deep enough, it will just fall out and not be solid and stable in the ground.
Therefore, If your fence is 6 foot, you will be looking at having two feet in the ground.
Step 5
This is the time where you will be cutting and installing your new post into the ground. You will want to look at using a Miter saw to cut your post to the correct length you need it.
This is because it wil easy and will give you an accurate and smooth cut. Saving time is always key in any job.
Once you have cut your new post into place, you will need to put a level up to it. You will be fastening it to the rails with your screws. If you did not remove the pickets, you can pop the screws straight through the faces and that is it.
To fully secure the post into the ground, you will be filling it with concrete when everything is level and secure. This is known as a concrete boot which will solidify everything you have done so far.
Step 6
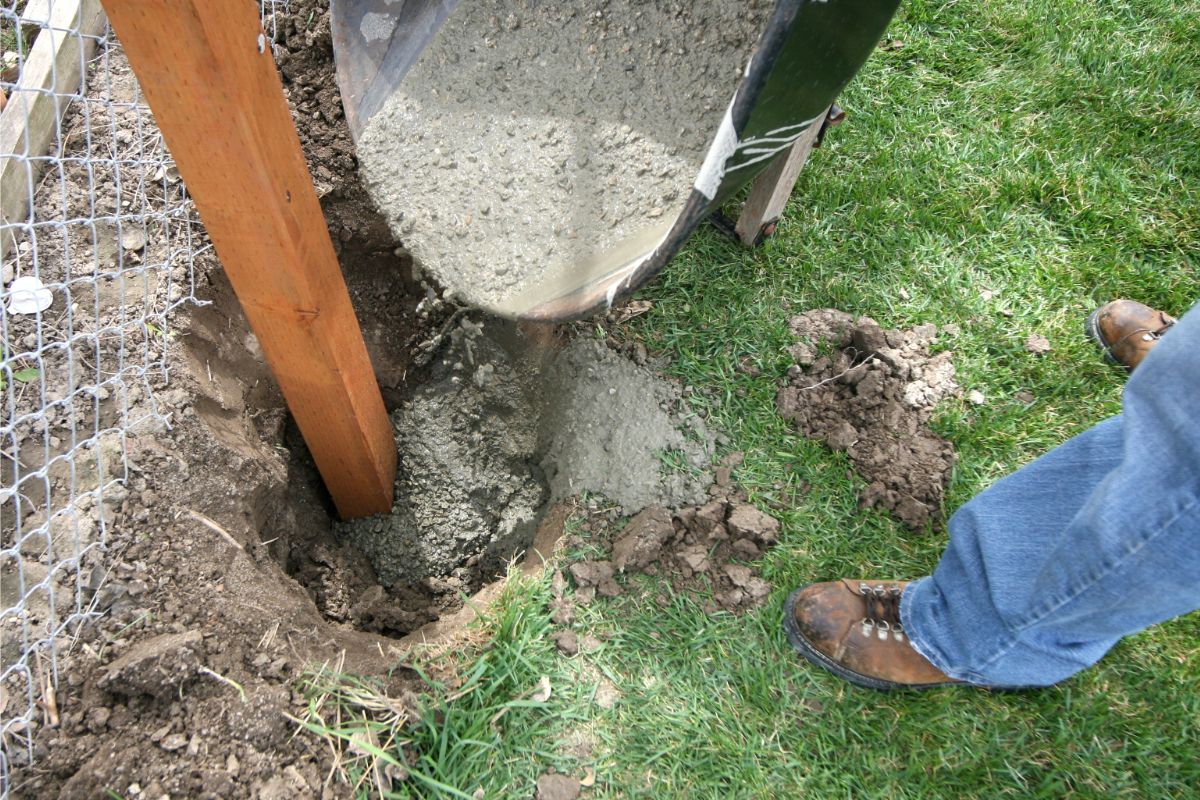
This step is going through how to do the concrete boot properly. Bagged concrete is a good material to use for this specific task because it is very easy to make and use.
You only need to add a bit of water to the concrete to fill the hole. However, you can even put it in dry and the moisture from the ground will solidify it. However, mixing it up yourself is a much faster process and then you know it is all done and set.
You should start by pouring a small amount of water into the hole you have dug. You can then pour half a regular bag of concrete mix (Also check out How Much Time Does Quikrete Need To Dry And Set) into the hole and mix together using the wrecking bar to make sure it mixes all the way down.
You need to make sure that you are not putting too much water into the mixture because it will not set and will just stay sloppy and will not secure the post.
You will need to add only a little bit more water after the first mix is done, then continue to add the rest of the concrete bag to finish off the job.
You need that concrete to go everywhere around the post,filling every gap, so there is no room for anything to be missing.
Step 7
This is the final step where it’s just the finishing touches. If you removed any of the tickets at the beginning of the process so you could add in the new post, this is the time where you can put them back in.
You can attach them by screwing 2″ exterior-grade screws through the faces.
You will usually only need a few screws per rail which is ideal.However, during the process, you might find that at the end some of the pickets have been damaged.
If this happens to you, it is very easy to grab some new pickets online or in your local DIY stores and they are very cheap too.
You need to make sure that you are buying the same ones as you had before with the same thickness and width to them.
How Long Do You Need To Leave Everything To Set?
It all depends on the weather that day. If it is quite windy, you will want to consider leaving the concrete to dry for the whole waiting time of 48 hours before moving the brackets.
When everything is dry and you are ready to remove the brackets holding it in pace, you will need to do the ultimate stability test. You need to make sure your fence is able to stand firmly on its own.
If it’s still wobbly, you might have to do more work or put in new posts in other areas too. However, if you checked properly, it should all be good and everything should be in place and working effectively.
If you find that there’s a little bit of movement when a lot of force is applied, this is not the end of the world. Wood is strong but it is still able to move with some force. Therefore, as long as it is not leaving and staying there, this shouldn’t be a problem.
Conclusion
Overall, there are several steps you need to consider when fixing your fence that is falling. People might think it’s really hard but it is easier than you think, you just need to graft a little bit.
Frequently Asked Questions
How Do You Fix A Sagging Fence Post?
A steel wedge is one of the best ways to stop your fence from sagging if it is on a concrete footing.This will help to straighten the fence and make sure it is back to being much more stable. This is very easy to do and will nti take too long at all.
Who Pays For A Broken Fence Between Neighbors?
It will usually be the person who actually owns the fence who will have to repair it because they paid for it. If they do not wish to fixor pay for it, it should be taken down or replaced.
It is also up to the owner to maintain the fence and repair it if needed at any point.
- The Woodworkers Guide to Brad Nailers: Everything You Need to Know - September 25, 2023
- How To DIY An Aztec Garden Dining Table [The Easy Way] - October 18, 2022
- Farrow & Ball Pigeon: Is It Right For Your Home? - October 17, 2022

