Floating shelf installation, or floating shelves is an easy task to do yourself. The only tools you will need are a ladder, drill and screwdriver.
Everyone loves a task that they are able to do themselves and not have to call someone to do it for you. It is easy but you just need to find the right place to put them.
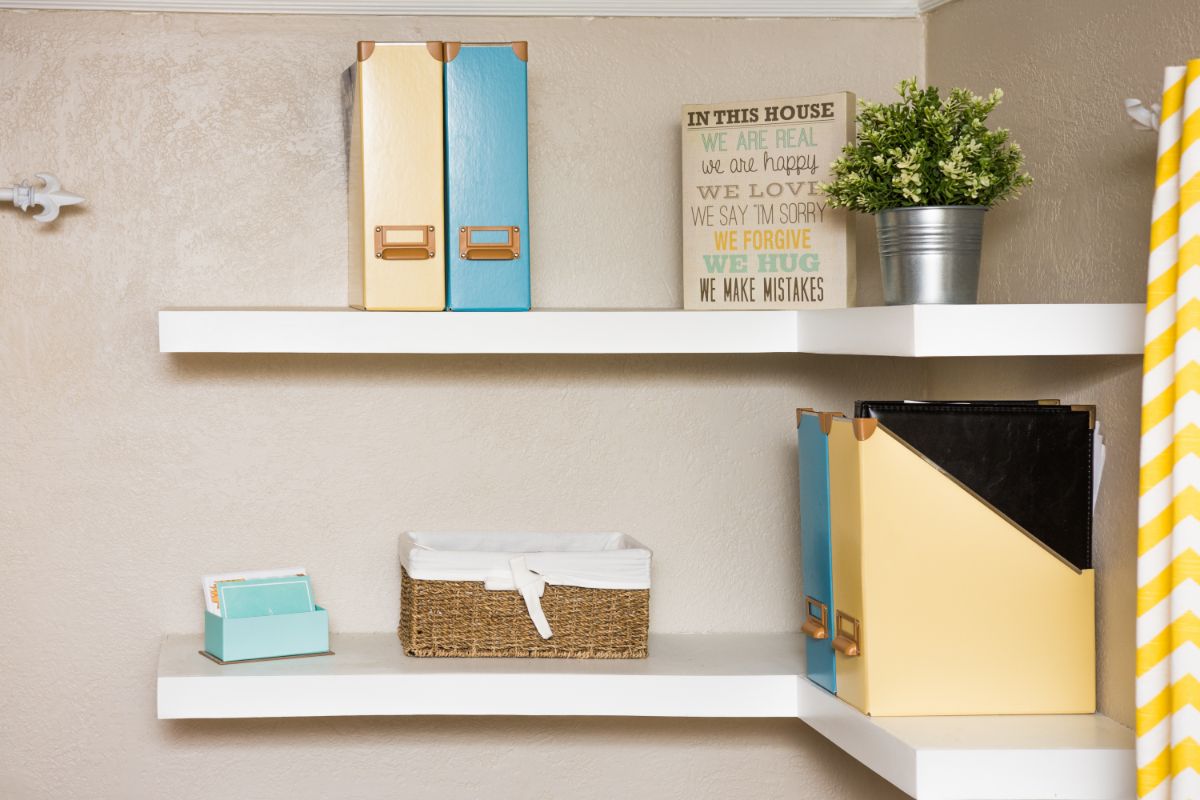
Floating open shelving can be used in a wide variety of settings, including but not limited to: Home office and bedroom, Living room, Library, Kitchen, Basement, and even Garage. For more information and how to install these shelves, please read below.
What Will You Need?
- Shelf brackets which you will be able to easily find online. – can find different sizes and colors.
- Wood planks 2’’
- Miter saw – cutting the boards
- Top coat
- Sandpaper
Installing The Brackets
You can purchase different types of brackets depending on whether you want to be able to see them or if you want them hidden to complete the floating look. You are able to find these options on Amazon easily.
You should definitely be checking the product as you receive it because you need them to be completely straight if you buy the completely floating brackets. If they are bendy, it can cause your shelf to befitted at an angle and not completely straight.
You need to think of how many brackets you will need for how long your shelves will be. For a shelf that is around 6 foot long, you will need 3 brackets. You need to make sure that it is effectively helped up and will not break at any point.
Installation Of Brackets
The installation process is very easy and short. You need to mark the points where the brackets will be drilled into the wall. You need to measure a straight line and the amount of equal space between each bracket for good balance.
You need to drill the screws into the studs to keep them in place and make sure you are in and sturdy before starting on the wood.
Solid Woods Boards
You can create whatever size boards you like and the installation process will be very similar. However, if you’re looking at doing either smaller or larger boards, you will need either more or less brackets.
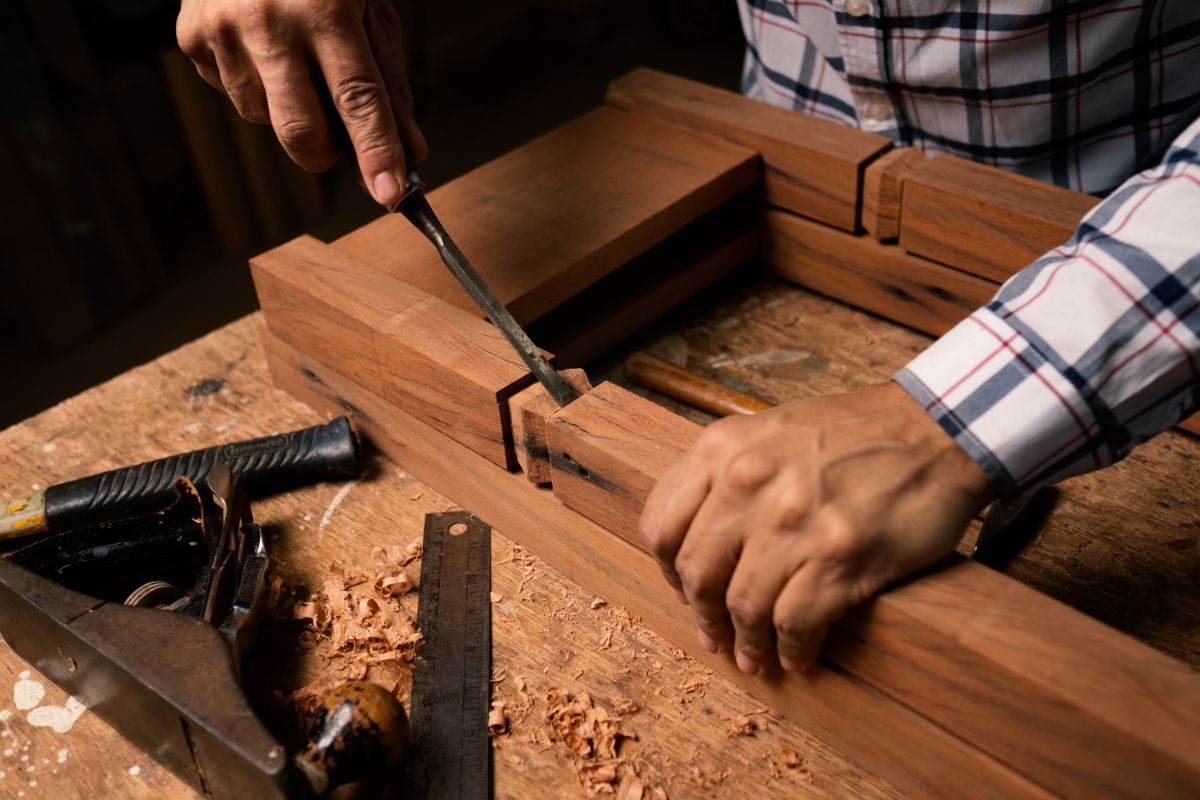
- First, you need to use the saw to cut the boards to the size you want. You can use different types of solid wood which can be either rougher or newly finished ones.
- If you want a more natural or rustic look, you won’t want to sand them down too much because you might lose that look slightly. This is referring to keeping the color of the wood. If you want a lighter look, you will sand them down until you reach the intended color. However, you will only sand them a bit to keep the color intact.
- They do need to be smooth enough to widen them down and make sure they are clean.
Finishing Touches
- You will now be at the point where you need to add some finishing touches to make it look nice and ready to put on your wall.
- You need to add a top coat to your wood. You can buy this for a small amount of money on Amazon. However, you must apply the top coat before you start sanding. This is very important!
- One you have applied that top coat, you can then start to sand your wood lightly until you reach the coor and feel what you want. You can run your hand over the wood to determine whether it is smooth enough for you. This is a process you will have to repeat again and again.
- You will apply another top coat, then let it dry, then sand. You will have to do this a few times to get the best type of wood that is ready to put on your wall proudly.
- You will also need to do this on the sides as well as the top and bottom of the wood.
- You are sanding the top coat and not the wood to get that smooth top. This will also help you keep the original color of the wood.
Install The Shelves
- The brackets will be sliding into the wood, so you will not be able to see them. Therefore, you need to make sure the holes you drill into the wood have the correct circumference which will be slightly bigger than the brackets. You also need to make sure the distance between the holes are correct so they slide in perfectly along the line.
- You can also use a mallet to knock them into place if they need a little bit of a shove in.
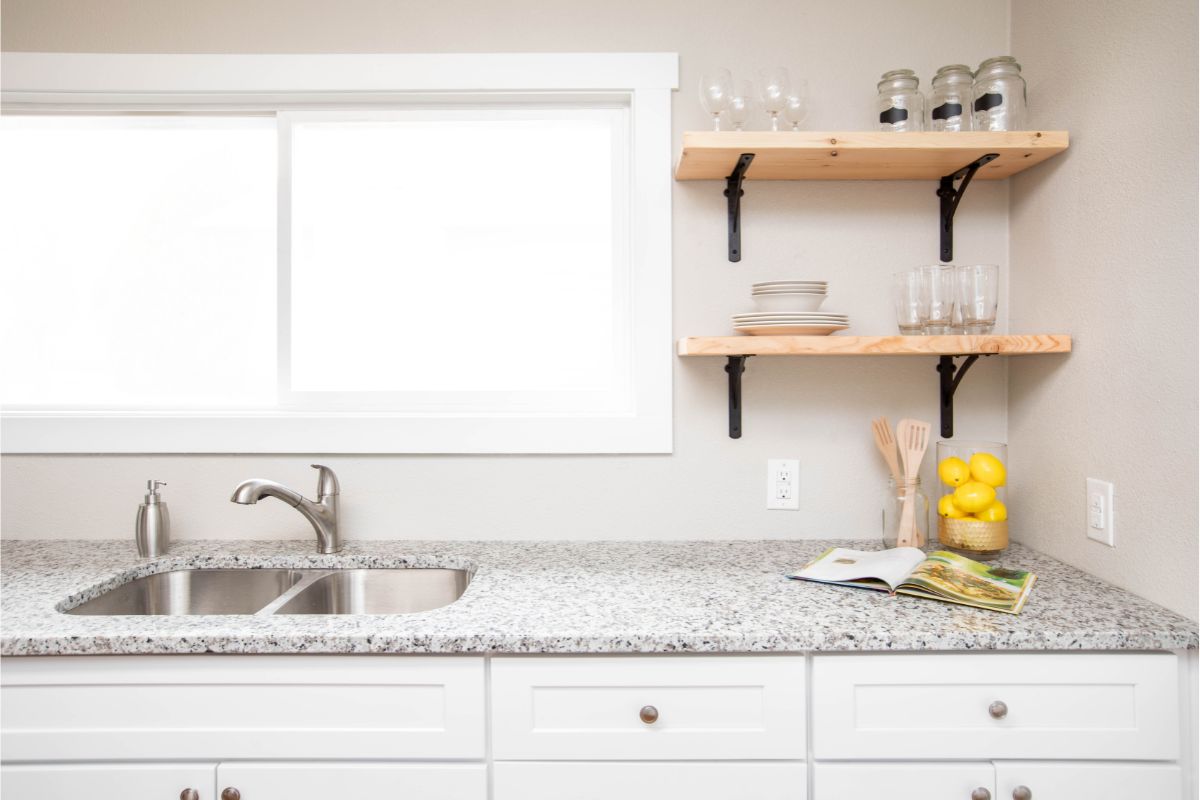
Different Types Of Solid Wood
- Oak
- Walnut
- Pine
- Ash
- Redwood
- Beech
- Maple
Solid wood is the most expensive type of wood. But it also has a unique look and feel that you can’t get from less expensive woods. And its durability makes it ideal for the highest-end projects.
Solid wood shelves are both beautiful and sturdy. These shelves are easy to put together and can be customized to fit any decor.
Solid wood is a lightweight wood that is usually constructed with a core of softer wood, such as spruce, poplar, or cottonwood, with the outer layers of hardwood, such as maple, oak, or walnut.
Solid wood is the most desirable wood for furniture and other wood products because it is naturally rot-resistant, stable, and relatively lightweight. Solid wood shelves are a great way to spice up your furniture and make it stand out.
Conclusion
Overall, fitting your solid wood shelves is much easier than you might think and if you have the tools, you will be saving a bit of money doing it all yourself.
Buying it already done can be very expensive. It has a wonderful look when it is finished that goes into more traditional home decor and more modern homes too, so win win.
Hopefully this guide has helped you use these steps to put up your own solid wood shelves and do it properly without any issues. Any products that have been mentioned you can find on Amazon very easily and should be very cost effective.
This could be a great project if you are renovating your home and want to add some character into your home with some great materials.
Frequently Asked Questions
How Do I Install A Floating Shelf?
Floating shelves are a great way to add a little extra storage space in your kitchen and don’t take up any floor space.
Many people mistakenly believe that floating shelves are difficult to install but that is not the case and you will not need many tools for the job either.
You need to find the right area and get your shelf brackets to attach them to the wall. If you’re using solid wood, you might need some more products to make sure it is well sanded and has a top coat to avoid splinters.
- The Woodworkers Guide to Brad Nailers: Everything You Need to Know - September 25, 2023
- How To DIY An Aztec Garden Dining Table [The Easy Way] - October 18, 2022
- Farrow & Ball Pigeon: Is It Right For Your Home? - October 17, 2022

