With the price of living at an all time high we’re all trying to find ways to cut costs. But cutting costs doesn’t mean compromising beautiful things for the home.
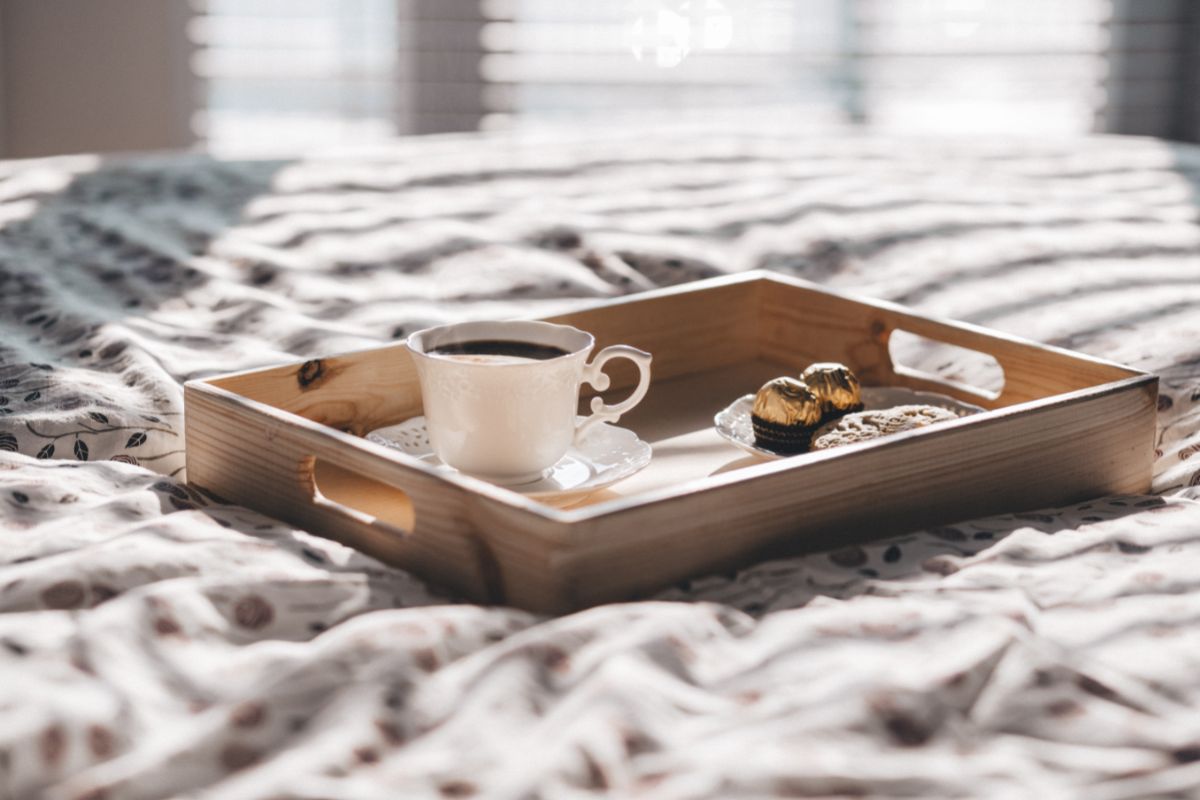
DIY is a great way to create gorgeous additions to the home without the price tag of buying a ready made item.
If you are a fan of all things aztec then read on for ideas on how to make an aztec drinks tray that will look awesome in your home.
Tools
The following tools are what you will need to complete this project:
- 1- 5.2mm x2 x2 plywood (we chose lauan, but it could be oak or maple)
- 1 – 1x2x 8 select pine board
- 120-220 sandpaper
- 5 -3/8″x 4″x2′ pine board
Step 1 (Cutting)
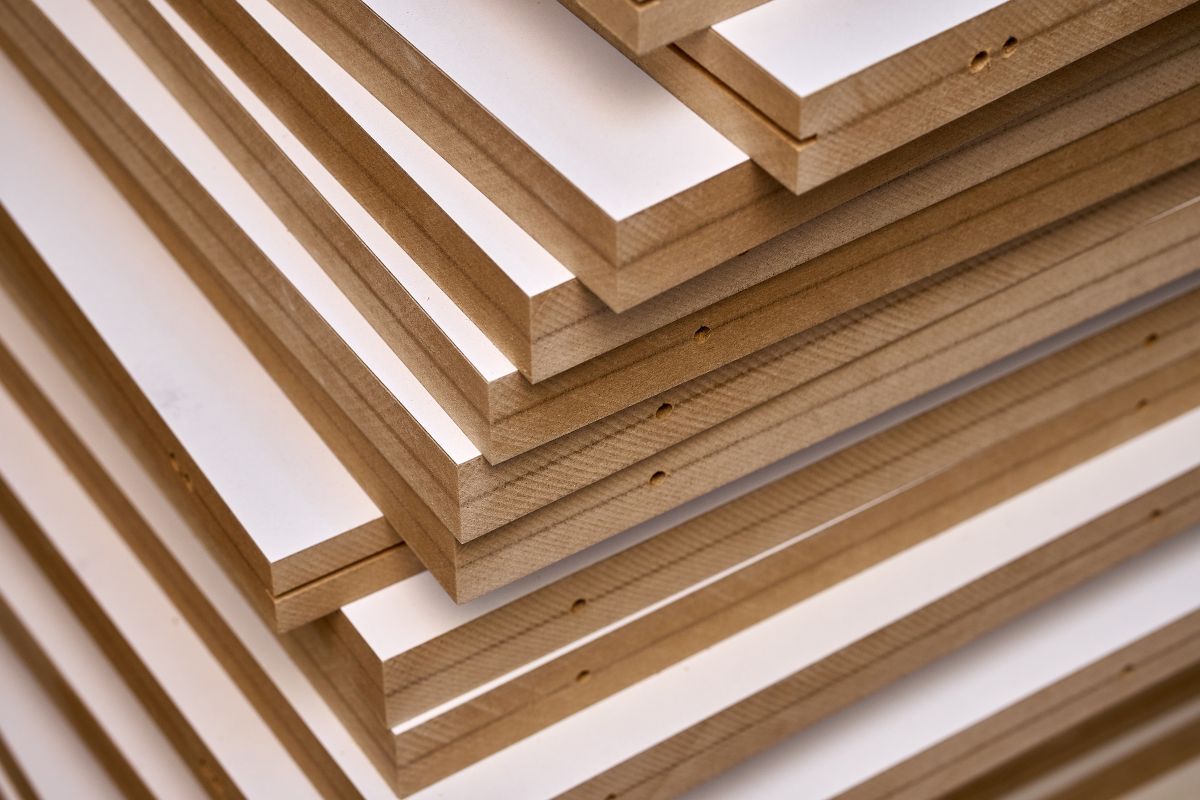
Cutting the plywood down to size is easy. You want to make sure that it is big enough to cover the entire bottom of the box. In this case, you need one piece that is 20 inches wide and 16 inches long.
If you don’t feel like doing math, you can find a handy tool online to find out exactly how many pieces you need. Just enter your width and length, and it tells you how much wood you’ll need.
Step 2 (Sanding)
Sanding is one of those things that seems like a simple process, but there are several steps involved. First, you’ll need a few supplies.
For this project you’re going to use three types of wood; Pine, Cedar, and Plywood. Start with the pine boards and work up to the Plywood.
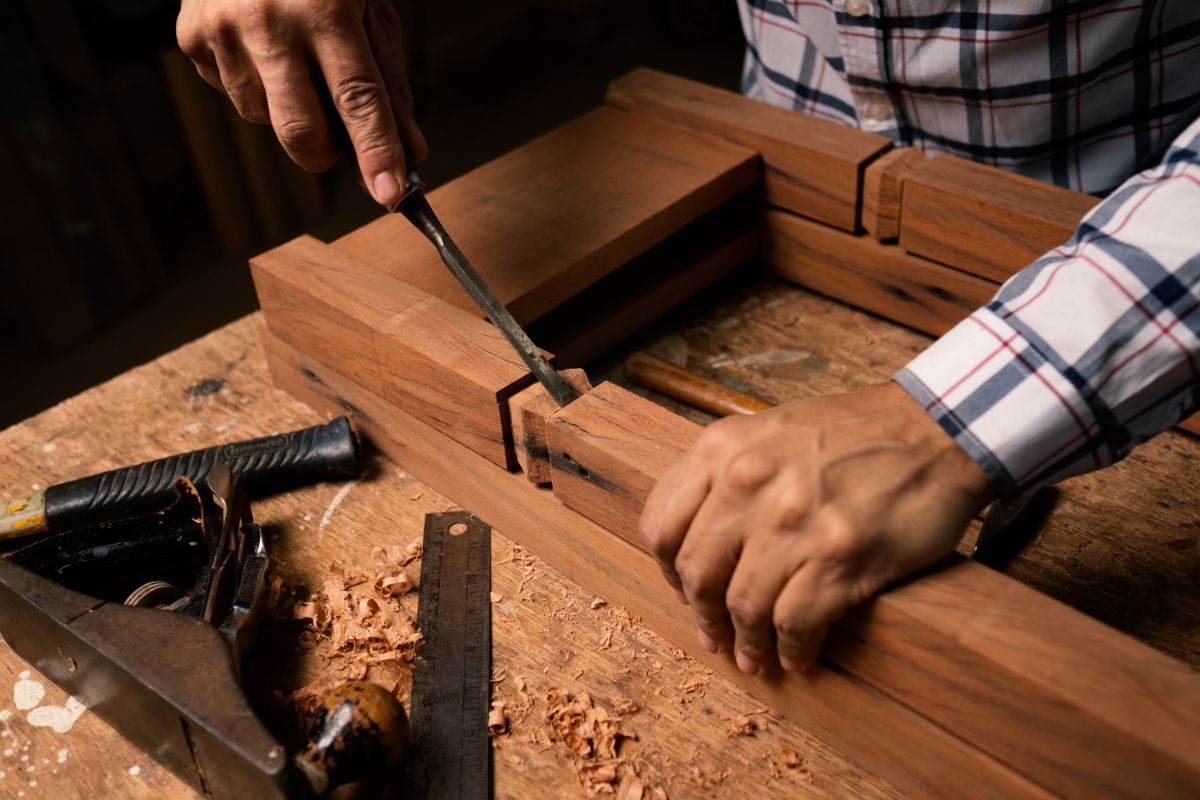
The first step is to take your rough cut boards and sand down the edges. This helps prevent splinters and provides a nice clean edge. You can use an orbit sander or whatever method works best for you.
If you do use a power sander, make sure to sand the sides of the board first, and then go around the outside.
Next, you need to sand the entire surface of each board. Start with 120 grit and move up to 220 grit as needed. When sanding, it’s important to remember that you want to sand across the grain.
Avoid sanding along the grain because this can cause scratches in the finish. Also, try to sand in straight lines, avoiding sweeping curves.
After sanding, give each board a light coat of clear sealer to protect the wood. Let dry completely before moving on to the next step.
Step 3 (The Pattern)
Step 3 calls for marking the center of your plyboard. Use a pencil to mark out a circle in the middle of your board, making sure it’s centered. You don’t want to use too much pressure here because you’ll want to draw over the pencil marks later.
Next, arrange the pine boards on top. Make sure one edge of each board lines up with the centerline drawn earlier. Try to keep the grain patterns mixed up and vary the color as well.
Now it’s time to cut into the plywood. Hold the saw steady while cutting straight down through the plywood. This will ensure that you end up with nice clean cuts. If you see any splinters coming off, just wipe them away with a damp rag.
Step 4 (Gluing)
In the next step you need to apply some glue to the underside of the pine boards and attach them to the plywood. If you use wood glue, it needs to dry completely before adding another layer of boards.
After placing the board pattern on the plywood, position the boards so that you don’t see any gaps between the boards. To avoid having to do this again later, keep the boards in the same order.
Once you have finished gluing the boards together, you can start building the box. Place something heavy on top of the boxes to help them dry. This could be anything from a stack of books to an old refrigerator.
Make sure that the weight stays on the boards throughout the drying process.
Cutting The Excess
Once the glue has dried, it’s time to start breaking apart the pieces. Use a handsaw to trim off the excess wood around each piece. This will allow you to easily separate the parts later.
Next, lay the pieces flat side down on a table. You’ll want to tape the edges of the board together to prevent splitting.
Now, take one of the boards and place it on top of another board. Mark where the centerlines are and make sure the marks align perfectly.
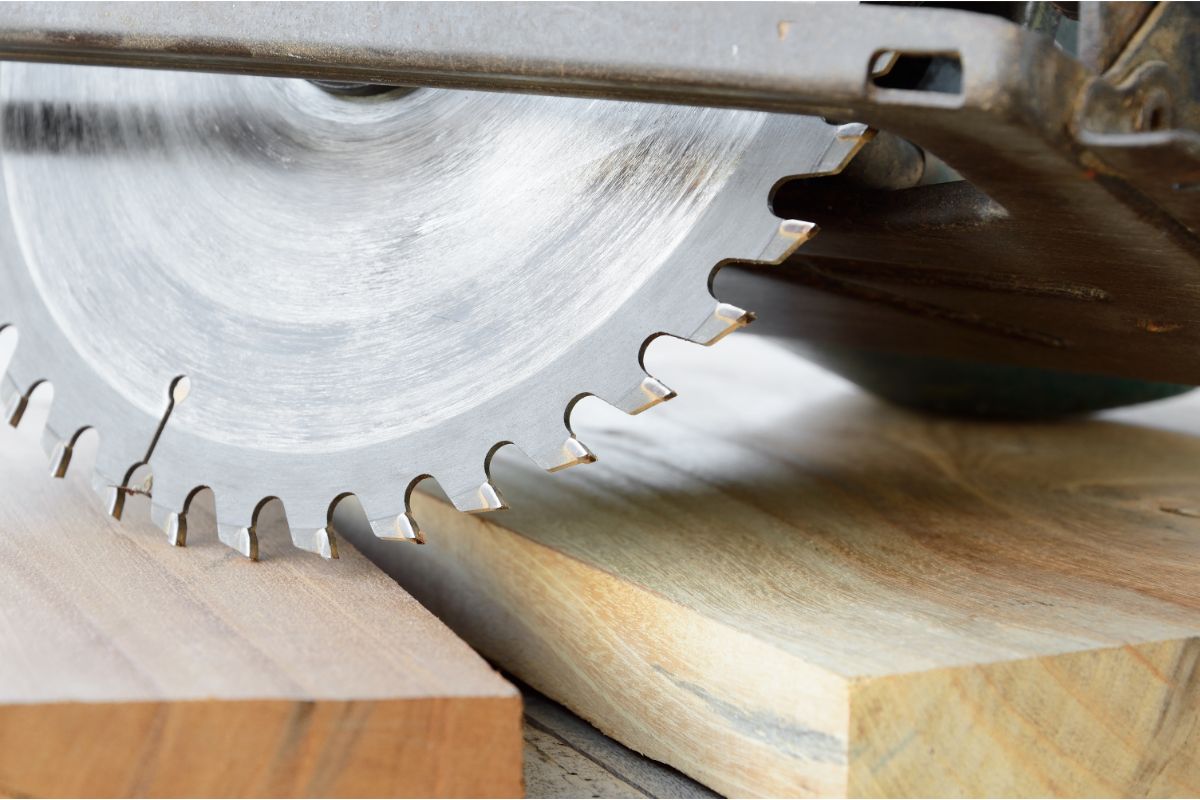
Use a straightedge to draw a line across both boards. Then, carefully cut along the line using a circular saw. Remember to hold the blade against the edge of the plank, rather than the middle of the board.
If you accidentally cut into the middle of the board, you’ll end up with a rough surface that won’t look good.
Repeat the process with the remaining boards. When you’re done, clean up the edges of the boards with sandpaper.
The Sides
Cutting the sides isn’t difficult, but it does require some patience because you are cutting against the grain of the wood. If you’re having difficulty getting accurate measurements, use a tape measure.
You can mark out dimensions on one side of each board and measure across the width of the board. Then do the same thing on the opposite side of the board.
Staining
Sanding and staining are both essential steps in finishing a piece of furniture. Try not to rush this stage as it makes a huge difference to the finished product.
Use stains such as minwax in the color of your choice ensuring you wipe it on and off quickly.
Assemble Tray
Once you’ve finished assembling the base, it’s time to attach the lid. To do so, screw together the four corner pieces into the center piece. Then add the remaining 2x4s to complete the frame.
You’ll want to make sure that the edges are flush with each other. If yours aren’t, use wood filler or joint compound to smooth out the joints. Once everything is attached, clamp it in place and let it dry overnight.
Caulk And Seal
Caulking around door frames and window sills is one of those things you just don’t think about doing until it’s too late. But if you’re looking to make your home energy efficient, caulking is one of the most important steps you can take.
Choose a good quality seal to protect your drinks tray. Apply three light coats of the finish over a 24 hour period. Let it dry overnight before applying another coat. After the final coat dries completely, apply one coat of polyurethane varnish to protect the surface.
Conclusion
This project should take about 2 weeks to build. The wooden drinks tray looks great and is sturdy enough for everyday use. Enjoy!
- The Woodworkers Guide to Brad Nailers: Everything You Need to Know - September 25, 2023
- How To DIY An Aztec Garden Dining Table [The Easy Way] - October 18, 2022
- Farrow & Ball Pigeon: Is It Right For Your Home? - October 17, 2022

