Wood beams are beautiful additions to any home, they show so much character and depth in such a simple way.
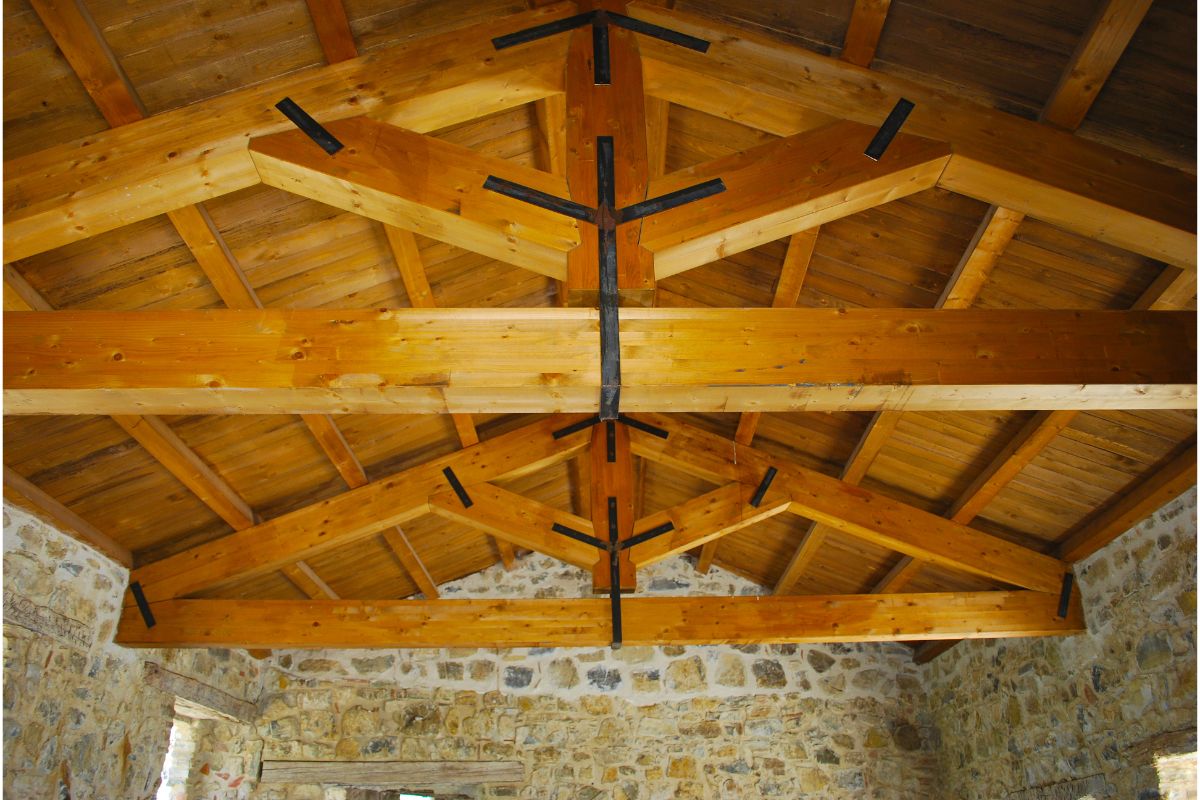
It’s no surprise that exposed wood beams have become increasingly popular with more and more homeowners opting for homes that have them, but wouldn’t it be great if you could simply install them in your own home, even if they’re not pre-existing?
Well, you’ll be surprised to know that you can! If you’re anything like me, then you’ll have thought that installing faux wooden beams would either be impossible, or a hard task to accomplish, but it’s actually easy and fairly inexpensive to do.
They add so much character and depth to the spaces they’re in that they’re a great DIY project for anyone to do, even beginners!
So, if you’re looking to create your own fake wood beams in your house, look no further because this article is going to tell all.
Selecting The Material
Of course, you’ll be using wood for this project, but the question is, what wood do you select?
You’ll want a wood that is lightweight and inexpensive yet full of character within its wood grain and thankfully, there’s an abundance to choose from in those categories.
You have the choice of plywood, common board, hardwood or pine, but if the character of the wood is the most important thing to you, then the best option is probably common board.
Common board is a perfect choice as it has a lot of flaws within the wood making it quite cheap, but that’s also what gives it the huge amount of character.
It’s also very lightweight, making it safe and sturdy since you’ll be installing it yourself and it’ll be sitting above your head!
Cutting The Wood
You have a couple different options when it comes to deciding how to cut the wood, the wood can be joined with butt joints or miter joints.
The latter provides a much more seamless look but it’s incredibly difficult, especially if you’re a novice, to rip wood on a 45° angle, rather than cutting straight.
For this, I went with butt joints, as it would be much easier for me to cut straight rather than cut on an angle.
So, for the vertical planks, you’ll want 1×4 common board and 1×6 common board for the underside of the beam.
Then you’ll need 2x4s that will mount the beam to the ceiling and I wanted the wood beams to fit comfortably over the 2×4’s, so I cut the 1×6 common board down to around 5 inches wide.
Then, referring back to the 2x4s, I cut them to the length of my ceiling.
Making The Fake Wooden Beams
When creating the beams, you’ll want to make two different styles of beams, these are center mounted beams and edge mounted beams.
The edge mounted beams are the ones that are mounted right up the side wall of the ceiling and just to make it easier to install, these were cut into an L-shape and the center mounted beams were cut into a U-shape.
L-Shape Beam
You won’t have to spend too much time making these, as they’re relatively easy to cut.
Just fix the 1×5 ripped wood to the 1×4 wood with wood glue and to further secure them, use corner clamps which will line the boards together and nail them to secure them.
U-Shape Beam
These are created in a similar way to the L-shape beams.
The only difference was that I used two pieces of 1×5, and of course used the corner clamps again.
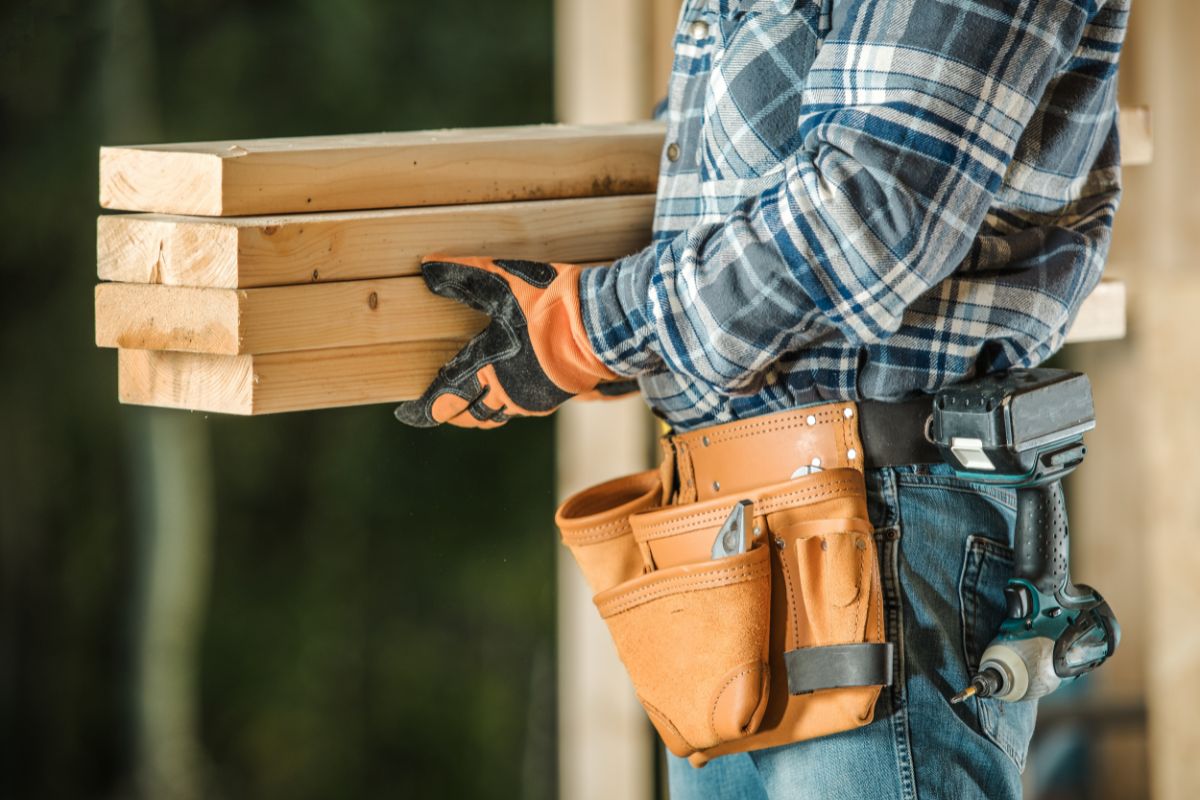
As soon as the beams have been created, use a miter saw to cut them to size.
This will allow you a nicer finish and ensures that each board is the same size.
Sanding And Staining The Wood
Sand the entire beam using a sandpaper grit of your choice, but I chose a rough grit as I preferred the stain to get really deep into the wood.
In regards to the stain, just simply use your favorite wood stain and apply two coats of it.
It doesn’t need to be perfect as no one will be closely inspecting them as they’ll be up on your ceiling!
Installing The 1x4s For The Edge Mounted Beams
Finally, we’re at the installation stage. Simply place the 1×4 against where the wall meets the ceiling and secure it to the joists with construction screws.
Installing The 2x4s
Make sure that you’re installing the 2x4s to the ceiling joists, as this is the only part of the construction that will be holding the beams up! You don’t want the beams potentially falling down now, do you?
Using 2/3 inch construction screws, install them into each joist you can possibly find. It may be tedious, but trust me, you’ll thank yourself for it.
Installing The Fake Beams
In regards to the edge mounted beams, all you have to do is secure the L-shape beams to the 1×4 and 2×4 with finish nails.
If you want a more secure hold, make sure to install the nails in altering left and right angles.
The center mounted beams are a bit tougher to install, but at least you know that they won’t budge!
You might find that you have to wedge the beam between the two walls whilst also trying to slide it over the 2×4.
You may have to use a soft hammer to get it to actually glide over the 2×4 and once you’re sure that it’s in the correct position, secure it to the 2×4 with finish nails.
Final Thoughts
It shouldn’t take you too long to complete this project.
It actually only took me a day to complete it, as long as you have the correct materials and knowledge (and following these instructions!), you should be perfectly fine in being able to construct your own fake wood beams.
But, some of the steps can be tricky, so don’t worry if it takes you longer.
These wood beams add so much character and depth to a room and actually make the entire room look much bigger, so as soon as you get more comfortable with building your own faux wooden beams, I wouldn’t blame you if you started to add the wooden beams into more rooms in your home, because that’s exactly what I’m going to do!
Make sure to always read the instructions for the tools that you’re using and make sure to follow safety guidelines when installing these beams and especially wear head, hand and eye protection when doing so!
- The Woodworkers Guide to Brad Nailers: Everything You Need to Know - September 25, 2023
- How To DIY An Aztec Garden Dining Table [The Easy Way] - October 18, 2022
- Farrow & Ball Pigeon: Is It Right For Your Home? - October 17, 2022

